Feature Friday | k.becca

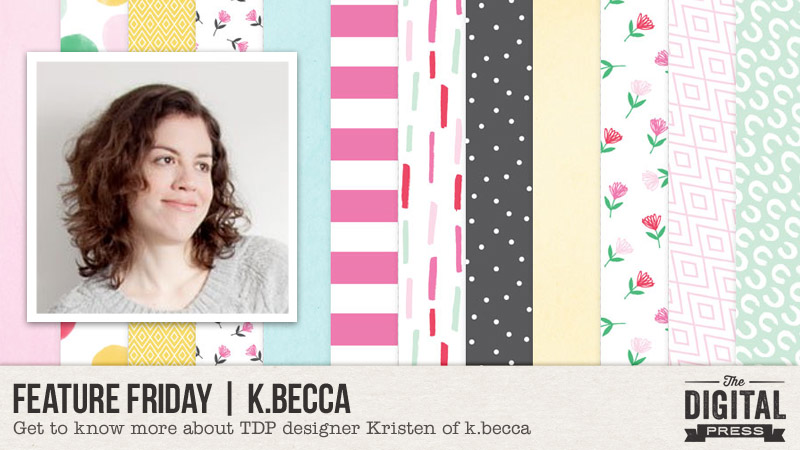
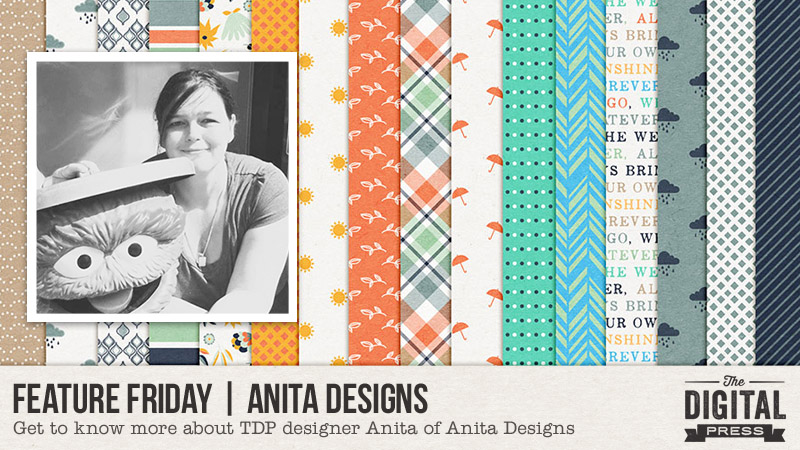
Hello everyone and happy Friday! Fridays are always a happy day… and with each Friday also comes our newest edition of Feature Friday here on The Digital Press blog. This week, I am absolutely thrilled to be shining a spotlight on Kristen of k.becca.

This is Kristen’s third feature article here on the blog; if you’re interested in learning even more about her, you can check out her first feature post from April 2017 (a glimpse at her creative workspace), or her second feature post from September 2017 (her Foodie Friday post). 🙂

This time around, we simply asked Kristen to share “5 Things We Might Not Know About Her” …and I think you’ll agree that her trivia tidbits are really fun!

  1. I’m left-handed. When I was a little one and was first starting to do all the things with my left hand, my mom attempted to turn me into a righty for a while, but it didn’t take. I’m stubborn like that.
  2. I can’t eat gluten or sugar. A little over a decade ago, I started having some serious health issues. After a series of tests and physicals and check-ups, I was told that I was fine. But I wasn’t. So, I went on an elimination diet and discovered that most of my symptoms started to clear up within days after cutting out gluten and sugar. It was and still is a bummer sometimes, especially at birthday parties (cake!) and holidays (cookies!), but thankfully I love to cook and bake and have replaced most of the gluten and sugar-filled things that I used to love with gluten and sugar-free goodies that I like just as much or better.
  3. I love cats. Like, super love. They’re just so fuzzy and cute and purry. Sadly, my husband (also a cat lover) and I don’t currently have any cats of our own, as it’s taken us some time to get over the passing of Moses, our incredibly spoiled and demanding but totally awesome and super foofy Maine Coon mix. But we’re hoping that a couple of new kitties will be adopting us sometime later this year. Until then, I’m overindulging in cute cat videos on YouTube.
  4. I have a degree in art history with a concentration in Medieval and Northern Renaissance art. I absolutely loved studying art history and thought that I would become either a museum curator or a professor, but I became interested in web development and design during a seminar class in which we had to design a website for the college art collection… and I ended up becoming a web developer / designer, instead!
  5. I can’t roll my R’s. When I first started taking Spanish classes in junior high, I practiced and practiced and practiced… to no avail. It just wasn’t happening. My Spanish teacher told me that I was “great on paper” but that I “suck out loud.” Thanks, dude.

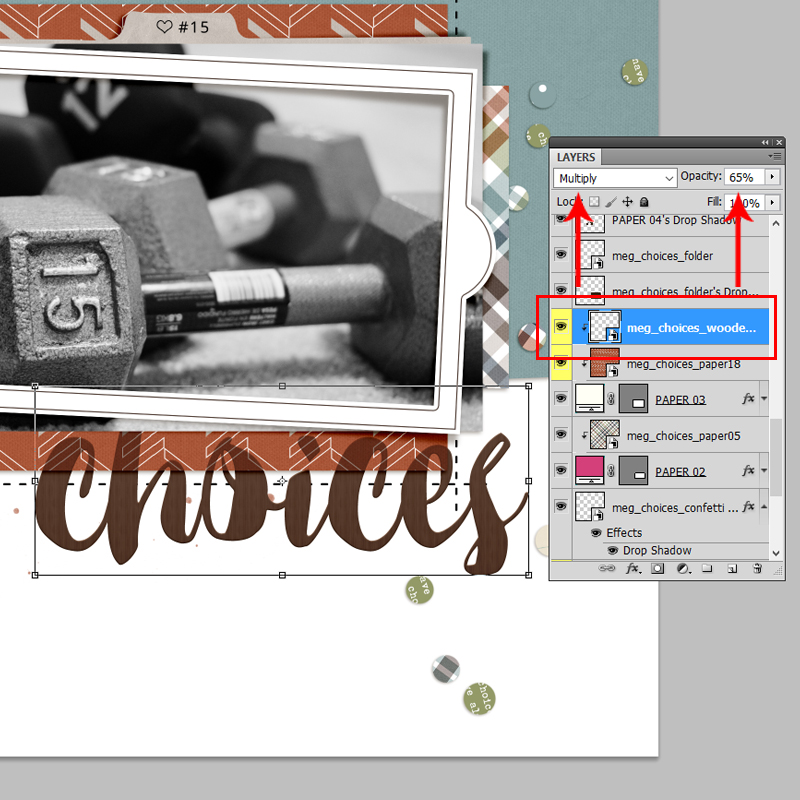
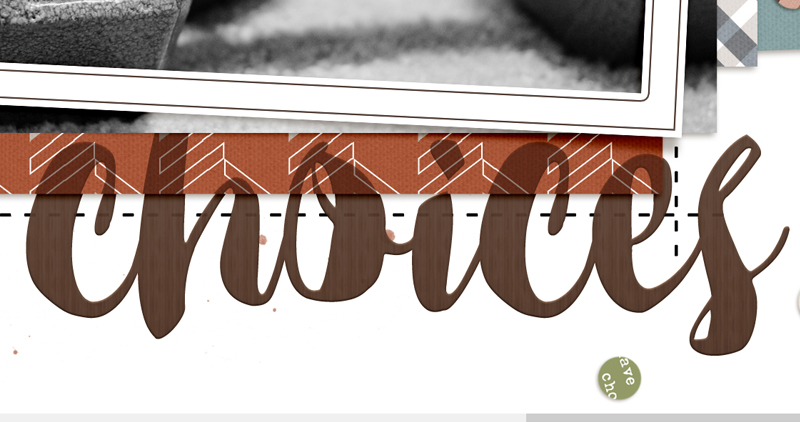
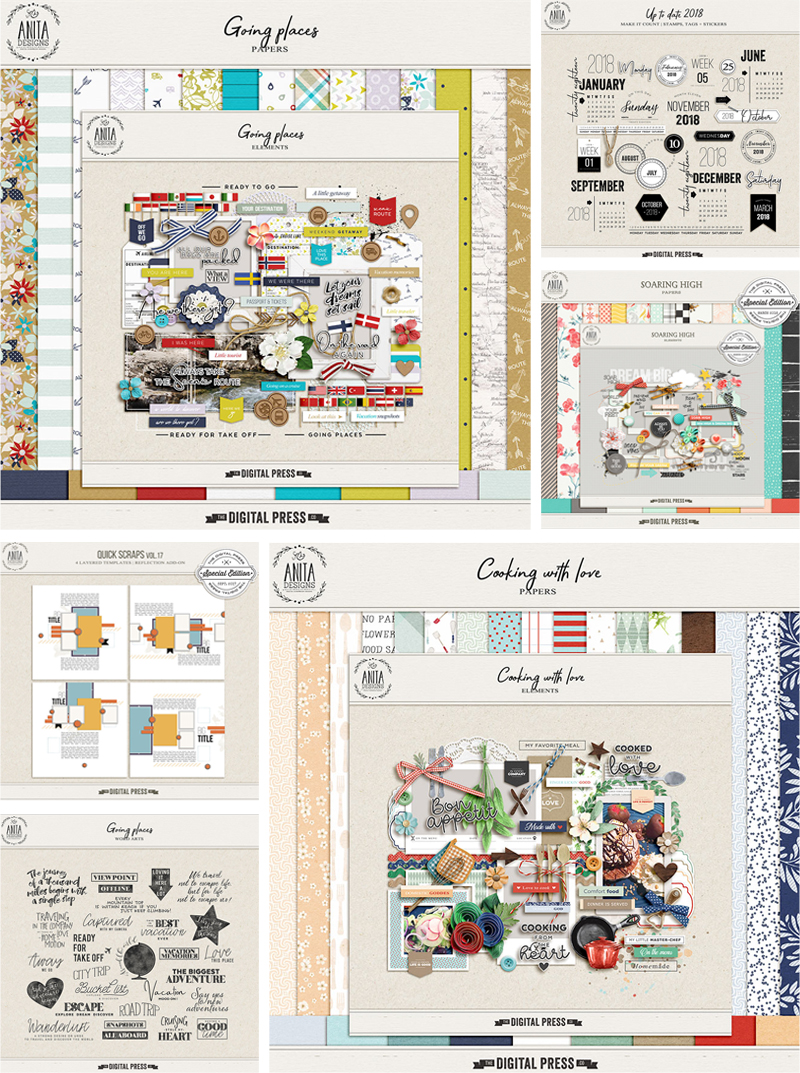
As for the products she designs… when you take a peek at Kristen’s store at The Digital Press, you are sure to be struck by her distinctive style. The colors are soft and her kits are very well put together. I am also always attracted to the wonderful array of hand-lettered and hand-drawn items in her collections (from word art and stamps, to the patterns on her papers and cards, etc.).

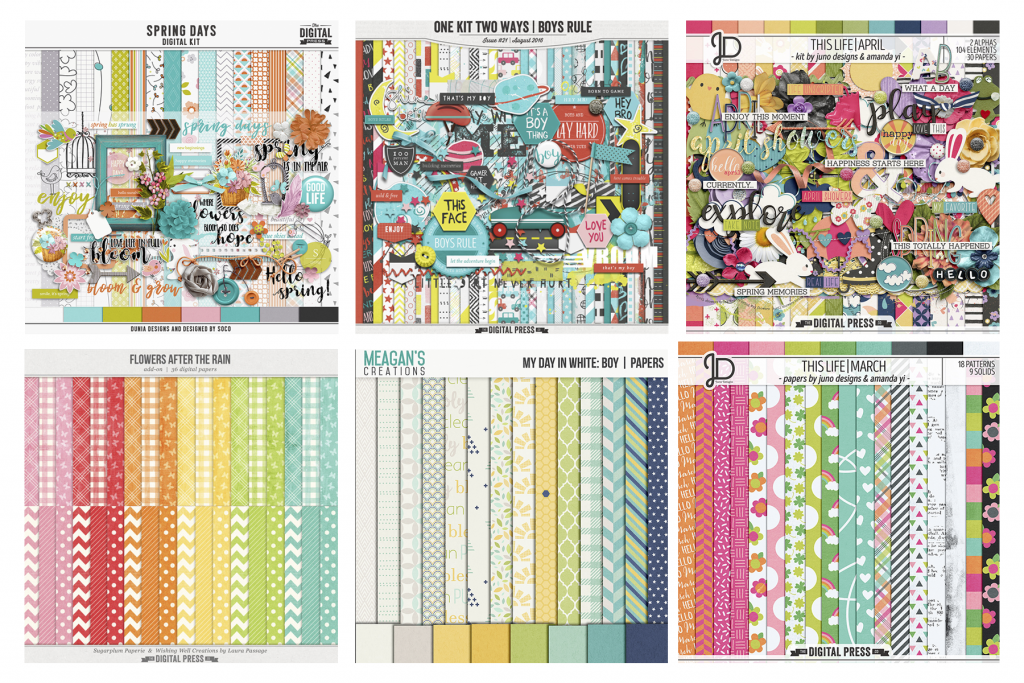
Here’s a quick sampling of some of my own personal favorites out of all of the gorgeous products you will find in the k.becca shop at TDP…


 Don’t these products look absolutely amazing? The attention to detail and the little touches that are sure to make any of your crafty projects stand out!

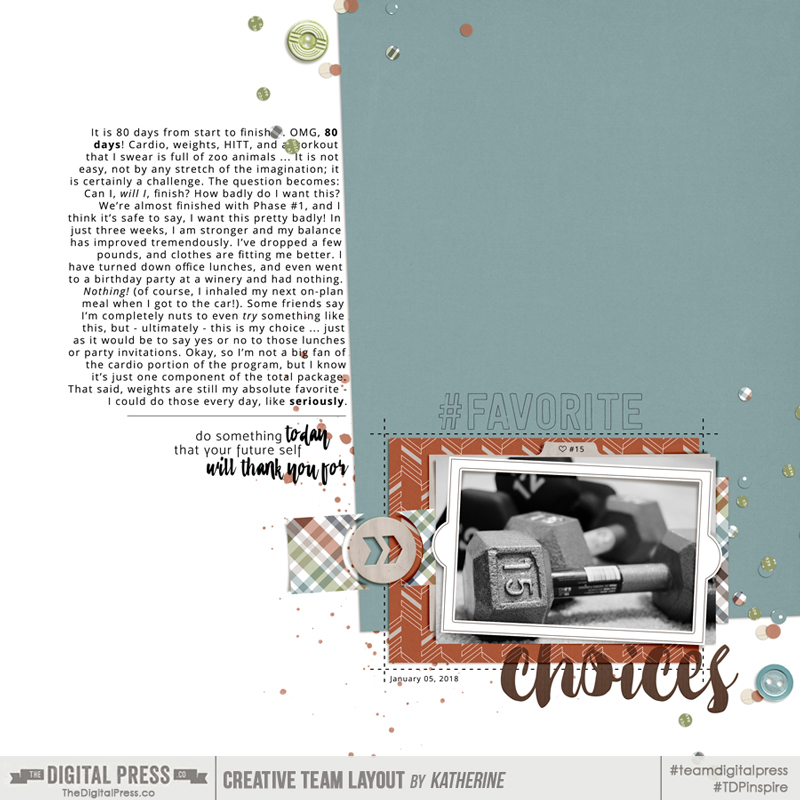
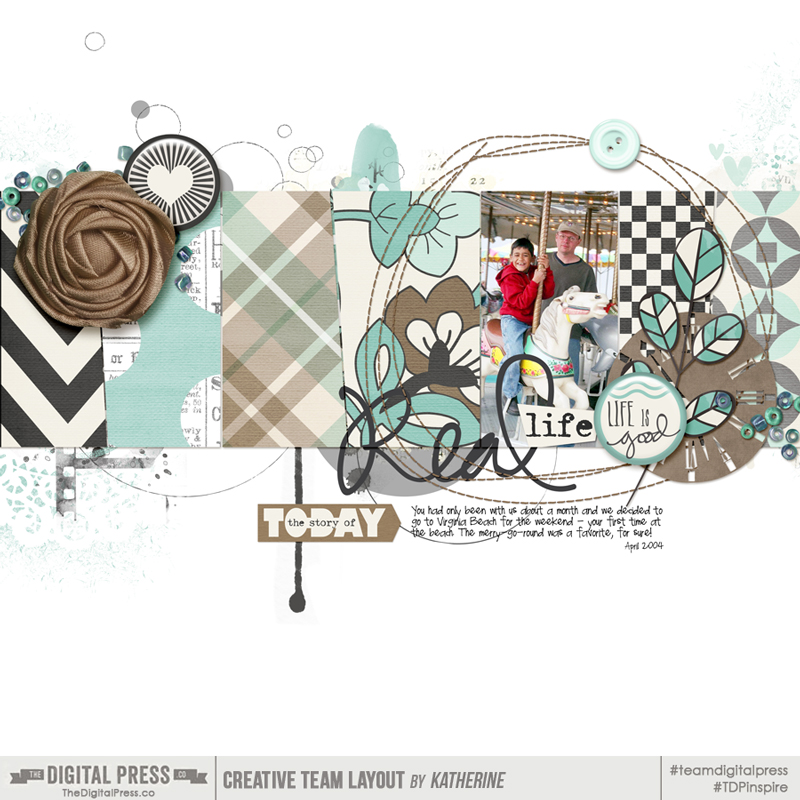
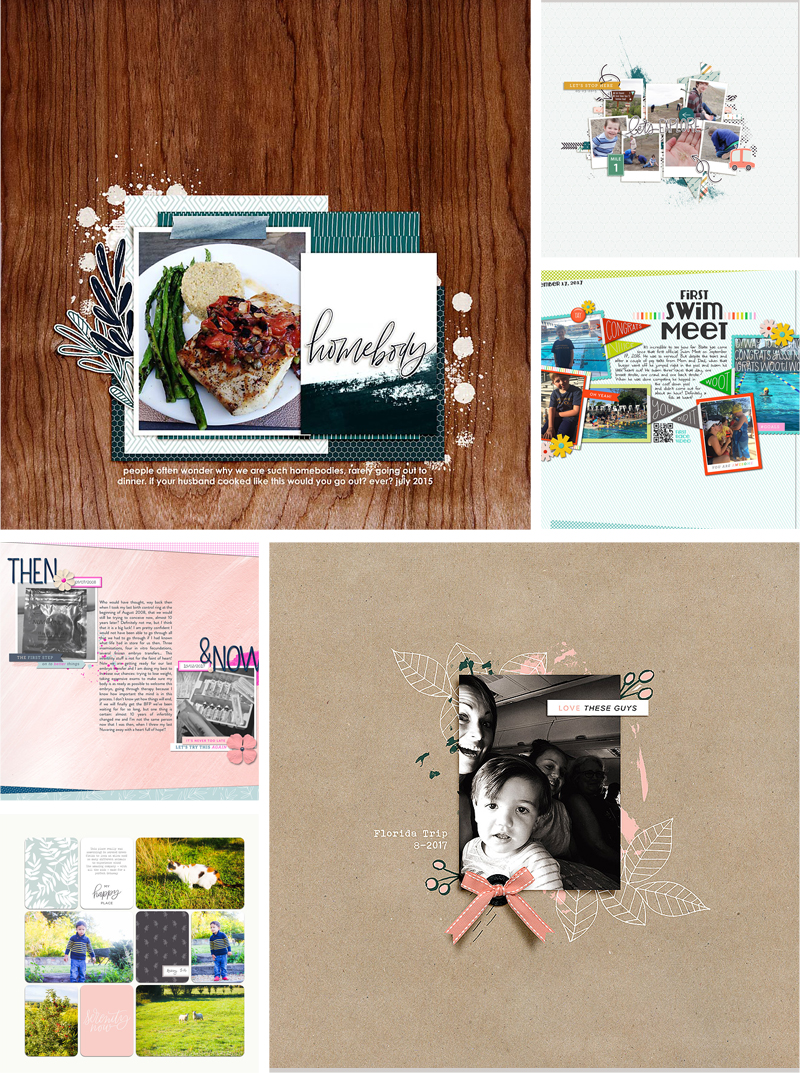
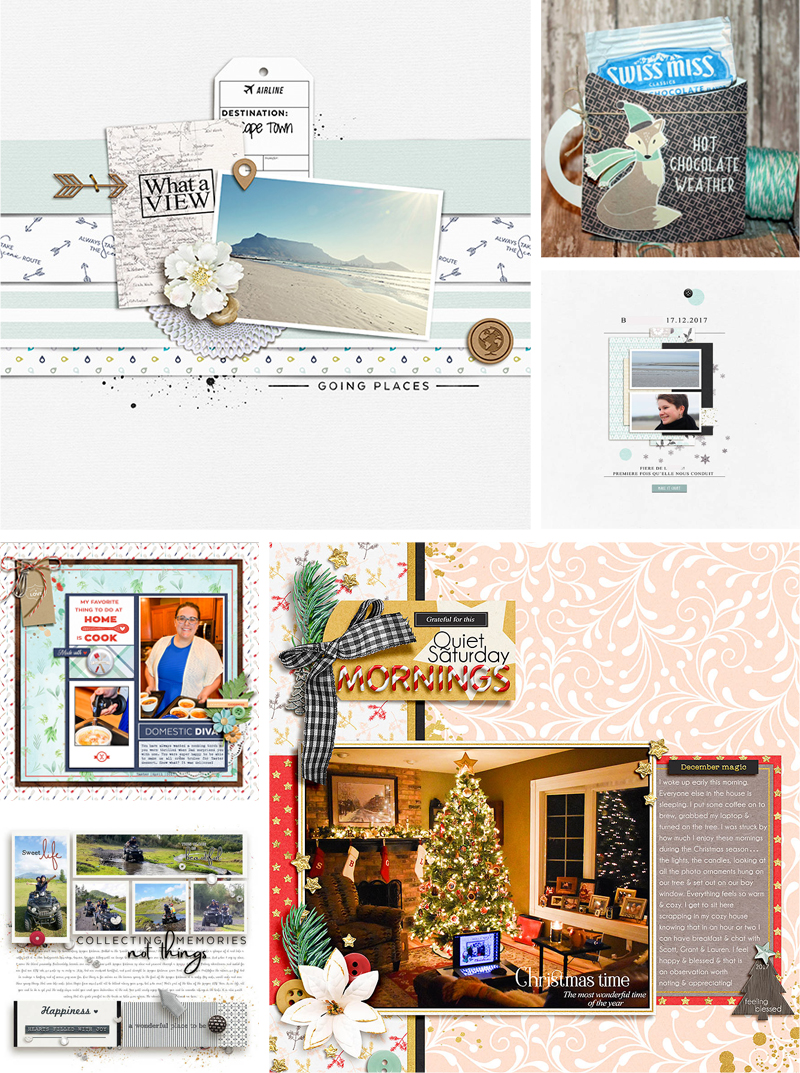
Additionally, as I looked through all the lovely layouts that use k.becca‘s products in TDP’s gallery… the versatility of her products was so apparent. Here are a few of the projects that stood out to me…

I hope you enjoyed getting to know even more about Kristen today! If you adore her products, as I do (or even if she’s new-to-you and you haven’t used them before), here’s a great opportunity to clear your k.becca wish list and add to your stash! I can assure you, you will fall in love with her products! Throughout the coming week, you can enjoy a 30% off sale in her store all week long (the sale will end at 11:59pm ET on Thursday 3/22)… so go take a peek!

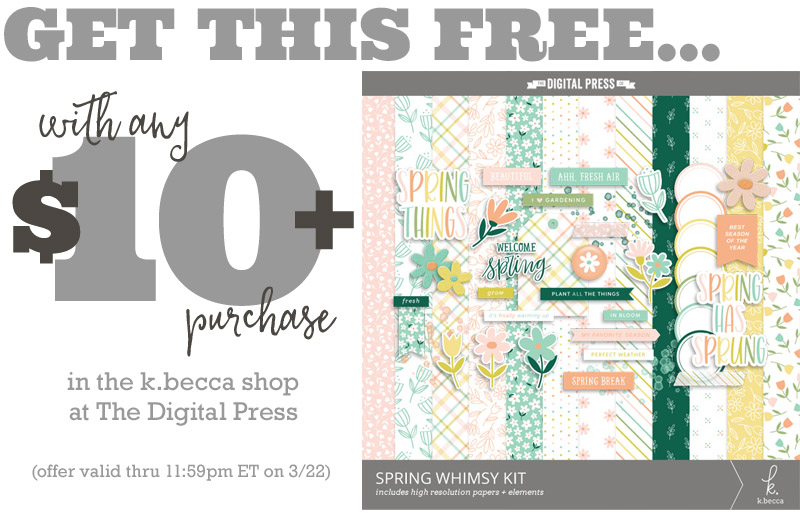
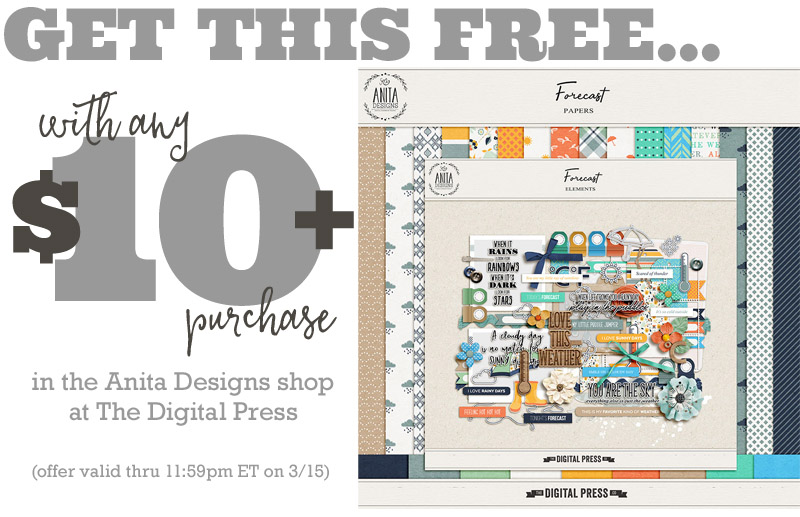
Additionally, Kristen has a special Free-with-Purchase offer for everyone this week! That’s right… all week long, you can snag this awesome full kit — Spring Whimsy — for FREE with any $10+ purchase in her shop — this week only!


Profile pic avatar small

About the Author Shivani Sohal is a donner of many alter-egos. A finance professional by day in busy London, she morphs into a seemingly normal mum of two in the evenings and weekends. She is constantly found with her fingers in too many pies and juggling the metaphorical balls. That is living on the edge for her; aided by the two ankle biters and a darling hubby who define the warm and mushy for her. She is ferociously dedicated to memory keeping — almost immune to any nay-sayers (or equally-disruptive crying children or annoying house fires!); keeping her head down and forging ahead at all times.

Tutorial Tuesday | Get Yourself Into Your Photos

Hello everyone, and welcome to another edition of our Tutorial Tuesday series here on The Digital Press blog. Today we are going to talk about getting in our own photos!!  I know I know, most of us say there are a plethora of reasons NOT to get into the photo…. we haven’t fixed our hair, we don’t have on makeup, we think we have cellulite, we don’t like that outfit, etc., etc., etc., But I’m here to implore you to GET IN YOUR PHOTOS!  One day, when we aren’t around anymore, our families will beg for pictures of us.  They won’t care what we looked like I promise.  Those vacations that we take??  Is there much proof that we  went??  I swear my kids wouldn’t even know I existed when they look at some of my earlier photos.  I was too worried about my appearance after having 3 kids within 5 years, so I never allowed my family to take my photo.  Now I would love to have one of me holding a baby or being a part of the fun!  So, I’m hoping to not only encourage you to get in your pictures but tell you how to do it as well!!  Maybe if you find it easy to TAKE the photo, you will have the courage to be IN the photo 😊

So how do you take that photo?  Well, let’s start with the basics – how the actual procedure works!

Stabilize the Camera

First, you’ll need your camera or phone to stay still while you are taking the photo – no jiggling allowed!  You can use a tripod or a solid, steady surface to prop them on. I’ve been known to place my camera or phone on tables, on books, between jars, and even wedged between rocks.  If you are using a tripod though, make sure it’s sturdy enough to support your camera.  Often, they will have a hook in the center, so you can hang something heavy on it.  I use my purse since it’s heavy enough it helps stabilize the camera.  I don’t want the dog to accidentally knock it over!  Below are some examples of how I have set up my camera and phone. In the first picture, notice my purse.  In the second one I’m using my phone which has a dedicated tripod.  It’s magnetic and flexible and is so easy to use it stays with me at all times!  Now if you don’t have a phone tripod, it’s easy to make one from a sturdy cup.  Google “DIY Phone Tripods” for even more options.

Focus

Next, you’ll need to set the focus.  If you are taking a photo of just yourself, you can use a child / toy / large inanimate object and place them where you want the focus to be.  Or, if you are taking photos with other people also in the frame, you can use them to set the focus.  With DSLRs and point-and-shoots, you need to press your camera’s shutter button half way for autofocus.  If you would rather use manual focus, feel free to do that instead. If you are using your phone, press and hold the screen where you want the focus to be until it locks in.  The main point is that you set your focus before taking the photo. If you’ll look in photo #3 above, you can see that I locked the focus on my daughter’s face.

And a quick tip, if you are using a DSLR and are viewing the scene with your viewfinder (not in Live View), after you set your focus don’t forget to put your eyecover over the viewfinder so that light isn’t leaked in when you take your eye away.  This will help you to avoid unwanted darkening of the photo.  And if you can’t find your eyecover, you can use gaffers tape – just make sure you take it off as long term use can leave a sticky residue.

Taking the Photo

Now decide HOW you are going to take the photo.  You have several options and you don’t have to spend a lot of money to use them.  There are numerous choices such as self-timers, remotes, interval timers, and timer remotes!  For instance, most cameras and cell phones have self-timers. You just decide how many seconds of delay you want to give yourself, press the button, and move quickly into the photo.  I choose the greatest amount of time available (10 seconds on my phone) so I have time to settle before the shutter releases. Below you can see some examples of what the self-timer looks like on a phone and some different Canon cameras.  Check your manuals to see where your self-timer is!

If you don’t like the “run quickly without tripping” scenario, you can use a remote.  Remotes are quite inexpensive and can be purchased for most DSLRs.  Just Google “(insert your camera here) Remote”, and you can find them at most camera shops and Amazon!  They are easy to use since you can position yourself accordingly and then surreptitiously press the remote to activate your camera.  No frantically getting into place 😊  If you use this method, try to set your camera on the 2 second delay so you have a chance to hide that remote.  If you don’t have that option, position your hand so it’s not in the photo.  Don’t forget, many DSLRs have the capability of using a phone app as a remote tool!  I use my Cannon Connect App with mine.  I set my camera to take the photo after a 2 second delay, then I get into position and use my phone to trigger the camera just as I use my hand held remote.  The disadvantage to this is much like the remote, you have to hide it, but since my app lets me set the focus remotely, it’s worth it!  Also, if you happen to have an Apple Watch, it too acts as a remote for your iPhone camera. There are so many ways to remotely trigger your camera and below are some few examples.  You can see a basic remote from Amazon, my Canon Connect app, and my Apple Watch.

You don’t have to use a remote though.  Another way to take the photo is to use your camera’s interval timer mode.  You’ll need to check your manual on how to set it up, but if you have this option, USE IT!  It’s by far the easiest way to take multiple pictures at a set interval so you have plenty of opportunity to get the photo you are looking for.  It’s not just for DSLRs either.  If you are using your phone, there are a multitude of apps that do this as well! For my iPhone, I use Photo Timer+.  It’s free and easy to use.  I usually select 5 or 10 photos with a 3 second delay between them, and I turn the countdown sound on if we are posing.  This is one of many, so just do a search for interval timer apps for the phone. And for you Android users? Check your phones since many have interval timers built right in.  Additionally, you can purchase an interval timer remote if your camera doesn’t already have one.  Amazon has them relatively inexpensively and they are easy to set up and use.  In general, I have to say this is my preferred method.  I love interval timers because I can set the camera to do its thing and then just be in the moment with my family. On Christmas mornings, birthday parties, reunions, etc., I turn my interval timer on to take unlimited photos every few minutes.  Then I place my camera into a corner on a tripod and walk away.  Not every photo turns out wonderful as you can imagine, but I get enough good ones that I’m happy.  Below is the app on my phone, my DSLR camera set up, and a interval timer remote too.

We’ve talked a lot about different ways to have your phone or camera do the work, but don’t forget the simplest method of all, allowing someone else to take your photo.  This can include your kids too.  It’s quite fun handing your phone or camera to them and seeing their joy when they are photographing you!

And just to show you that it can be done, here are two photos that I set up with the intention of being in them myself.  It’s hard but my kids will thank me some day!

See how easy this is?  Yes, not every photo will be to your liking, but the point is YOU ARE IN THEM!  Truly, that’s what matters most.  I promise you that YOU are the most critical person, not your friends and family.  So, do yourself and your family a favor, and jump in those photos – messy hair and all. 😊


Robin

About the author  Robin is a member of the creative team here at The Digital Press. A wife of 25 years and a mom of 4 crazy children (3 in college and 1 still at home), she says that her life occurs mostly in the car as she transports said crazy kids to their many, many homeschool activities. When not driving, Robin loves to make her family cringe by pulling out her camera again (and again, and again…).

Hybrid How-To | Easter Treats

Hello everyone! It’s Tanya here, and I’m excited to share another edition of Hybrid How-To with you here on The Digital Press blog! With Easter just around the corner, I thought I’d show you how to use your digital papers and or elements to create some really fun Easter treats.

This is a great project because you can truly use just about any of your favorite digital products to create these treats. I used soft papers for the girls’ Easter bunny and brighter colors for the boys’ Easter egg.

SUPPLIES NEEDED:

  1. Your favorite digital scrapbooking products
  2. White photo paper
  3. Printer (or, you can also have it printed at any copy shop)
  4. Jelly beans, M&M’s, or any other small candies
  5. Scissors
  6. Stapler or sewing machine

Here is a quick look at the kits I used for my treats…

[ (1) Spring Days (2) One Kit Two Ways | Boys Rule (3) This Life | April (4) Flowers After The Rain (5) My Day In White | Boy (6) This Life|March ]

For this project, I used my Silhouette Studio Business Edition software. You can use any photo editing software, however. The first step is to draw out your Easter bunny head and your Easter Egg. To do this I used the draw tools to the right of the work space. You can also find similar patterns by googling “outline Easter egg shape” or “outline Easter bunny head”…

Open the paint palette on the right side of the page, and then choose the little box with the polka dots to open your patterned papers. To fill the pattern, click on the bunny or egg image and then click on the paper you want…

Page Setup  —  I usually do this step first thing; it’s just habit now. But if you haven’t already turned on your registration marks (if you are choosing to cut with your Silhouette machine), you will need to do that now. Open the Page Setup menu and choose the third icon (see screenshot, below). Next, choose the machine you are using and then slide the Inset all the way to the left. This gives you the most work space for cutting as possible…

If you choose to send the pages through your printer, you will want to make sure that your cut lines are turned on. To do this go into the SEND menu, and if it doesn’t show up with red cut lines on, you will need to highlight everything and choose the cut edge option (this will turn on the cut lines)….

You are now ready to move on to the next step, which is to print it out. Once you print it, you can either use a pair of scissors and hand cut it… or… use your cutting machine to cut them out. Honestly, it is probably just as fast for a simple project like this to just cut them out by hand… 😉

Next, you will take two of the same-shaped pieces and put them back to back. Make sure that the printed sides are facing outward. You can either staple them all the way around… or… sew them together. Either way, make sure to leave a small space to fill the pouches with your candy of choice.

For myself, I love the stitched look and have a sewing machine just for hybrid projects. This was my first time using it… and about halfway through closing the little opening for the candy, it stopped working. UGH! …it’s always something, isn’t it?! 😉 I guess this means I will have to watch the “How-To” disk the sewing maching came with.

Here’s a look at one finished egg and one finished bunny. Aren’t these just the cutest things? You can make them for your co-workers, your child’s Easter parties, etc.

You could even make a bunch and display them together (as shown here) and use them as party favors, etc…

I hope that you have enjoyed this edition of Hybrid How-To, and that you will give this easy project a try (and/or come up with a shape of your own for these Easter treats!).

If you’re participating in The Digital Press’s challenge system for March 2018, don’t forget to visit the CROSSWORD SECTION in TDP’s forum to get the details about this month’s Hybrid Challenge — because you can earn challenge points if you give this project a try (you can earn points toward discounts & FREEBIES)! I hope that you will join in!


Tanya

About the Author  Tanya is a part of the hybrid team here at The Digital Press. She has been hybrid crafting for at least 15 years now, and loves creating and sharing those creations with others. Her all-time favorite tool is her Silhouette Cameo. She has been married for 29 years to her high school sweetheart, Richard and has two sons: Chris, 26 and Chance, 22. She also enjoys crocheting, photography and woodworking.

Feature Friday | Anita Designs

Happy Friday everyone! I love Fridays because I’ve got the whole weekend ahead of me (and it’s a great time to scrap!), but do you know what other fun thing happens on Fridays? It’s time for The Digital Press to feature another of its awesome designers. Today I’m happy to feature one of my go-to designers, Anita of Anita Designs.

Anita has been at The Digital Press since the very beginning, and therefore this is her fourth time being featured on The Digital Press blog. If you’re interested in learning even more about her, you can check out her first few feature posts from November 2016 (an interview & a look at her fave products), June 2017 (see her creative workspace), or September 2017 (her Foodie Friday post).

This time around, we asked Anita to share with us 5 Things We May Not Know About Her and this is what she had to say…

  1. I love the series Grey’s Anatomy. I can watch it over and over again. I did not like it when Dereck left the series! *cries*
  2. I can’t watch the movie Gravity because I really love the feelings in the movie … a lady with George Clooney in Space, left to themselves floating around space. To save her he drifts away into space and keeps on talking to her until … that stops. The thought that something like that can happen scares the crap out of me!
  3. I just asked my hubby to name something that no one knows about me. He answered that I have the sweetest and kindest husband in the world (OMG, I need to open a window to let some fresh air in … it’s just too much!).  🙂
  4. I am a Royal Story addict.
  5. I love traveling! Here’s a fun look at some of my all-time favorite places I have traveled…

When you take a peek at Anita’s store at The Digital Press, I promise you’ll be in awe. She’s got a huge shop… and there is literally something for everyone. She’s got a distinctive style; clean, simple, and elegant. Her kits always have a great variety of elements, her papers have awesome textures and patterns, her stamps and brushes are great, and she’s got pocket cards, too! And if you’re looking for templates… you’ll find them in her shop, as well!

Here’s a sampling of some of my own personal favorites out of all of the products you can find in Anita’s store…

Anita’s products are super versatile and easy to use in all kinds of projects. Here are just a couple of my favorite projects found around The Digital Press, using Anita’s beautiful creations…

I hope you enjoyed getting to know a little more about Anita today, and seeing some of her products in use. If you love her products as much as I do (or even if you’re just discovering Anita for the very first time today), I’ve got great news! Throughout her upcoming feature week, you can enjoy a 30% off sale in her store all week long (the sale will end at 11:59pm ET on Thursday 3/15)… so now is a great time to stock up and clear your wish-list!

Additionally, Anita has a special Free-with-Purchase offer for everyone this week! That’s right… all week long, you can snag this awesome brand-new kit (just released today!) called Forecast for FREE with any $10+ purchase in her shop — this week only!


BarbaraAbout the Author  Barbara is a member of the creative team here at The Digital Press. She’s married, has two awesome kids (a 21 year old son and an 18 year old daughter) as well as an adorable Soft Coated Wheaton Terrier. With her “baby” off to college soon and her son already in college she and her husband are soon to be empty nesters. Yikes! She’s been wondering how her kids have turned into adults seemingly overnight while she and her husband haven’t aged a bit (at least in their minds they haven’t aged!)? In her free time Barbara enjoys telling her family’s stories via the art of digital scrapbooking, “playing” in Photoshop (it makes her happy and she learns a little something new every time she uses it!), taking photos and trying out new recipes for healthy dishes. Life is good!

Tutorial Tuesday | Creating a Stamped Title

Creating a Stamped Title

I’m a big believer in trying to make my more traditionally-styled digital scrapbook pages, well, traditional! Sure, there are a ton of things you can do in the digital realm that simply aren’t possible with supplies that you’d buy at a craft store, but I’m always looking for ways to create the illusion of something being “real.” I wanted to share with you an easy way to re-create the look of a stamped or painted title on your page that’s layered among papers, photos, or other flat elements.

Let’s stop for a minute and think about this: If you had a stack of papers or photos spread about on a table and you grabbed a wood block stamp, inked it up, and stamped away, what would the words look like? Some might be a little transparent, with patterns or images peeking through. Maybe the edges are fuzzy. If your stamps go over the edge of two or more papers or pictures, does everything line up exactly? Yes, folks, these are the kinds of things I think about when I’m creating my digital layouts and trying to get the finished product to look as realistic as possible.

As I placed this title on my page, I found that I wanted it sitting on the patterned paper and spilling over to the background. Realistically speaking, if this were truly stamped, I would see some of the pattern on the orange/brown paper bleeding through, and I’d see the bottom edge of the paper, too. As things stand right now, that’s not the case. Here’s how I changed that.

Step 1: Create a duplicate layer of the title, wordart or alpha.

Step 2: Place one copy of the title immediately above the paper on which the title sits; place the other copy underneath.

In my example, I have a copy of the word “Choice” right on top of my patterned paper, and another copy above the lines layer.

Step 3: Clip the title to the patterned paper. This will allow the bottom edge of the paper to be visible and reveal any shadowing you might have.

You could leave things just the way they are and be done. Personally, I still tweak things a bit more, and here’s why: Remember what a truly stamped image might look like if you were using ink and paper? I would still see some of the pattern on the paper coming through. The same goes for the dashed lines on the background paper. Read on

Step 4: Lower the opacity of the title layer that is clipped to the patterned paper, and play with blending modes to allow the pattern the bleed through.

I like to use Multiply or Linear Burn, depending on the color of the paper. This step is really a little bit of trial and error, so just play and see what you come up with. I ended up with a blend mode of Multiply, and Opacity of 65%. I also lowered the opacity on the bottom copy of the title (the one that’s sitting on top of the dashed lines), just a little, to allow the lines to peek through ever so slightly. These formatting options are in my Layers Palette (I’m using CS6), but you could also use the toolbar menus if you’re more comfortable with that, or if your desktop is configured differently. From the toolbar, I would select Layer > Layer Style > Blending Options to access these choices.

Once again, you can stop here, if you like … or not.

Step 5: Select one of the two title layers (either one is fine), and nudge just that layer a little to one side. The amount of movement really is very small; it’s just enough to add to the illusion that the stamping is on multiple layers.

TIP: Although not necessary, one last thing that I like to do is select the title layers, both of them, and link them together.
This way, if I need to move or resize the title, both layers change in unison.

Credits: Choices by MEG Designs

Credits: Real Life by Calista’s Stuff

As you can see in the second example that I’m sharing here, your title could spill over onto multiple photos and papers. Even if it seems complicated, the steps to creating the look of a stamped or painted title remain the same:

  1. Duplicate.
  2. Position.
  3. Clip.
  4. Blend and Opacity.
  5. Nudge.

I hope you’ll give this a go!


About the Author Kat Hansen is a creative team member here at The Digital Press. A Director of Human Resources by day, she loves the opportunity to spend a few hours each evening being creative. Vacation memories feature pretty heavily in Kat’s scrapbooking pages, as well as her health and fitness journey. Kat has quite the sense of humor (she “blames” her father for this), which she incorporates into her journaling and memory-keeping.

Foodie Friday | Calista’s Stuff

Thank goodness it’s Friday! Not only is the weekend almost here… but it’s time for another edition of our Foodie Friday series here on The Digital Press blog! This week we are featuring TDP designer Meta Wulandari — the name behind Calista’s Stuff.

Meta has already been featured once before on The Digital Press blog; if you would like to learn more about her, you can check out her first feature from May of 2017 HEREYou can also learn more about her design style by checking out her gorgeous store at TDP.

For our Foodie Friday series, though, it’s all about the food! Here is a glimpse of the yummy stuff Meta & I have for you this week…

[ photo credits: (1) Meta Wulandari, (2) Meta Wulandari, and (3) TDP creative team member Amie ]

What’s all of that deliciousness you see pictured above?

  1. Beef Semur (Beef Stew)
  2. Kolak Bola Ubi Ungu dan Pisang (Stewed Purple Sweet Potato Balls and Banana in Coconut Milk)
  3. Chocolate Chip Cookie Dough Buttercream (on dark chocolate cupcakes)

Beef Semur

Meta says… “This is a recipe my family loves to eat and I really enjoy cooking, because it’s super easy to make!”

INGREDIENTS

  • 250 gram minced beef (about half a pound)
  • 1 large potato, cut into big chunks and fried
  • 1 tomato, quartered
  • 1 clove garlic, chopped
  • 1 large onion, chopped
  • 1 spoon unsalted butter
  • 3 bay leaves
  • 300 ml water (1 1/4 cups)
  • 4 tablespoons of sweet ketchup (sweet soy sauce)
  • 1 tablespoon salty ketchup (salt, nutmeg, pepper, sugar & 1 spoon tomato sauce)

INSTRUCTIONS

  • Melt unsalted butter in a pot and add in onion, garlic, pepper, nutmeg and bay leaves.
  • Stir fry until fragrant.
  • Add the beef, and sweet soy sauce to the pot and let them brown a little bit for about 10 minutes. Pour in the water and bring to a boil and lower the heat and slowly simmer for about 1 hour until the meat is tender.
  • Add in the tomatoes after 30 minutes of cooking and add the fried potatoes in 10 minutes before the end of cooking. Gently stir everything to mix.
  • Have a taste and season with salt. It should be slightly sweet from the sweet soy sauce

Kolak Bola Ubi Ungu dan Pisang

Meta explains… “Kolak is an Indonesian common dessert which is made from pisang (banana), ubi (sweet potato), and often labu (jackfruit). It has sweet and creamy flavor from coconut milk. My family loves to eat kolak during Ramadhan (fasting month for mosleem). In this recipe I used Purple sweet potato and banana.”

INGREDIENTS

  • 4 pieces Banana, cut small pieces
  • 200 grams boiled purple sweet potato (1 cup)
  • 50 grams Javanese palm sugar/brown sugar (1/2 cup)
  • 1 can coconut milk, add 2 cups of water
  • 2 pandan leaves (screwpine leaf)
  • 4 tablespoons tapioca flour
  • 2 tablespoons rice flour, mix with 4 tablespoons of water
  • pinch salt
  • 1 Pandan leaf

INSTRUCTIONS

  • Mash boiled purple sweet potato, add salt, tapioca flour and water. Make a small balls
  • Heat the coconut milk in a boiling pan, add palm sugar and stir until the sugar completely dissolved. You can adjust the sweetness according your taste.
  • Keep stirring the coconut milk to prevent from lumpiness. Then add the banana and purple sweet potato balls, bring to boil.
  • Add the pandan leaf and pinch of salt, stir again.
  • Taste the soup to make sure it’s sweet enough for you.
  • Serve it warm or with rice.

Chocolate Chip Cookie Dough Buttercream

Amie says… “This frosting tastes like the real thing, but without the raw eggs! You can use it on any flavor of cake, or even between graham crackers for a yummy treat!”

INGREDIENTS

  • 2 cubes (1 cup) unsalted butter at room temperature
  • 1/2 cup brown sugar packed
  • 2 2/3 cups confectioners (powdered) sugar
  • 1/3 cup all-purpose flour (if worried about raw flour, omit & add additional 1/3 cup of powdered sugar)
  • 1/2 teaspoon salt
  • 2-3 tablespoons heavy cream
  • 2 teaspoons vanilla extract
  • 1/2 cup mini chocolate chips

INSTRUCTIONS

  • Beat the butter with a mixer for at least 5 minutes (it’s what makes the buttercream light & fluffy!)
  • Add the brown sugar & mix until combined.
  • Slowly add in the powdered sugar until smooth
  • Mix in the flour, salt & vanilla
  • Add in the cream 1 tbsp at a time until the desired consistency (smooth & creamy, thick enough to hold it’s shape, but not thin & runny)
  • Frost as you desire on your cooled cupcake (I baked Dark Chocolate Cupcakes, but you can use ANY cake mix or flavor with this frosting!)
  • Sprinkle Mini Chocolate chips on top to decorate & Enjoy!

Oh my… don’t those recipes all look amazing!? I’m totally adding to my shopping list this week — I’ll have to hunt down some of Meta’s ingredients! We hope you’ll give them a try, as well (and please feel free to leave us any questions or comments!). Happy Cooking!

Last but definitely not least — Meta is having a fantastic sale and is offering a special Free-With-Purchase offer! Not only is the entire Calista’s Stuff shop marked down 30% OFF throughout her entire feature week (sale prices will be valid through 11:59pm ET on Thurs 3/8)… but she also has the following Free-With-Purchase offer available in her shop all week long, as well — spend $10+ in the Calista’s Stuff shop at The Digital Press and get her entire Real Life Bundle completely FREE!


Amie

About the Author  Amie is a craft-loving dental hygienist who lives in Washington state. She loves her husband, her two crazy kids, and her English Bulldog… as well as coffee, baking cupcakes, daffodils, glitter & sprinkles, reading a good book, and lip gloss — not necessarily in that order.