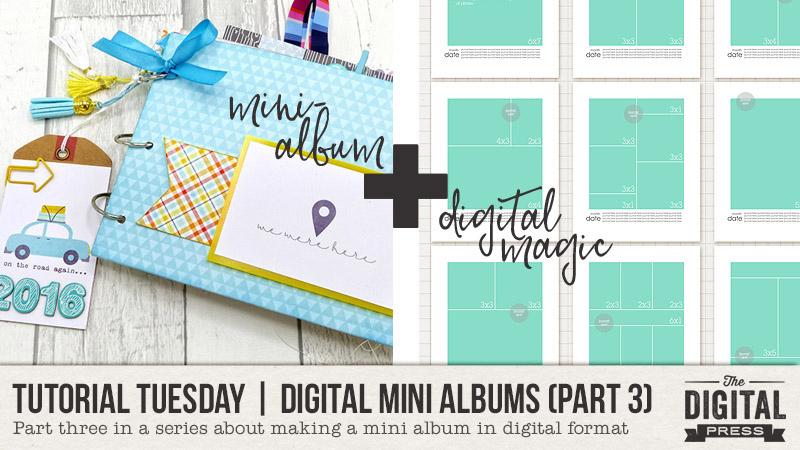
It’s time for another edition of our Tutorial Tuesday series here on The Digital Press blog! Today’s post is Part 3 in a series on creating a digital mini album (you can find Part 1, from March 2018, HERE and Part 2, from April 2018 HERE on the blog).
In that first part of the series, I shared that mini albums are handy for…
- Scrapping a family vacation
- Creating a special gift for someone
- Marking a special holiday
- Documenting a specific family tradition
- Capturing a sports season
- Life Events such as adoption, graduation, birthday, wedding, birth, or death
I also shared that I have found there to be four main steps in the process of creating a mini album…
- Planning
- Organizing
- Filling & Finishing
- Printing
In Part 1 we looked at the first step: PLANNING. Part 2 I shared with you 4 different areas you could ORGANIZE to make the creation portion more streamlined. And TODAY we get to do the fun part . . .
Step 3: Filling and Finishing
Filling and Finishing is where all the magic happens. This is where you get to see your pages take shape and fill in all the little details you have been wanting to add. IT can be daunting, especially if you have a LOT of pictures to use and pages to make (can you say Baby Album??!!)
However, if you have taken care of all the prep-work in Steps 1 & 2 that we talked about, you should have everything right at hand and ready to go.
In reality, there is NO wrong way to do Step 3, as most of it comes down to your own personal scrapping style. Some people like to completely finish on page, from photo to shadow treatment, before going on to the next. However, if you are feeling a little overwhelmed, or the project looks daunting, having a plan and batching your work can help break things up for you and make the process go smoother.
In batching, you do a series of activities or jobs that are all similar at the same time. This creates a work flow that actually saves you time in the end because you are not having to transition from one task to the next, which (in my case) wastes valuable brain activity. So when I batch the tasks for my mini album, I do a single task all at once for every page in my album. This is the method I use.
Start with your PHOTOS
You have already organized your photos into folders so why not start there.
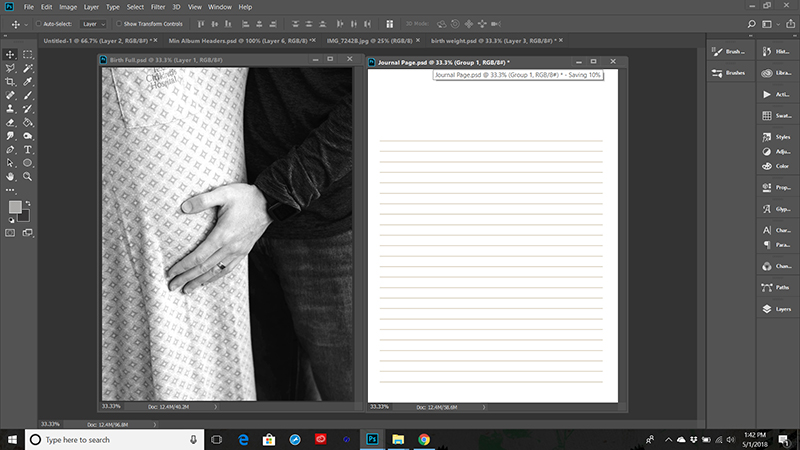
In step 2 we created some BASE PAGES, or templates that we will use over and over for our mini album. Open up some of these and pull your photos onto pages or templates and save them as Page 1, Page 2, etc. (Or if you would rather, you can give them actual names.) This will allow you to make sure you have all the pages you need and also show you if you need to condense some pages, “fix” or create a few additional pages to complete your book, or if there are any other problems you did not expect. Some people like to do this page by page in the same order the mini album will be in once finished, but that is not necessary.
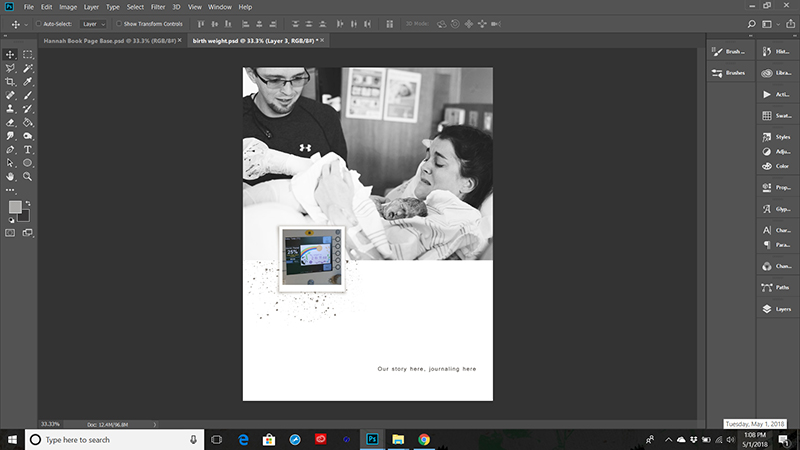
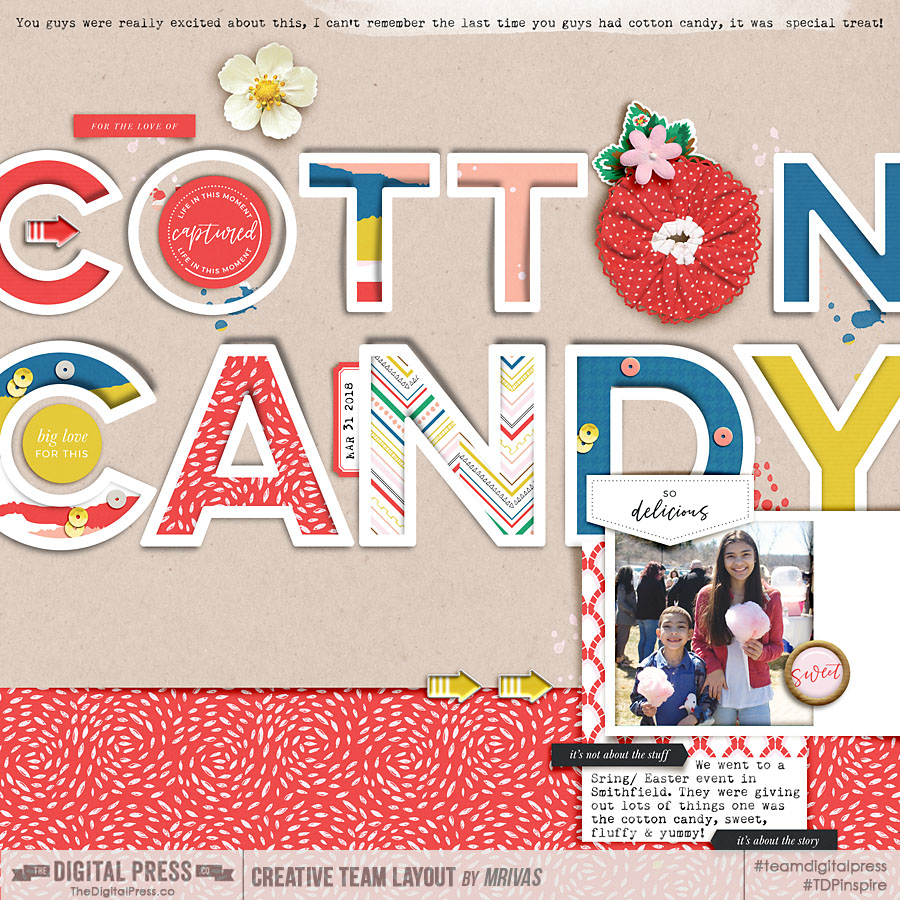
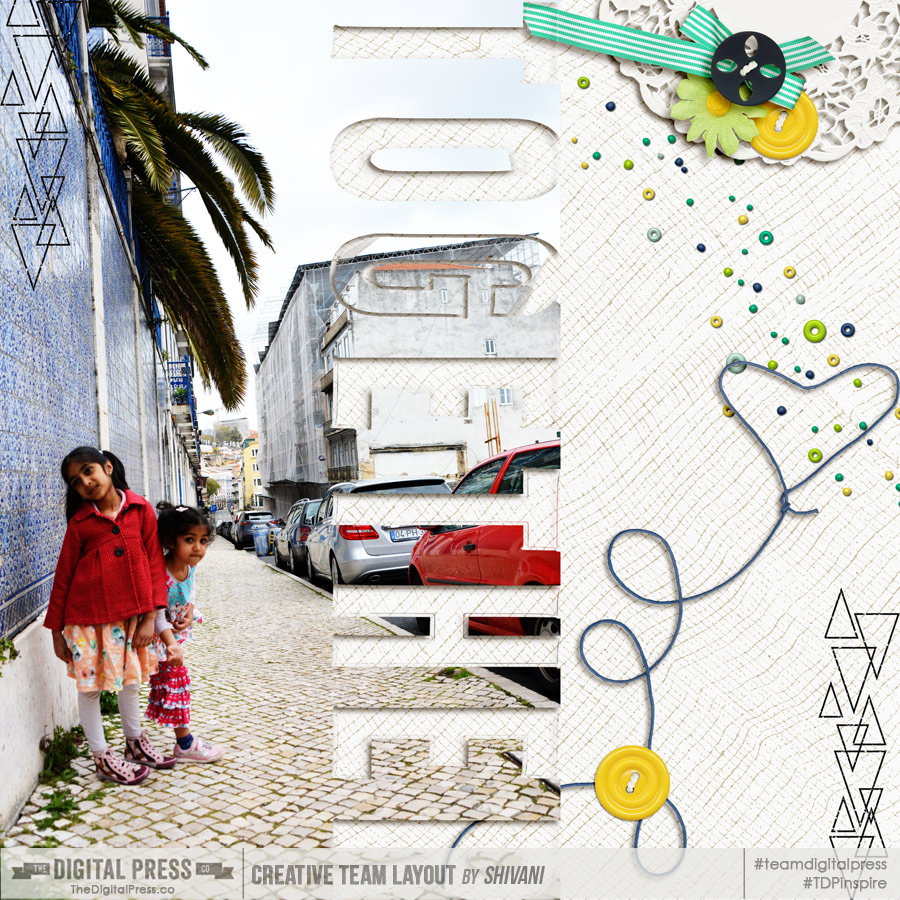
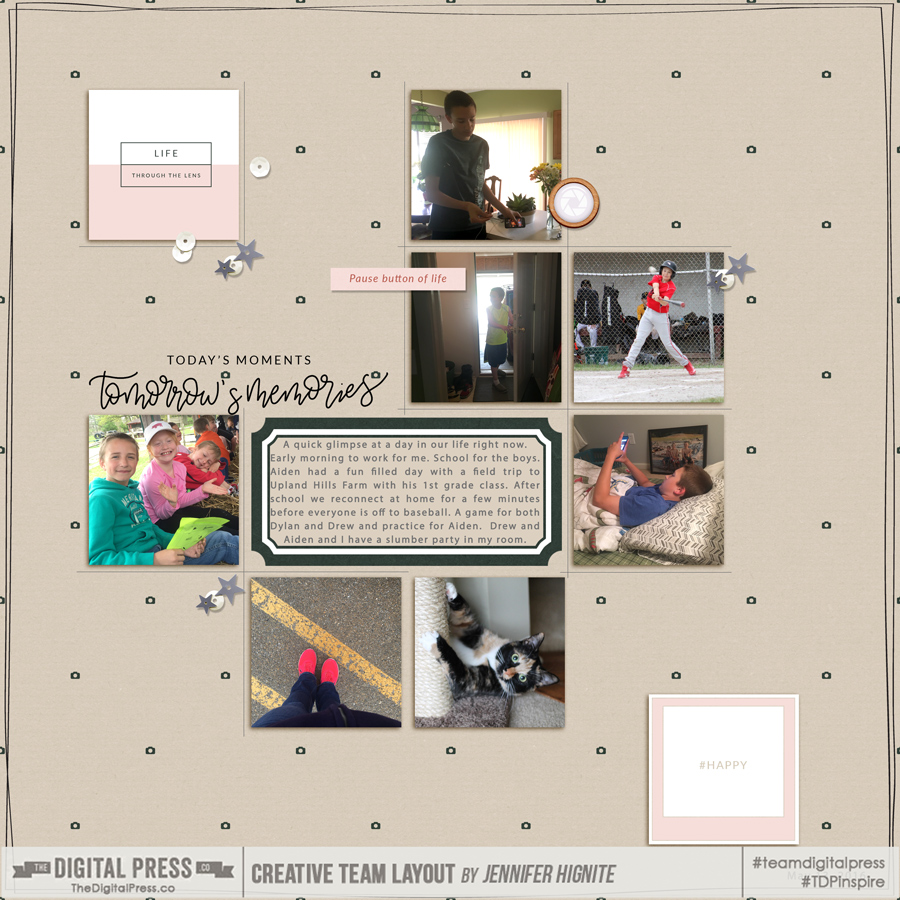
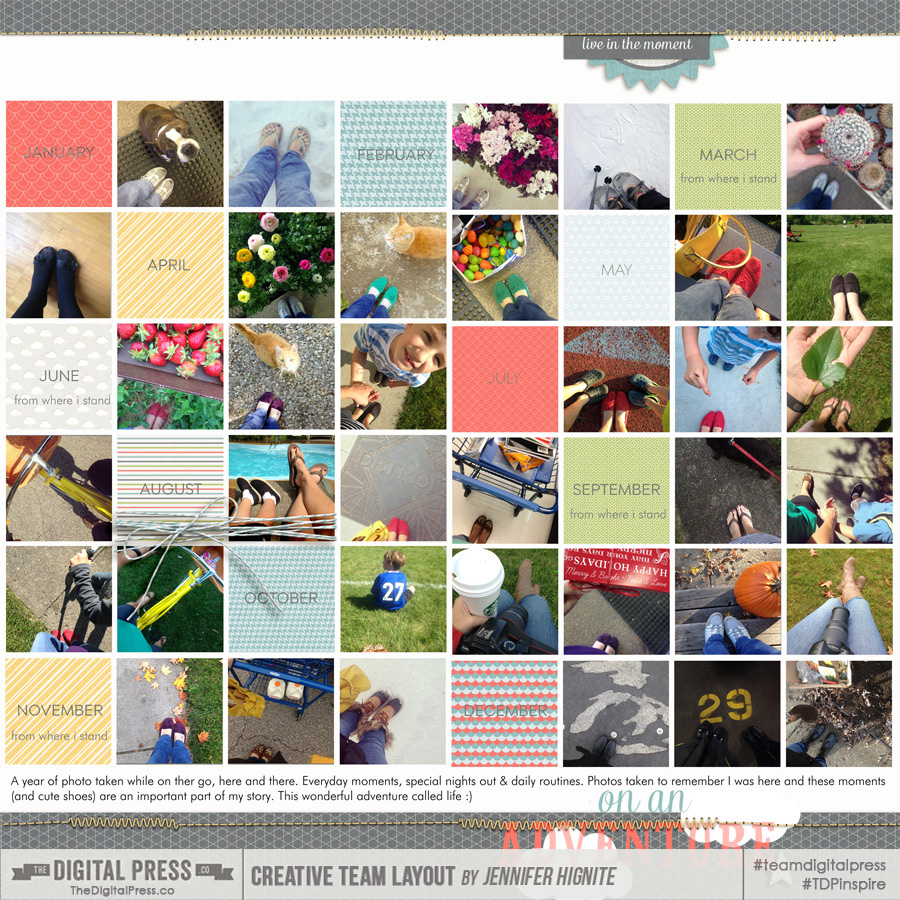
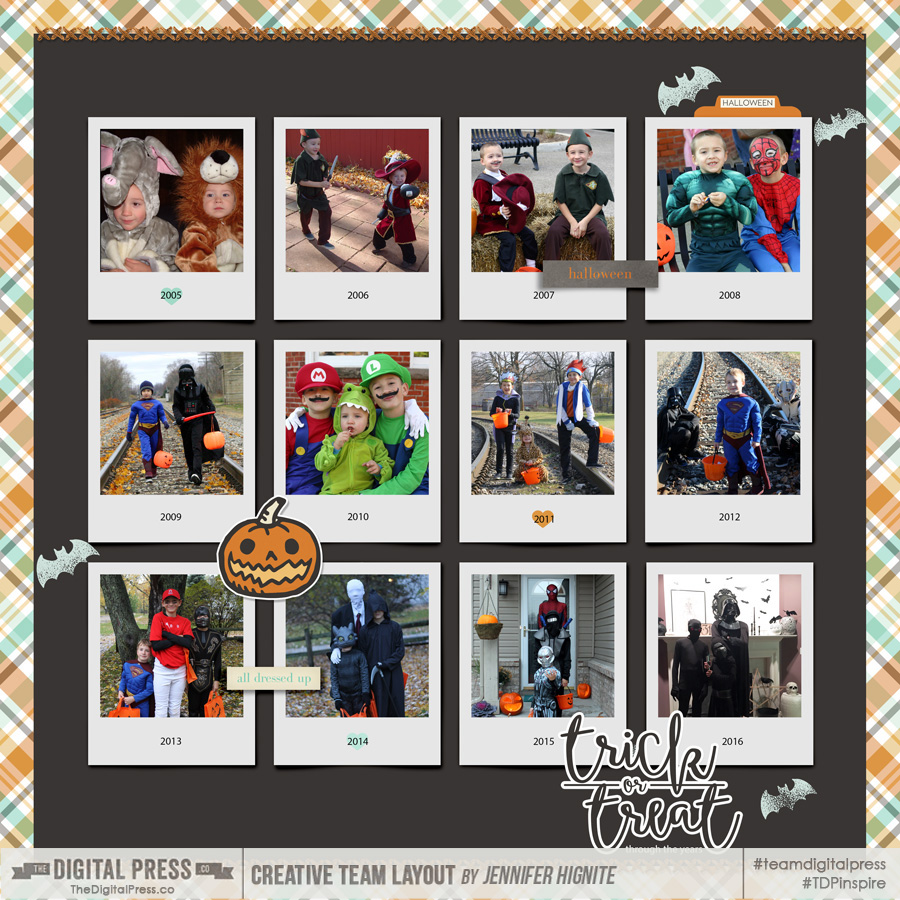
Here is what one of my pages looked like after filling the photos for the page.
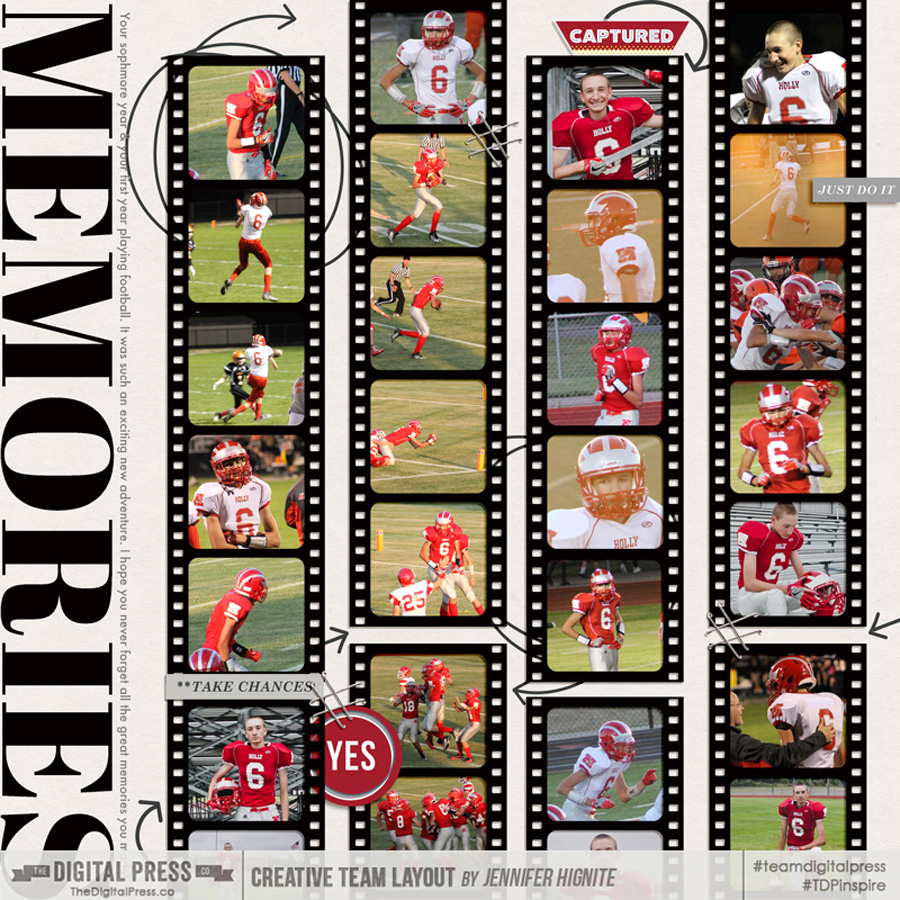
Decide on Two Page Spreads
Since you are already working on your photos and numbering pages, go ahead and figure out your page spreads.
Sometimes this will be easy, for example, when you have a number of photos for one event, you will need both pages. However, other times you only have one photo, and you will need to decide if you want to pair it with another topic/event or perhaps create a journaling or decorative page to go with it instead. Make sure you keep in mind how many total pages you planned for during this stage. You don’t want your mini album growing into a novel!
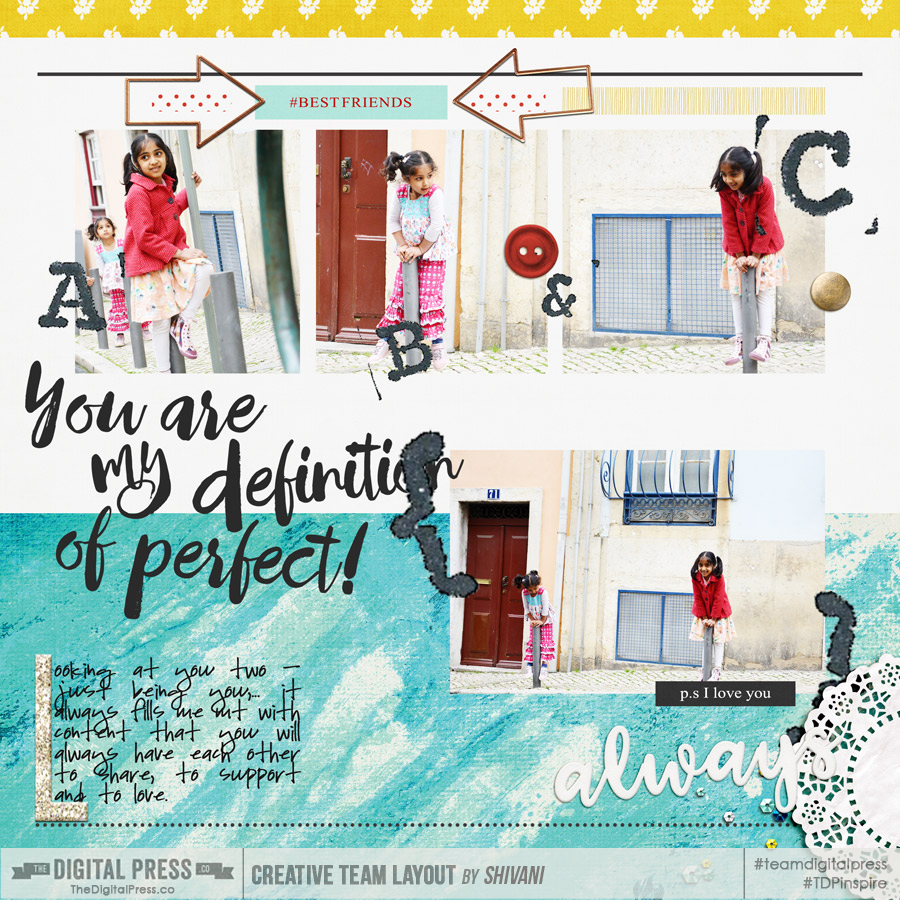
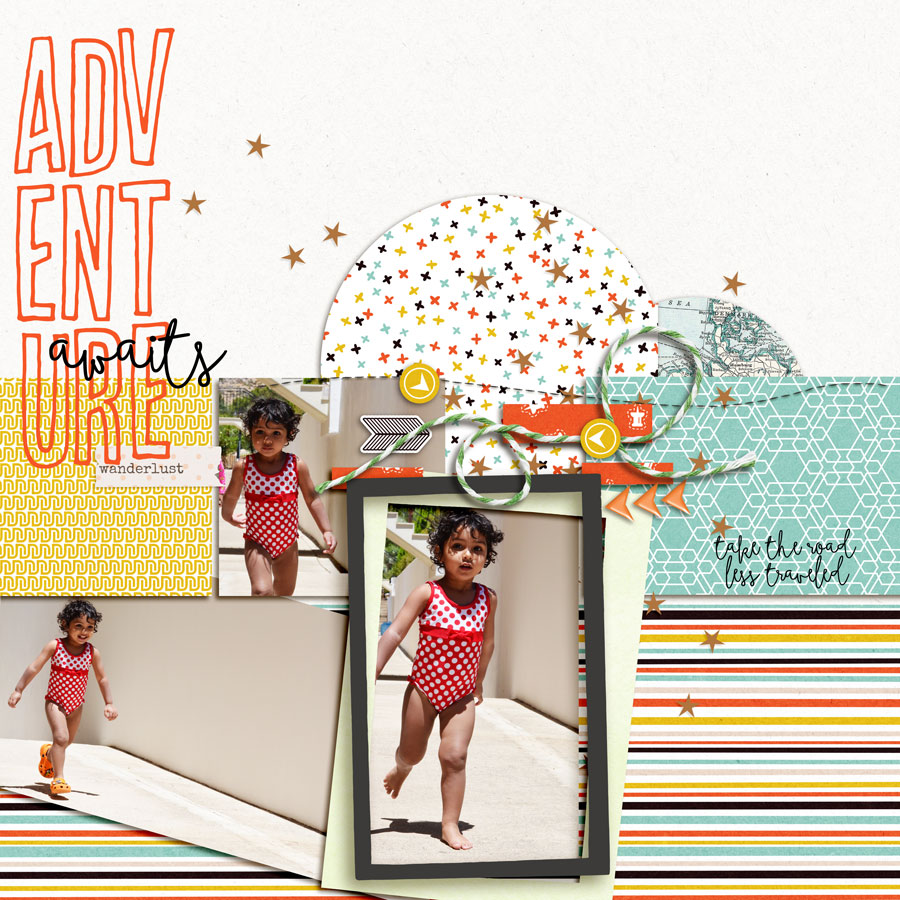
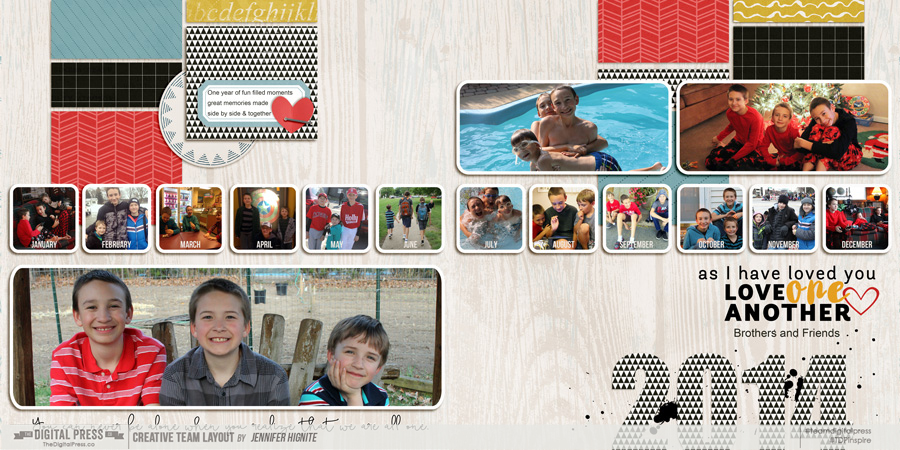
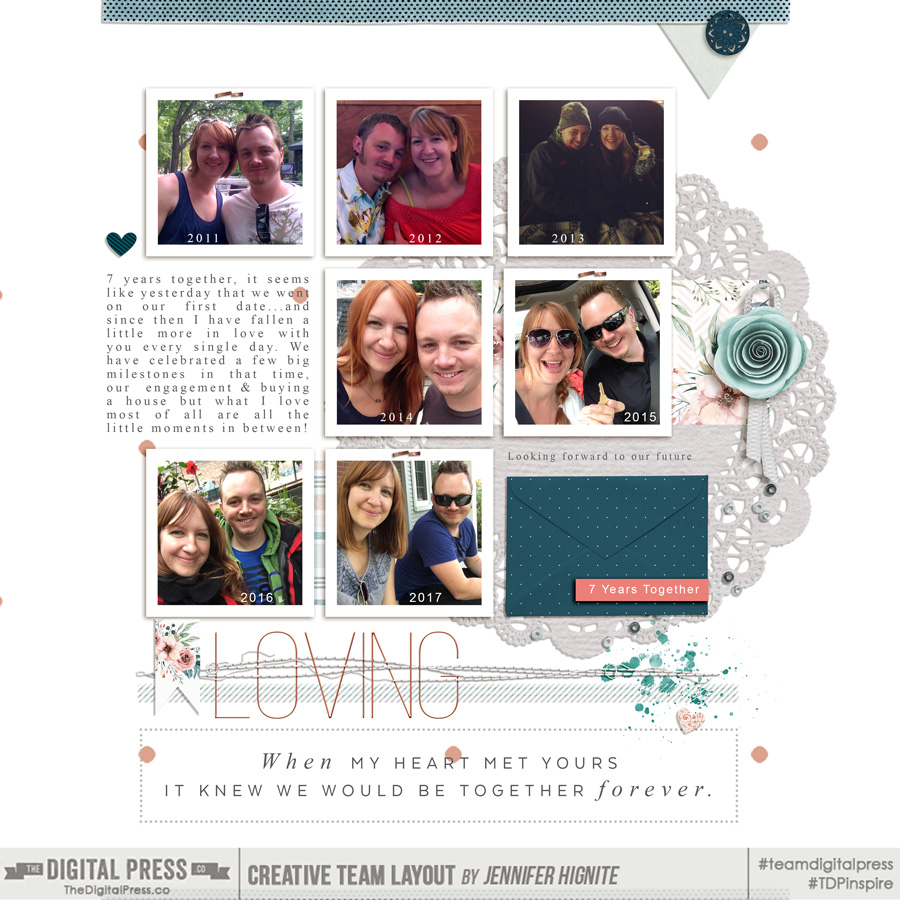
Also, consider diversifying your pages a bit to create interest. Here I have combined a full page photo with a journaling page, because there is quite a story behind all the events leading up to this photo, and I wanted my sister to have room to tell it.
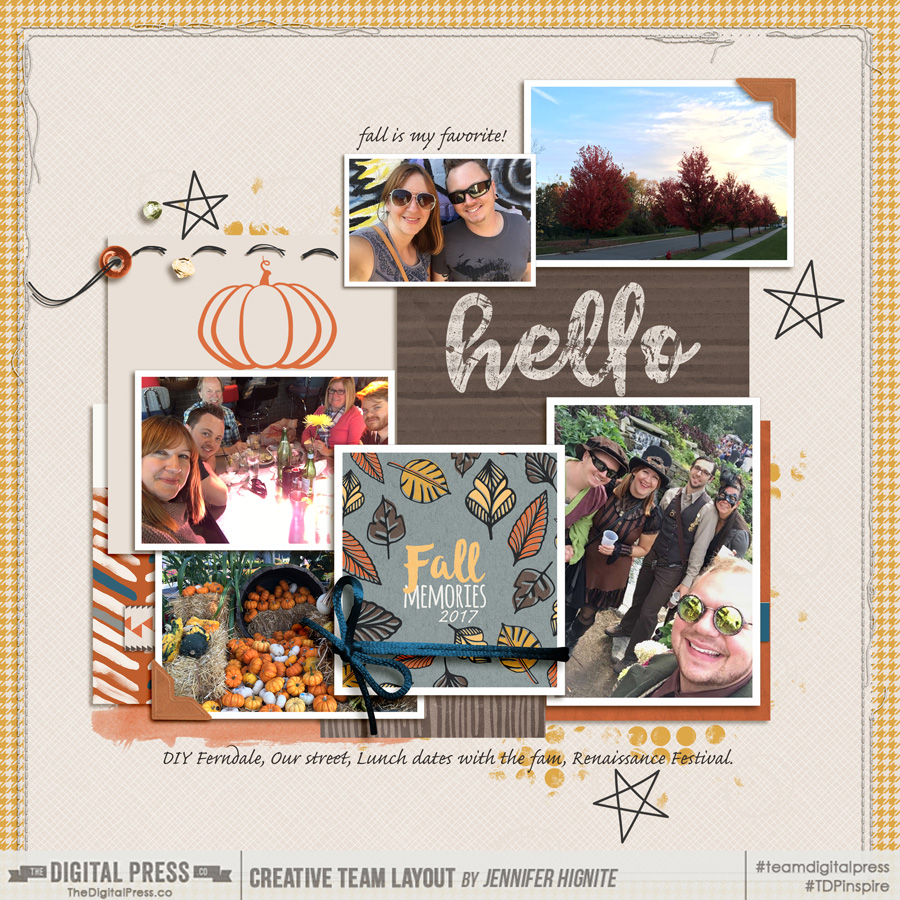
Paper and Backgrounds
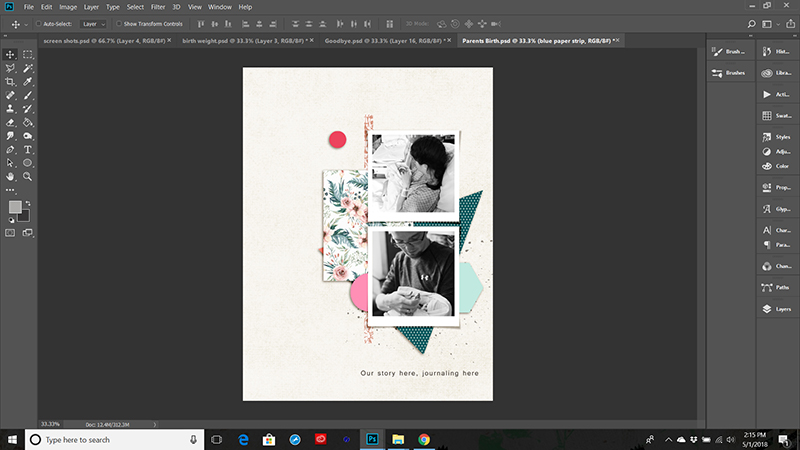
After I have all my photos in and all my pages made up and ready to go, I start adding my background papers.
I wait to add papers because I often end up switching some pages around during the above two steps. Adding the papers now makes sure that my double page spreads still compliment each other, and I don’t have to waste time switching out papers that no longer work well together because of page moves.
Elements
Once the backgrounds are settled I go to town adding my elements.
As mentioned in Step 2, I try to stick to a certain set of elements that I have already chosen as this creates cohesion and balance in my mini album. Also, I don’t want to add too many elements, as this will be a smaller than normal book and can easlily get cluttered, but I do want enough to highlght my photos and rerally tell my story.
If you like to tweak your shadows you can also go ahead do that here, or you can wait to the very end if you prefer.
Journaling
Don’t forget to add your journaling.
It can be as simple as names and dates, or as detailed as whole page stories. If you have already written and compiled your journaling you can simply copy and paste it in. If you still need to write your journaling, let your own journaling style shine through here. If you run out of ideas – look through the blog. There have been some amazing inspiration and tutorial posts about journaling that can give you some ideas.
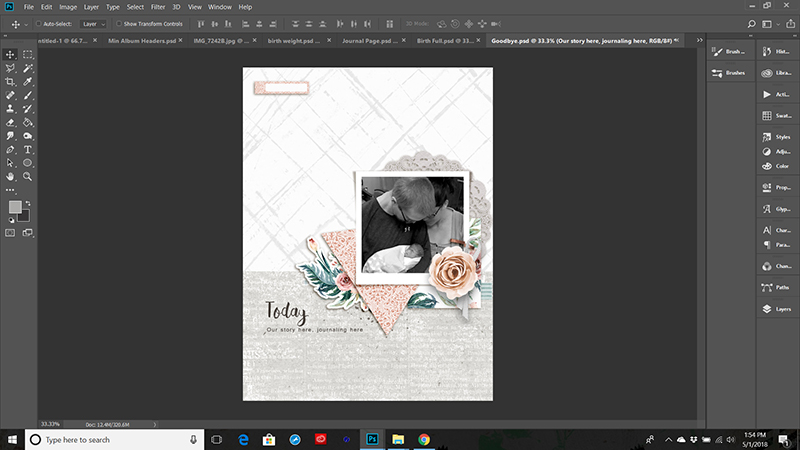
Finishing Touches
And finally add your finishing touches.
Maybe you like to tweak your shadows, or create a cover or dedication. Any of those little things that really FINISH off your mini album should be done now. Take time to flip through your pages in order and make sure they flow. Look for events, or pages that got left out, or maybe pages that don’t fit. See if there are certain elements you should repeat in a few more places to really bring everything together.
Once you have done all that, you are almost finished. All that is left if to make sure it is print ready and have those pages printed out. We will talk about that next month.
In the meantime, happy scrapping, and keep an eye out for our final installment – PRINTING!!
See you next time!
 Erin is an artsy crafty kind of girl who is currently dabbling in far too many things, but is working hard to enjoy every moment of it, while avoiding the rain, which is difficult due to living in the land of many rains. She is slowly learning to use her smart phone to capture all the fun little bits of life that would otherwise go unremembered in the busy craziness that is raising a family!


 About the Author Kate is on the hybrid team here at The Digital Press. She lives on the Utah/Colorado border with her husband, 5 kids, 10 chickens, and a dog named Gracie. She’s a city-born girl who found she’s really a country girl at heart. She can be found outside, barefoot, and probably in her garden.
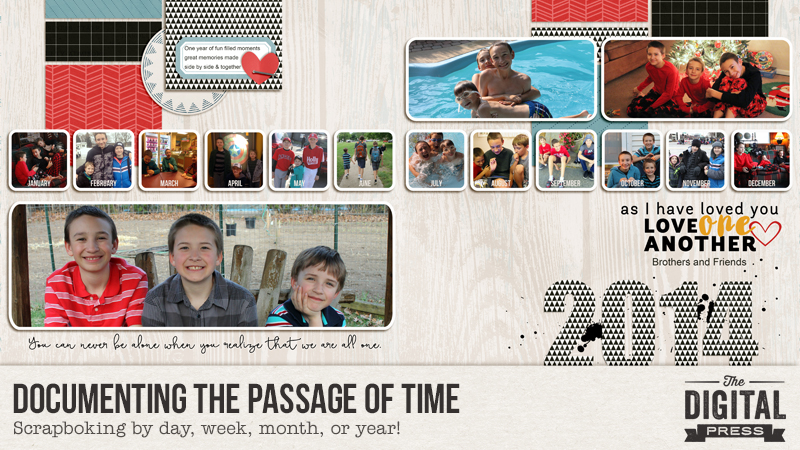

 Jennifer Hignite is a mom of three boys and new homeowner with her fiance in the mitten state of Michigan. When she is not scrapbooking, she enjoys photography, watching her boys play sports, decorating, and shopping at Target.