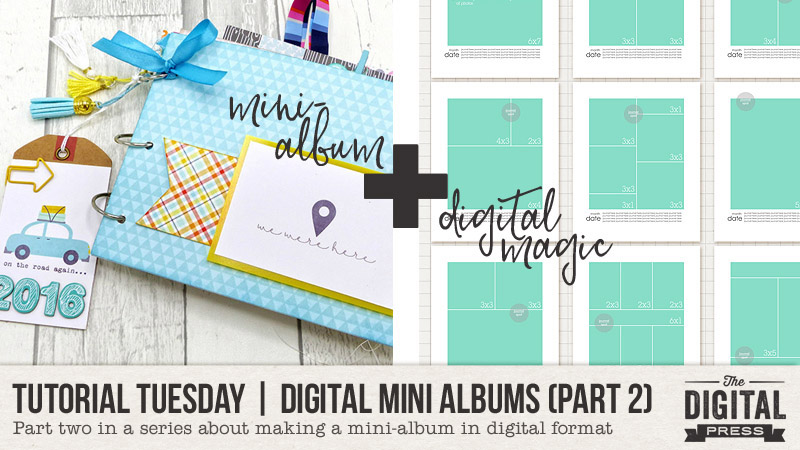
It’s time for another edition of our Tutorial Tuesday series here on The Digital Press blog! Today’s post is Part 2 in a series on creating a digital mini album (you can find Part 1, from March 2018, HERE on the blog).
In that first part of the series, I shared that mini albums are handy for…
- Scrapping a family vacation
- Creating a special gift for someone
- Marking a special holiday
- Documenting a specific family tradition
- Capturing a sports season
- Life Events such as adoption, graduation, birthday, wedding, birth, or death
I also shared that I have found there to be four main steps in the process of creating a mini album…
- Planning
- Organizing
- Filling & Finishing
- Printing
Last time (in Part 1) we looked at the first step: PLANNING. Today, however, we will be getting busy working on…
Step 2: Organizing
Organizing is the stage where we pull everything together that we will need for creating our album and get them ready to be used in our layouts.
There are four areas that we need to focus on in this stage.
- The Photos
- The Canvas (or templates, if you are using them)
- The Papers and Elements
- The Journaling
So… lets do this!
THE PHOTOS
Most mini albums are going to be centered around photos from a particular event, or series of events, so getting your photos organized and ready to go is probably the most important part of step 2.
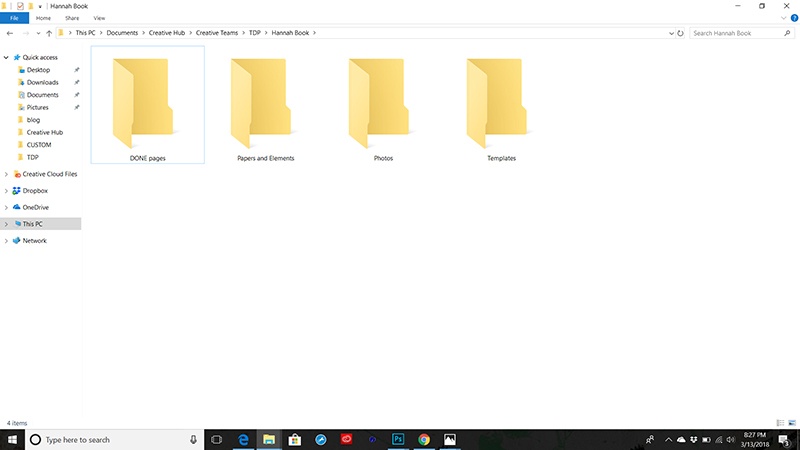
If you do not already have the photos you want to use all in the same place, I suggest you do that now. This will streamline your workflow by giving you only ONE folder to search through when looking for photos.
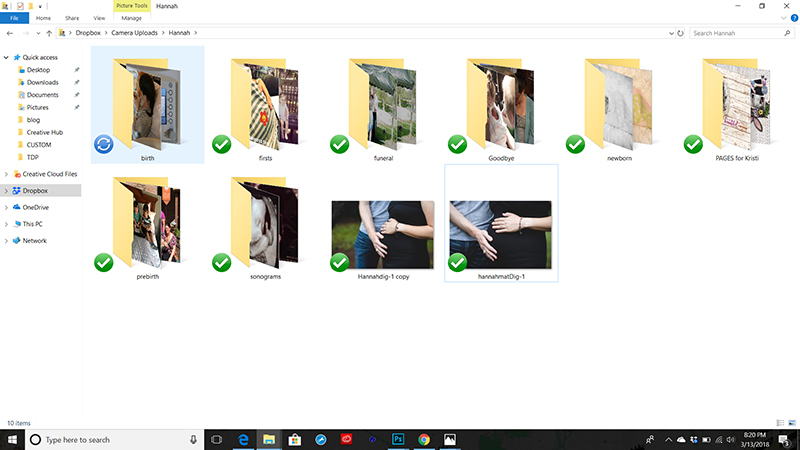
My sister and I did this by creating a dropbox folder where we could all upload the photos we took during Hannah’s short life and the events that followed after.
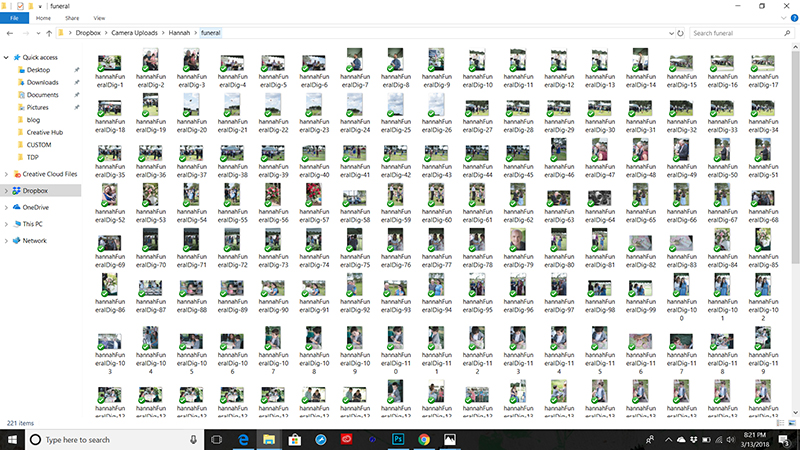
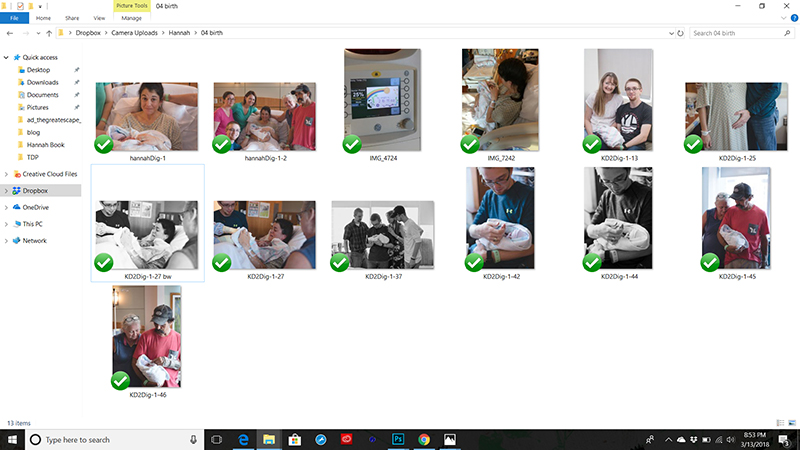
Once you have curated a collection of photos, look to see if you can divide them into pages. Some mini albums only have one photo per page, so that is pretty easy, others have an assortment of photos on one page all telling a story. For mine, the album will go chronologically. Some pages will have just one photo, but others, like the funeral pages, will have several. I purposely organized the photos by creating separate folders for each page I planned on creating. This will make it easier for me to find photos, and allow me to quickly navigate where I want to be while filling in my album in the next step.
When we finally got all our photos pulled, this folder was quite full of an assortment of photos taken by both of my sisters and myself. I asked the sister I am making the book for to look through the photos and choose the ones she DEFINITELY wanted in the book. We divided those into folders that coincided with pages she really wanted made. Then I added a few more photos here and there that I felt helped to flesh out the story for each folder. I also went ahead and edited my photos, such as cropping and transfering a few to black and white.
Now when I go to make a page for this mini, all the photos I need will be in the right place and ready to go on my page.
NOTE : I am NOT going to use ALL the photos that we curated. The point of a mini album is to tell a story using choice photos, not showcase each and every photo taken. Be choosy in this step, selecting photos that you love, that highlight the things you plan to journal about, and that lend themselves to the story you are telling. If you want all your photos in a book, look into a seperate photo album that can perform this function, or opt for a pocket style insert between your scrap pages.
THE CANVAS
If you are using templates this step is a little easier, but the goal here is to prep the book so that all we have to do is fill it up with our photos, elements and journaling.
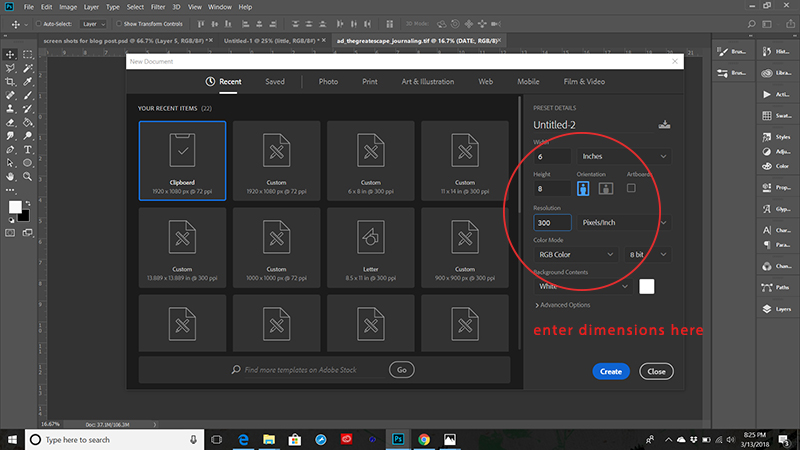
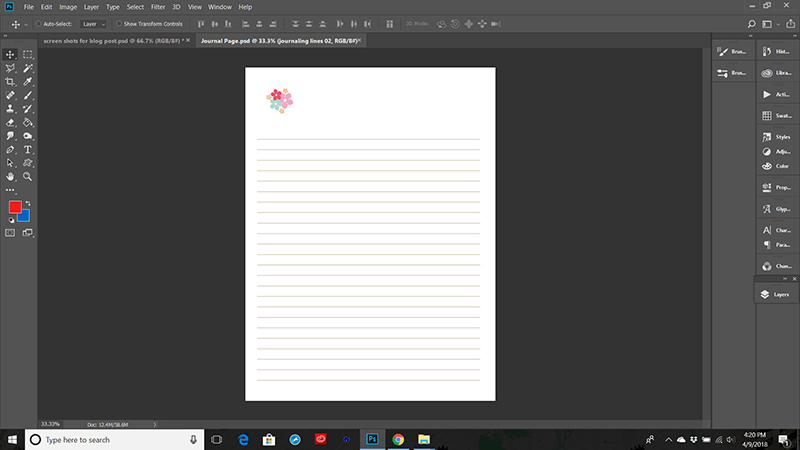
If you are not using templates, you will want to create a master template that you can use to build all of your pages. Do this in PS by going to File>New> and then creating a canvas that fits the size and orientation specifications you chose in Step 1 Planning. Create your master template according to your scrapping style. If you like to scrap on the fly, at least save a blank canvas in the right size and orientation so you don’t have to recreate your canvas each time you start a new page.
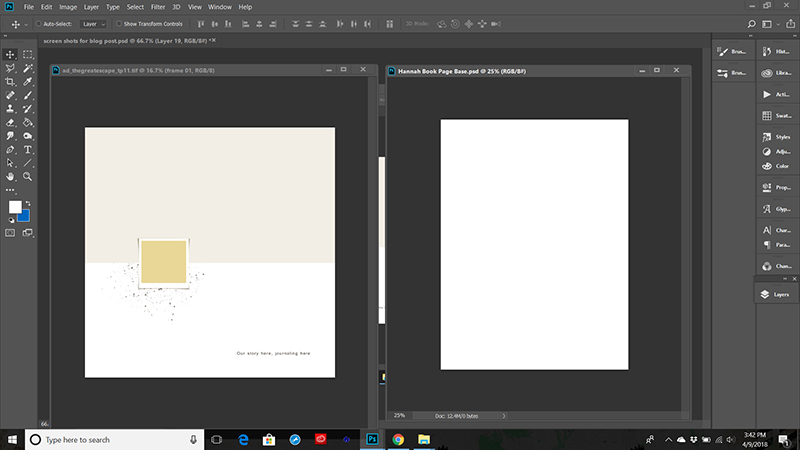
I mentioned that I am going to be printing 6×8, but I am using 12×12 templates. In order to organize my canvas, I need to convert the templates I want to use to the right format and size. Here is how I did that.
- Create a new canvas in the already decided size and orientation (File>New) then insert correct dimensions.
- Save it as my page base template (File>Save As) navigate to correct place, select file type and give name

- Open the template you wish to convert (File>Open) then select template
- Create side by side panels by selecting and pulling down on the tabs of your canvases
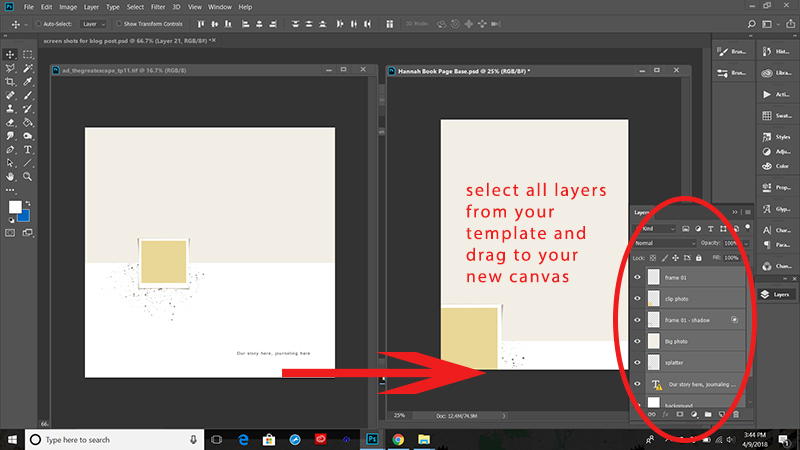
- In your chosen template LAYERS palette, select ALL layers by clicking to select the top layer, then holding down shift while you scroll down and select the bottom layer.
- Drag ALL LAYERS to the new canvas by holding down shift again, clicking on your selected canvas and dragging over to your new canvas.
- Let go of the shift key and your layers will drop into place.
- Resize layers by hitting CTRL>T or CMMD>T or if you would rather EDIT>Free Transform
- Pull the little squares at the corners in until the layers are the right size. You can also reposition them by clicking in the center of your canvas and moving the cursor around.
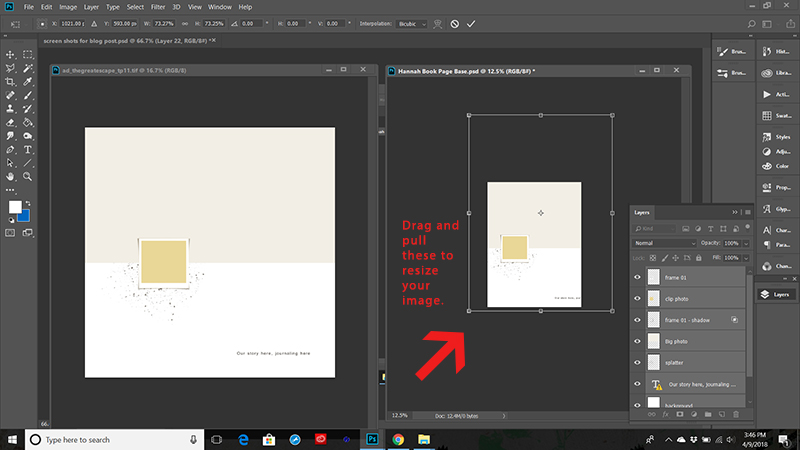
- Now you should have a newly formatted template that is ready to be used in your mini album.
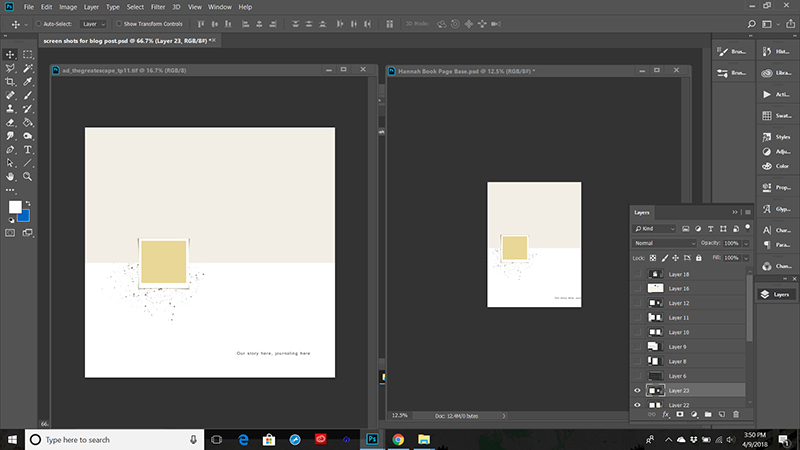
You can also play around with layers, turning them on, off, or duplicating them, to get the templates just the way you want them.
NOTE: Since I already have my photos chosen and edited, I can already see exactly how many photos I will have on each page spread. This allows me to go ahead and utilize these gorgeous template of Anita’s to the fullest. I can decide exactly which ones I want to use and resize or rearrange them accordingly.
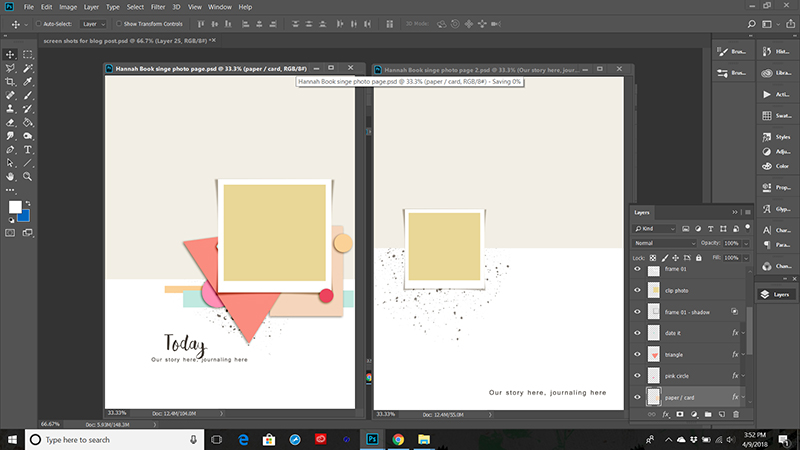
For example, we have two sonograms we are going to use, one photo on each side of a 2 page spread. So I altered some of the templates with one photo spot just for these 1 photo pages. Here are the two I chose, leaving plenty of room for my sister to journal.
During this step you are also going to want to consider working up an order to your pages. This is best done when taking both your photos and your journaling into consideration. For my purposes, this is really easy – since we are going chronologically, but if you are doing a different type of book it is something you might want to consider!
THE PAPER AND ELEMENTS
In the planning stage I went ahead and chose a base kit to use, as well as a color scheme. What I want to do now is prep my papers and Elements to be used in my album. To do this I am going to go ahead and alter the colors of some items just a bit to fit my color scheme, that way everything is ready when I go to use it.
There are several ways to alter colors in photoshop. We have some blog posts about that HERE so I won’t go over it again, but do look into it if you have not ever done this – it makes your goodies so much more versatile!!
This is the part where I will also go ahead and pull in some additional elements as well. For example, I think I will use some staples here and there, but I don’t have them in this kit, so I will go and find a staple element and copy it into my folder so that it is right there when I need it. I can do the same for paper patterns, alphas, fonts I like, whatever I think I might use. Just like you might pull out all your supplies to look through for creating a paper album, curate a little collection to be used digitally in the creation of your digi mini.
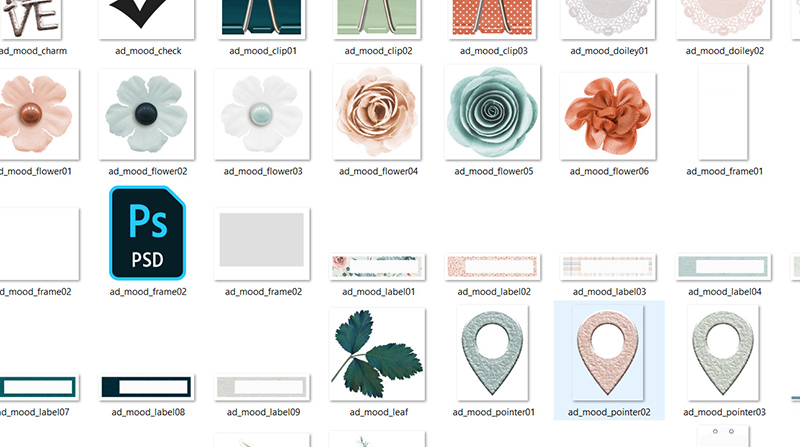
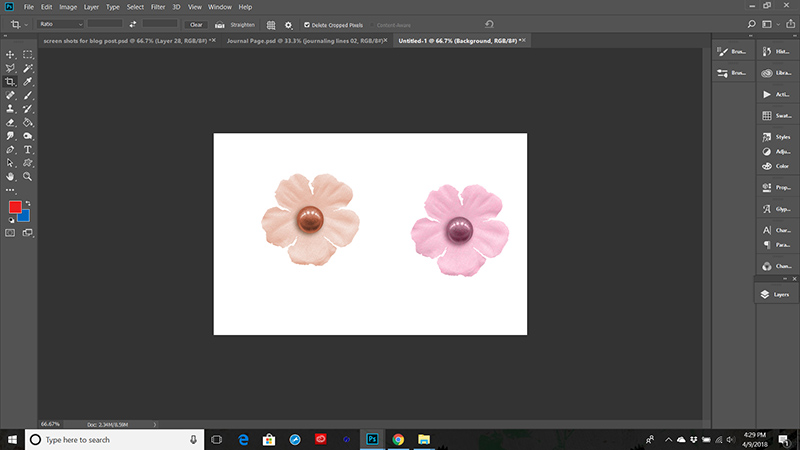
One note on this: for consistency it is best to limit yourself to a small number of the same type of elements. For example, I plan to use flowers. However, instead of using different flowers on each page, I will use the same 5-7 flowers scattered and repeated throughout the album. This creates a consistent “background” from page to page that will allow my photos, and the story to really stand out. This also allows me to finish the project more quickly, since I will not have to keep looking for additional elements. Thankfully – this awesome kit by Anita has a good assortment of flowers that all go well together!!
THE JOURNALING
This is maybe the hardest part of organizing. Some people prefer to go back and do journaling after they have made a page, but I have found that to be troublesome because sometimes what I have to say is far more than I created room for. A middle ground is to look through your photos and consider which ones will have more journaling, then make sure to leave enough room for it on those pages, or go ahead and journal first, that way you know exactly what room is needed.
Since I am making a book for someone else, this part is actually pretty easy for me. My sister has been filling a word file with her journaling for me, so I know exactly what she wants to add as I make each page. You might consider doing this yourself. Go ahead and take some time to write out the parts that are most important to you. You can do this while sorting through your photos and putting them in folder.
OR, you can make yourself some extra little journal insert pages, like I did – just in case things come up later 🙂
Alrighty, we have worked hard and everything should be organized and ready to pull this mini album together in its final stages.
The next installment will focus on the Filling and Finishing – and that is where all the fun is right!!
See you next time!
 Erin is an artsy crafty kind of girl who is currently dabbling in far too many things, but is working hard to enjoy every moment of it, while avoiding the rain, which is difficult due to living in the land of many rains. She is slowly learning to use her smart phone to capture all the fun little bits of life that would otherwise go unremembered in the busy craziness that is raising a family!
2 comments