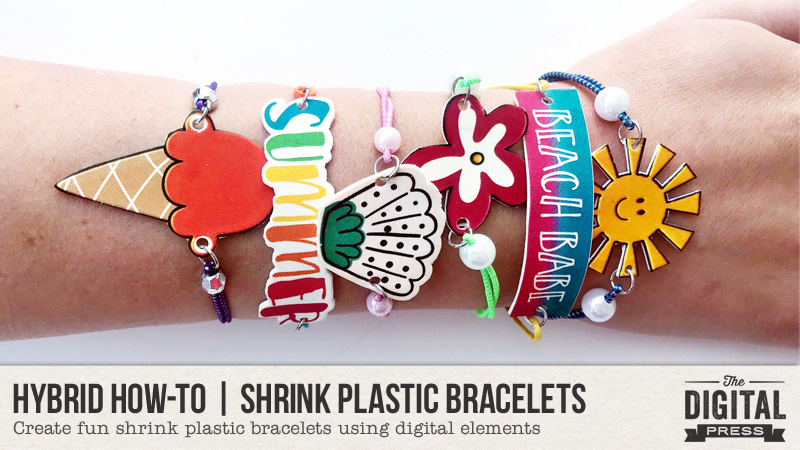
Hi, everyone! Kate here with another edition of our Hybrid How-To series here on The Digital Press blog. Today I am going to show you how to make these cute summer bracelets using printable shrink plastic and embellishments/etc. from your digital scrapbooking stash!
Supplies Needed
- Digital elements of your choice (I used This Life: Summer Elements by Juno Designs)
- Photo editing program (such as Photoshop, Photoshop Elements, etc.)
- Printable shrink plastic
- Cutting machine or scissors
- Hole punch
- Tin foil or parchment paper
- Jump rings, clasps, crimp tubes, and a pair of needle nose pliers (optional, but gives jewelry a finished look)
- Beads (optional)
- Cord or elastic
The first thing to do is pull your chosen elements into your photo editing program and size them…
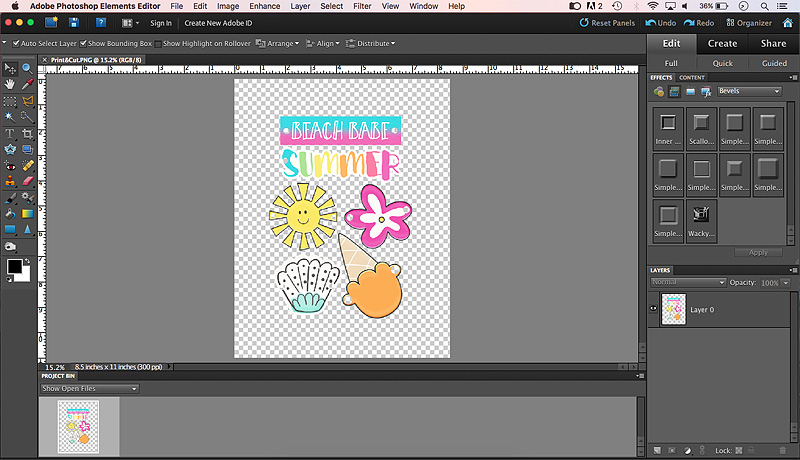
Every brand of shrink plastic is different, so check the packaging to determine how much bigger your shapes need to be to allow for shrinking. Mine needed to be 3x the finished size, as shown here…
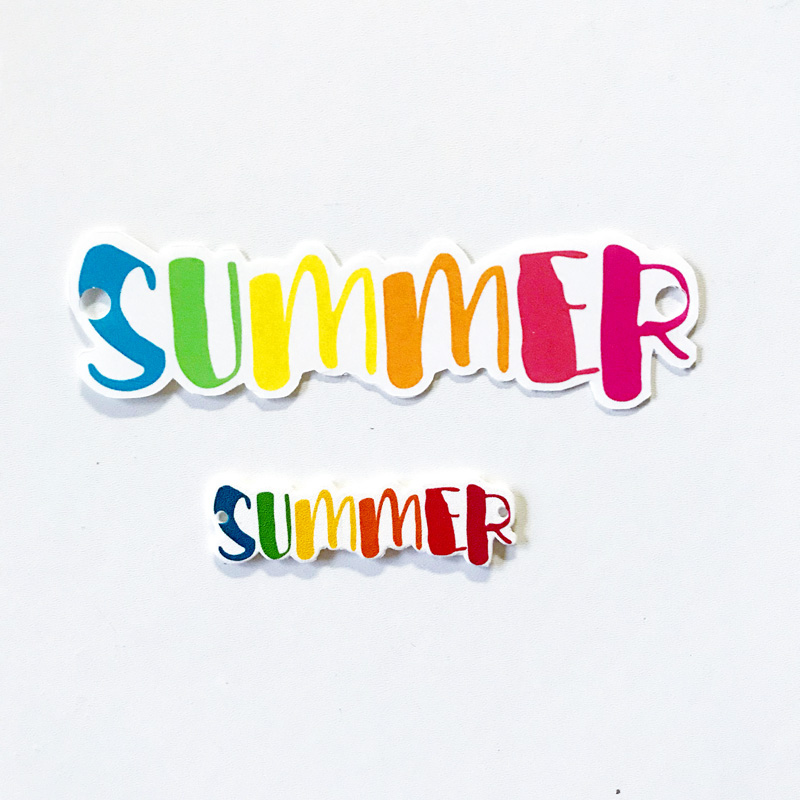
At this point, I also added the holes for the jump rings. You can do this with a hole punch after you’ve printed and cut, but you have to punch the holes before you bake the pieces.
The next step is to print and cut. I used my Silhouette for this part, but I also used scissors to finish cutting through the plastic, in the end.
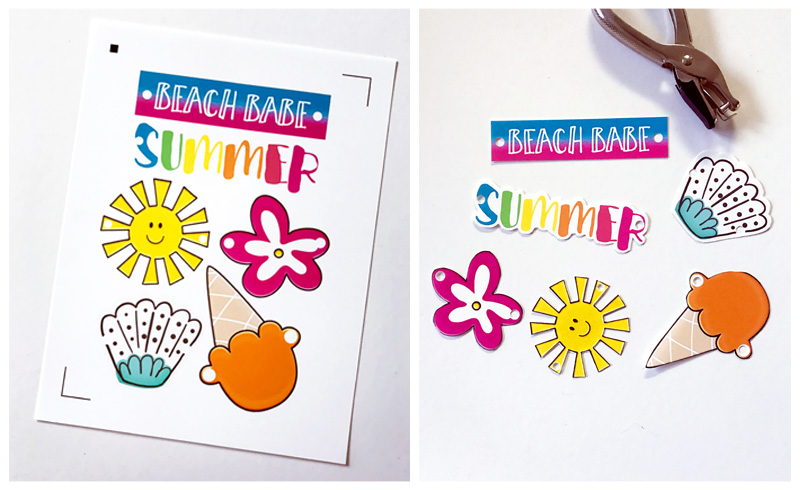
After that, it’s time to bake the pieces. Check the shrink plastic packaging for the specific instructions. I baked mine on foil at 325 degrees F for 2-3 minutes. While baking, they will shrivel up a bit and eventually go almost flat…
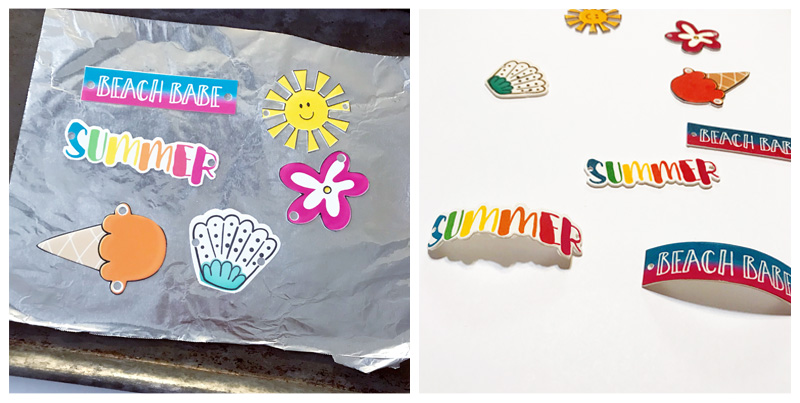
Immediately after pulling them out of the oven, I covered them with a sheet paper and used a piece of cardboard to push them down flat. To get the word art pieces to be rounded, however (see image above), I put them back in the oven for 20 seconds and then used a hot pad to wrap them around a pop can until they cooled.
The next step is to assemble the bracelets. I attached jump rings to each side of the shapes and then threaded the cord/elastic band through the rings, using a crimp tube to complete the loop on the back of the bracelet.
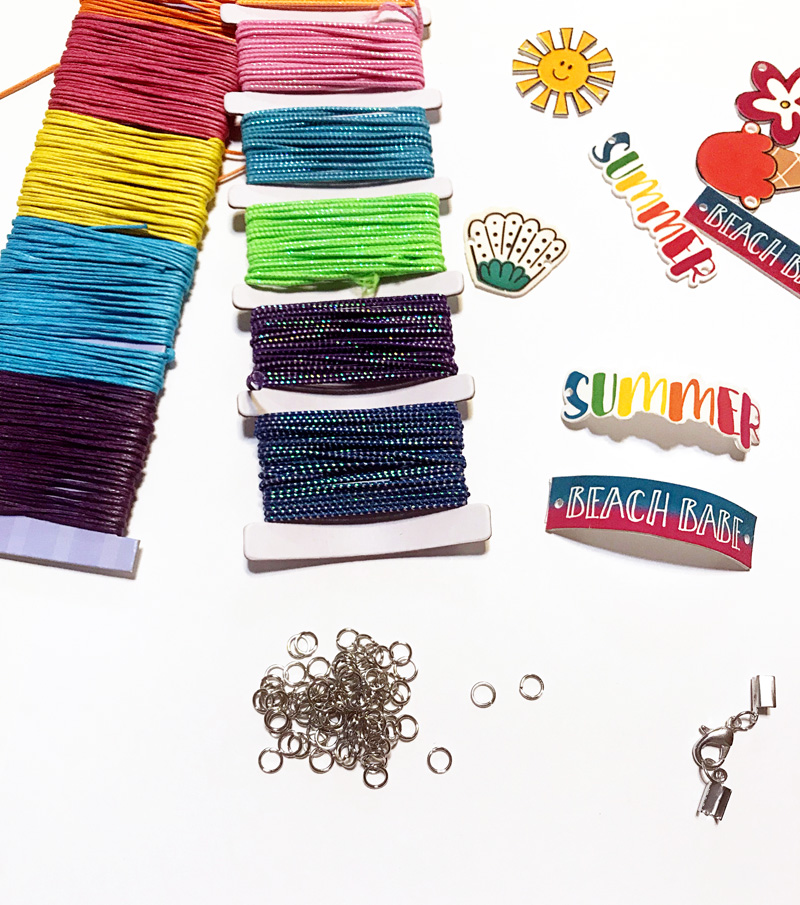
I added beads to the bracelets with elastic band to help keep the band in place. I used clasps the back of the word art bracelets.
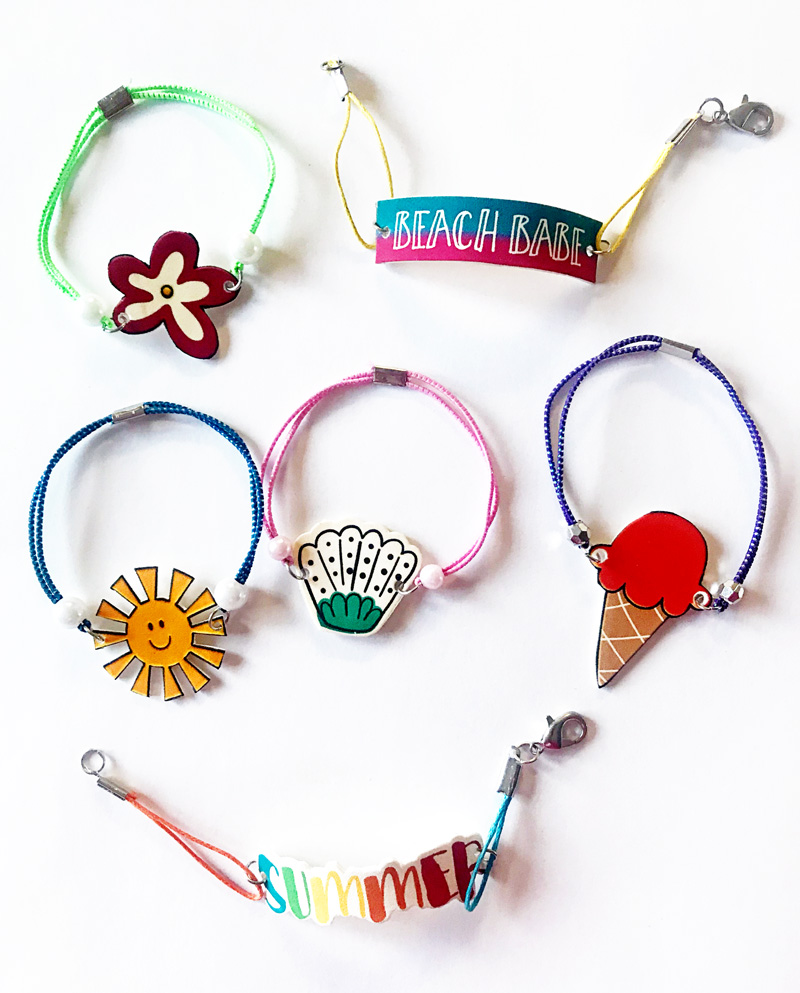
And there they are! Using your favorite elements from a digital kit, you can have a cute set of coordinating bracelets.
I hope that you have enjoyed this edition of Hybrid How-To. Don’t forget to visit the CROSSWORD SECTION in The Digital Press forum, and jump into this month’s Hybrid Challenge if you are thinking of trying this project. You can earn points toward discounts & FREEBIES! I hope that you will join in!
 About the Author Kate is on the hybrid team here at The Digital Press. She lives on the Utah/Colorado border with her husband, 5 kids, 10 chickens, and a dog named Gracie. She’s a city-born girl who found she’s really a country girl at heart. She can be found outside, barefoot, and probably in her garden.
