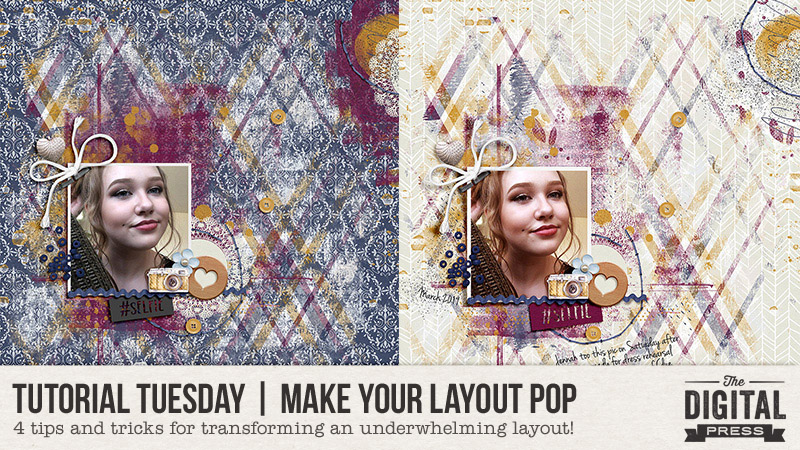
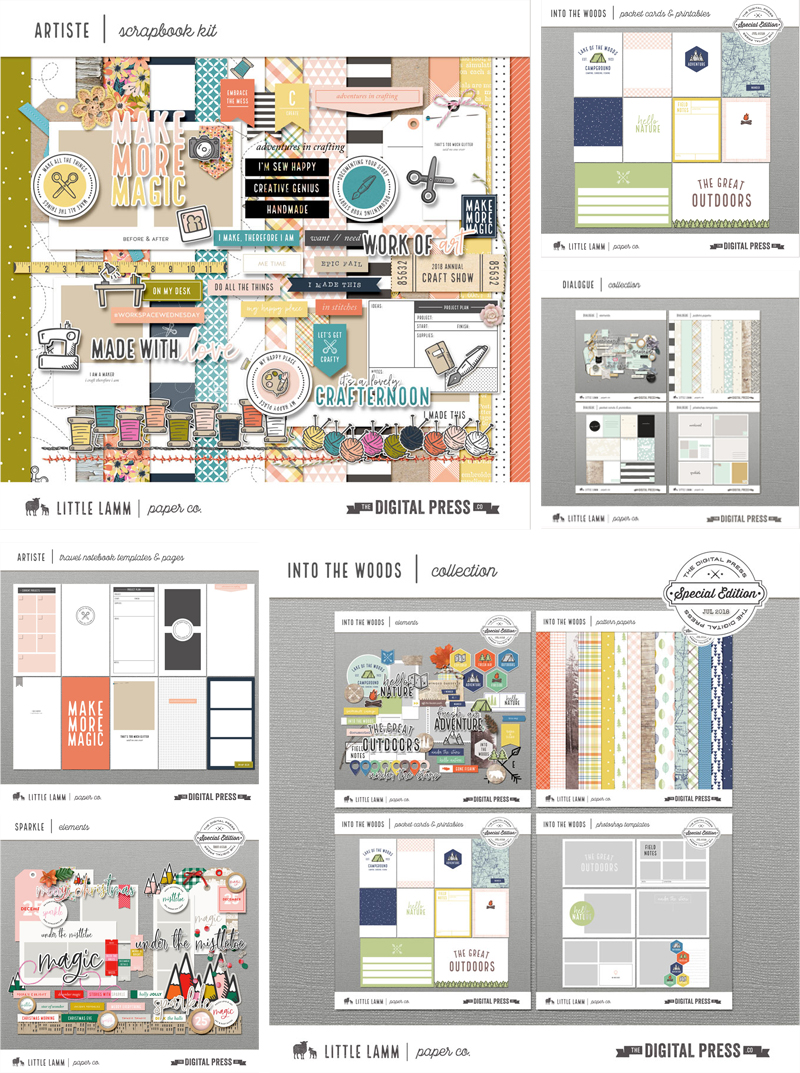
Hello, and welcome to another edition of our Tutorial Tuesday series here on The Digital Press blog! It’s Kelley here, and I’m here today to offer up some tips and tricks for transforming underwhelming layouts by using one of 4 different techniques that can make your layout pop! This is my first ever tutorial post here on The Digital Press blog, and I’m super excited to share these tips with you today!
You know how sometimes when you are scrapping, a page is just not looking right? Something might just seem a bit ‘off,’ and you find yourself tempted to throw the whole page out and start again? While I’ve certainly thrown pages out, it’s really pretty rare for me. I tend to try a whole slew of things to make my page more appealing, and normally can find something that works better. So today, I want to show you a few things that you can do to “save” your page (or, if your page is already feeling pretty darn awesome, you can just use these ideas to add a little extra wow factor!).
Four Ways to Make Your Layout Pop
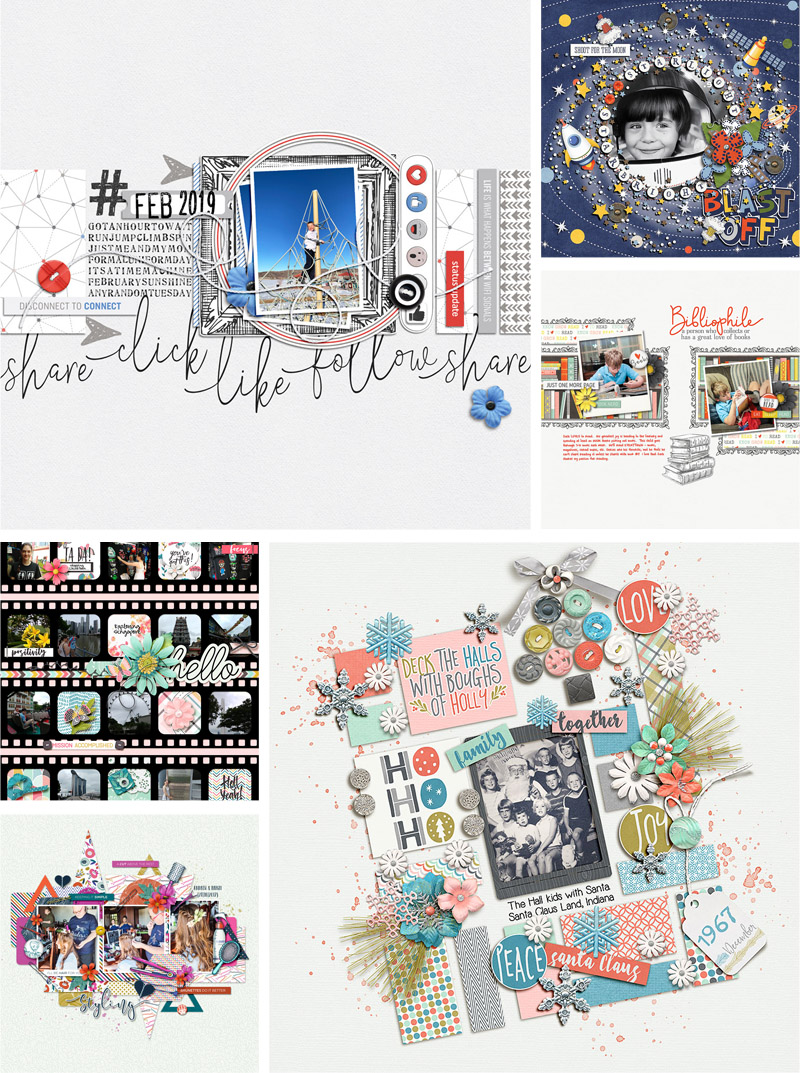
For today’s tutorial, this is the layout I’ll be working with…
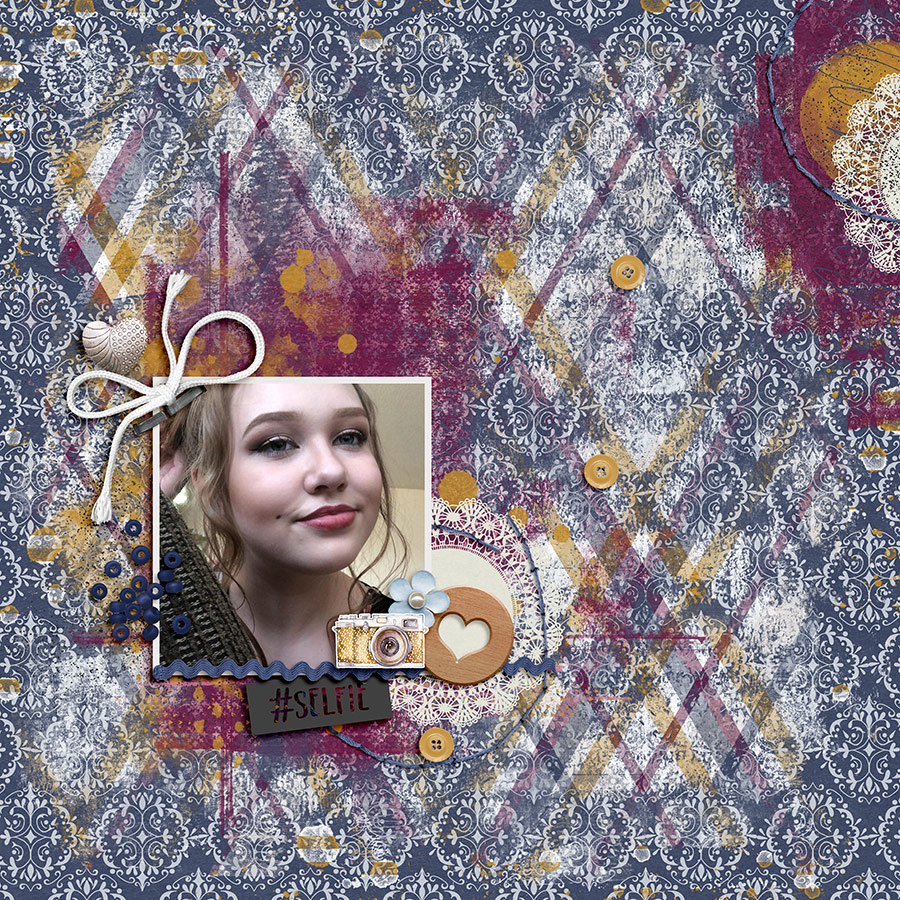
In my opinion, this layout could definitely use a little more ‘oomph.’ It looks kind of drab… the background paper I originally chose just isn’t working with the painty design I used… and there doesn’t seem to be a lot of dimension to the page.
How to tweak this around to fix it? Here are a few options…
1. Change Out The Background
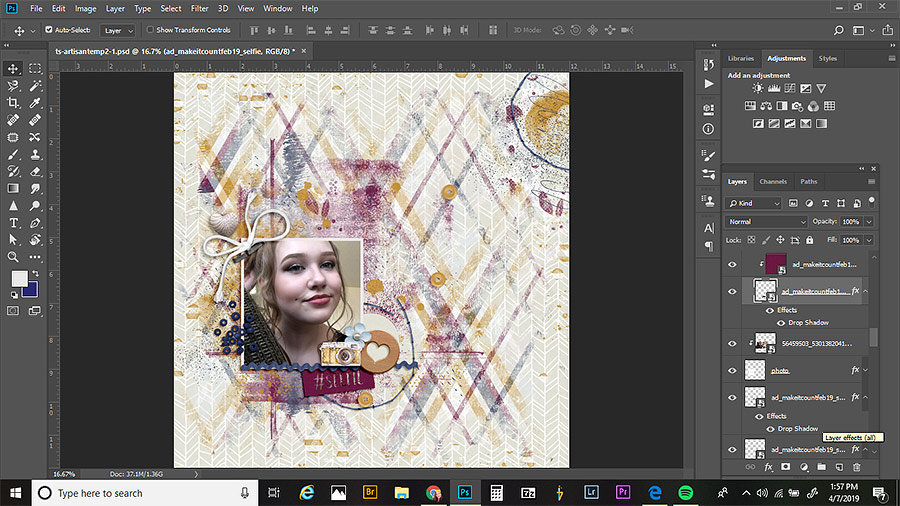
The first thing I always do if my page is looking off is to try changing out the background. I’m sure this one is a pretty obvious tip, but that’s because it really does have the power to change a page from ‘meh’ to ‘wow!’ pretty easily. Here’s a look at the same layout with a different background…
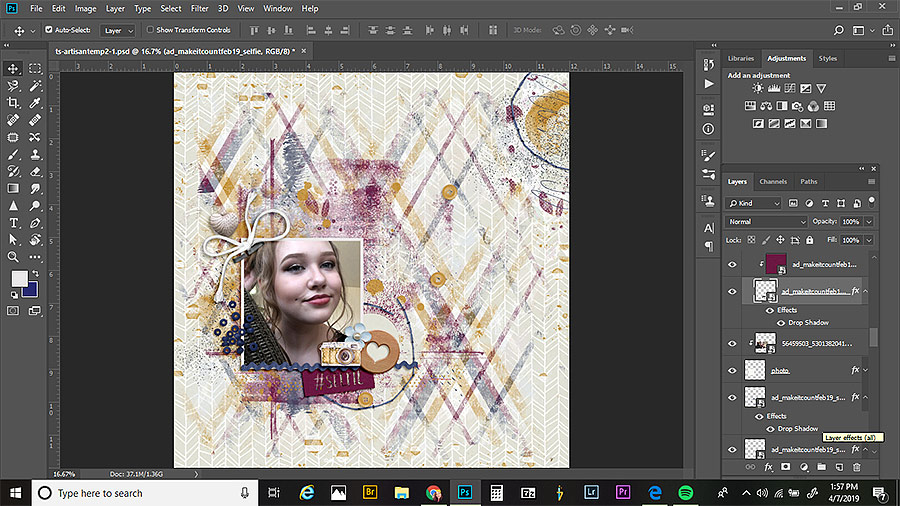
It’s really interesting to change it up completely to see what happens! Go from a pattern to a solid… from a dark color to a lighter one… etc. In this case, because I ended up using a lot of paint on my page, I felt like the darker blue patterned background I originally went with was not working out as well. I thought it looked too dark and muddy (hard to see the paint layers), so I decided to go with a much lighter paper, instead. I think it looks much better!
2. Add Custom Shadowing
Adding custom shadows is something that I do to almost all of my layouts. It just adds more realism and oomph to the page. Unless I’m feeling particularly motivated, I’ll just custom shadow 2 or 3 items… but really, you can go all out with this if you are feeling it!
Here, I custom-edited the shadows on the photo, the string, and the ric rac…
There are a lot of ways to do this, but what I normally do is start out by adding a custom shadow to a photo or paper piece; this will allow it to look like a corner is slightly lifted, and just make it all look more realistic, overall. First, select the photo (or the clipping mask, if you’ve used a photo spot on a template). Then, in the layers panel, right-click on the drop shadow for that layer and click ‘create layer.’ This puts the shadow on its own layer. Next, select that shadow layer, and select the smudge tool in the tools palette. You can experiment with what size brush works for you, but I tend to use a medium size brush. Next, just hover over a corner of your photo that you’d like to adjust. In order to make the corner look a little bit lifted, just click and drag a little bit in the direction of your shadowing. For added variation on the page, I also usually pick a different spot to reduce the shadow size to make it look like that part of the photo is glued down really well.
3. Color Balance Adjustment
This is quick and easy, and it is something that helps out a lot if you think that your page just isn’t looking pretty, or if you think the photos aren’t looking quite right with the page.
If you look at the photo up above, and then compare it with this next one… you’ll see that the first one has a grayer, bluer tone. I edited it with deeper reds in the shadows and yellows in the highlights, which gives it a much warmer look…

There are 2 ways I add these color adjustments.
The first is something I do simply to help the photos “go” better with the page. To do this, just click on a photo in the layers panel, then click on the color balance adjustment layer. What you’ll do next is going to depend on the look of your page. I select shadows from the color balance drop-down, and hen slide the sliders until I like how it looks with my page. A lot of times for me, this means adding blue to the shadow layer, but it really just depends. You have to experiment! Next, I’ll select highlights and then midtones, doing the same thing (but not adjusting the bars all the same).
The other way I add a color adjustment is just a means of altering the color on the overall page (i.e. not to make a photo “match” the page better… but just to give the entire page a slightly different look). I do this when I just think my page looks kind of ugly. This is something I do at the end after I’ve flattened my page; I duplicate the flattened layer, and then apply a color balance layer to the whole page to change up the look.
4. Soft Light Layer
Honestly, I use this last little trick on almost every single layout I create. Occasionally, I don’t like the look and will delete it after trying it out… but the majority of the time, a little soft light boost really takes a page to the next level.
Here’s a look at my page, from above, with a soft light layer added…

How to do this?
Once you are finished with your page and have flattened it down, just hit CTRL+J to duplicate the page. Then, with your duplicated layer selected, change the blend mode to ‘soft light.’ You’ll often get a pretty crazy looking effect at first… but the key here is to reduce the opacity pretty far down, until you get a look you like. It really varies, layout by layout, how much opacity I use… but usually it’s somewhere between 10% to 50%. In the layout above, I landed at about 25% opacity on the soft light layer.
Well, there you go! These are four of my favorite tricks to change a page from ‘meh’ to ‘wow!’ with just a few little steps. I hope you find them useful in your scrapping!
 About the Author Kelley is a member of The Digital Press creative team. She lives in Iowa with her 5 children, 3 cats, and 4 hamsters. She works full-time as a medical transcriptionist from home. She discovered digital scrapbooking as a member of Clickin Moms about 9 years ago and was immediately hooked. Kelley also enjoys cooking, spending time with family, all things art, crafts, sewing, and soapmaking.
 About the Author Jennifer is a creative team member at The Digital Press and lives in New York City. In addition to digital scrapping, she enjoys watching rugby and hockey and reading romance novels.
 About the Author KerriAnne is a homebody who resides in the desert SW. She started scrapbooking when her kids were little and hasn’t stopped despite the teenagers rolling their eyes and sticking out their tongues! When not scrapping or being a chauffeur, she can be found consuming large amounts of iced coffee.


 About the Author Ashley is a member of The Digital Press creative team. She lives in Utah with her husband, 2 young boys, and 1 lazy (but lovable) pup. She works full-time at a busy medical clinic. She has been scrapbooking since childhood… scrapbooking digitally for 10 years… and most recently (& obsessively) app-scrapping on her phone.