Hello, and welcome to another edition of our Tutorial Tuesday series here on The Digital Press blog! Today I thought it would be fun to talk about how to use elements from a kit and text effects in our photo editing software to create unique and fun page titles and/or word art pieces.
For this example, I’m using Photoshop as my photo editing software. I’ve already created my page, and now want to combine a digital embellishment and a text effect to add a fun page title. Doing this is super easy!
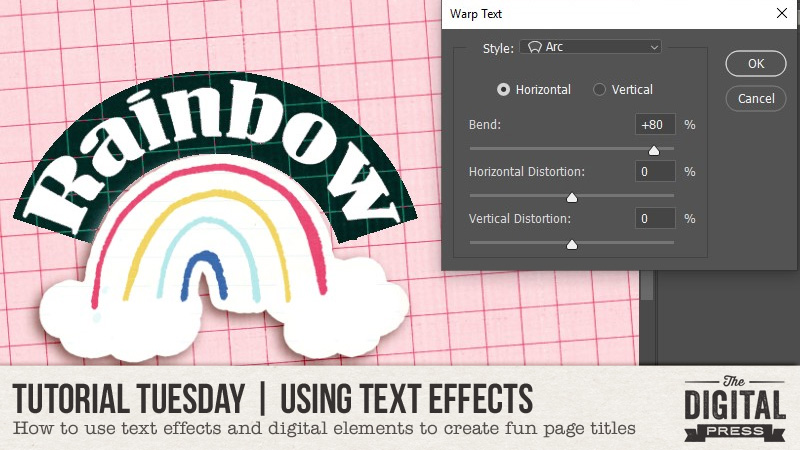
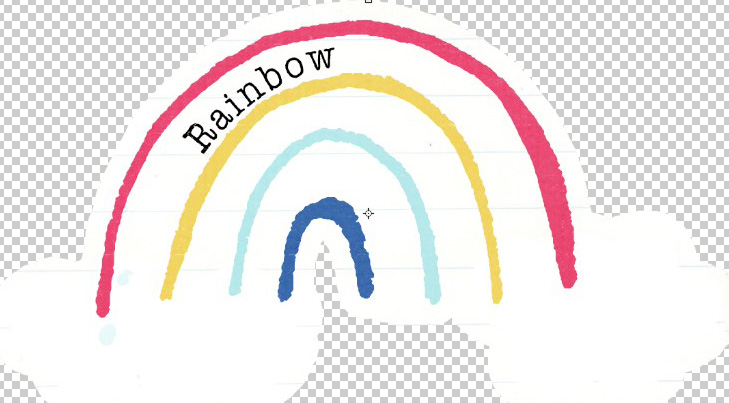
First, I want to curve the word “Rainbow” around a rainbow element, as shown here…
Step 1 — Place the element that the text will wrap around onto the page canvas.
Step 2 — Use the ‘type’ tool to type the desired word or phrase (in this case, I used “Rainbow”).
Step 3 — With the text layer selected and the type tool active, look toward the top right of the type tool’s toolbar. There is an icon of a “T” with a curved line underneath. Click that icon.
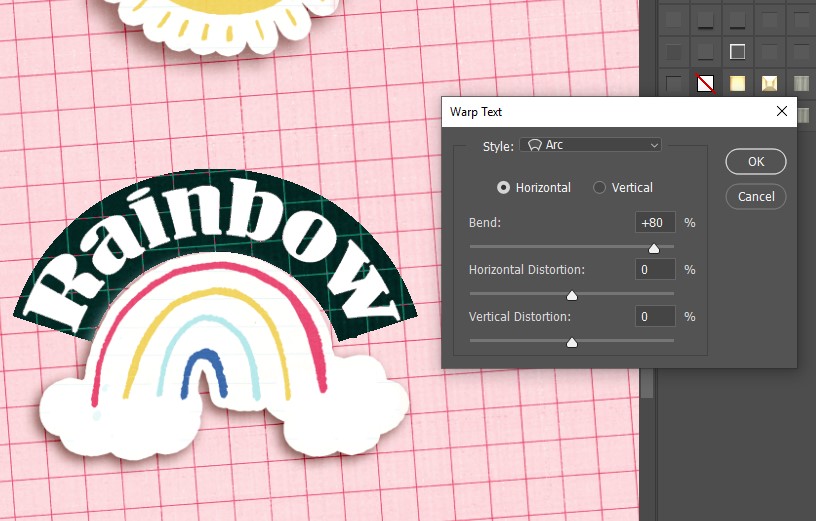
Step 4 — At this point, we can choose different styles. As you can see in the image above, I choose the ‘arc’ style with a bend of +80.
While the arc font over the rainbow was cute… it wasn’t what I mad in mind. I wanted something a little more subtle. Therefore, using the ‘curvature pen’ tool I curved my text directly over my element, as shown here…
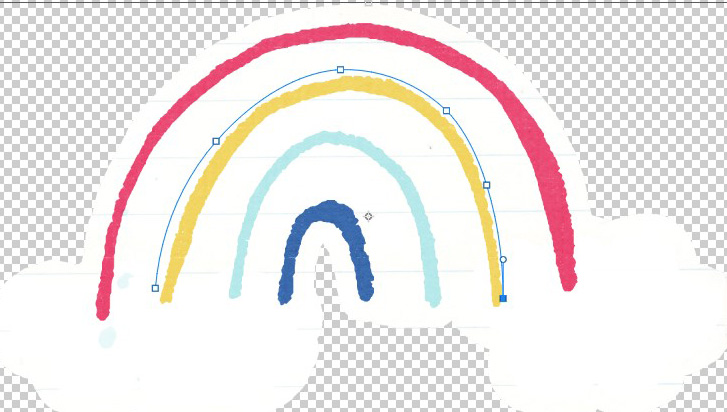
Step 1 — Create a new layer and select the right pen tool for the job (in this case, I used the ‘curvature pen’ tool). Create a path using the pen tool. In my example, I created a path over the yellow part of the rainbow (see image above).
Step 2 — Select the ‘type’ tool and click towards the beginning of the curve path. The line will change from blue to black (see next image), and you will notice the cursor appear…
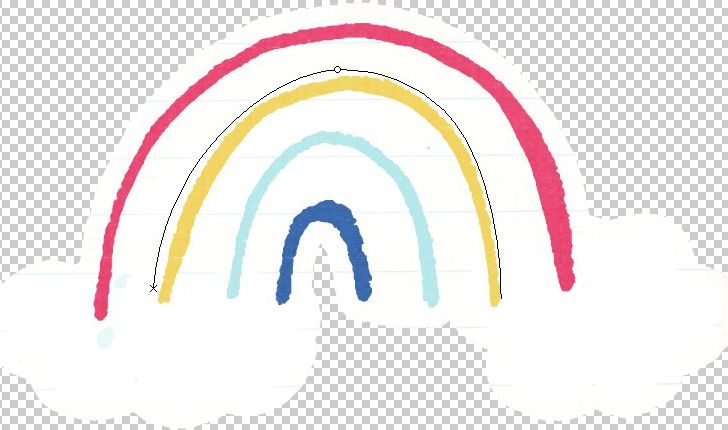
Step 3 — Type out your word or phrase. The text will follow the curve of the path you created, as opposed to going in a straight line…
That’s it! So easy, right?
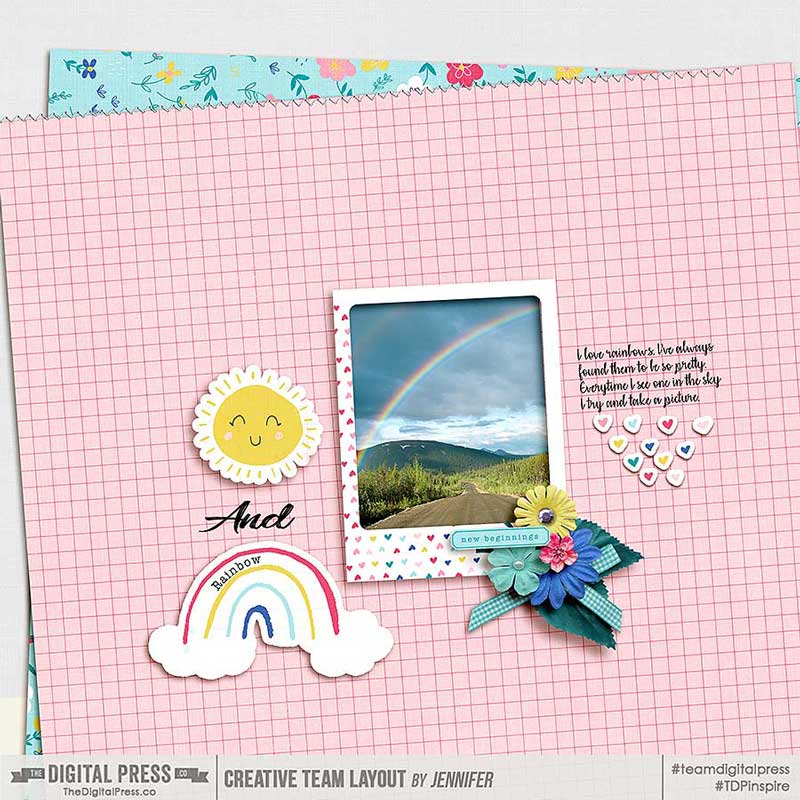
Here’s a look at my completed layout with the text layered on top of the element to create a custom page title. I think the title looks much cuter this way!
Hopefully this quick and simple technique will help you try some new things to create your own custom titles (or even your own word art pieces) on your next project!
 About the Author Jennifer is a creative team member at The Digital Press and lives in New York City. In addition to digital scrapping, she enjoys watching rugby and hockey and reading romance novels.