Hey there scrappers, and welcome to another edition of our Tutorial Tuesday series here on The Digital Press blog! I don’t know if you’re like me, but I loooooove a realistic digital page… one that people will want to touch when it’s printed to find out whether it’s “real” or not. With that in mind… today I’m here to share a technique for realistically wrapping a digital ribbon around another item on your page!
Today’s tutorial will show you how to wrap a ribbon around a photo or paper using photo-editing tools such as masks and dodging/burning.
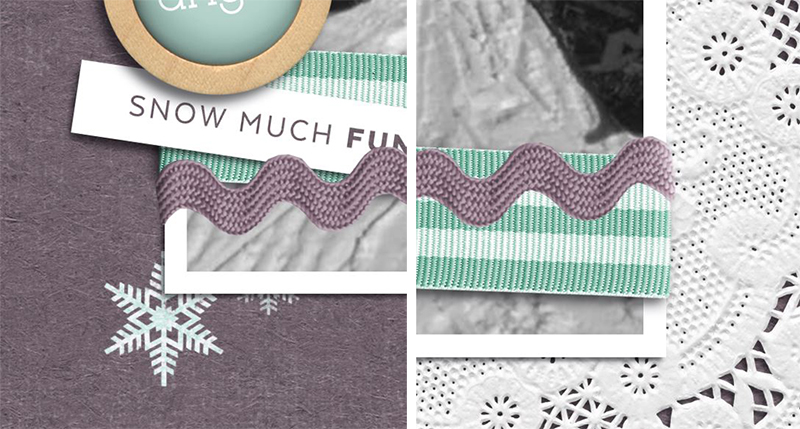
Here’s a peek at the end result…
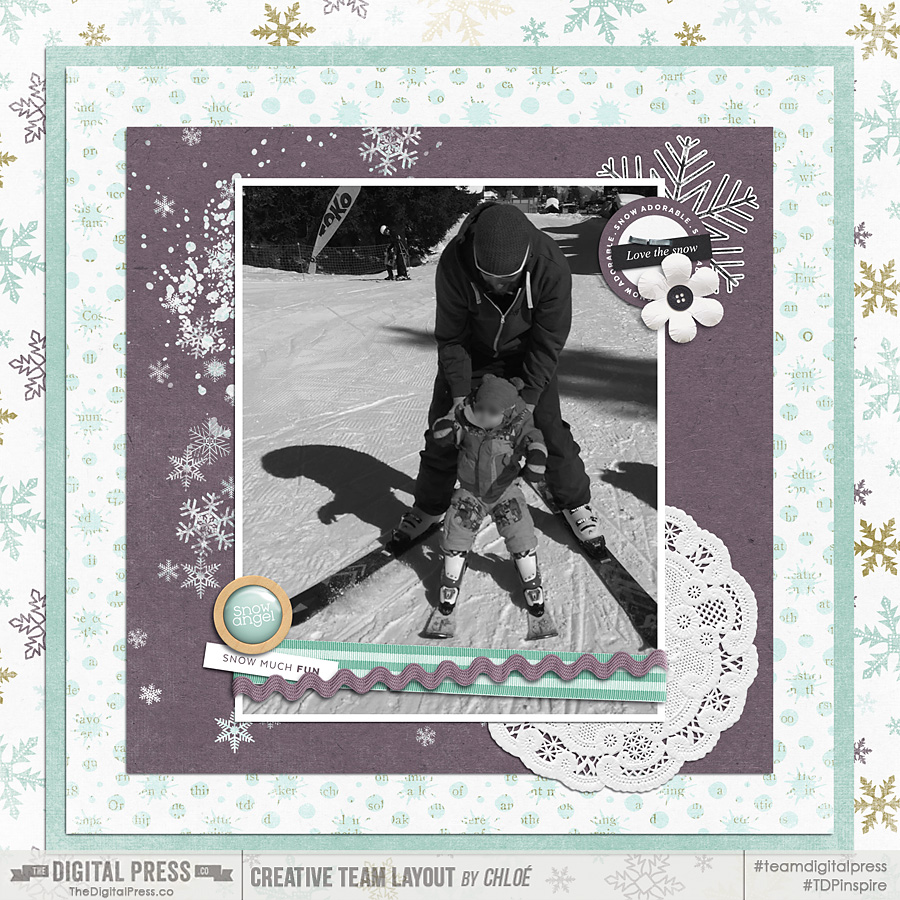
[I used the beautiful kit “Make it count – January” by Anita Designs ]
See the ribbons that are wrapped around the bottom of the photo? To achieve this result, we have to do two things.
First, we need to delete the parts of the ribbon that are supposed to be stuck behind the photo. To do that, I like to use a mask so that all my modifications are reversible if need be (for example, I started my page above with only the ric-rac in a horizontal position, so I was happy to have more room to work when I decided to change things up, add the second ribbon and put them both at an angle).
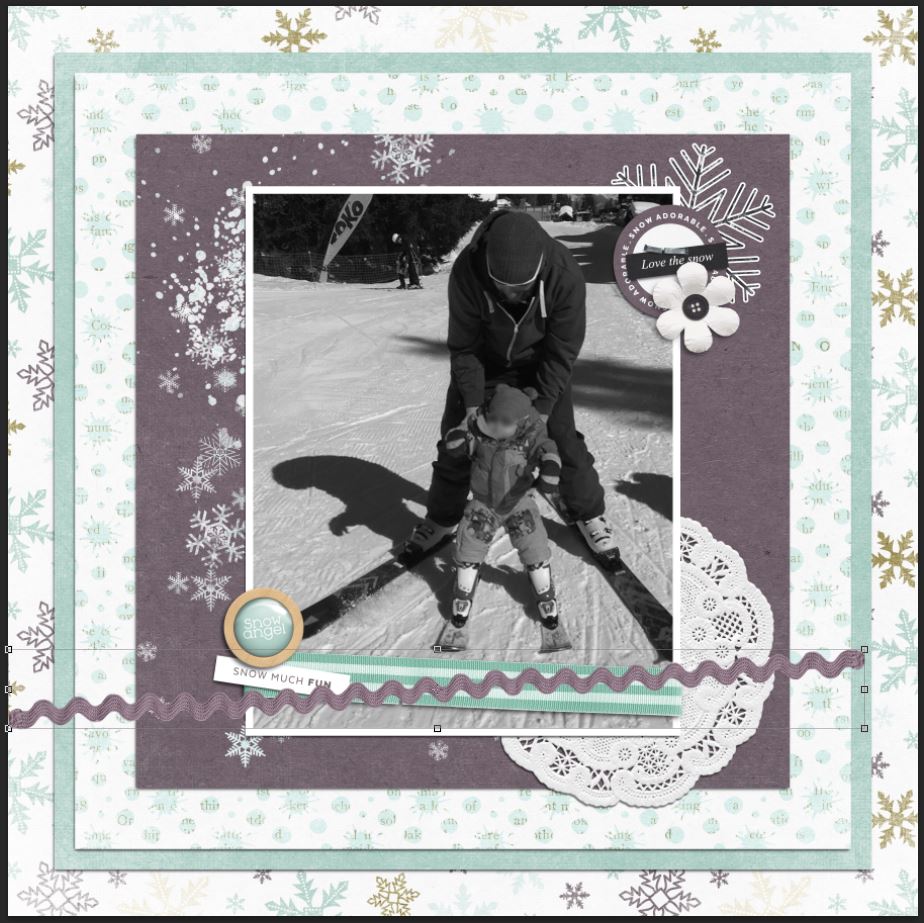
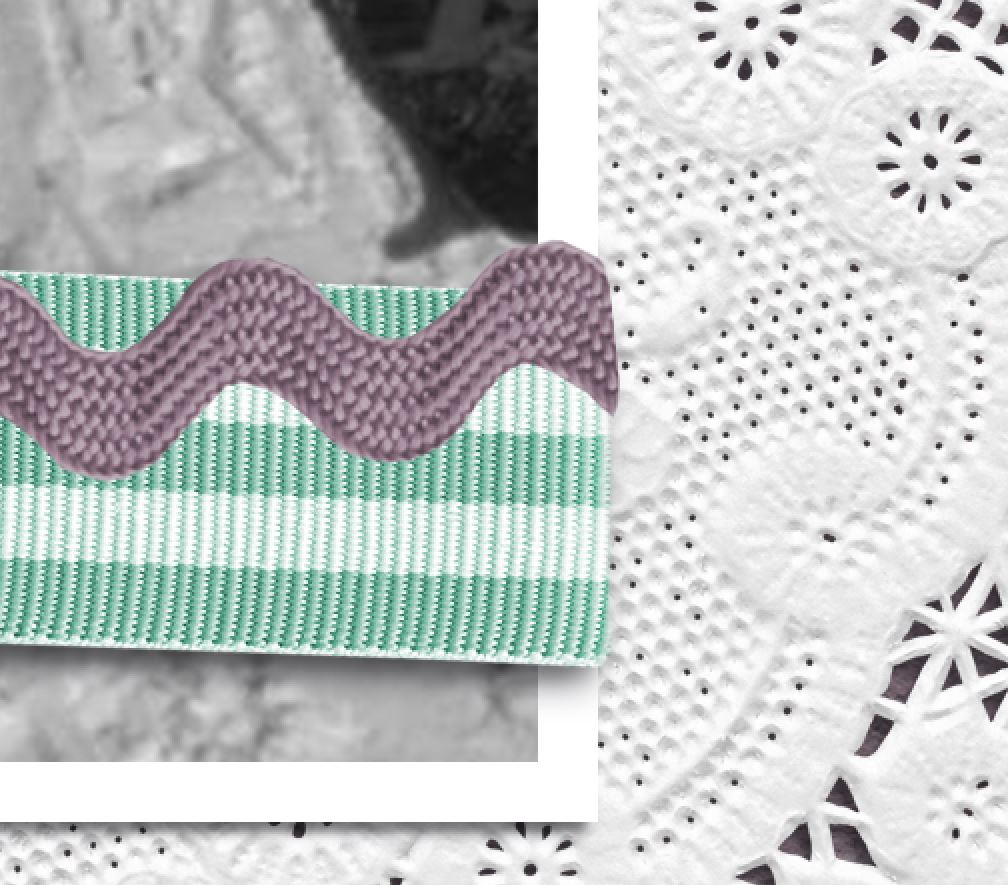
Position your ribbon where you will want it (more or less) over the photo you’ll wrap it around, as shown here…
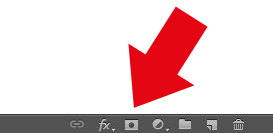
Select the layer, and then click on this icon (shown here, and found at the bottom of your layers panel) to add a mask…
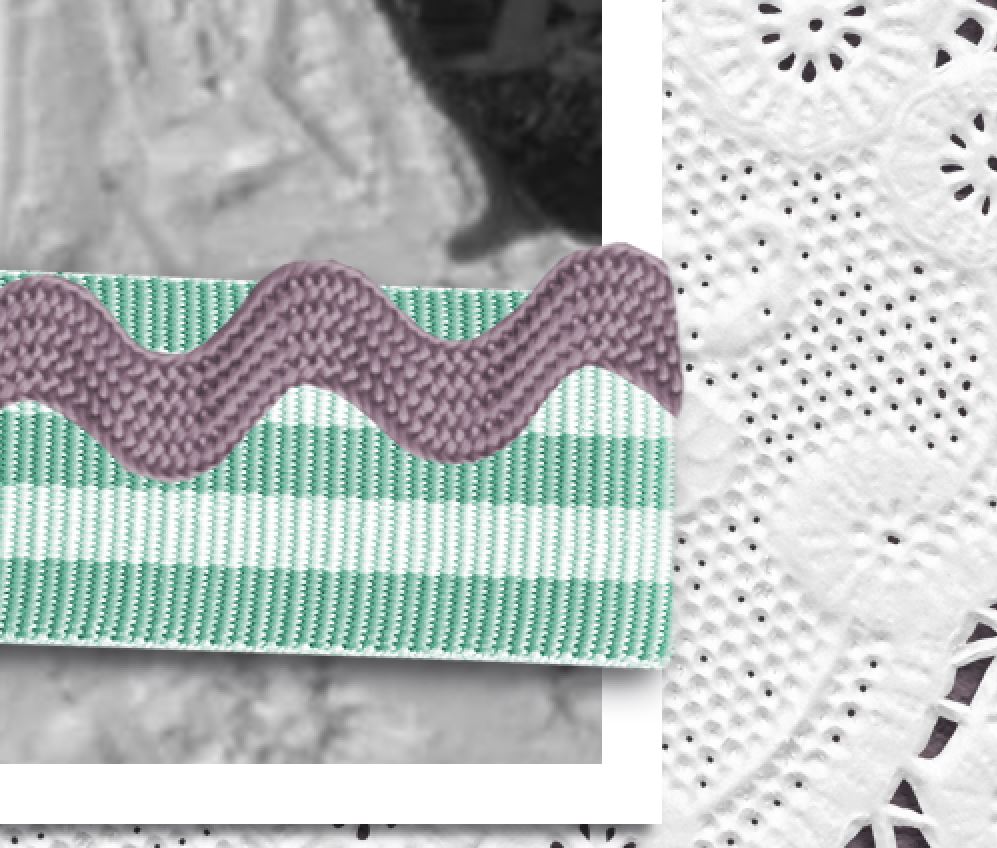
Then, you will color the mask in black on the parts of the ribbon you want to delete. Use a round brush at a level of hardness of 100%. Start with a rough mask first, then zoom it and refine the detail. For more realism, add a slight curve on the ribbon’s edge. Keep in mind that a “real” ribbon wouldn’t be completely flat where it bends, it has texture, thickness, stiffness, etc…
Finally, with your mask still selected, use the “soften” tool at a low intensity to soften the edge of your mask and make it more realistic. It’s a subtle change… but especially useful because you used a very hard brush to “cut” the ribbon, and now you need to make it a little more natural again, so to speak (and we all know that nature is never perfectly straight, right?)…
Now that your ribbon has the shape you want it to have, you will use the dodging and burning brushes to give it the final realistic touch. Start by looking at where your shadows are. Where does your light comes from? On this side of the ribbon (the side the light source comes from, that is — for mine, below, it’s the right side), you will use the dodging tool to mimic the light that will hit the ribbon and make it look brighter. Start at low intensity with a wide brush and slowly decrease the size of your brush and increase the intensity slightly each time you go over the ribbon…
Next, you will do the same thing on the other side of the ribbon, but this time — with the burning tool, to make it darker (for me, this will be the left side — opposite my “light source”). This is the side of the ribbon that is in the shadow. Always keep your edits as minimal and natural as possible. It’s better to build the effect up slowly and stop before it’s too much and it becomes unrealistic…
Finally, as one last step — you will add your shadows (if you hadn’t already) and… ta da! You’re finished, and your digital ribbon is now realistically wrapped around your photo. 🙂
I hope you will give this technique a try. It’s really fun, and adds some great realism to your digital pages! Let me know in the comments if you have any questions.
p.s. if you loved this technique for achieving a realistic-looking result on a digital page… you may also want to check out some of our site’s other tutorials for realistic-looking digital effects… for example, this one or that one about paper shadows, this one about stamping or that one about realistic text, but there are many mores. I found two tutorials that use similar techniques to the one I will show you today: this one about washi and this one about pins.
 About the author Chloé is in charge of PR and communication for her small town by day, is a digiscrapper “by night,” and a photographer whenever the light is beautiful. She lives with her man and fur-babies in a small town of Alsace (in the northeast of France), where she loves to read, watch good TV shows (TWD being her absolute favorite), and just hang out with her friends — no matter if they are close by, online, or away in her Swiss hometown. She recently became quite obsessed with Bullet Journaling, FLyLady and Zero Waste.
Thank you, Chloe, I have always known how to do this in Paint Shop Pro, but knowing how to do it in PS with masks is so awesome!!