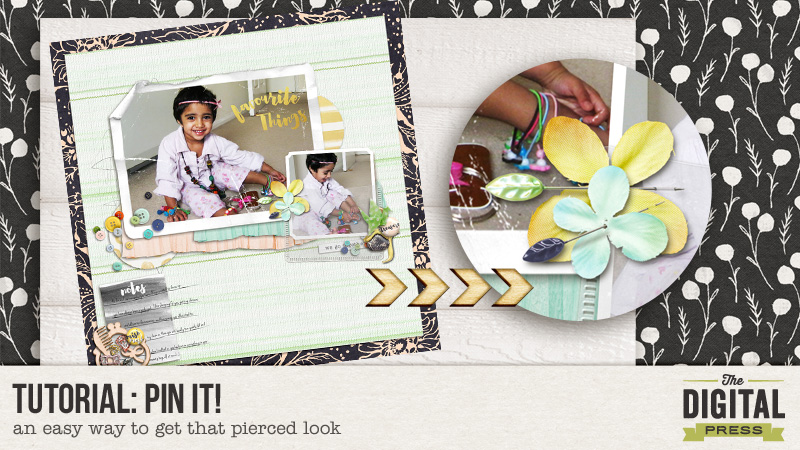
Hello everyone! I can’t believe its August already. We are well and truly into the second half of the year!!! Time is certainly flying by for me, hopefully that is always a good indicator! We have an exciting month here at The Digital Press with Pennysavers products and the theme being “explore”. In that spirit, I wanted to share an easy way to achieve a pierced look on paper. I am always exploring new ways to make my layouts seem more realistic and fasteners are a big part of how I do that. I simply can’t seem to leave things hanging on my layouts!!!
By way of disclaimer, I have stumbled upon this by trial and error so there may be indeed be a more effective way of doing this! I have used Photoshop Elements to demonstrate the steps but it should be fairly easy for Photoshop users to replicate this in their program.So here goes…
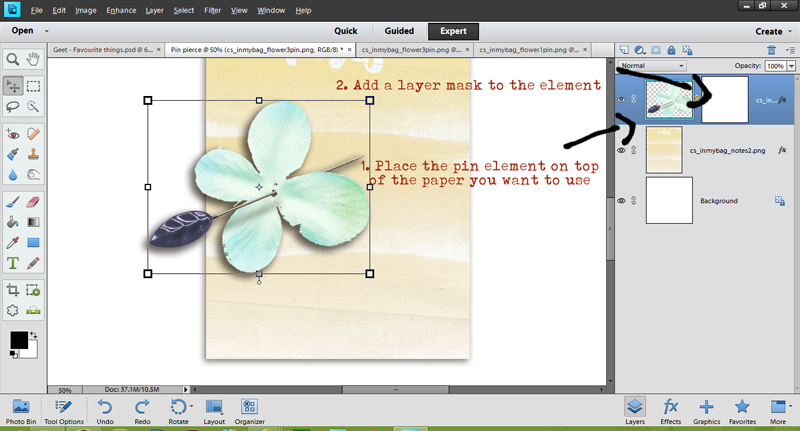
Step 1: Select the elements – the pin and the layer you want pierced. This layer could be paper, cloth or even plastic pockets. In this case I have selected a Journaling card and a flower pin from Creashen’s kit “in my bag”. First I will place the pin on top of the paper. Next I will add a layer mask to the element layer.
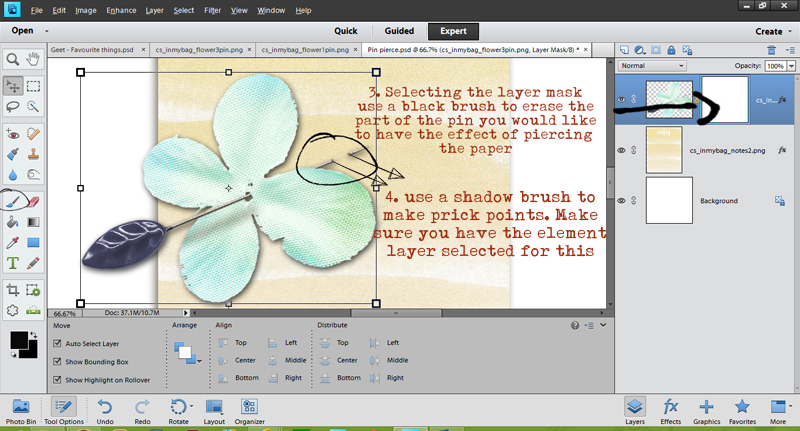
Step 2: Now with the layer mask selected (shown by the bounding lines), choose a black brush and begin to erase that portion of the pin that you would like to be behind the paper. Once you are happy with your selection, choose a dark shade of drop shadow brush and with the element selected now, brush over little dots where the pin pierces the paper going in and coming out.
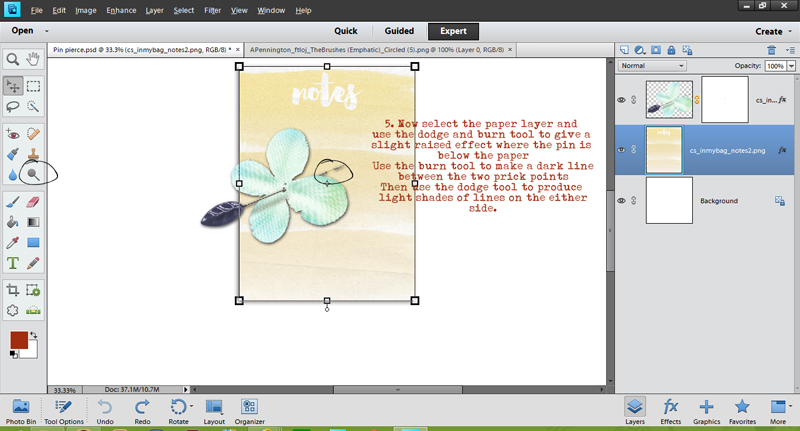
Step 3: Now you can see we are getting there but not quite. If you think about it, the portion where the pin is behind the paper should be slightly raised. We can easily create that effect using the dodge and burn tools. First select the burn tool and a colour you are happy with, brush over in a straight line between the two prick points. You should have the paper layer selected for this. Follow it up by selecting the dodge tool and brushing a lighter shade effect on either side of the “burned” line. TIP: to make straight lines, press and hold the shift key.
Voila!!! You can see how this is looking much more realistic now! Here’s a closer look.

And here’s the final layout in which I have used this technique.

Credits: Creashen’s In My Bag.
Hope you found this useful. Please don’t forget to share your layouts where you use it or if you have another method of doing the same, I’d love to hear about it! Till next time…
![]()
About the author: Shivani Sohal is a donner of many alter-egos. A finance professional by day in busy London, she morphs into a seemingly normal mum of two in the evenings and weekends. She is constantly found with her fingers in too many pies and juggling the metaphorical balls. That is living on the edge for her; aided by the two ankle biters and a darling hubby who define the warm and mushy for her. She is ferociously dedicated to memory keeping – almost immune to any nay-sayers (or equally disruptive crying children or annoying house fires!!!);keeping her head down and forging ahead at all times.