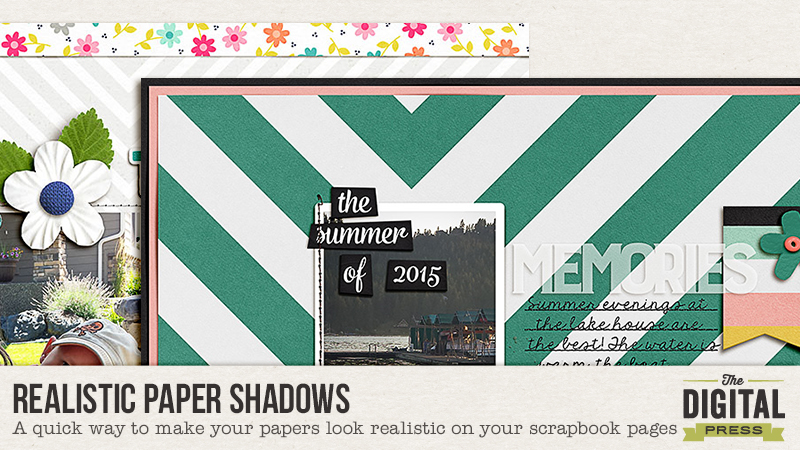
Hello guys! I’m here today to share a quick trick that I use on almost every layout I make! When you look at ‘real’ paper layouts- the papers are NEVER perfectly flat- there are always areas where the adhesive stuck it down flatter than other areas. Never fear digital scrappers- here’s my quick fix!
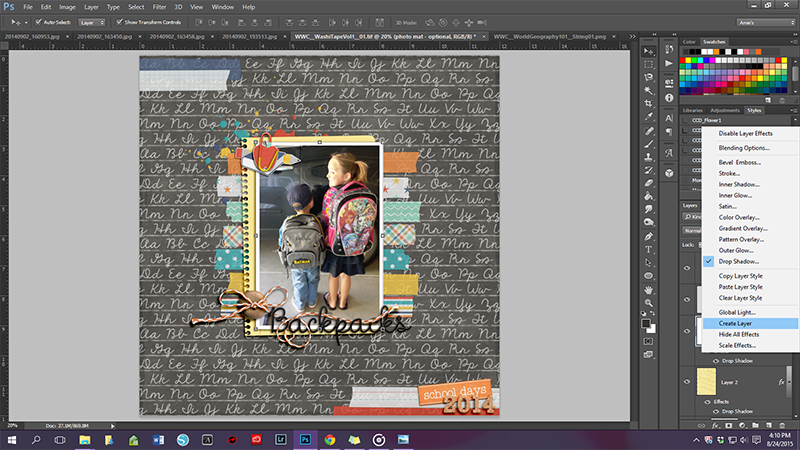
First, you need to make your shadow on its own layer. Select the layer in the layers panel that you want to separate the shadow from.
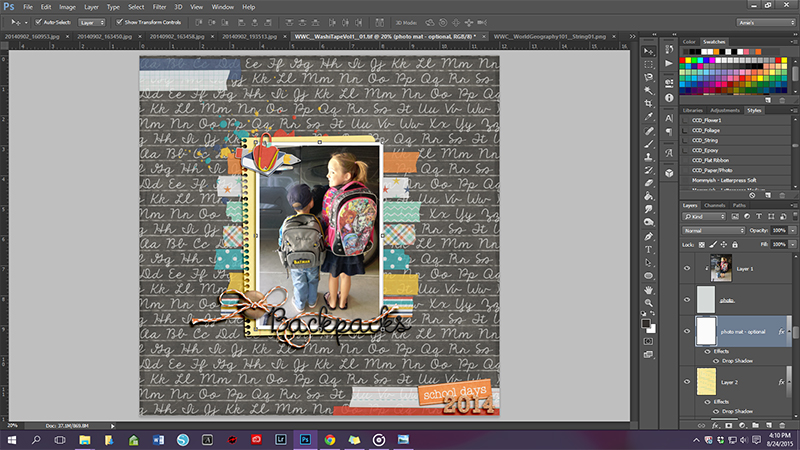
With Photoshop- you can click on the drop shadow & select “create layer.” In Photoshop Elements- I did a tutorial on how to make shadows on their own layer- you can find that on the blog HERE.
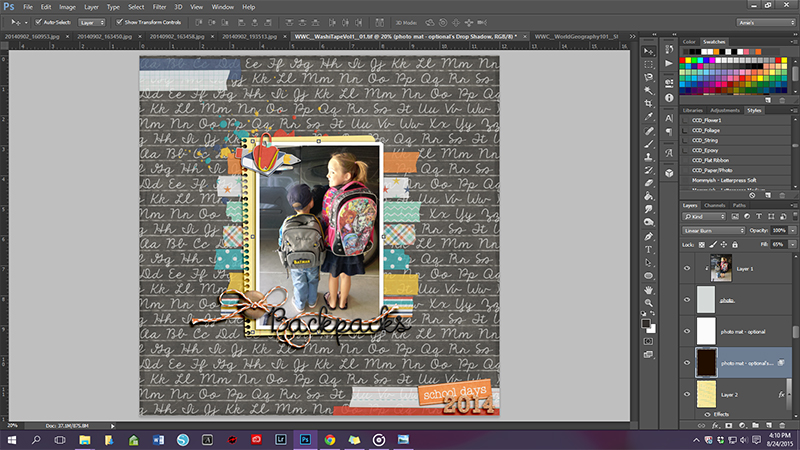
Next- Make sure the you select the shadow layer in the layer styles panel.
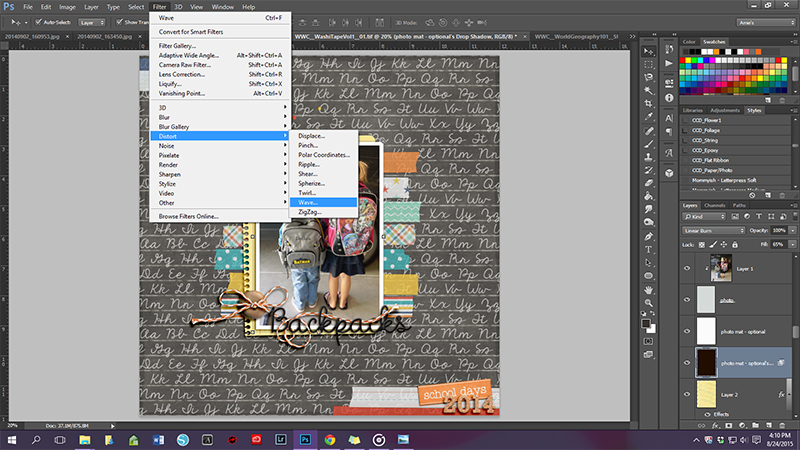
This filter is present in BOTH PS & PSE so that is awesome I think- as a previous PSE user (and I used this a lot!) Under the Filters tab, click on DISTORT, then on WAVE.
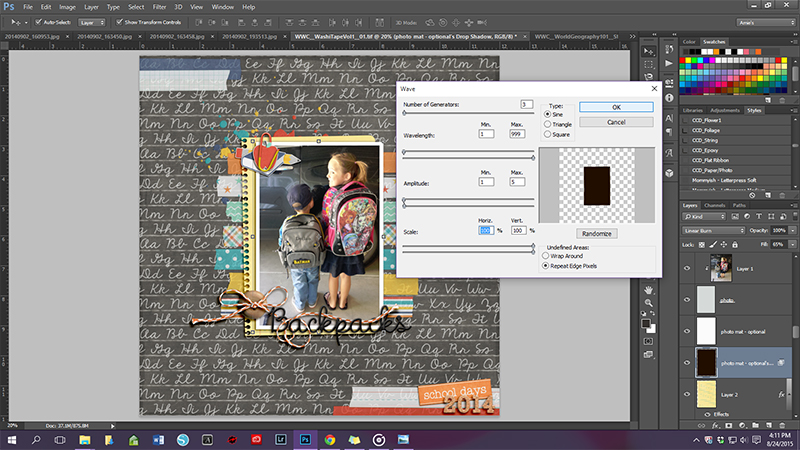
That will bring up the Wave Dialogue box. First, make sure the Sine circle is checked (this is for the rolling wave effect.) Then you need to change the ‘generators.’ That is basically the number of waves. You want this number low for papers- unless you want a really wavy paper! 😉 Next adjust the wavelength (distance from one wave crest to the next), in our case, we want LONG waves. Then adjust the Amplitude or height of the wave. Again in our case, we want short height waves. You can then adjust the scale- but I usually just leave that at 100%. Lastly, make sure the ‘Repeat Edge Pixels’ is checked (this extends the shadows edge in the direction specified.) In the preview box, you’ll see the image as you adjust all of the above. If you don’t like what it looks like, you can either click randomize which will change it or adjust the sliders to your liking.
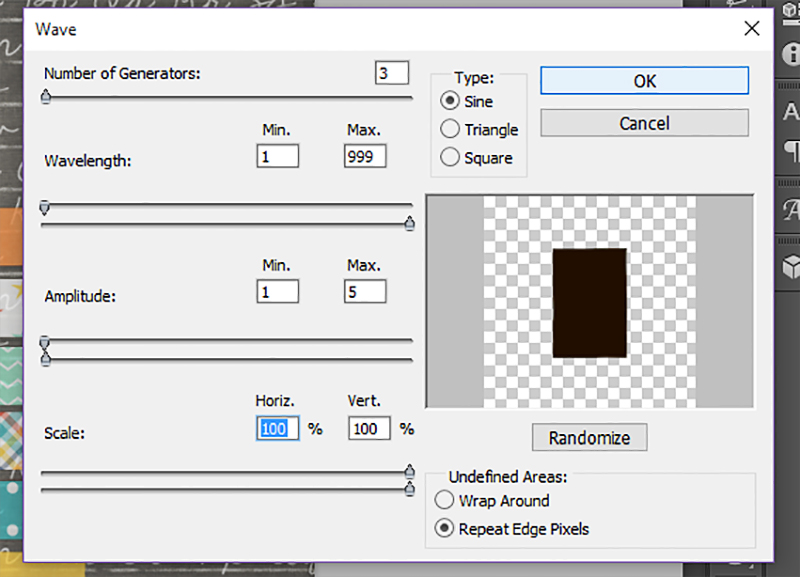
These are my usual numbers. They are definitely not set in stone- depending on the pattern of the paper or the background, I’ll fiddle with it.
Here’s my final layout- the wave on the photo shadow is definitely subtle, but I love that it just adds a small realistic touch.
(all images linked to my gallery for credits)
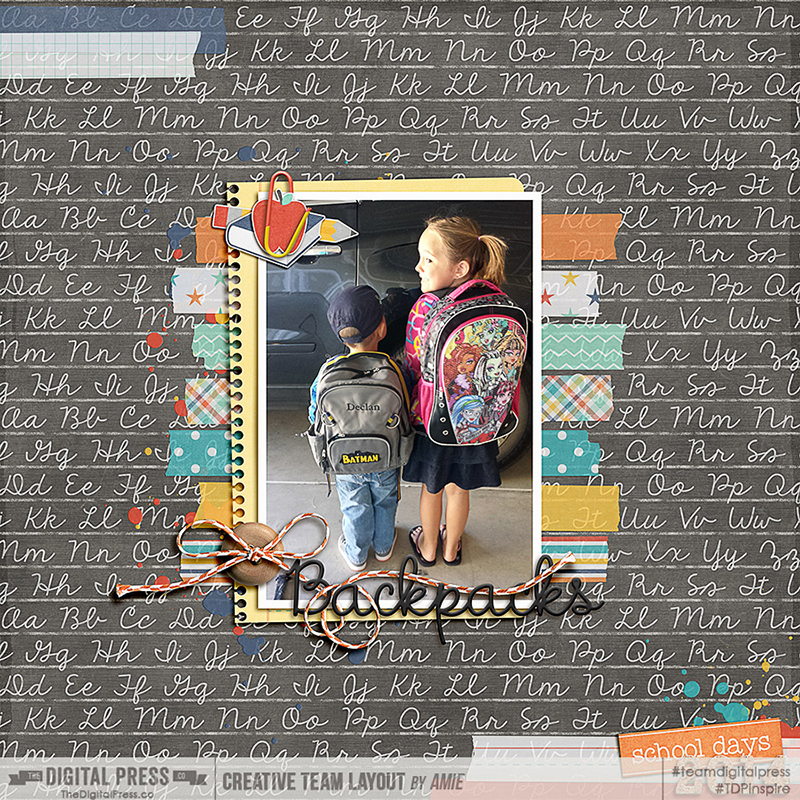
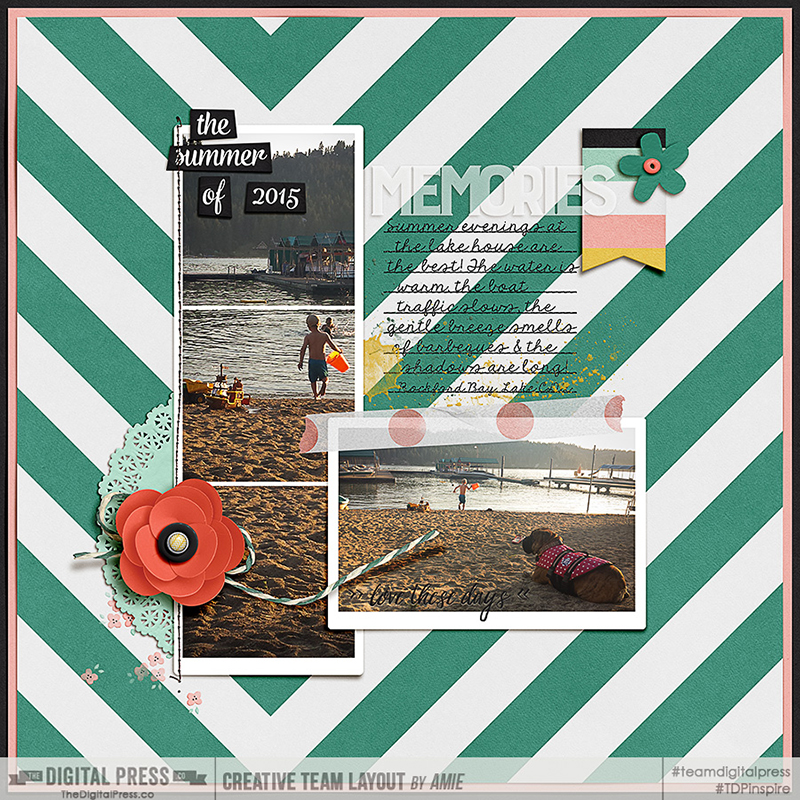
I particularly like to use this filter on large background papers like this layout:
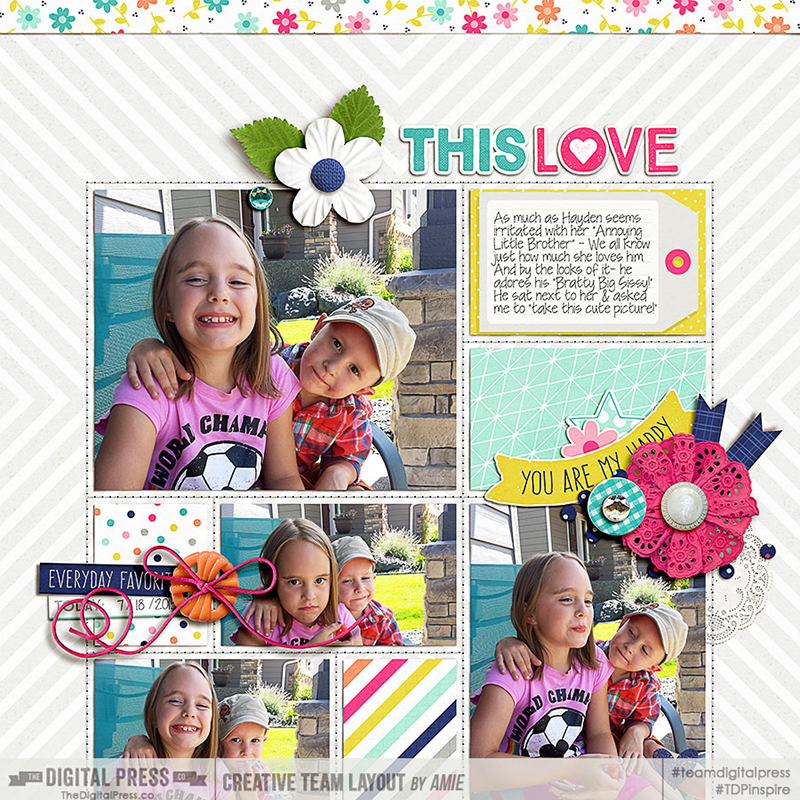
This filter works great on strips of paper too! I also ‘waved’ my shadows on the other flat elements of this layout too!
I hope you have some fun playing around with the wave filter! If you have any questions- shoot me an message!

About the Author: Amie is a craft loving, dental hygienist in WA state who loves her husband, two kids (ages 7 & 4), English Bulldog, coffee, baking cupcakes, daffodils, glitter & sprinkles, reading a good book and lip gloss- not necessarily in that order.