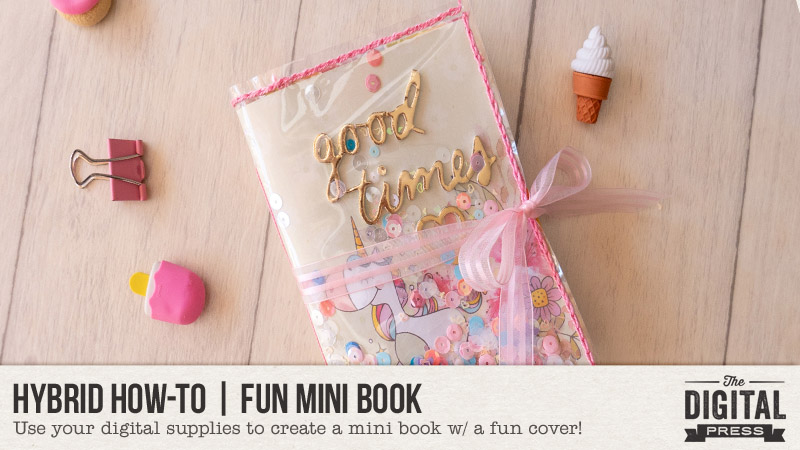
Hi everyone, and welcome to another edition of our Hybrid How-To series here on The Digital Press blog! I’m here today to show you how you can start a Traveler’s Notebook and use it for your memory keeping.
Everywhere I look, I am seeing people using Traveler’s Notebooks (also called TN’s) to document all kinds of things… not just trips and vacations! If you look on Pinterest, ETSY, Amazon, or even if you just google “traveler’s notebooks” …you will get a wide display of manufacturers, sizes, and different ways people are using them. Today I would like to show you a bit about the traveler’s notebooks I am using, and how/why I decided to start using them for all sorts of scrapbooking and memory keeping projects!
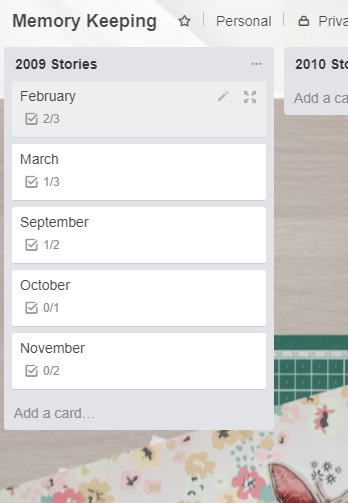
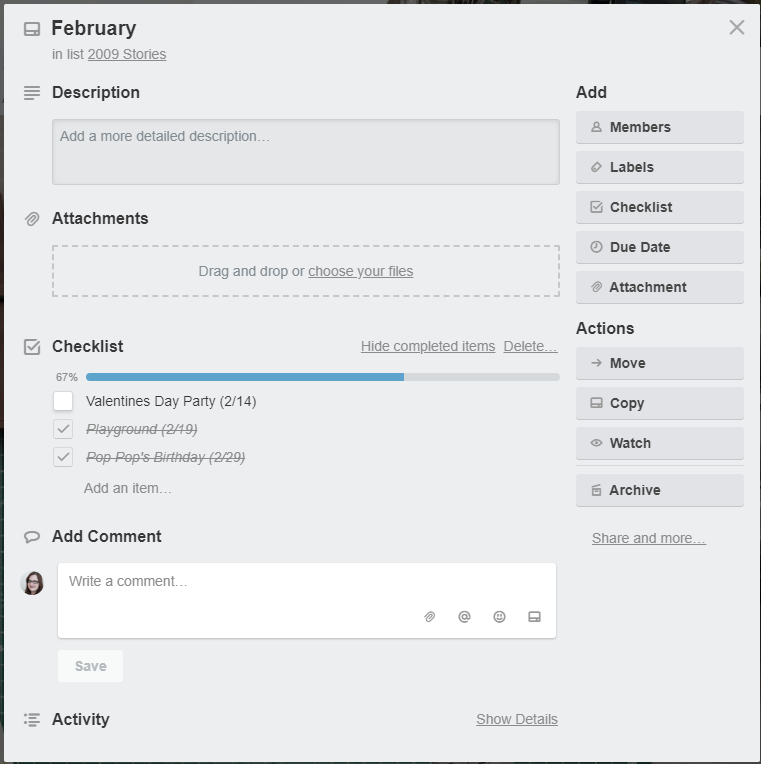
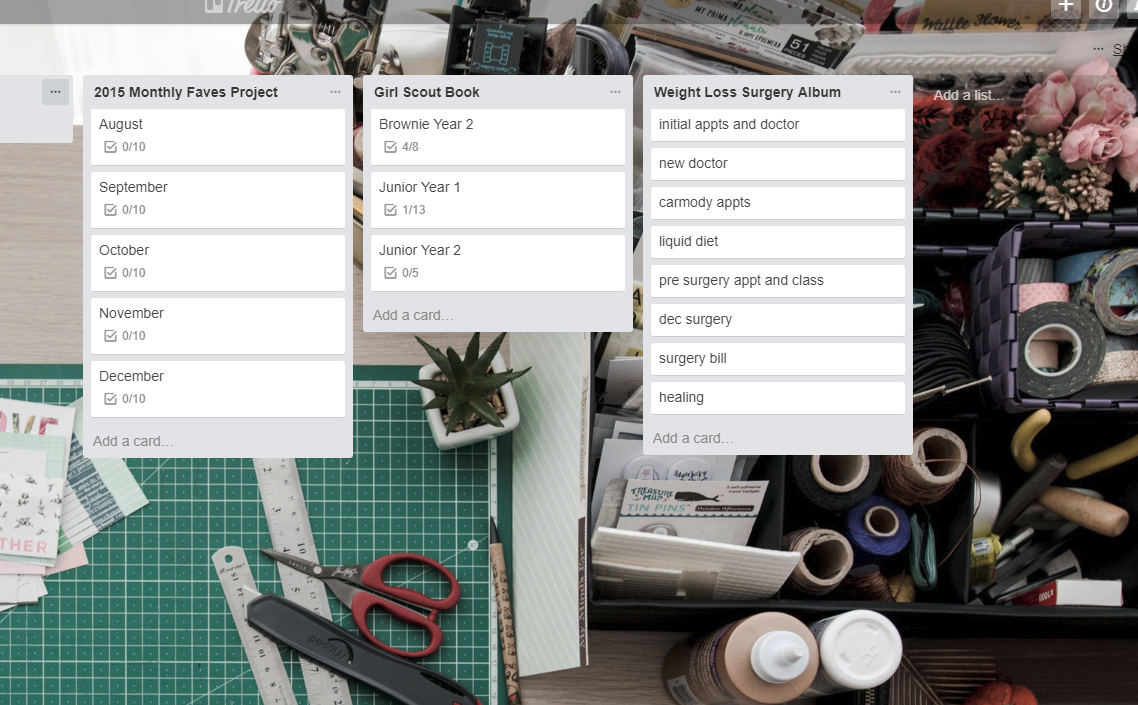
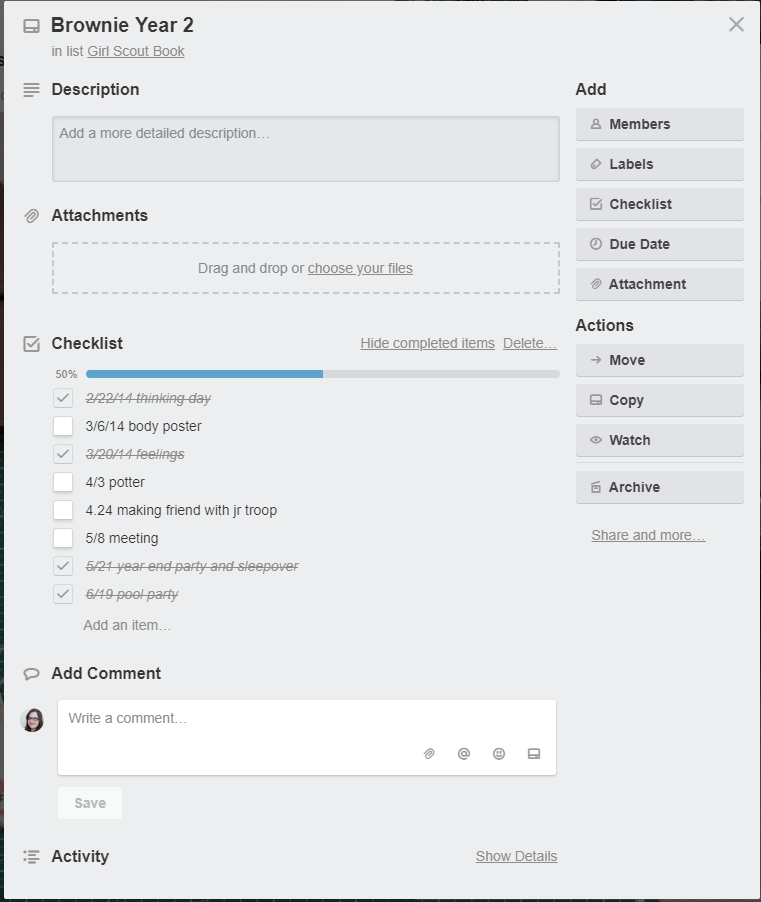
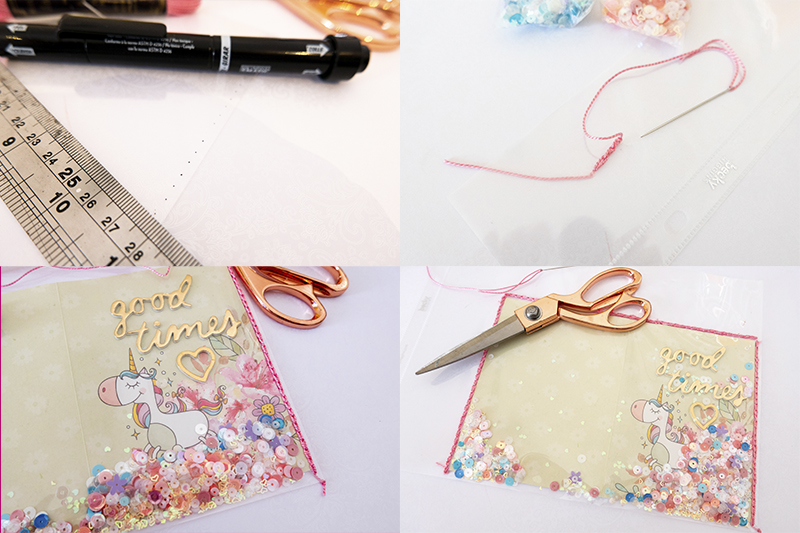
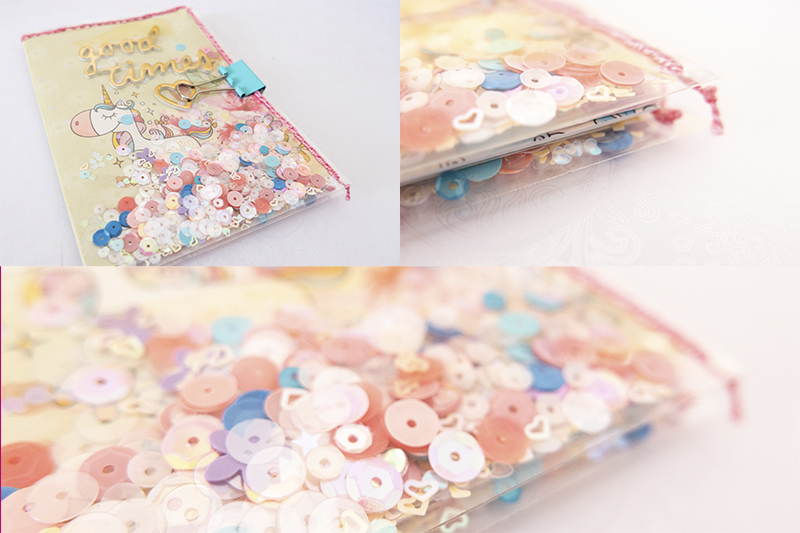
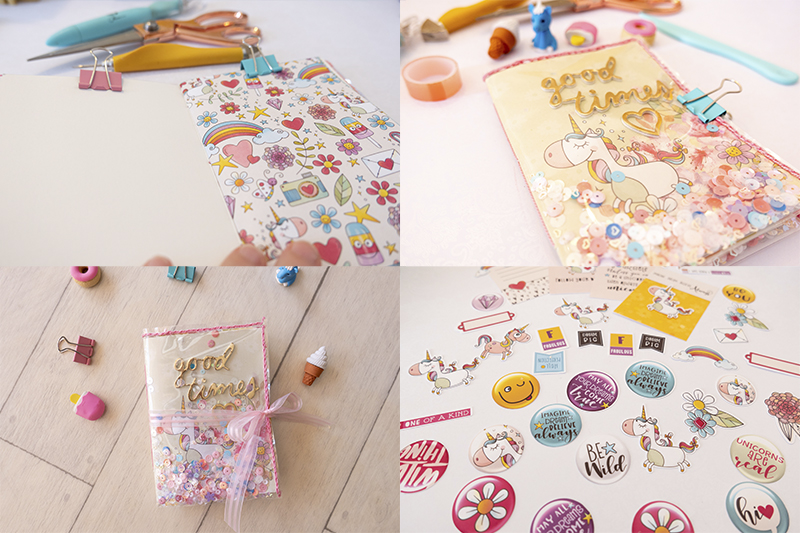
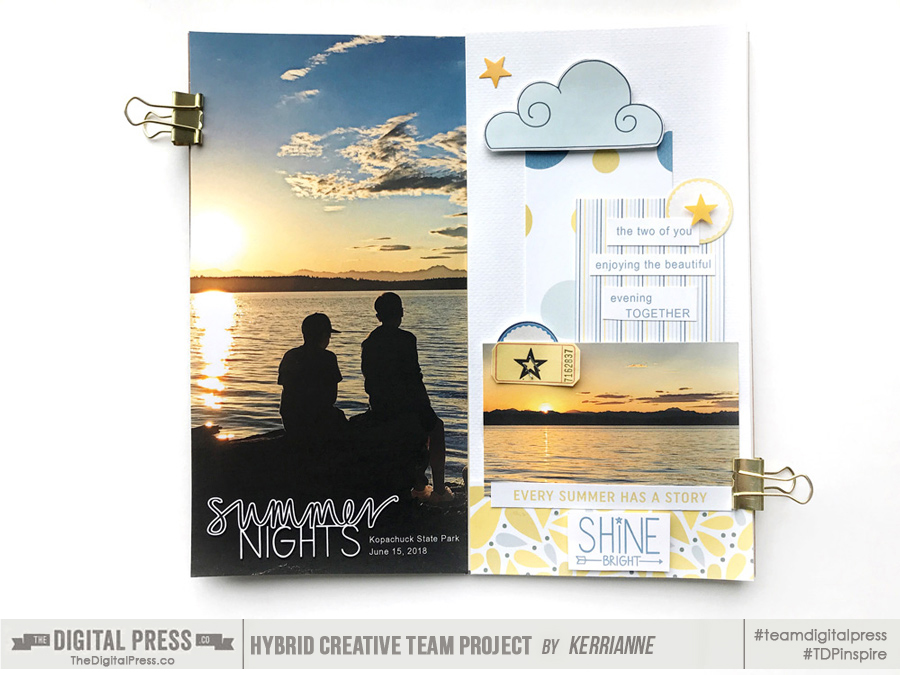
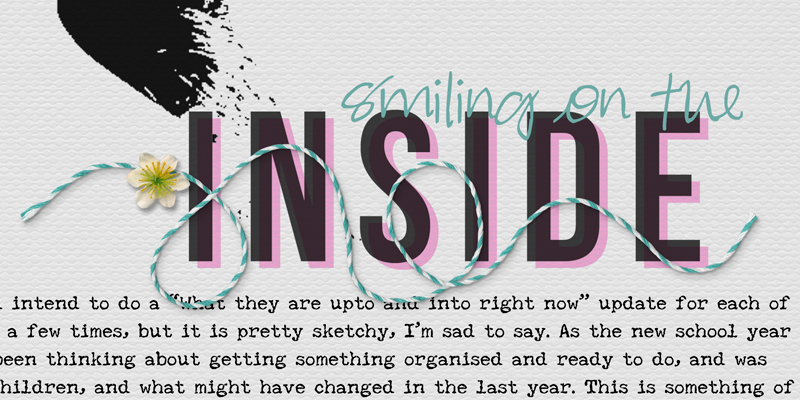
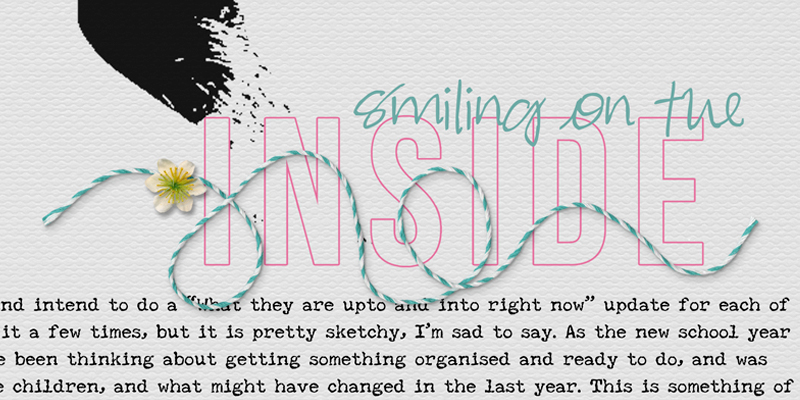
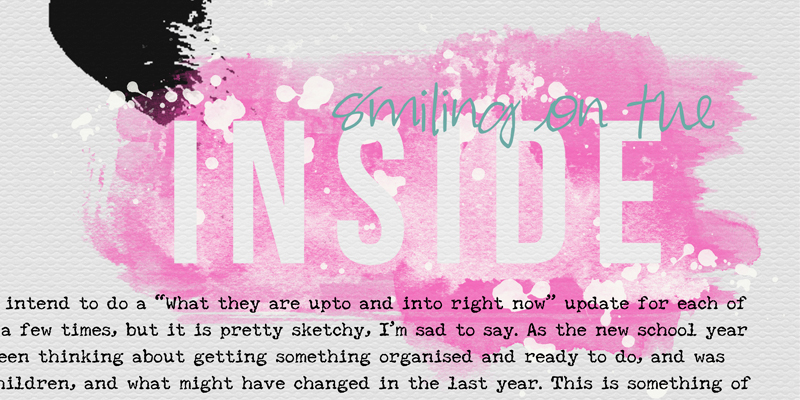
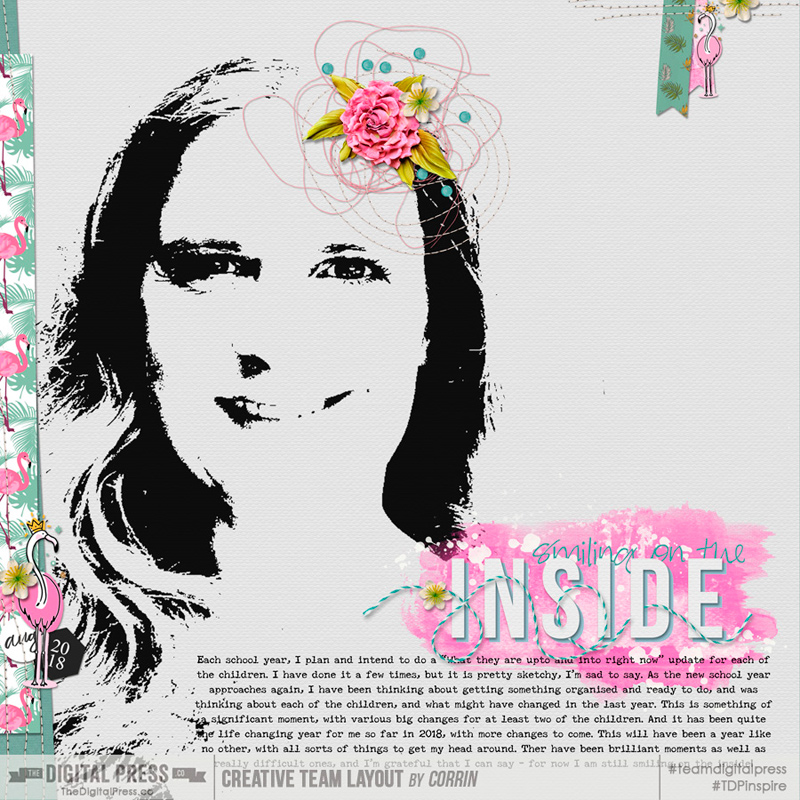
Here’s just one example of the types of things you can do with a TN, with regard to memory-keeping…
Here are a few of the reasons I decided to give traveler’s notebooks a try:
- quick, flexible memory keeping
- no pressure to do a weekly or monthly layout
- easy way to break into doing a hybrid project
- no plastic pockets (unless you want them as accessories)
- simplicity — photos, journaling, and maybe some stickers & washi tape
- great for quick topics (vacations, food, recipes) or to record ongoing progress (weight loss, pregnancy, etc.)
- I, personally, am drawn to the vertical orientation
- easy to use to document things while on-the-go
- great way to use digital templates, patterned papers, & supplies
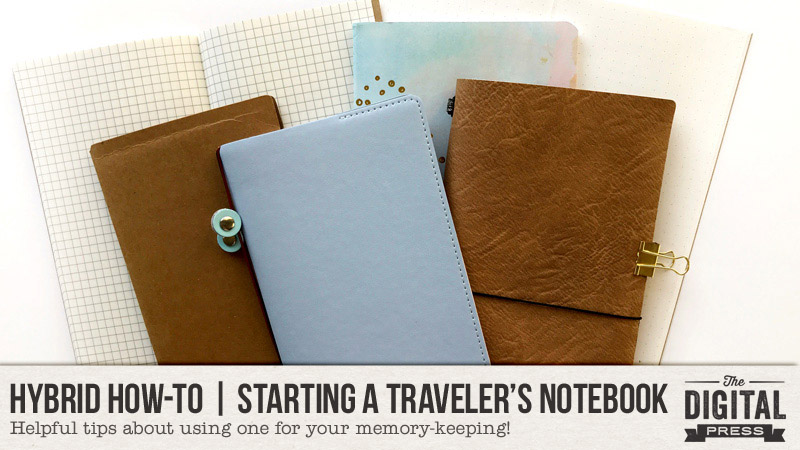
Here’s a look at the Traveler’s Notebooks I am currently using…
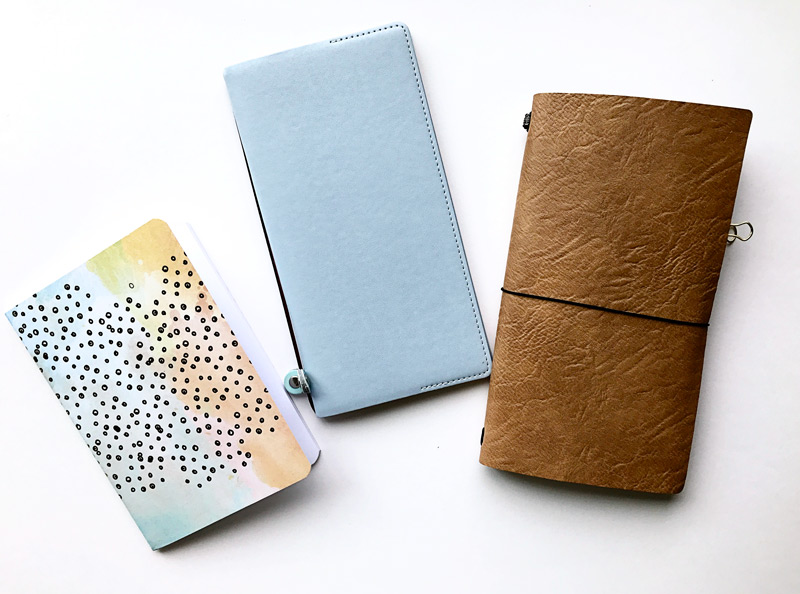
I picked a few of them up at my local scrapbook store, and one is from a scrapbooking subscription club. As you can see, two of them are the “standard or regular” size (on the right), and one is a smaller size that is often referred to as the “passport” size (on the left). I didn’t spend too much money on any of them, because I wasn’t sure how often I was going to use them. It turns out, though, that I am documenting in them quite often and may eventually splurge for one of the real leather notebooks. For now, however, I am happy with these less expensive TN’s! They are made of a soft “plether” (plastic/leather) type of material, and come with the elastic bands inside that hold the inserts, and also a band that goes around the book to hold it closed.
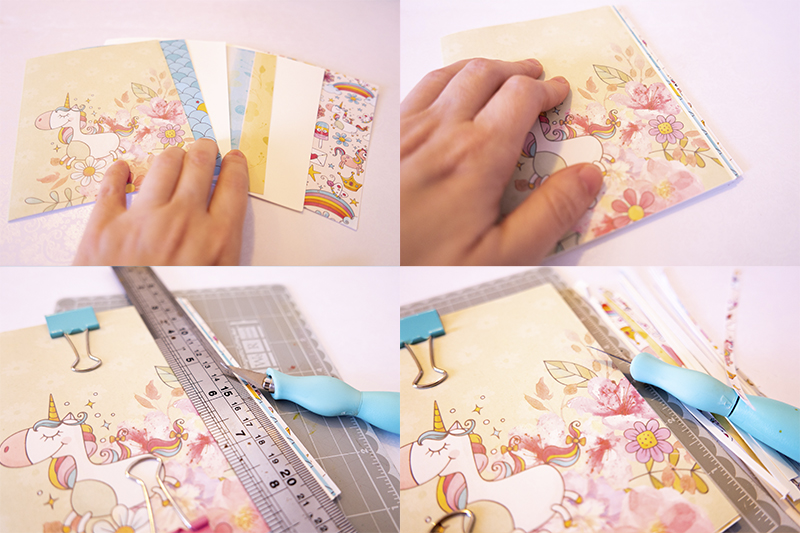
Most TN’s come with at least one paper insert. The inserts can be made out of different colors, weights and styles of paper. Here’s a closer look at the inserts from the three TN’s I showed you, above…
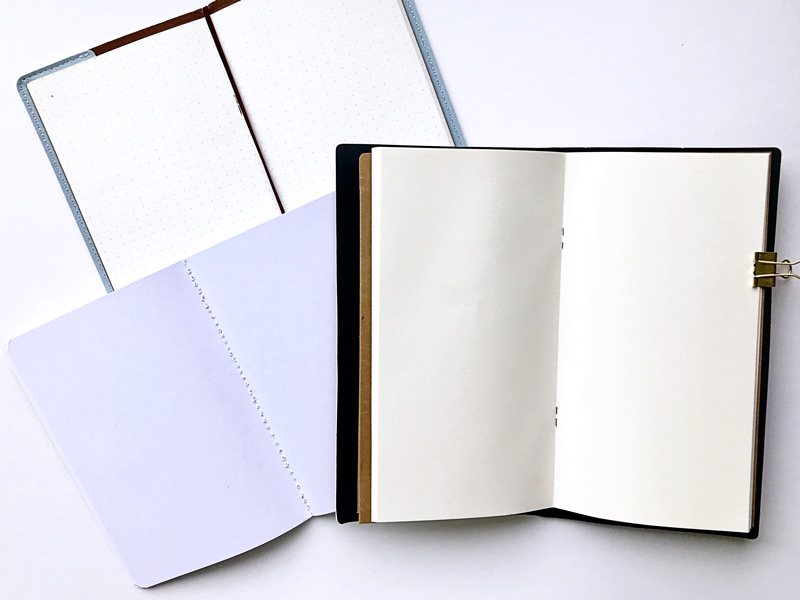
The type of paper insert is important depending on how you are going to use them. For instance, f you do a lot of painting or stamping, then a thicker paper maybe needed. If you are mostly journaling in them, maybe you will want plain or lined paper instead of a dot or grid pattern. The color of the paper is important, too, if you want to work directly on that paper; for instance, up above you can see that one of these paper inserts is very cream in color, as opposed to a more pure white — but since I usually cover the insert with patterned paper, that worked for me.
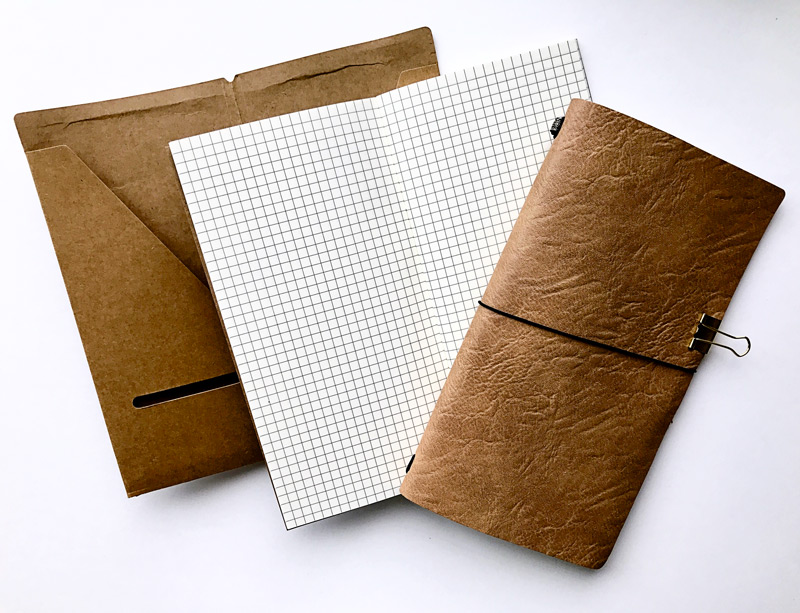
One of mine came with a craft folder that has a place to put supplies and/or keepsakes, as shown here…
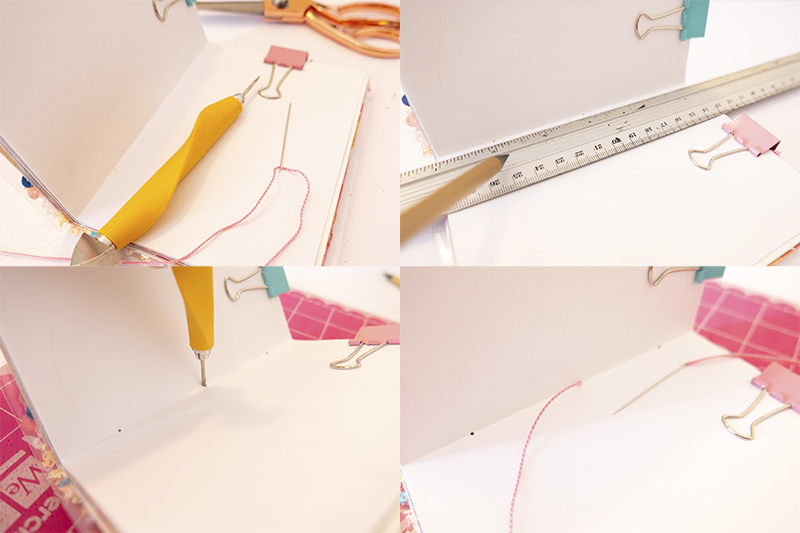
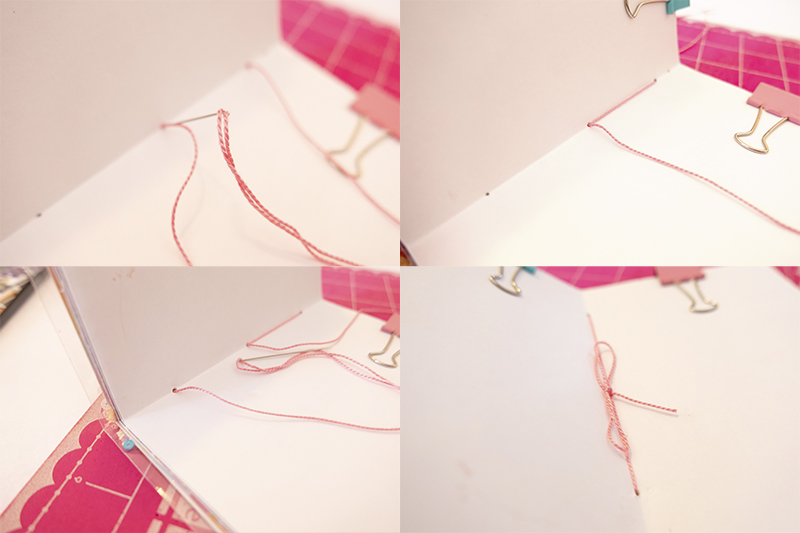
Some inserts are stitched together, and some are stapled… and this is also something to consider. The first TN I used had an insert that was stapled together… which enabled me to take the staples out and have flexibility moving the papers and getting them to lay perfectly flat while stamping or gluing things in place, which was nice! Since that first book, I have just left the inserts intact. Both ways work really well, and I think it is just a matter of personal preference.
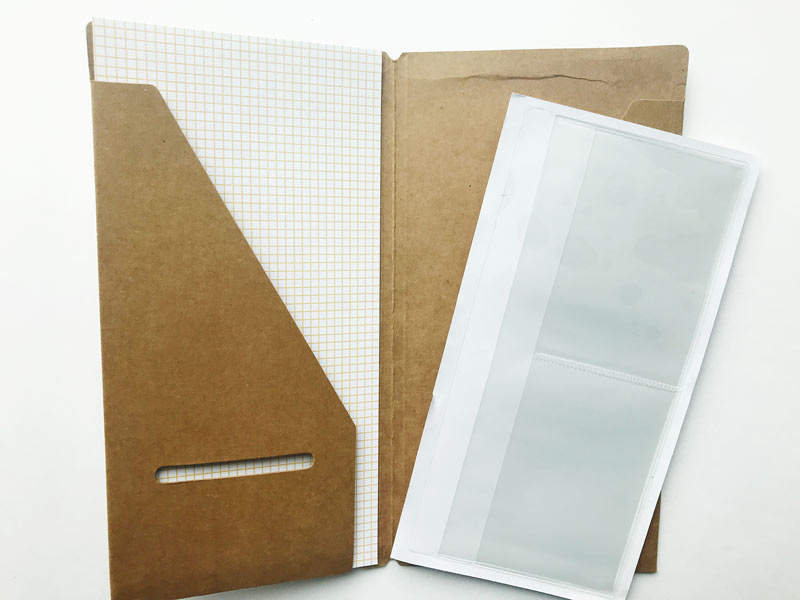
There are many types of accessories and extra options you can purchase to use with your TN. Extra elastics, charms to put on the outside bands, tags, plastic pockets, zipper cases, and pen loops are all very popular and help you customize your TN…
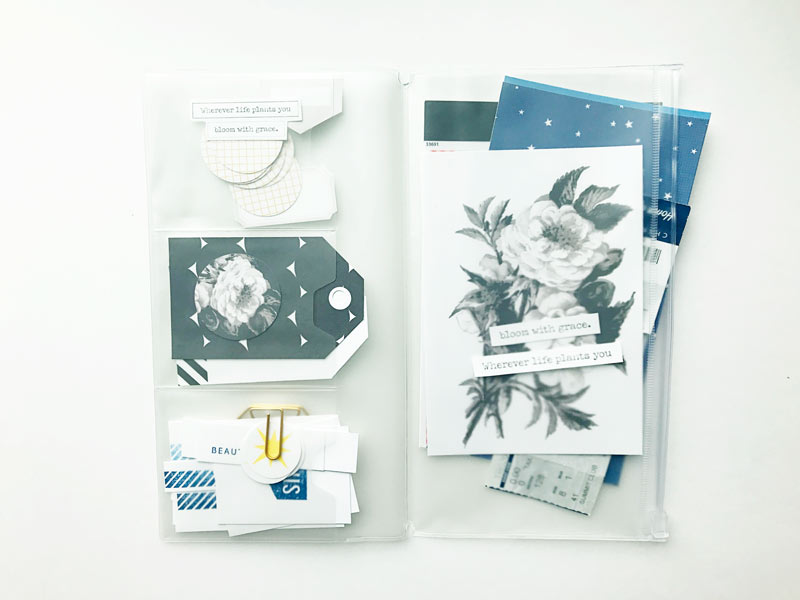
I love the zipper pocket! Although I don’t scrapbook on-the-go very much, I often will stick in supplies that I want to use just to keep track of everything!
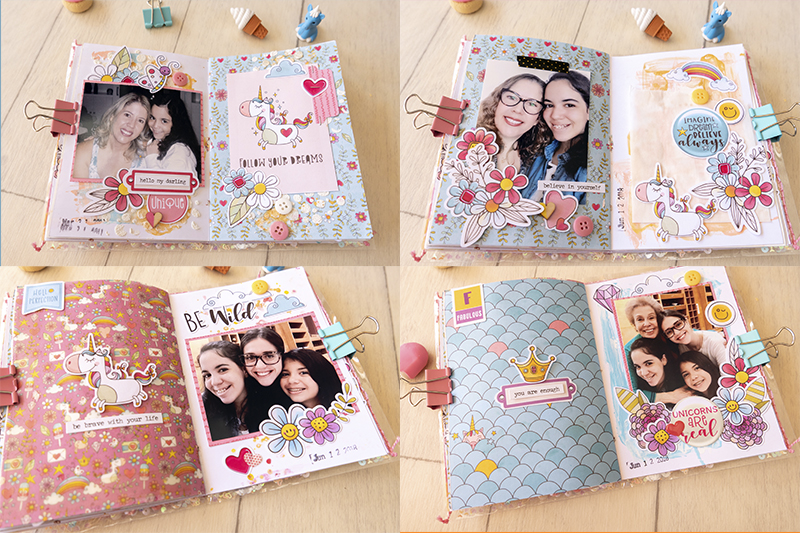
To give you a little more inspiration and let you see the kinds of things you can do with your TN… here are a couple of pages from my Summer 2018 Traveler’s Notebook…
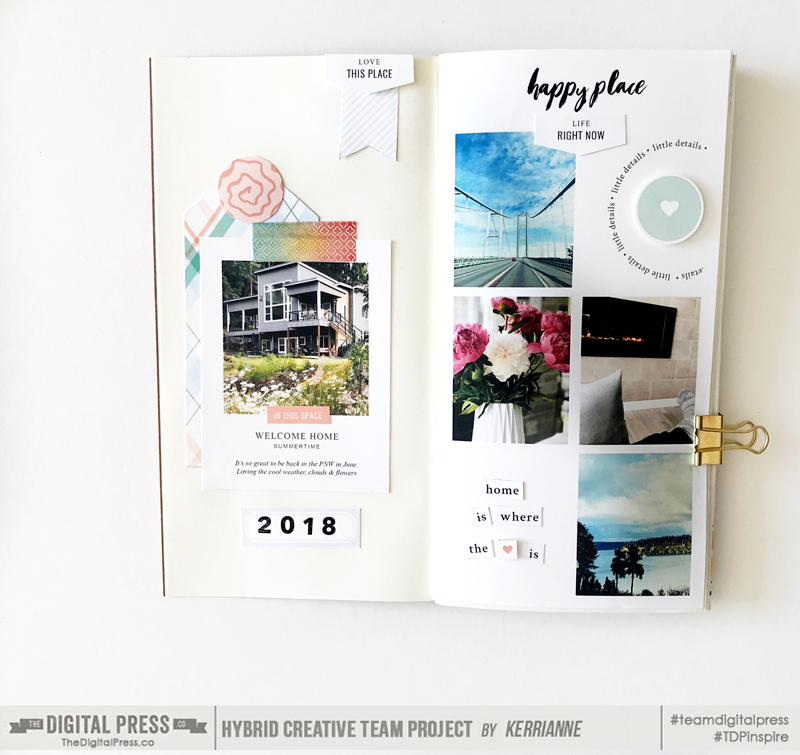
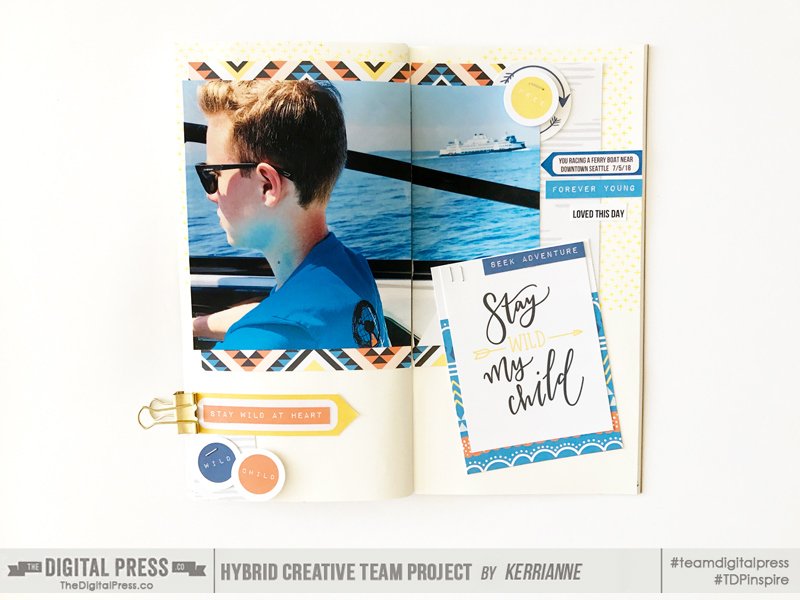
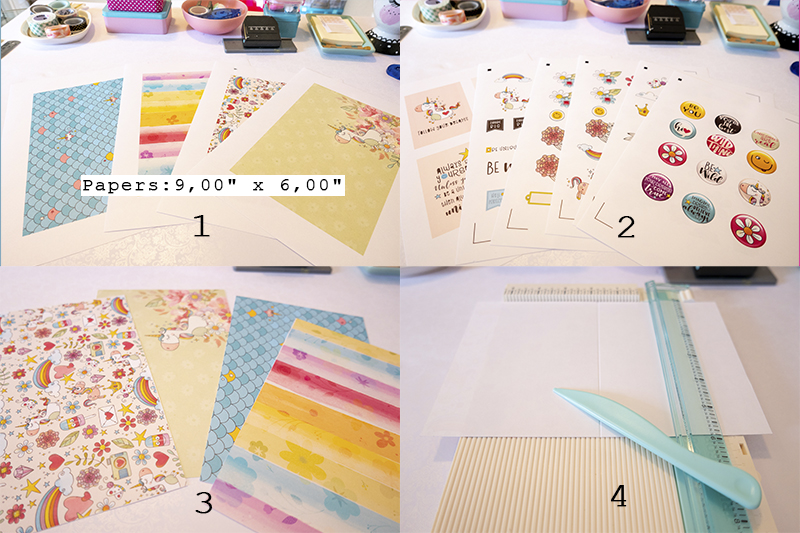
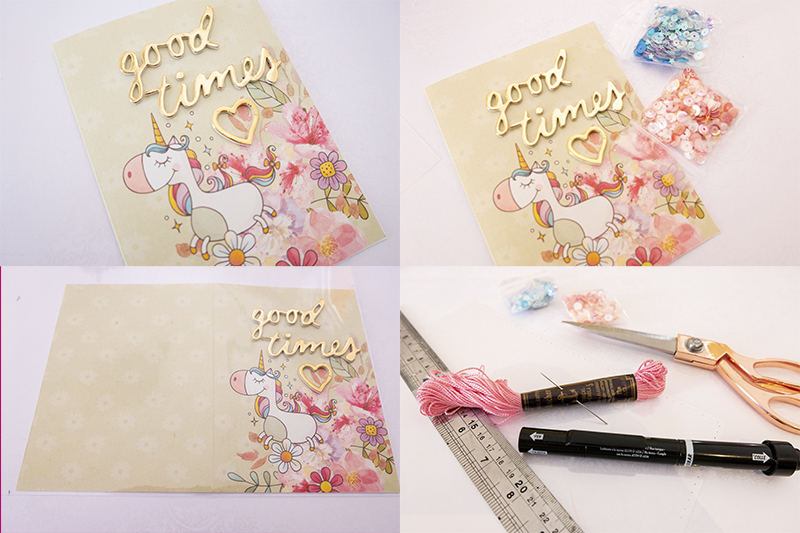
And trust me, it’s all so easy! I simply printed some photos and products I liked, and then played around with putting them together on the pages. As you can see, this format works well for multi-photo pages and also for large photos. I use Epson Premium Presentation Matte paper and a Canon Pixma printer.
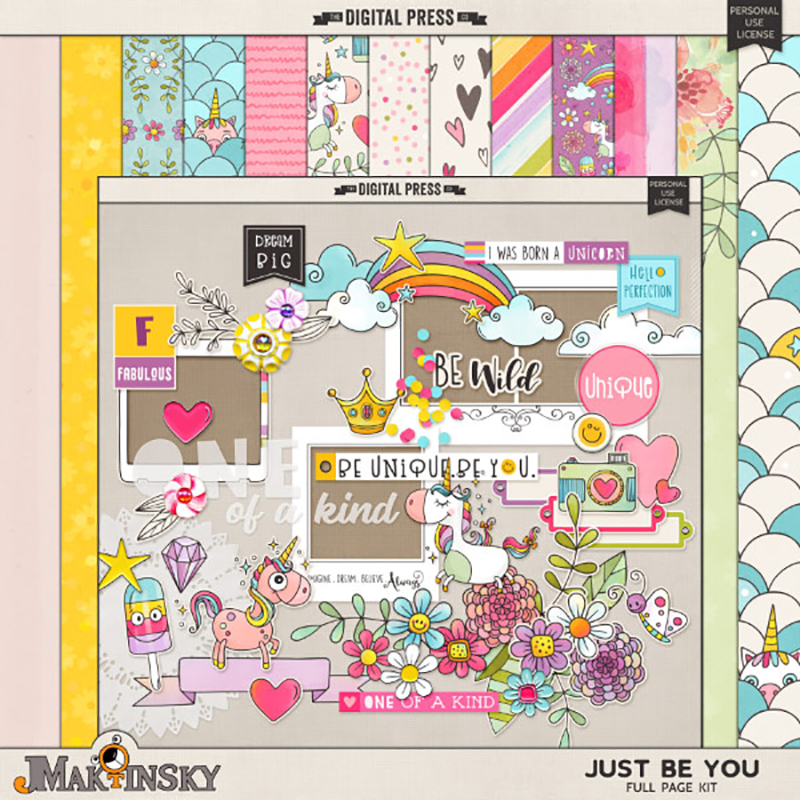
For the projects I’ve shown you, above, I printed digital products from these beautiful kits that you can find at The Digital Press…
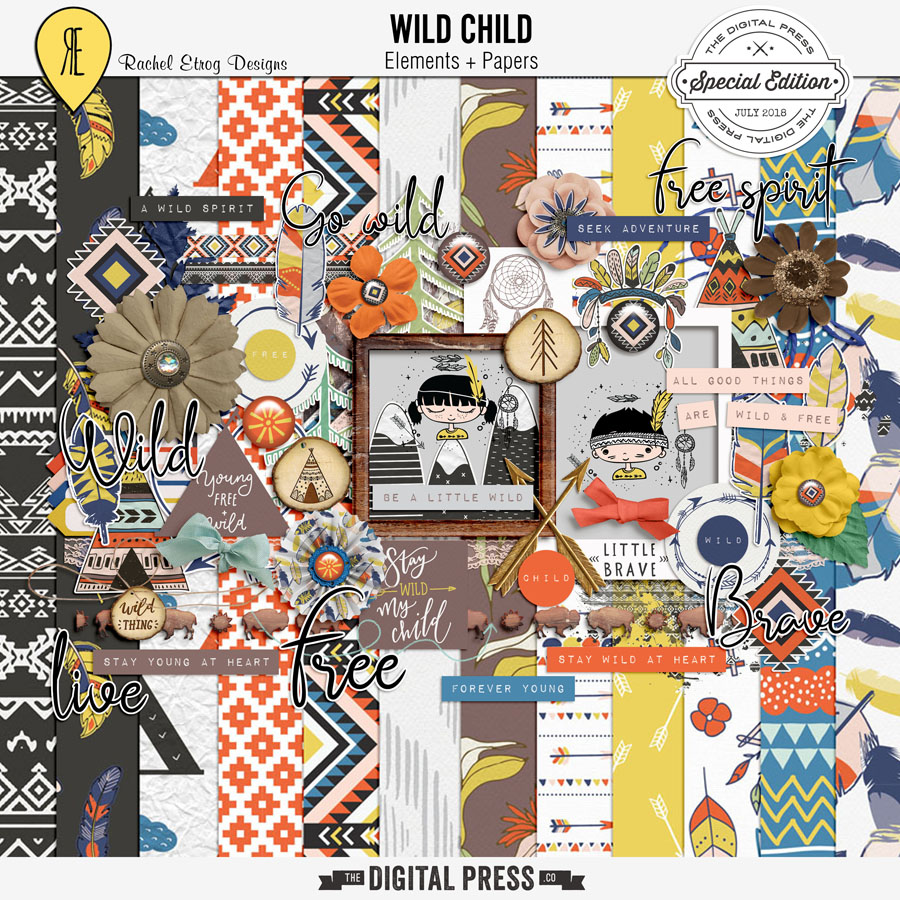
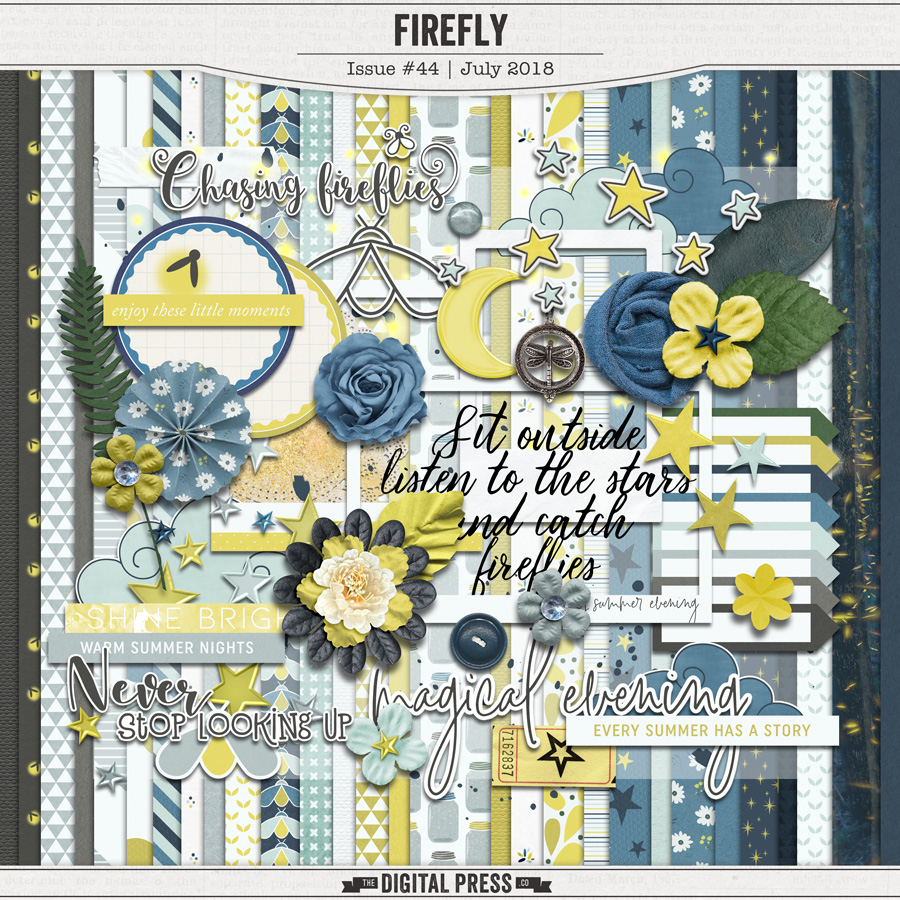
The great thing about a TN is that you can use your favorite digital products and edit/alter the contents, re-size things, and even change a few colors here and there, before printing… in order to have your own personalized scrapbooking supplies ready to add to the TN. And as we discussed above, there are a lot of options to choose from when selecting and beginning a Traveler’s Notebook. Here are a few final thoughts you might consider, as you get ready to give this a try…
- the cost — you can spend a lot or a little
- the size — standard or regular is used by most scrapbookers (it is approximately 8.5″ tall by 4.25″ wide)
- the paper inserts/refills — the color, weight and the style; grid, dot and lined patterns are popular
- the topic — decide whether you want your book to be about a specific topic or just a bunch of random photos & stories you love
- the record-keeping — TN’s are a great way to journal your thoughts, and many people use their own handwriting rather than typing
- the supplies — use your digital supplies in a whole new way; journal cards, labels & pattern papers work well
- the contents — large, full-size photos are dramatic and pair well with papers, journaling and embellishments
- the rules — there are really NO rules! Just play around and find out what works for you!
- the starting point — really, just get started! it’s so much fun to print, touch, and play around with the items you add to your TN
The important thing is to have fun with it and make it work for you. We would love to see what you create using products from The Digital Press, so please feel free to leave us comments and link us up to any projects you load into the hybrid gallery here at TDP!

About the Author KerriAnne is a homebody who resides in the desert SW. She started scrapbooking when her kids were little and hasn’t stopped despite the teenagers rolling their eyes and sticking out their tongues! When not scrapping or being a chauffeur, she can be found consuming large amounts of iced coffee.


 About the Author Jan is a high school teacher, wife, mom, and grandma who spends most every little bit of free time she gets documenting her family’s memories through digital scrapbooking. She is a summertime sunshine and beach lover who gets her energy from being outdoors. She is currently looking forward to retirement and a beach chair with her name on it and someone bringing her fruity drinks on command!
 About the Author Carrie is a creative team member here at The Digital Press. She and her family enjoy spending time outdoors year-round near their home in Colorado. In addition to scrapbooking and the occasional hybrid home decor project, Carrie also reads voraciously, accumulates fabric, makes soap, brews beer, grows hops, and tries to keep indoor plants alive.

 About the Author Corrin is a member of the creative team here at The Digital Press. She is a fan of the Big Bang Theory and a lover of cozy pajamas or flip flops when the sun finally shines! She lives in the breezy South of England with her husband and 4 crazy kids, who regularly discover & plunder her secret chocolate stashes, and hopes that maybe this will be the year she reaches the bottom of the laundry pile!