
The next time you use a mask for your paper or image, try using the gradient tool to blend it into your background layer. Trust me, it’s fun and easy to do. Let me show you how!
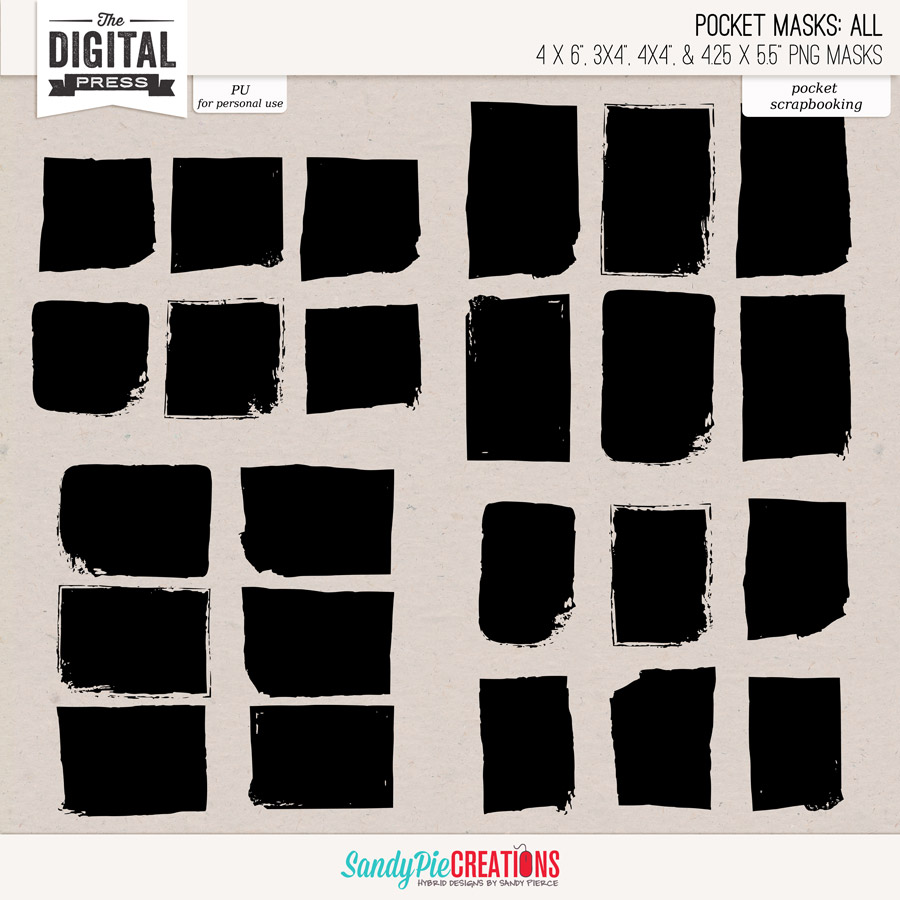
I have used Photoshop CC for my tutorial. I also used a mask from Pocket Masks by SandyPie Creations, shown here…
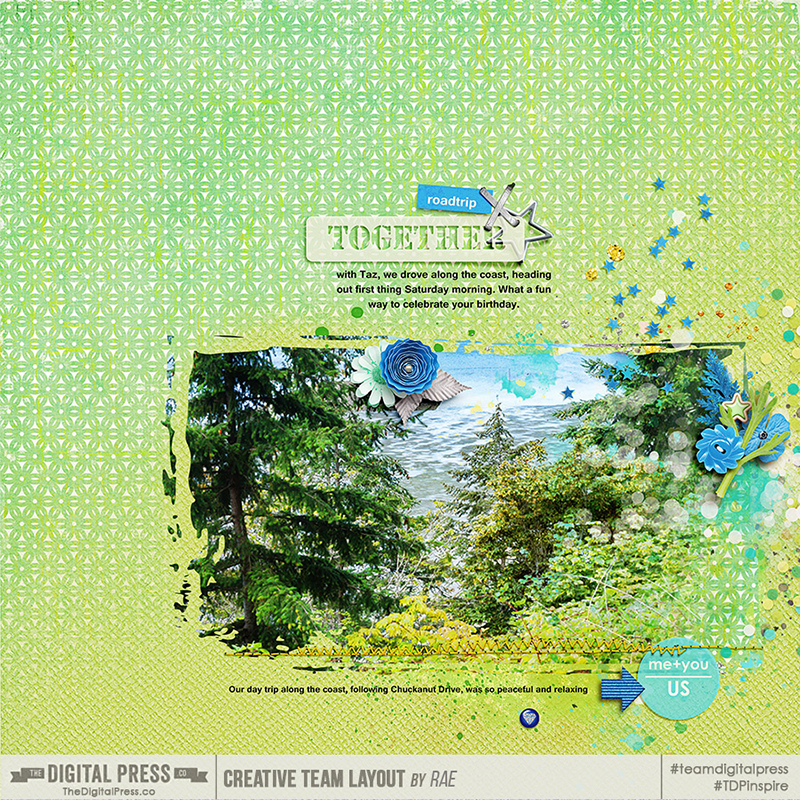
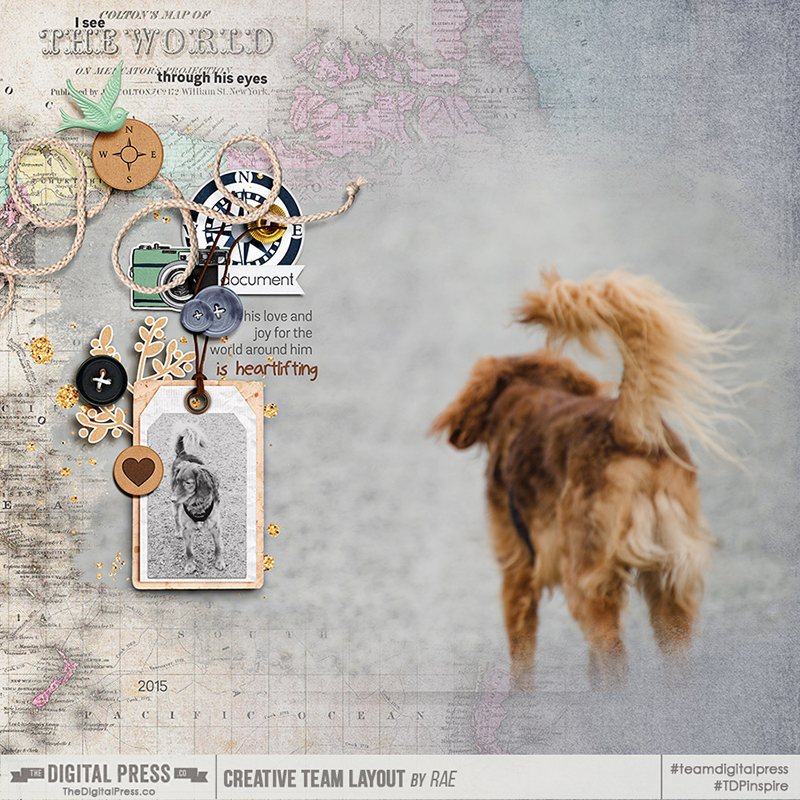
In my first sample, below, I started with a solid paper background, then a patterned paper on top of that. Next came the mask, on top of the papers.
I used the gradient tool to blend some of the top background paper layer into the photo mask (see the bottom right corner of the mask)… and then I used the gradient tool to blend the two background papers together (patterned paper on top layer, with a solid paper on layer below).
How do you do this?
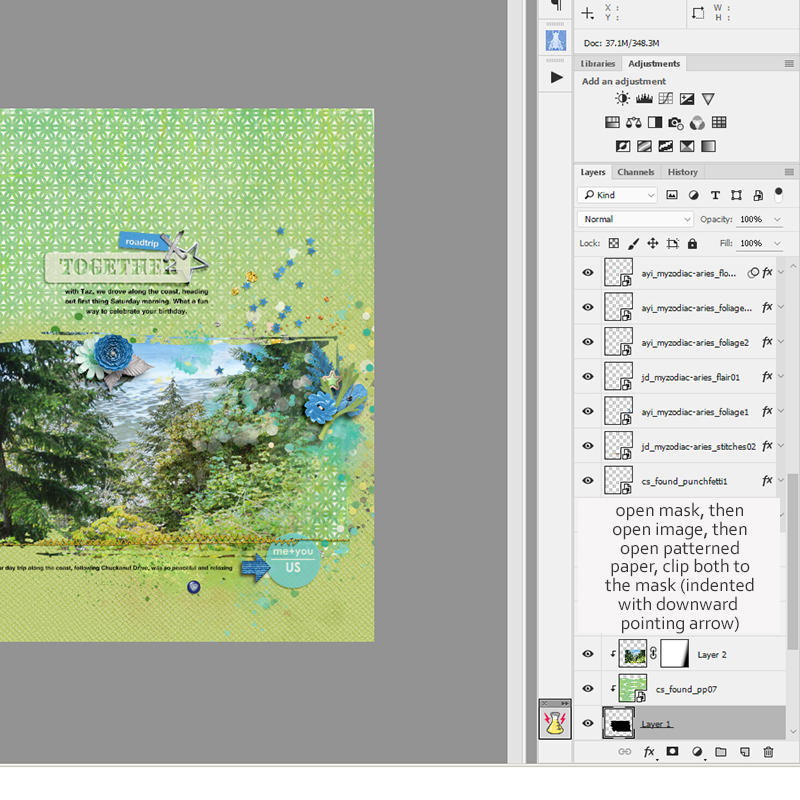
- I opened my image into Photoshop, on the layer above the mask… and then I clipped the image to the mask (you can do this more than one way — CTRL-ALT-G is the most common, but I prefer to press the ALT key, and then hover cursor between the two layers in the palette and click; you will see the cursor turn into a downward pointer to indicate that the layers are clipped together).
- Next, I duplicated and dragged the patterned paper layer into the mask (press ALT key and drag the paper layer upward into the mask), placing it between the clipped mask and image layers, clipping that also to the mask.
- Highlighting the image layer, I selected the “add layer mask” icon (below the right-sided layers palette), and then clicked inside the white box.
- To access the gradient tool, use the shortcut key “G”, in the options menu above, click onto the drop-down arrow to open the gradient editor, and select the 2nd box from the left …which is the foreground to transparent gradient.
- Next, select the linear gradient (five boxes showing different gradient, linear is the first on the left). By dragging from the bottom right of the image towards the middle, I erased part of the image to allow the clipped patterned paper to show through.
 What I like about using the gradient tool — rather than brushing away parts of a layer (which is also fun, and simply achieves a different look) — is that it creates a gradient, or a gradual blending of one layer into another. The gradient of the blending is determined by the type of gradient chosen, and also by the placement and length of the gradient that you draw.
To allow some of the solid paper to show through the bottom right side of the page, I highlighted the patterned paper layer (just above the solid paper layer) and clicked on the “add layer mask” icon, I pressed “G” to select the gradient tool, and dragged from the bottom right corner up towards the upper left. I repeated this a few times until I had achieved the gradient I wanted.
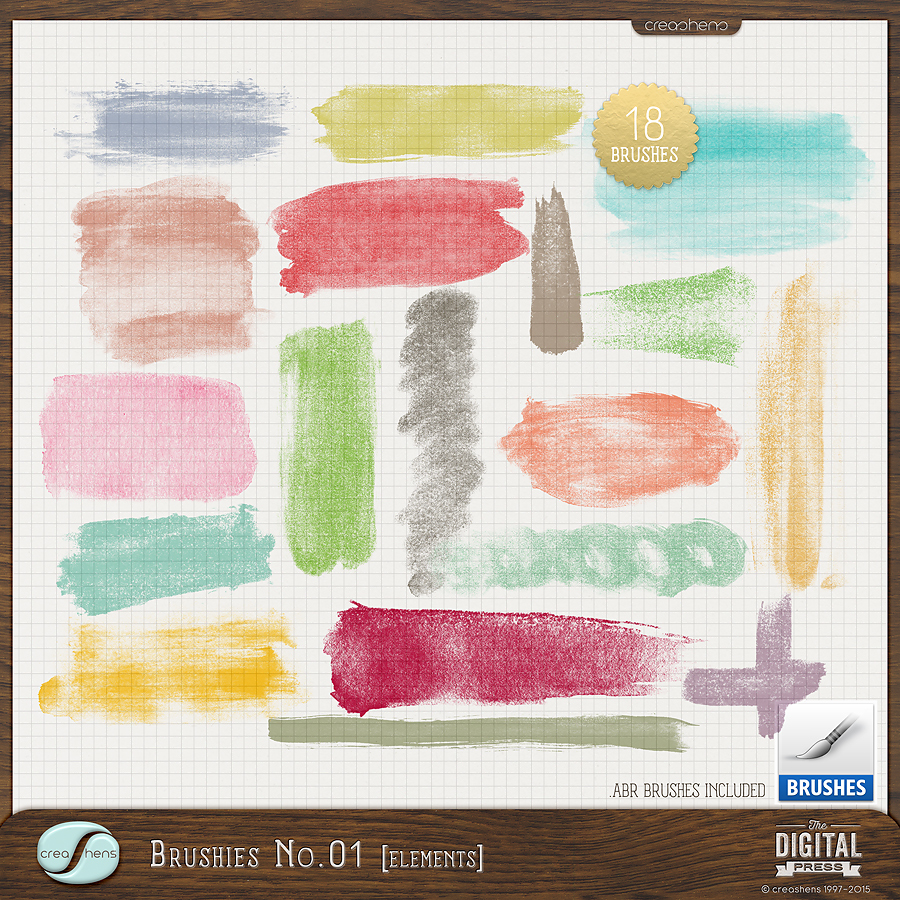
I created a second sample page, as well… this time, using Brushies No.1 by creashens, shown here…
I selected a few brushes and merged them together (to create my own mask shape), and then enlarged it before clipped my image to it. I chose a patterned pattern and solid paper that closely matched the grey road in my image…
After highlighting the patterned paper layer, I selected the “add layer mask” icon and pressed the “G” key to select the gradient tool. By dragging from right to left, more of the underlying gray solid paper was visible with the patterned paper more faded on the right side.
The gradient tool is one of my favorite photoshop tools, and I bet it’ll become one of yours too, after you give this tutorial a try and begin playing around with different gradient options!
 About the Author Rae is part of the creative team here at The Digital Press, and has been a scrapbooker and photographer for many years. She lives on the west coast with her hubby and labradoodle, Taz. She’s addicted to chocolate, TV shows, and books!
Masks are the bomb! LOL Thank you for sharing your techniques!
Su