Hi everyone, and welcome to another edition of our Hybrid How-To series here on The Digital Press blog! Today, I’m here to show you how to create a very fun and easy mini book that you can make to keep your memories in a small and beautiful way.
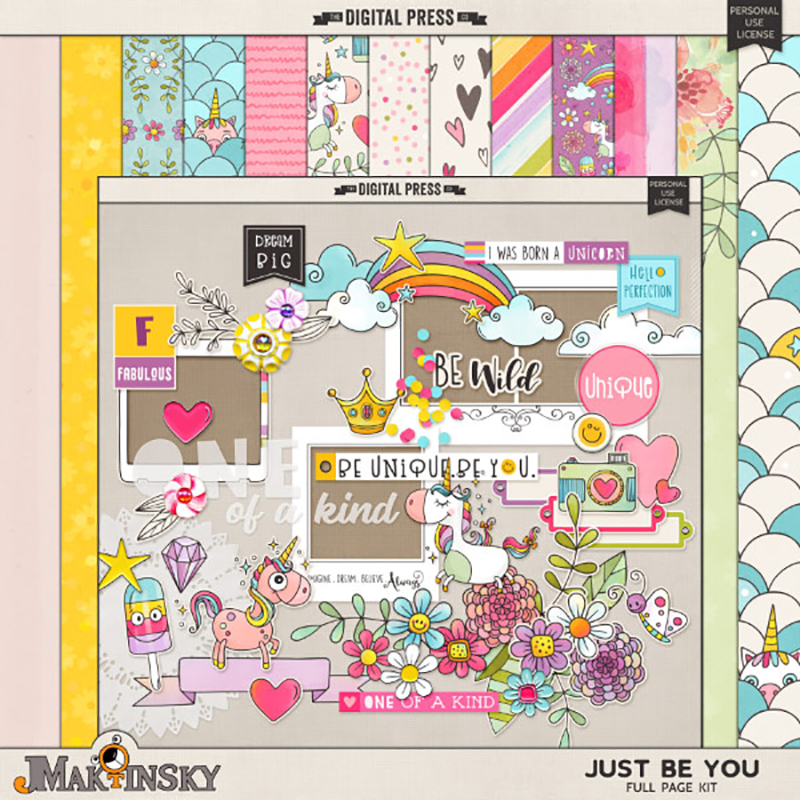
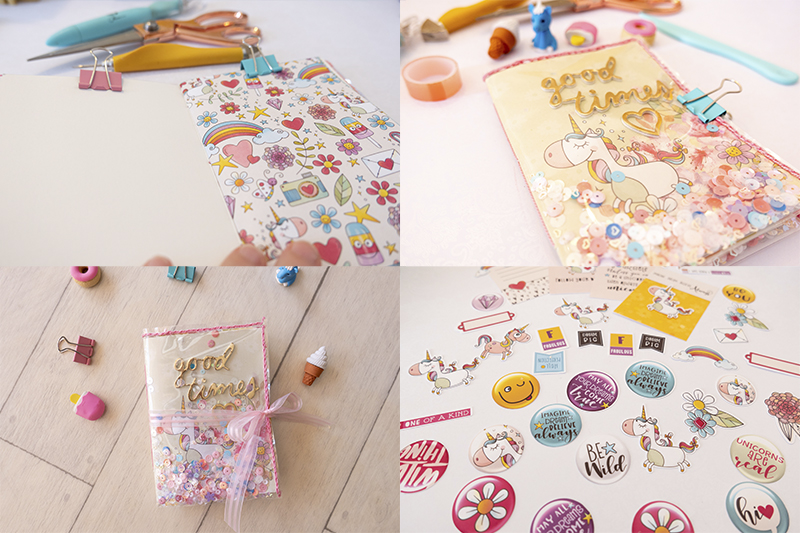
For my project today, I will be using the digital kit (and also cards) Just Be You by Julia Makotinsky, shown here…
Let’s get started on our our mini book!
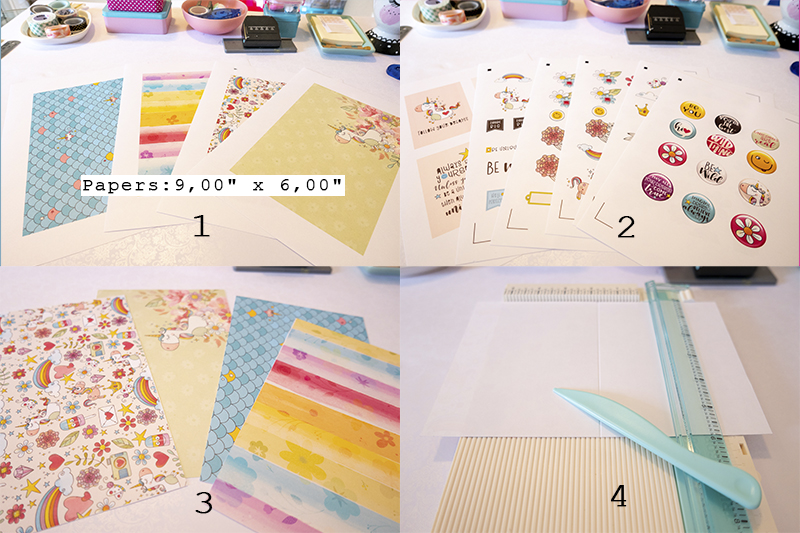
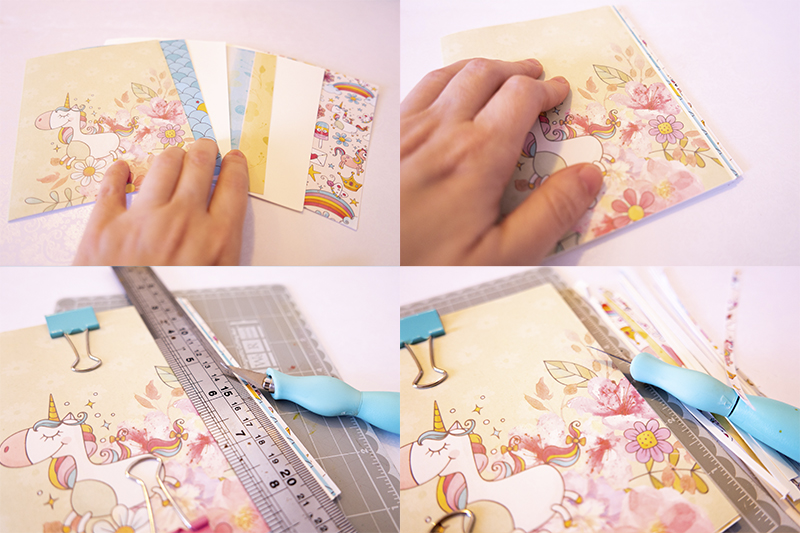
The first thing to do is to choose (a) the size of your mini book, and (b) the digital papers that you want to use.
I chose to make my mini book in the size of 4.5″ x 6″. I also chose several elements and cards that I planned to use to embellish my project.
As seen in the photos below, after choosing the papers, I printed them in the size corresponding to the mini book. Then I cut and folded each sheet in half…
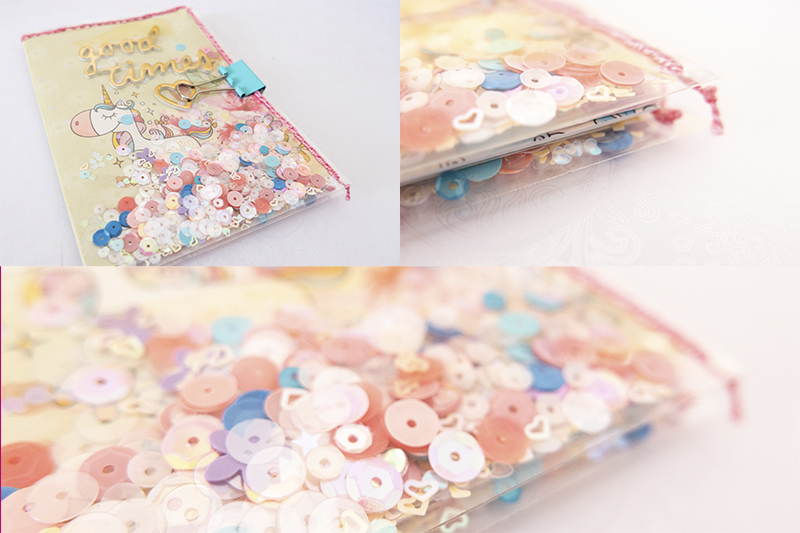
I wanted to make a fun cover for my mini book and use sequins for a magical unicorn effect. To do so, I decided to use a plastic page protector to put my sequins/embellishments inside and make my cover. First, I added a fun dimensional title onto one of my printed pages…
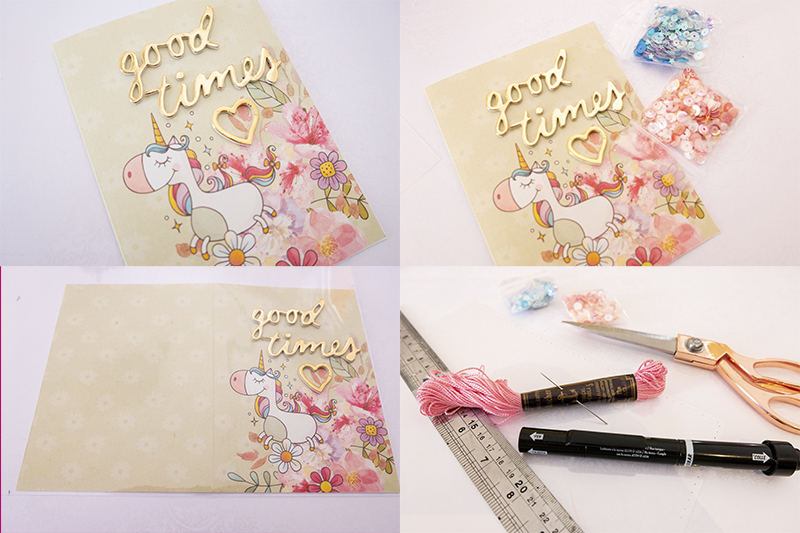
Then I added sequins and decorations into the protector, and used embroidery floss to sew it shut…
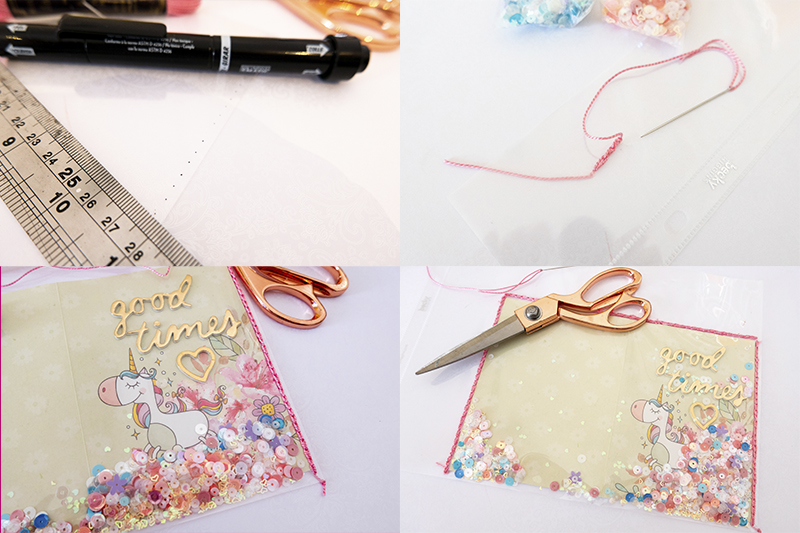
To close the cover, I hand sewed the page protector with an embroidery chain stitch. If desired, you could also use a sewing machine or a fuse tool…
Once I had my cover ready… it was time to make the inner pages of my mini book. The first thing I did was adjust the page sizes and cut off the excesses, as you can see here…
Before I could decorate any of my book’s pages, I needed to assemble my mini book.
*TIP* Make sure all your pages are folded down the middle and arranged in the order that you want them. Use two clips to hold the pages in place. Put an old catalog or a foam mat under your pages and line up their centers. This makes it really easy and safe to punch through all the pages. You’re going to punch three holes using a paper piercing tool. Use a ruler to mark where you’ll punch these holes. My mini book is 6″ tall, so I punched the center hole at 3″, as shown here…
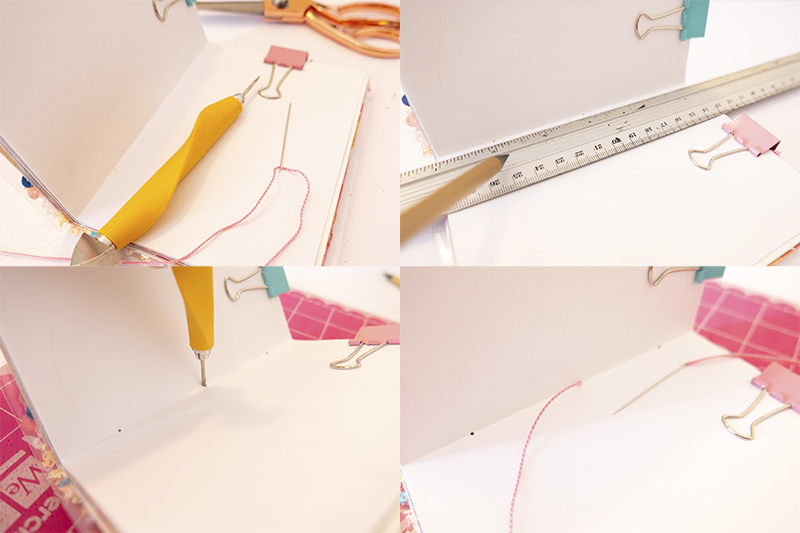
I used the holes I’d punched into my book to attach all of the pages/cover together using embroidery floss…
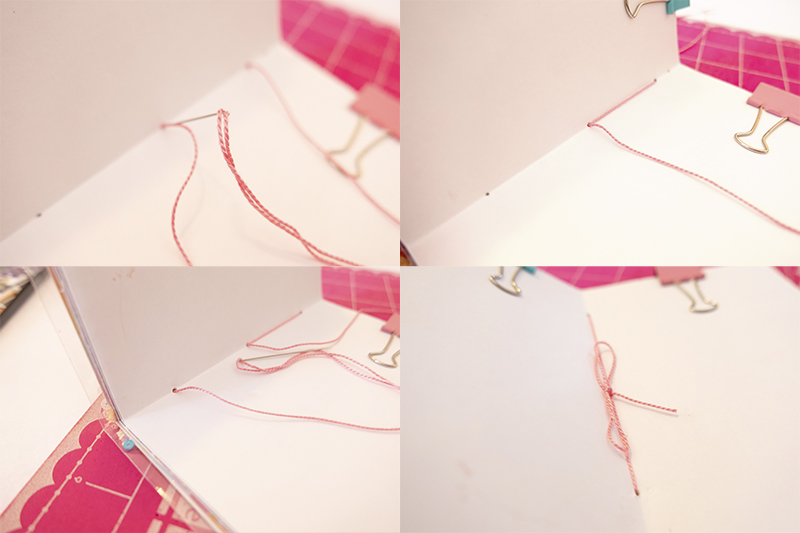
How To Stitch Your Journal:
- You should have already punched your three holes. Thread your needle with a long piece of cotton and thin crochet thread. Start at the center hole, insert the needle from the inside of the journal, and pull the needle through but leave a long tail.
- Push the needle from the outside of the journal through the top hole.
- Next, push the needle from the inside of the journal through the center hole again
- Next, push the needle from the outside of the journal through the bottom hole.
- Bring the bottom hole thread to the center hole and tie both ends. You are done! The book is bound and it’s time to insert our photos and embellishments.
I printed several elements and cards, as you can see here…
Here is a look at a few of my pages once I’d started embellishing them with all of my printed goodies. As you can see, I also used vellum and watercolor paper in order to make my project more fun…
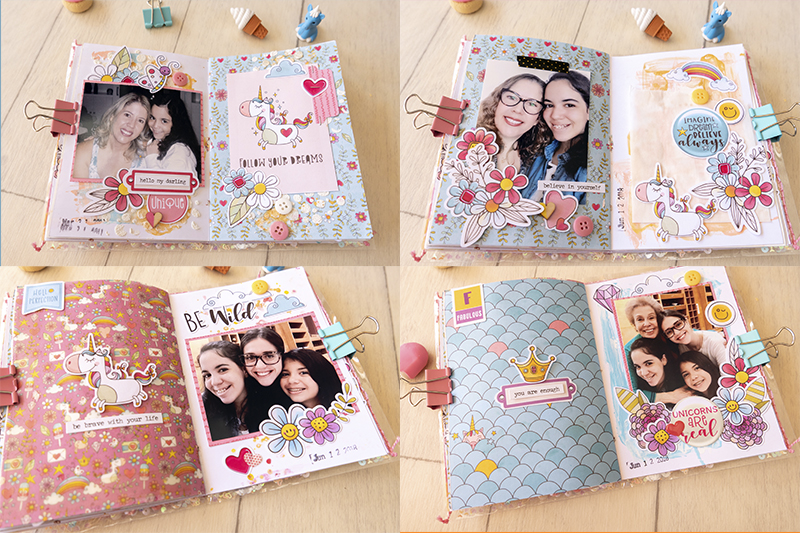
Finally, I also used some mixed media techniques along my project., like watercolors and acrylic paints.
Isn’t this mini book fun? And it’s a very beautiful way to have fun with your memory keeping, as well!
If you’re feeling inspired to give this a try, as well… don’t forget that you can earn challenge points at The Digital Press! Come visit the CROSSWORD SECTION in The Digital Press forum, and you’ll find this month’s Hybrid Challenge thread (for each month’s Hybrid Challenge at TDP, you get to choose one of the month’s “Hybrid How-To” tutorial posts from here on the blog and make your own version). You’ll see how fun it is! Give it a shot, and share your final results with us. We can’t wait to see what you come up with.
Have a great weekend you guys, and happy scrapping!

About the Author Andrea Albuquerque is member of the hybrid creative team here at Digital Press. Andrea has been a scrapper since 2010 and a photographer since 2012… and although she adores the flexibility and creativity of digital, she can’t resist playing with paper, paint, and embellishments. Hybrid scrapping is the perfect medium for her! She lives in Brazil with her hubby.