Are you ready for this month’s theme: Harmony? I have a quick tutorial for you about “harmonizing” papers in Photoshop. Don’t you just love all those realistic wood backgrounds in digital kits? Although they look great (and are much easier to scrap on than the real thing), it can sometimes be difficult to make your pages look realistic – especially with journaling and painty elements in the background. I have a quick and easy tip for harmonizing traditional scrapbook papers and journaling with those fabulous wooden backgrounds.
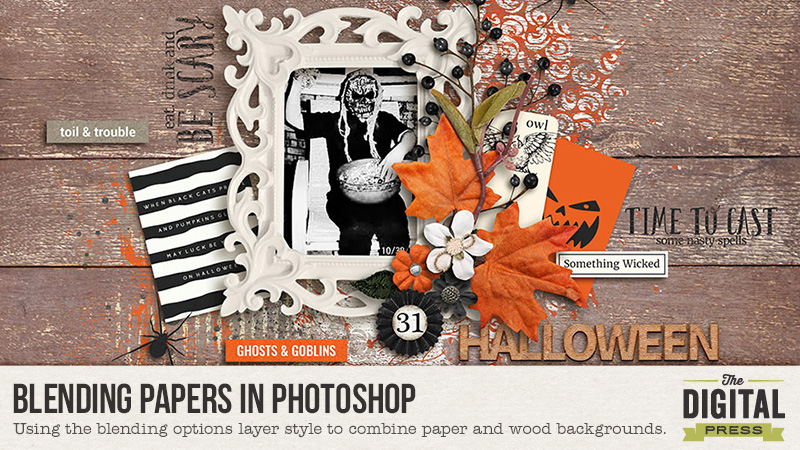
Here is a sample of the problem:

Notice how the paint element, jounaling and masked papers seem to be floating on top of the wooden background? If these elements were applied to this type of background IRL, it would look much more muted and textural. So how do you achieve this effect in Photoshop? It’s as easy as 1, 2, 3 . . .
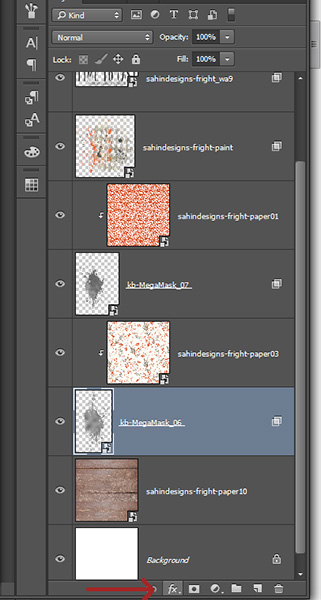
- Layer the paint, journaling or papers on top of the wooden background.
- With the paint, journaling or paper layer active, click on the layer style icon at the bottom of the layers panel.
- Adjust until the element is blended to your liking.
The Blending layer style is located under the layer styles icon (fx) at the bottom of the layers panel in Photoshop.
Just click the fx icon and then choose Blending Options:
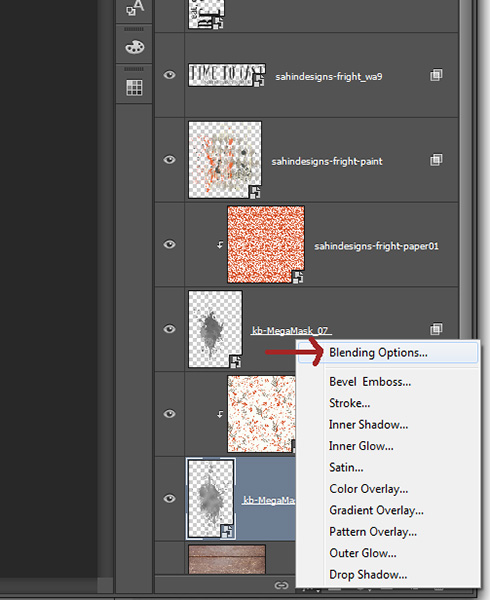
Once you click on Blending Options, the blending menu will appear:
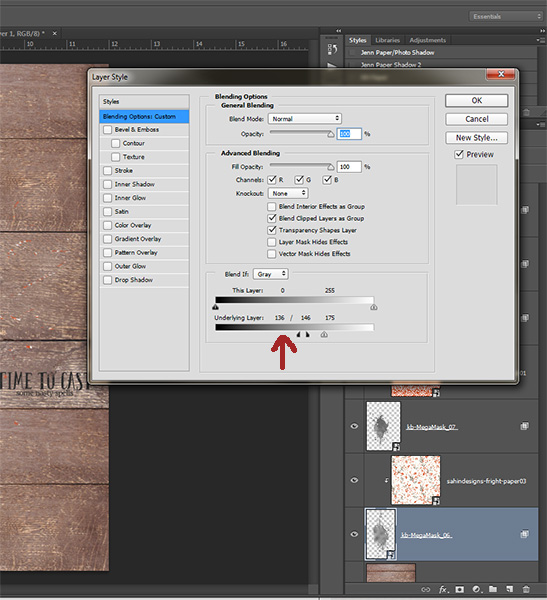
To change the appearance of the paint, journaling or paper just move the black sliders to the right and white sliders to the left until you achieve the desired result. You can also make the effect more muted my splitting either or both of the black and white sliders. As shown above, I split the black slider slightly on my page. I did this by placing the cursor on the right side of the black slider and hitting the Alt key while pulling the right side away from the left side. There is no one perfect recipe for using this blending option, you just have to play with it until you achieve the look you want.
And here is my finished layout, with the blending effect applied to the background papers (I actually applied it to the masks that the papers were clipped to), the journaling and the paint element:
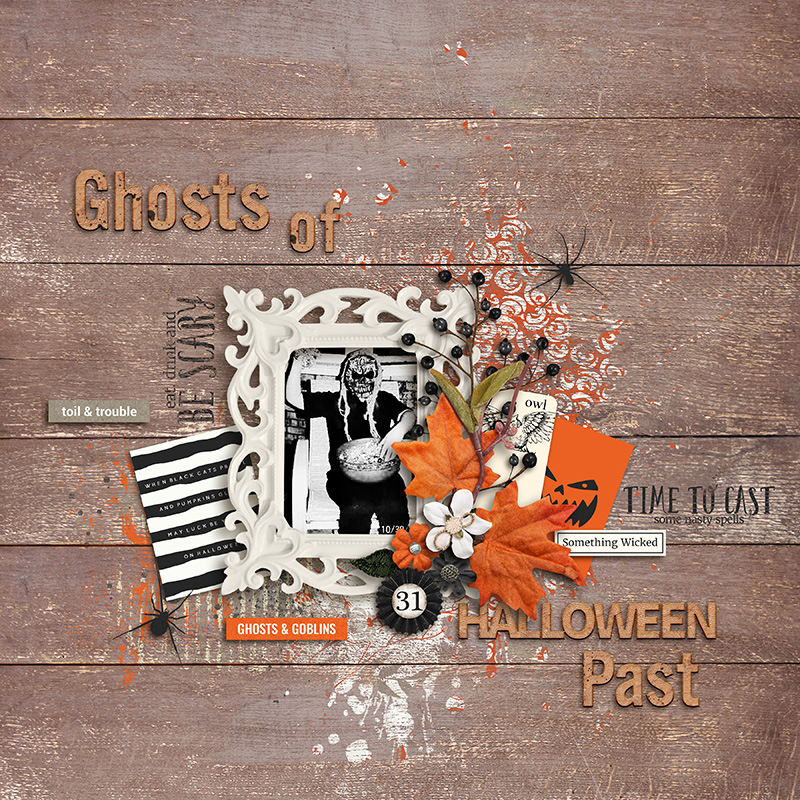
Ahhh, that looks so much better! You can also use this tool to blend an entire background page onto another (which I especially like to do with wooden background papers). Have fun with it and be sure to link up your blended creations in the comments.
Until next time ~
Judie
 About the Author: Judie is a member of The Digital Press creative team. She spends most of her time engaged in creative endeavors of all sorts. Traveling, Starbucks, football and Harry Potter are just a few of her favorite things.
Thanks so much for sharing your tutorial! I was wondering how to do this….Now I just some time to follow along!!