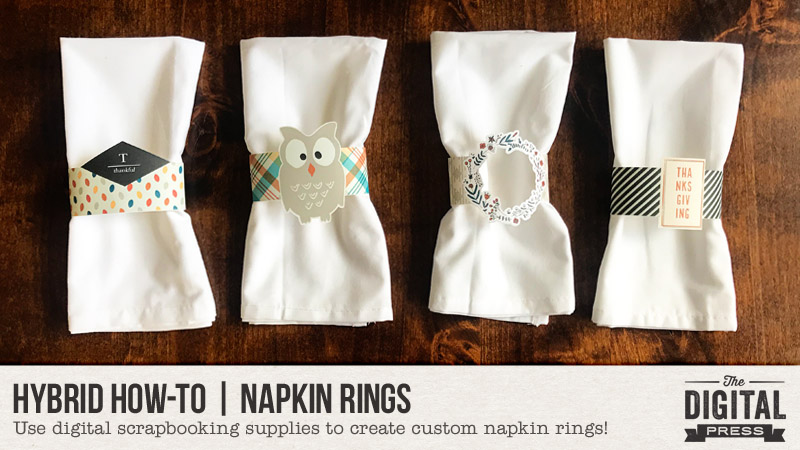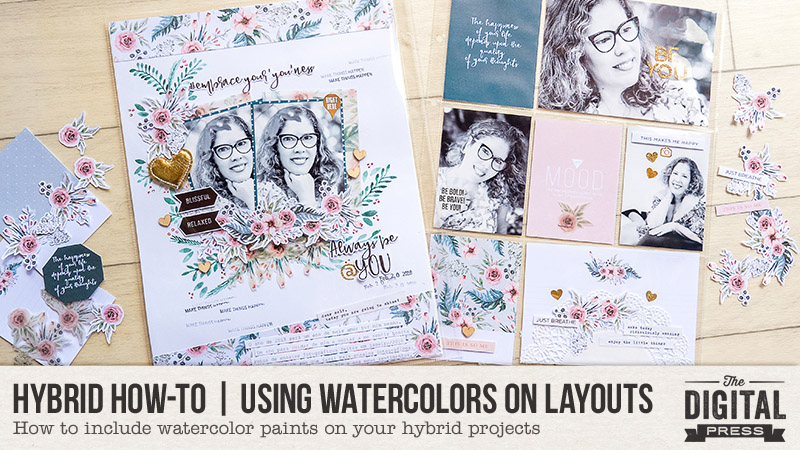
Hi everyone, and welcome to another edition of our Hybrid How-To series here on The Digital Press blog! Today, I’m here to show you how to create a physical layout using watercolors (using fun paint that you can make to perfectly match your digital kit).
If you’ve followed my posts here on the blog in the past, you know that I love working with paper and physical elements — and especially stamps. I also love to use watercolors on my scrapbook pages! Sometimes, I even scan my paints and turn them into digital printables. It’s so much fun, and I can match my paints with my digital stash and stretch my crafty budget that much more.
The first thing I’ll tell you when it comes to using paint on your layouts… don’t be afraid! Trust me, it’s easy, fun, and even relaxing! Think of it like this: we’re not going to make a painting to go into a gallery… we only want to make pretty stuff for our own layouts! 🙂
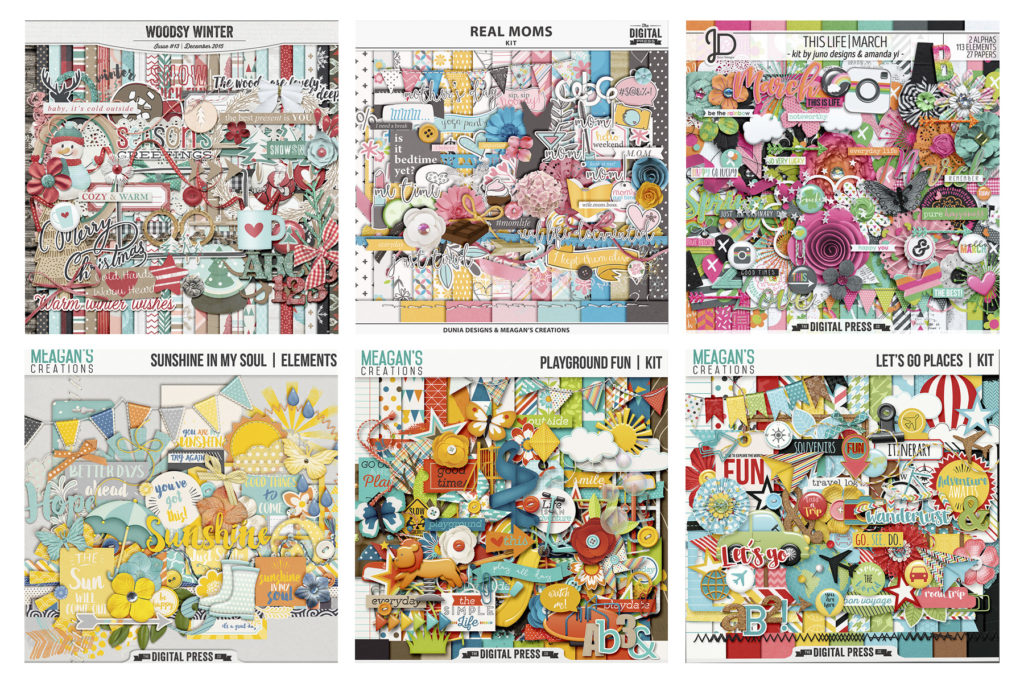
For my project today, I will be using the digital collection Mood by Anita Designs…
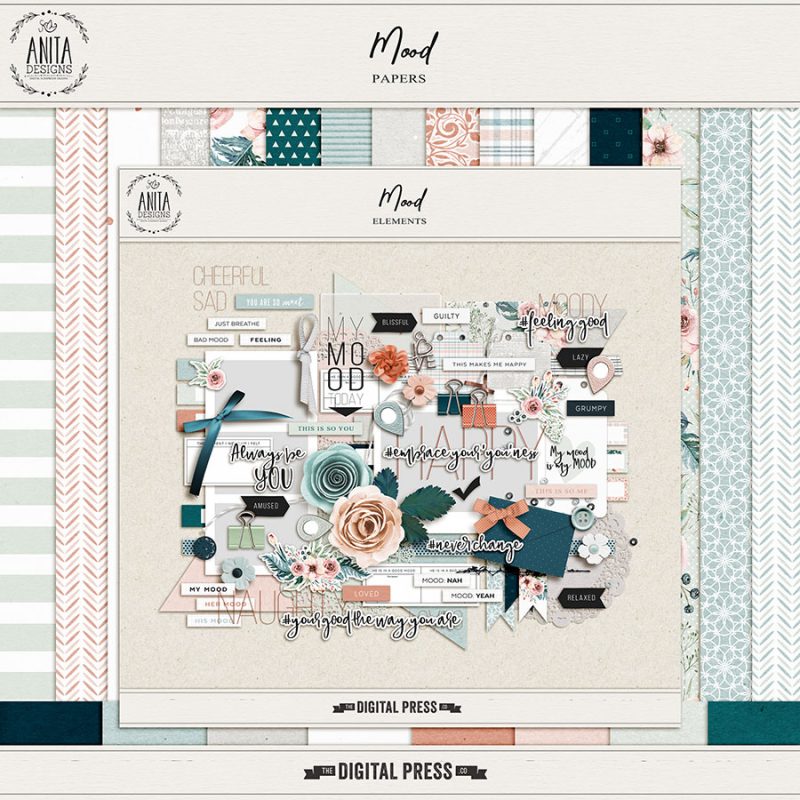
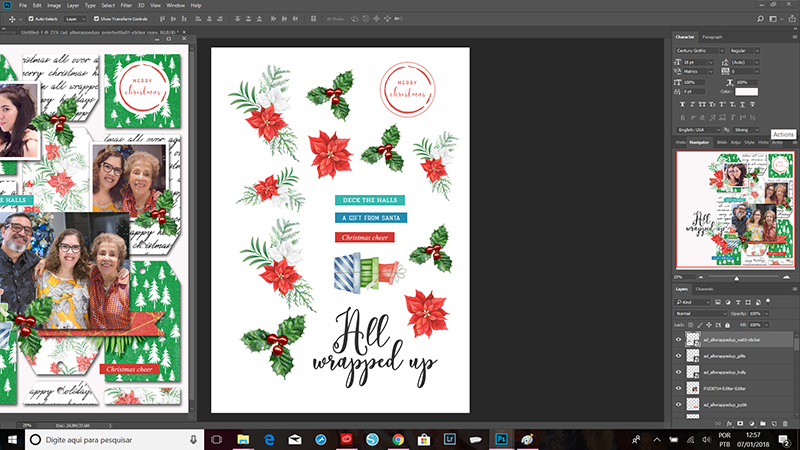
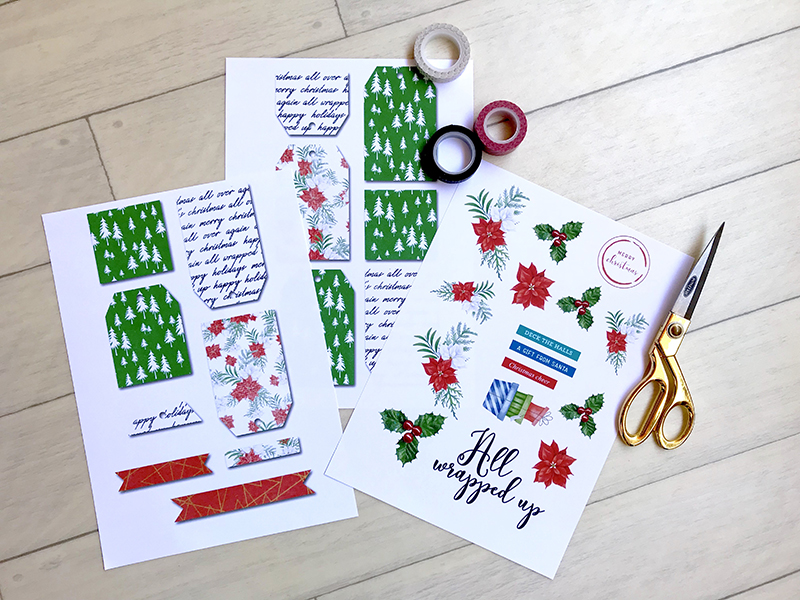
When I first saw the gorgeous watercolor florals in this beautiful collection, I knew I wanted to paint something to match them. Then, I started thinking about painting some leaves below the printed florals. For my project, I actually didn’t make a previous digital version in Photoshop (which, sometimes, I do). This time, I simply chose my favorite elements, cards, and papers and then printed all of them, as shown in the image below…
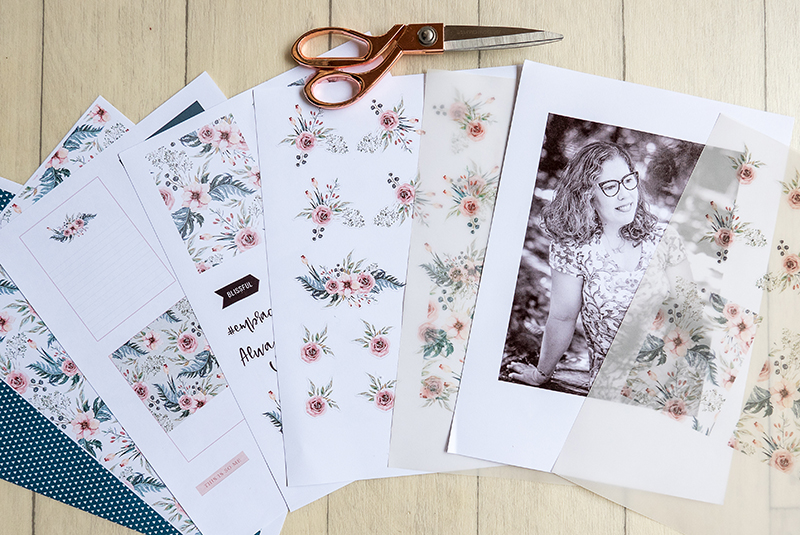
I also printed some florals and cards onto vellum paper (see it on the right, above). Look how beautiful and soft they turned out! 🙂
When choosing these items and printing them out, I actually knew that I might not use all of the items… but it is not a problem. Now I have some pretties ready to use in my memory planner, which I love to play with as well!
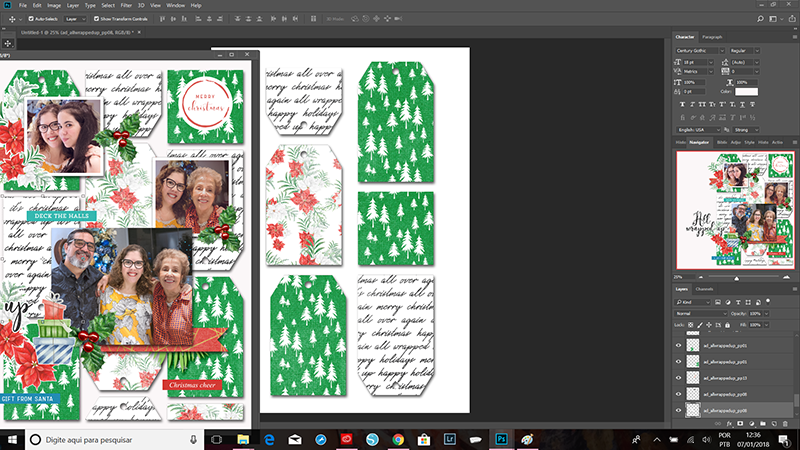
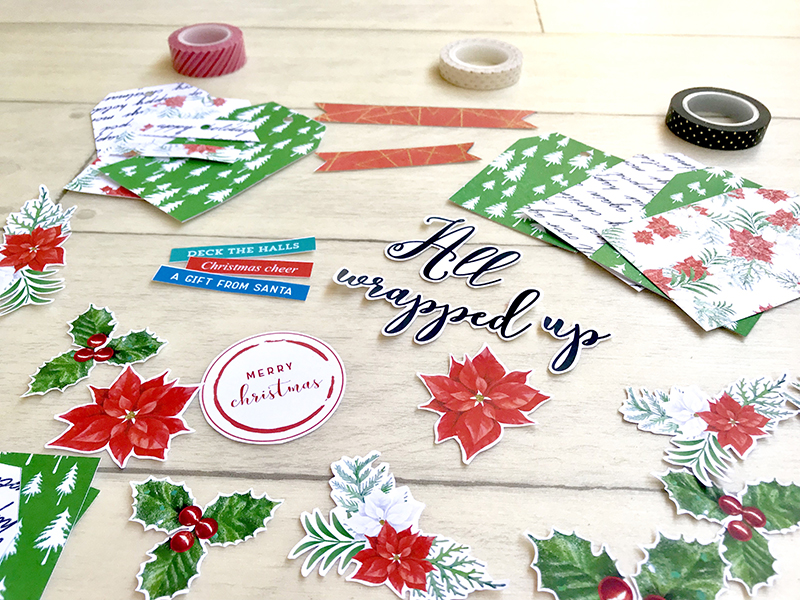
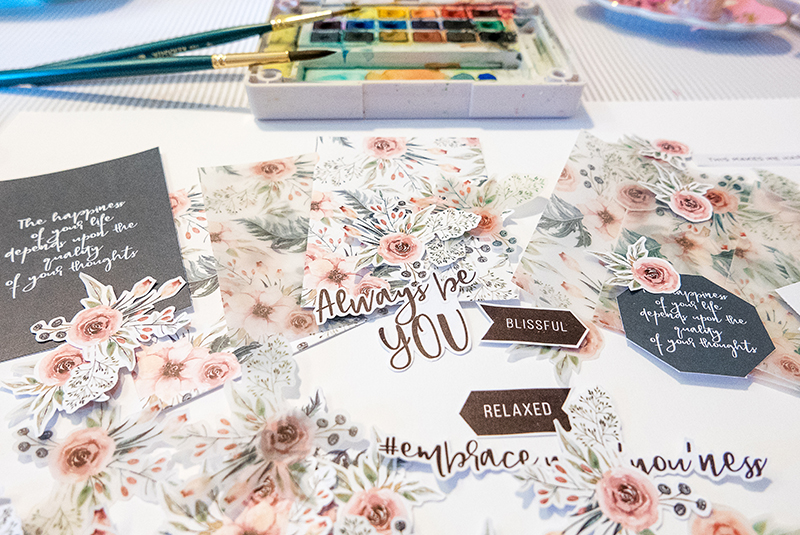
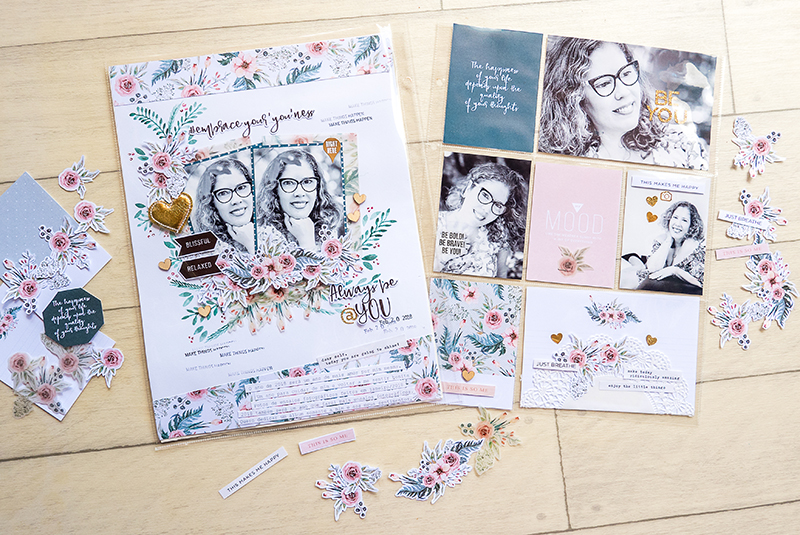
After I printed all these goodies, I had some fun relaxing and fussy-cutting them, while planning out my spread. You’ll see below that I made a spread with a traditional scrapbook page and a pocket page.
Finally, after cutting it all out… here is the gorgeous stuff that I had in hand, ready to play with…
With all of these items in hand, I started thinking about my color palette… and then I grabbed my sketchbook and began testing some different greens…
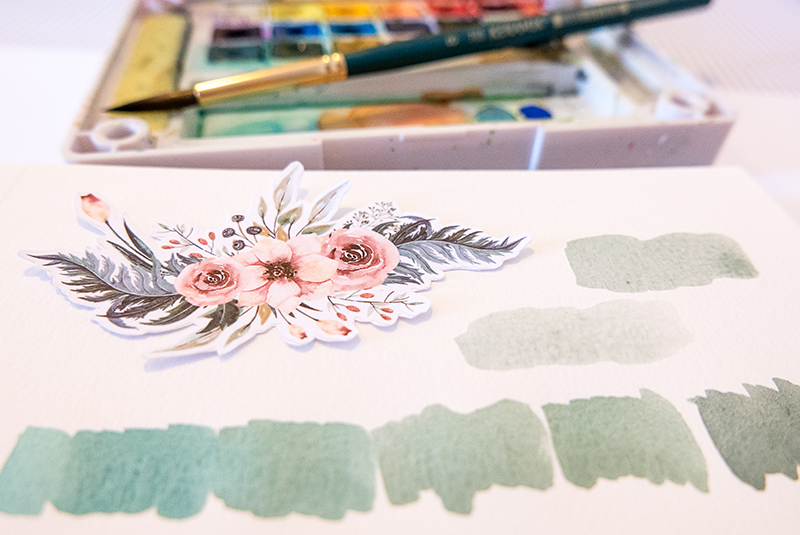
After choose my color scheme, I painted some samples on my sketchbook, just to know how I’d like to arrange my leaves…
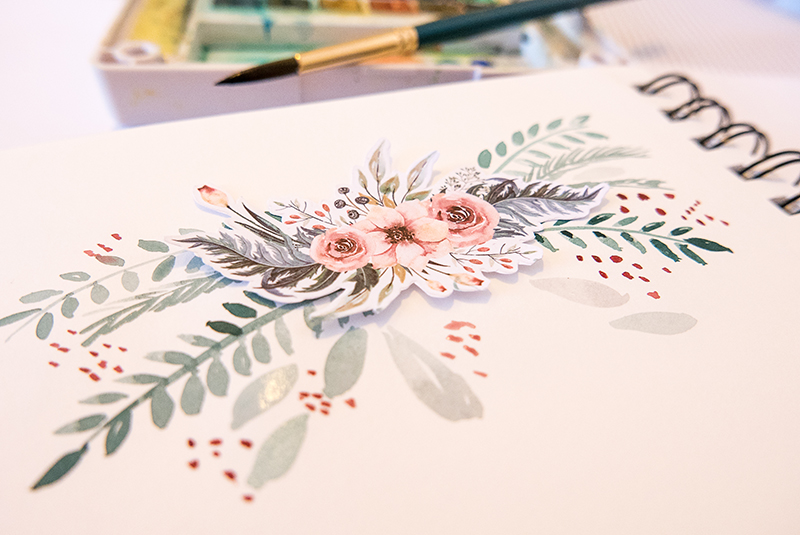
Here’s a look at my painted leaves underneath one of the pretty sticker elements from the digital kit I worked with…
When I was satisfied with my paint, I grabbed my white cardstock paper and arranged my photos and mats… just to make sure where to paint my leaves…
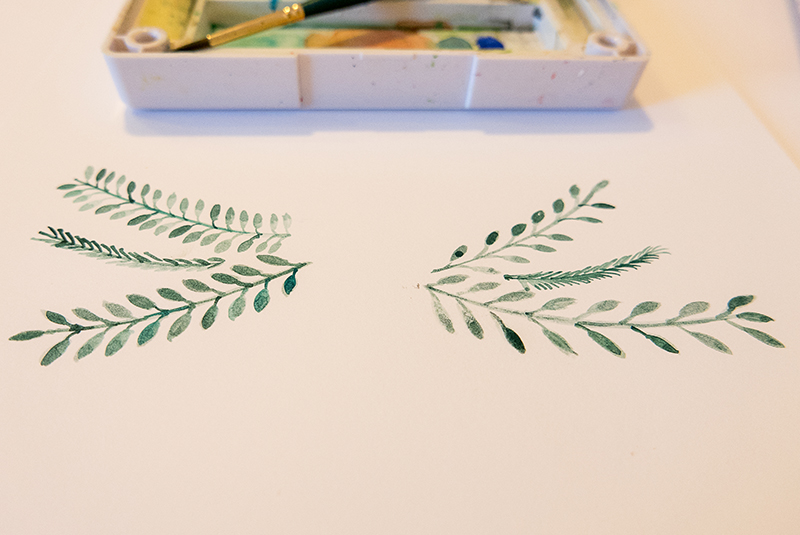
I made a mark on the middle of my page and just painted some leaves, branches, and berries… very similar to what I had done before in my sketchbook while practicing…
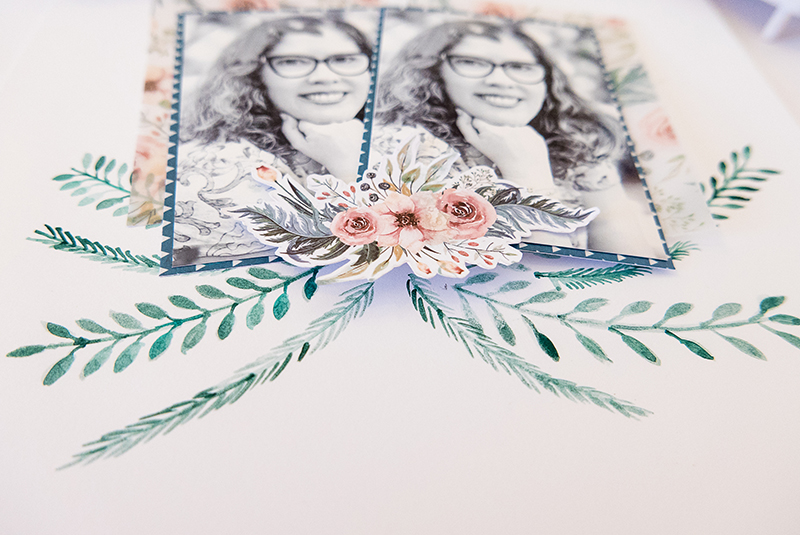
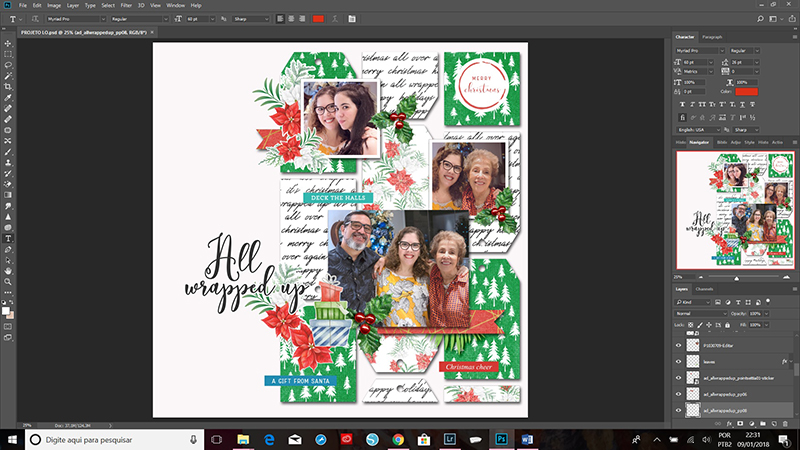
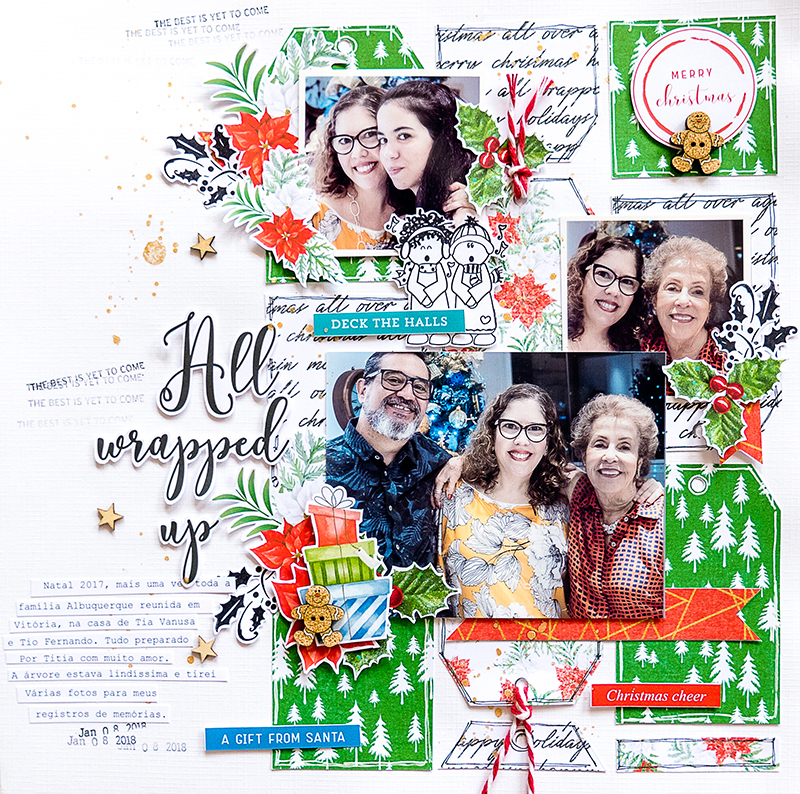
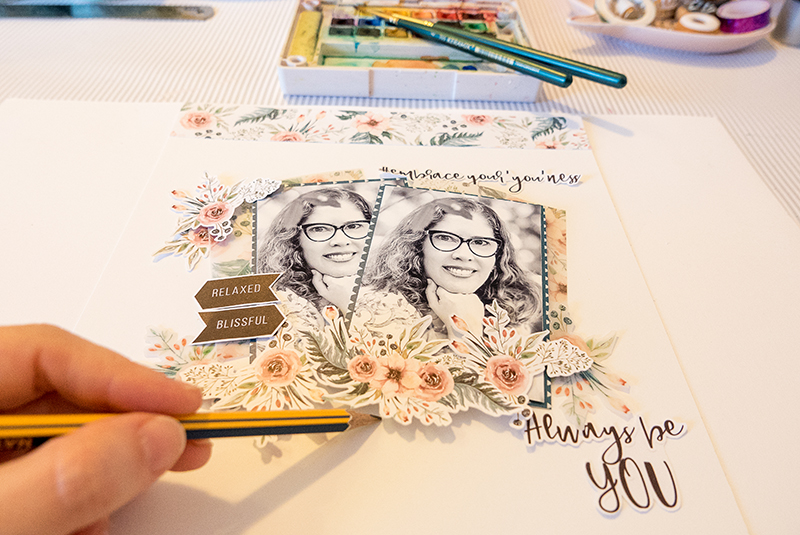
Here is a look at my 2-page spread after I had finished my paint and placed some floral stickers, word art pieces, and some other word bits in a simple design with the patterned paper as a border…
Then, after placing my photos and elements, you’ll see that I decided to paint some more leaves onto the upper left corner, in order to give more balance to my design.
I also used the vellum cards as the mats for my photos, and also placed some vellum florals as the first layer of my clusters.
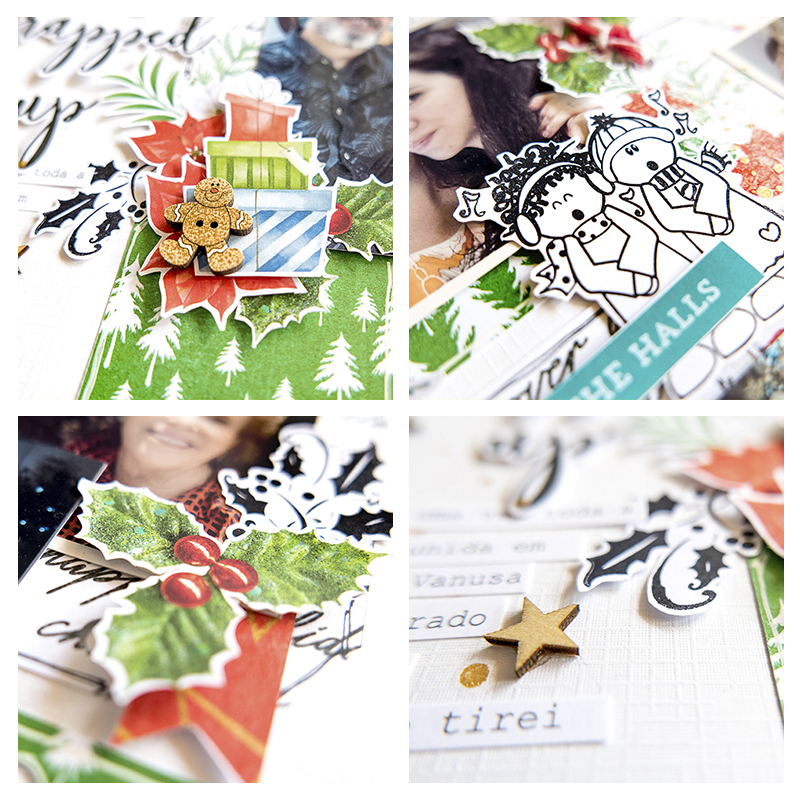
Here’s a close-up view of a few different areas of the project…
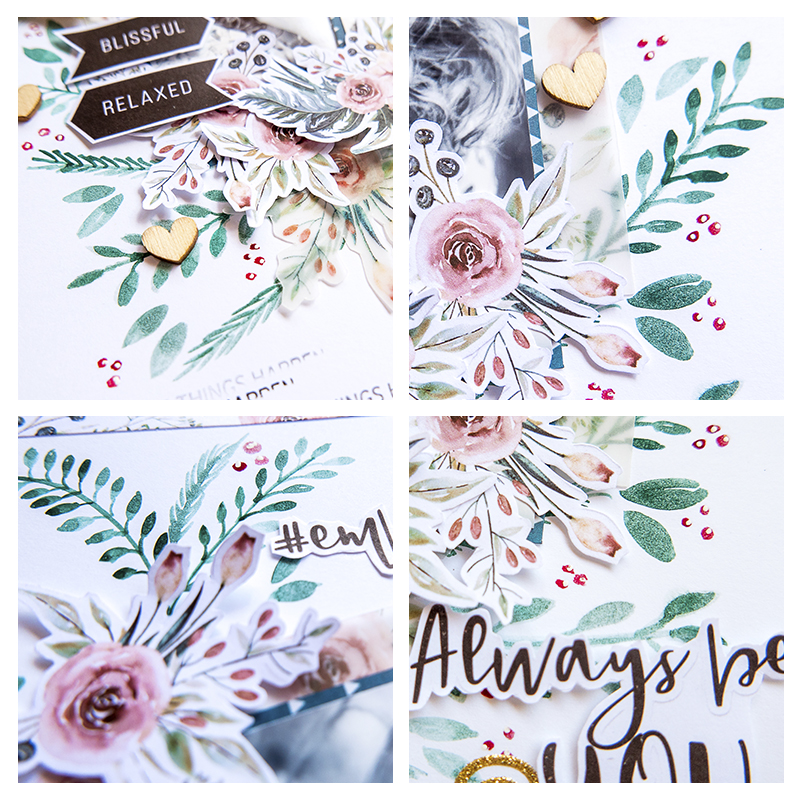
Finally, to finish things off, I added some stamps, some wood veneers, and some gold stickers along with a gorgeous big gold heart.
I like to print my journaling and cut it into strips because I’m not a big fan of my handwriting directly on the page (and sometimes I ruin my work by making a big mess!). 🙂 Here’s a look…
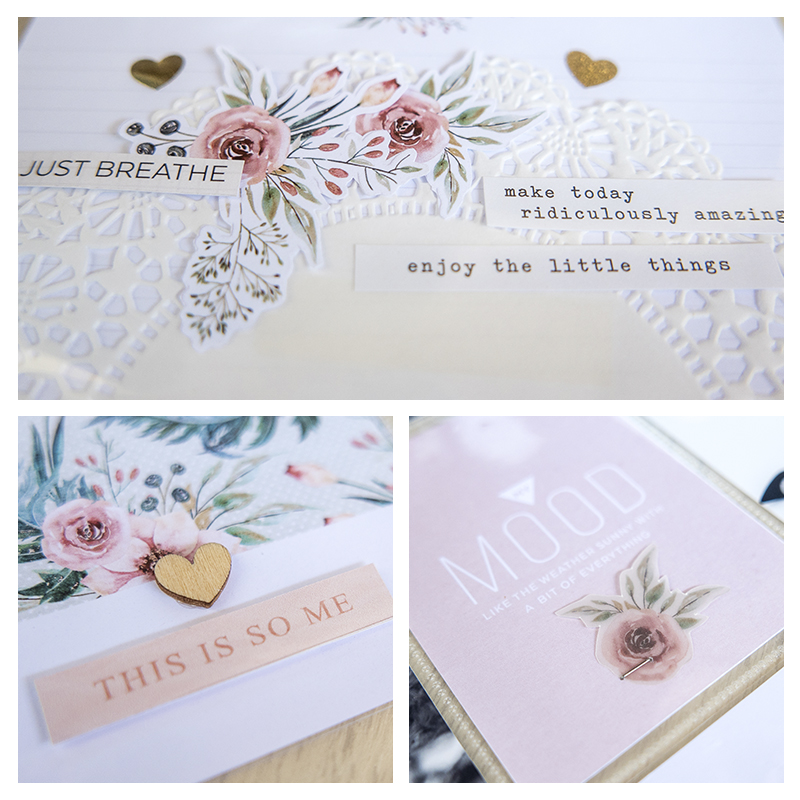
As you know if you’ve followed me here on the blog, I love to add texture to my work… so I added a delicate doily, more wood veneer, glitter sitckers, and word stickers.
Finally, I think the “cherry on top” is a vellum floral which I just stapled on my soft pink card. I really loved how this spread turned out!
If you’d like to give this a try, too, don’t forget that you can earn challenge points at TDP! Come visit the CROSSWORD SECTION in The Digital Press forum, and you’ll find this month’s Hybrid Challenge thread (for each month’s Hybrid Challenge at TDP, you get to choose one of the month’s”Hybrid How-To” tutorial posts from here on the blog and make your own version). If you choose to give today’s project a try… all you have to do is make a hybrid page using some digital elements and papers and add some watercolor paint, as shown above (it doesn’t have to be leaves, though; you can paint what you want — whether circles, hearts, background washes — whatever your imagination comes up with!). You’ll see how fun it is! Give it a shot, and share your final results with us! We can’t wait to see what you come up with.
Have a great weekend you guys, and happy scrapping!
 About the Author Andrea Albuquerque is part of the Hybrid Creative Team here at Digital Press. Andrea has been a scrapper since 2010 and a photographer since 2012. Although she adores the flexibility and creativity of digital, she can’t resist playing with paper, paint, and embellishments… so hybrid scrapping is the perfect medium for her! She lives in Brazil with her hubby.


 About the Author Kate is on the hybrid team here at The Digital Press. She lives on the Utah/Colorado border with her husband, 5 kids, 10 chickens, and a dog named Gracie. She’s a city-born girl who found she’s really a country girl at heart. She can be found outside, barefoot, and probably in her garden.