Hi everyone, and welcome to another edition of our Hybrid How-To series here on The Digital Press blog! Today, I’m here to show you how to create a layout with multiple photos, using an example that I created to document my family’s Christmas Eve.
If you’ve followed my posts here on the blog in the past, you know that I love working with paper and physical elements/stamps, but sometimes I also miss being able to change things and make adjustments like I can with my digital layouts. This is why hybrid projects are my favorite way to make pages! The best of both worlds! I also think digital kits are a fantastic way to stretch our crafty budgets; we can print and cut as many times as we like.
Using multiple photos on a hybrid layout can sometimes be difficult — but over time, I’ve found a trick. When I want to use more than one photo on a hybrid layout, I find that it’s actually easier to have a digital template as a starting point. 🙂
Isn’t that an easy tip? You might not think of using a digital template for a hybrid project… but it’s so helpful! You don’t have to overthink the design and you get to have more fun time playing with photos, papers, and elements. I really recomend you to give it a try. You won’t regret it!
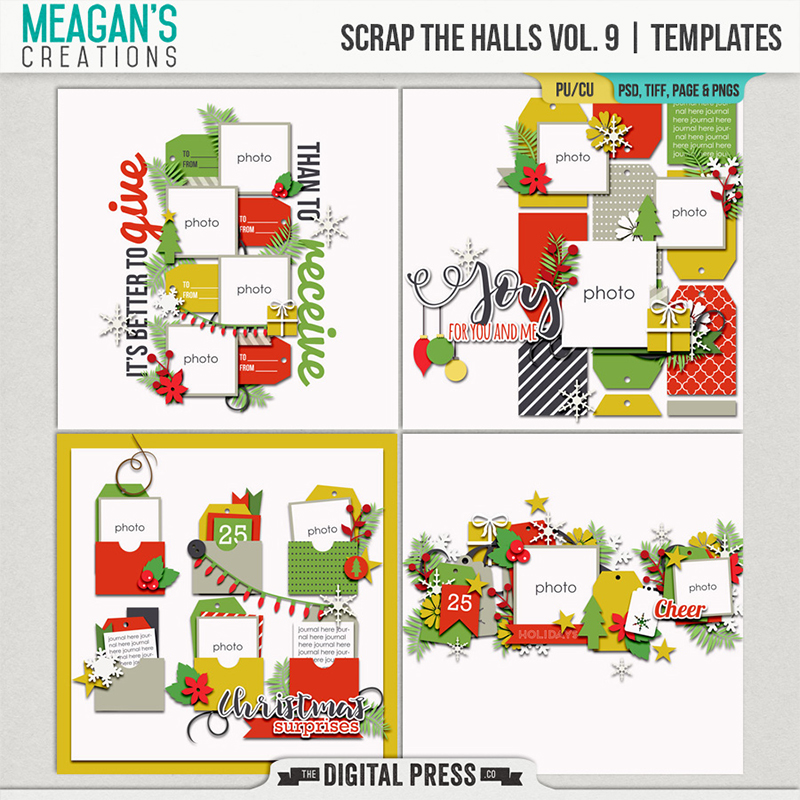
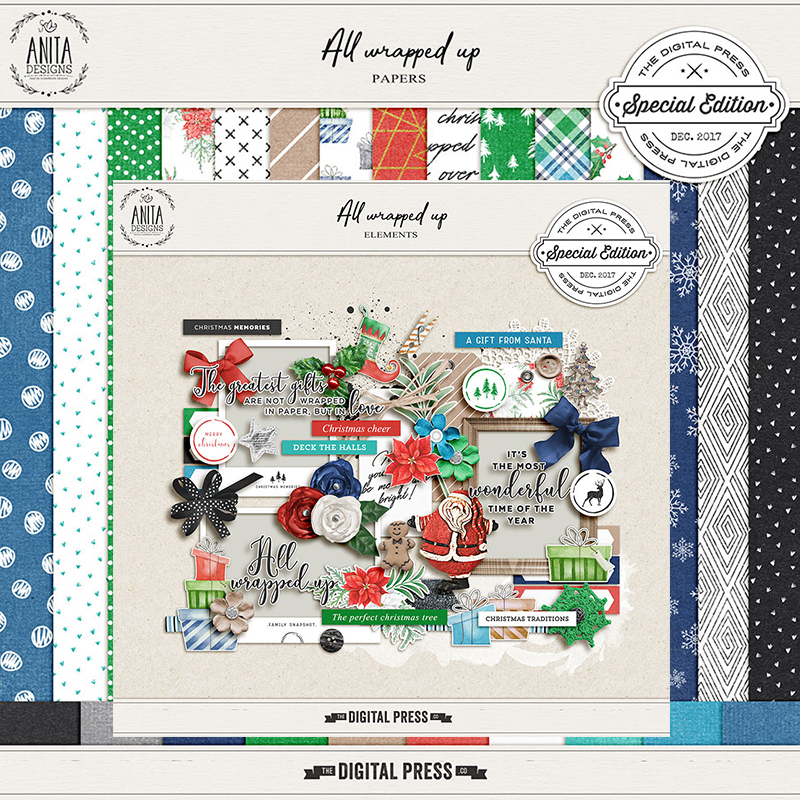
For the my example layout today, I used two different digital products — a template from Meagan’s Creations’ Scrap the Halls Vol. 9, and the digital kit All Wrapped Up by Anita Designs.
So here’s how I used a digital template to create my actual physical page…
First, I started out by creating my page in Photoshop, using my digital template and the digital items that I planned to print out afterward. Here’s a look at the template I chose, before I began working with it…
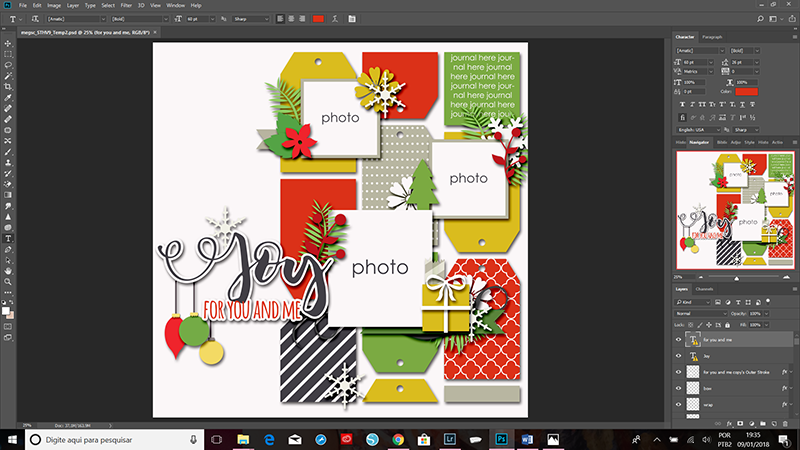
…and here’s a second look at the template once I added my photo, digital papers, and embellishments…
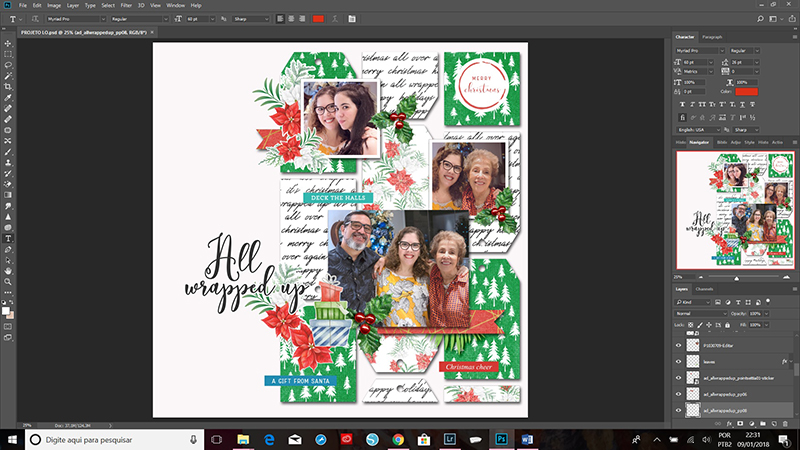
After I have all of my items sized the way I want on my digital version of the layout, I separate each of the pieces (see next image, below right) into another document to use for printing and cutting. I like to save them all as a .JPG file, which I then use to print and fussy cut. Although I have a Silhouette Cameo, sometimes I simply fussy cut just because I love it!
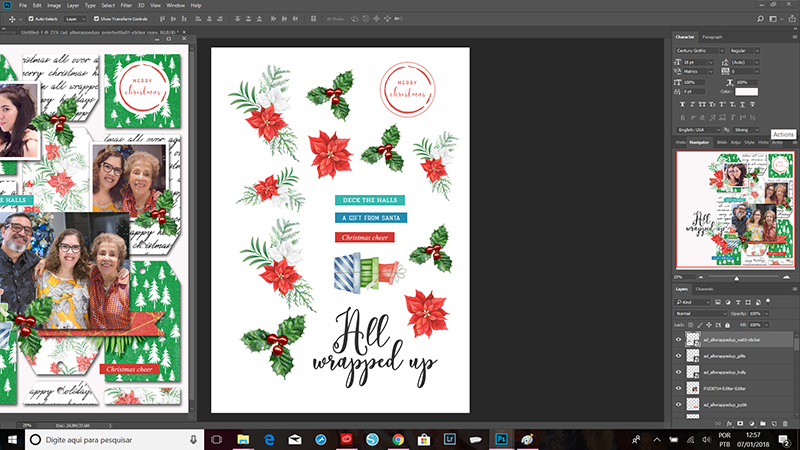
As you can see in the next image, I actually duplicated some elements (tags, mainly). I often do this when I am prepping a hybrid layout — just because I like to have extras to add into my stash to have ready to use in the future.
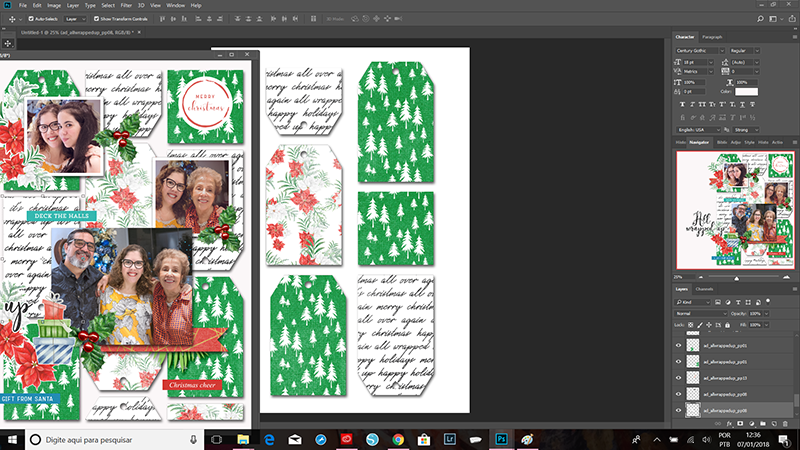
Here are my pieces printed and ready to cut…
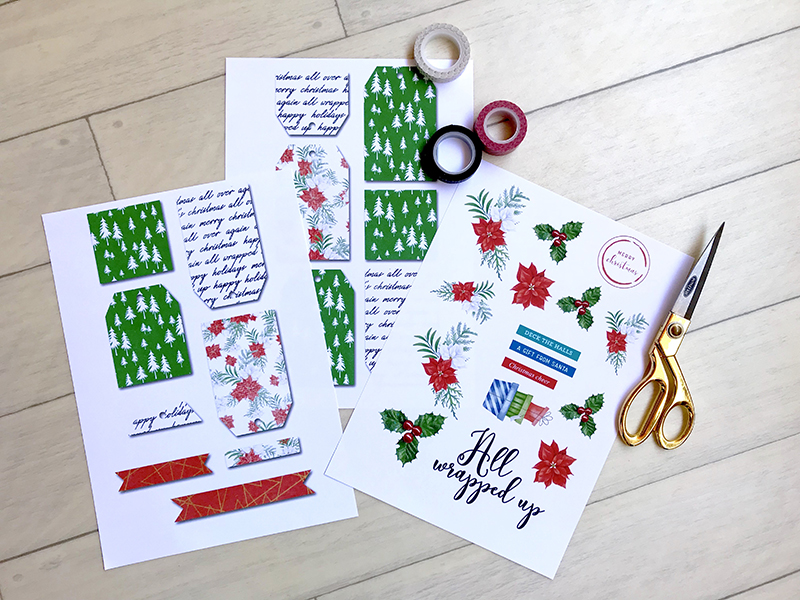
…and here’s a look at my embellishments after I cut them out…

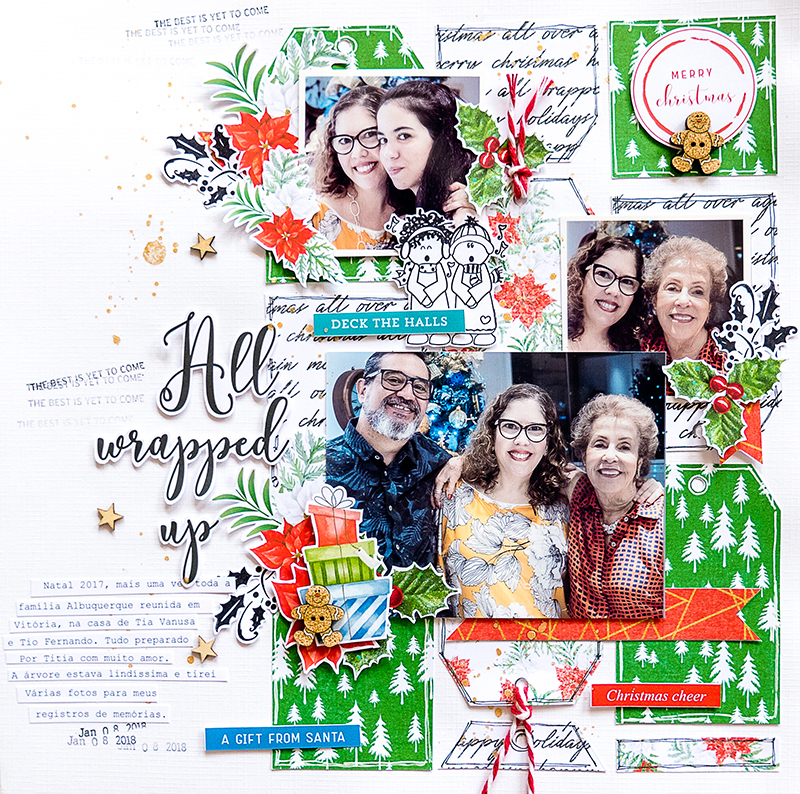
After I have all my pieces cut out, I can put them back together on a physical 12×12 page and then add other physical elements, stamps, wood veneers, gingerbread man buttons (!), and some spray ink splatters, as shown here…
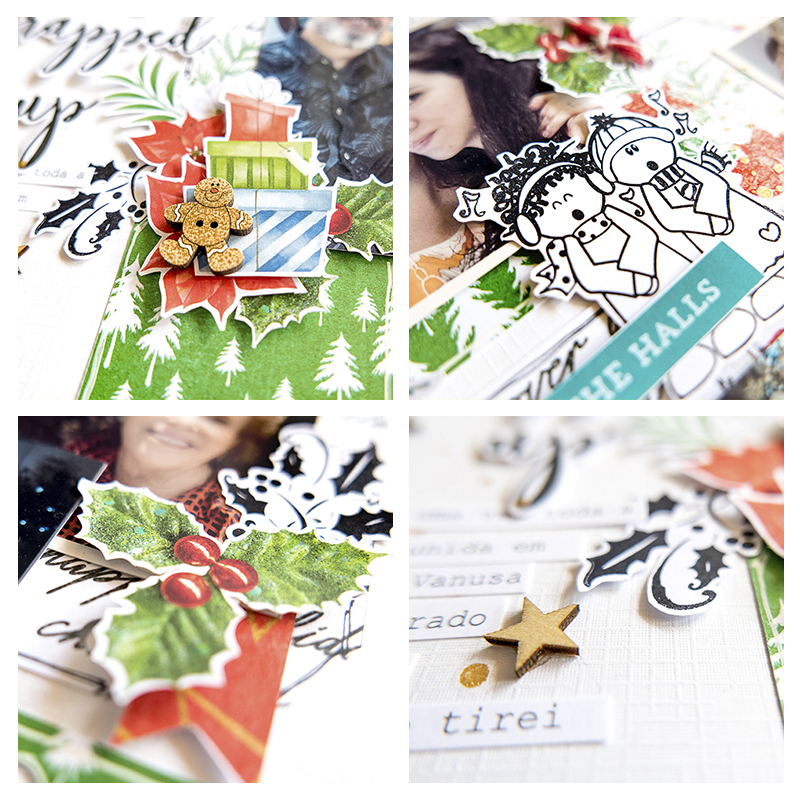
Here are a few close-up views, so you can get a better look at the fun hybrid elements I created…
Here are some more tips I use to bring the layout to life:
- I use multiple kinds of adehsive in order to give dimension to the project; I use regular double-sided tape, as well as thicker foam tape to add some dimension to certain items.
- I put the adhesive in the center of my tags and elements. Leaving their borders without adhesive, they can overlap each other and not stay totally flat.
- I like to use stamps to add texture.
- In this case, when my page was almost done, I thought it needed more contrast… so I went back and stamped/cut the black holly stickers and the cute black-&-white angels.
- I glued the holly stickers under my greens and, for the angels, I used foam tape. I think these new add ons make my layout pop.
- And the final “cherries on top” are the physical supplies I added: gingerbread man buttons, wood stars, and also red and white twine.
- I also couldn’t resist adding some gold splatters. I love using paint sprays/splatters to add some color and interest.
- Finally, I love to make my journaling on little white paper strips.
If you’d like to give this a try, too, don’t forget that you can earn challenge points at TDP! Come visit the CROSSWORD SECTION in The Digital Press forum, and you’ll find this month’s Hybrid Challenge thread (for each month’s Hybrid Challenge at TDP, you get to choose one of the month’s “Hybrid How-To” tutorial posts from here on the blog and make your own version). If you choose to give today‘s project a try… all you have to do is make a hybrid page using some digital elements and papers, along with a digital template as your foundation for the composition of the page. You’ll see how fun it is! Give it a shot, and share your final results with us! We can’t wait to see what you come up with.
Have a great weekend you guys, and happy scrapping!

About the Author Andrea Albuquerque is part of the Hybrid Creative Team here at Digital Press. Andrea has been a scrapper since 2010 and a photographer since 2012. Although she adores the flexibility and creativity of digital, she can’t resist playing with paper, paint, and embellishments… so hybrid scrapping is the perfect medium for her! She lives in Brazil with her hubby.

