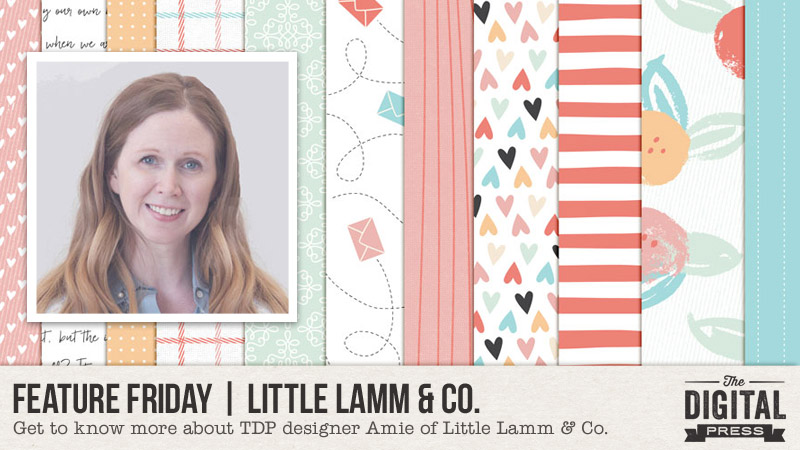
Hello! It’s Friday, and time for another edition of our Feature Friday series here on The Digital Press blog!
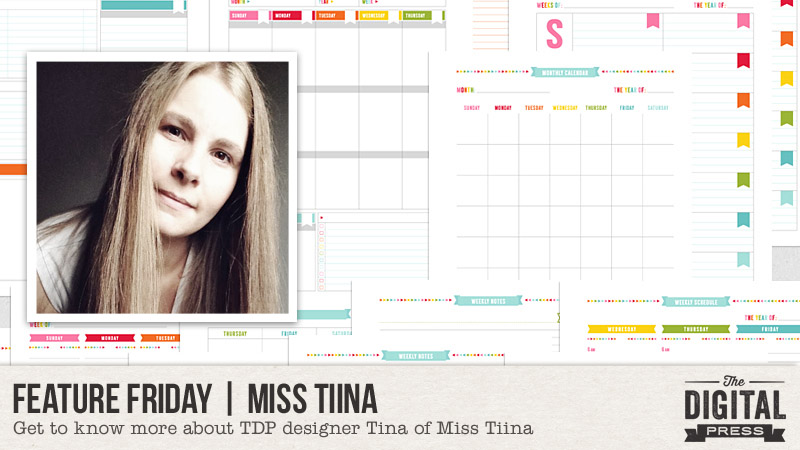
This week, we’re excited to feature the incredibly talented Tina Raparanta of Miss Tiina. This is her second feature here on the blog (you can find her first feature article from January 2017 HERE)… and whereas this past year we used our feature series to help you get to know some fun trivia about your favorite designers, now we’re using our designer feature series to give you a little peek into our designers’ creative spaces and more insight into their creative processes.
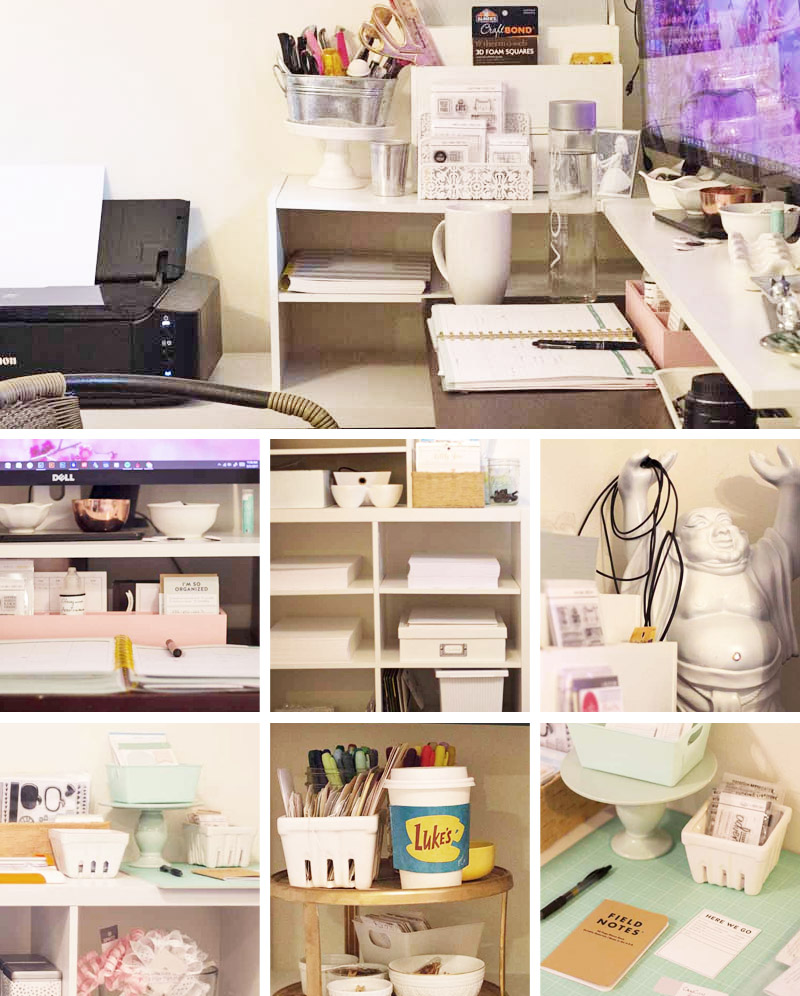
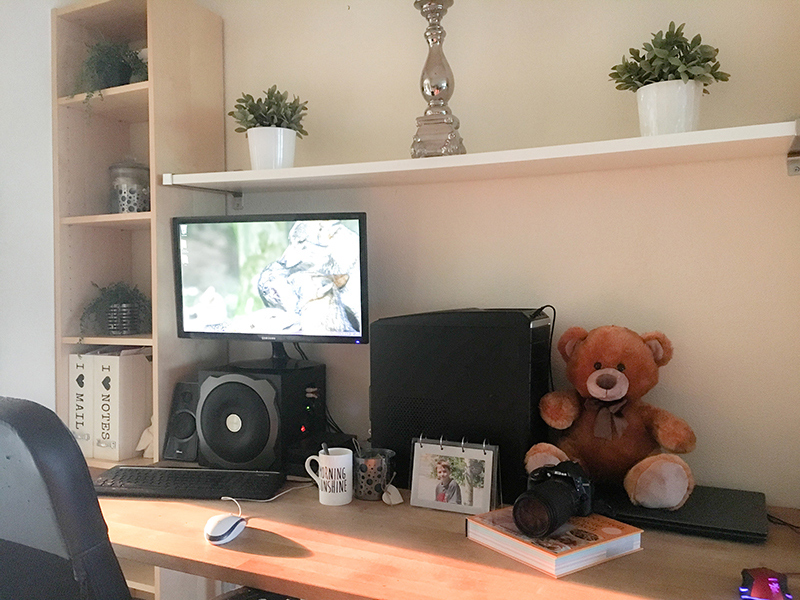
With that in mind, here’s a peek at Tina’s creative space…
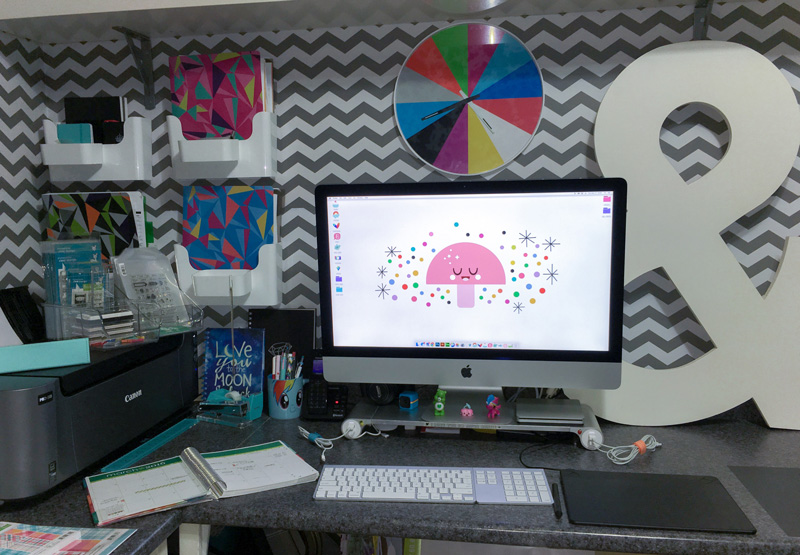
We can’t get over how much Tina’s work space mirrors her design personality! Clean, graphic design… bright colors… highly organized… with little bits of fun sprinkled throughout! 🙂
We mentioned this in our last feature article about Tina, but for those who missed it — our favorite bit of trivia about Tina (which you may have even found yourself wondering, on occasion)… why does her design name of Miss Tiina have 2 “i”s in it? You will be amused to know that it wasn’t a purposeful decision and there really isn’t any deep meaning behind it. Instead, it all dates back to a spelling error that her bank made when she set up her business banking account, years and years ago. So… she just went with it!
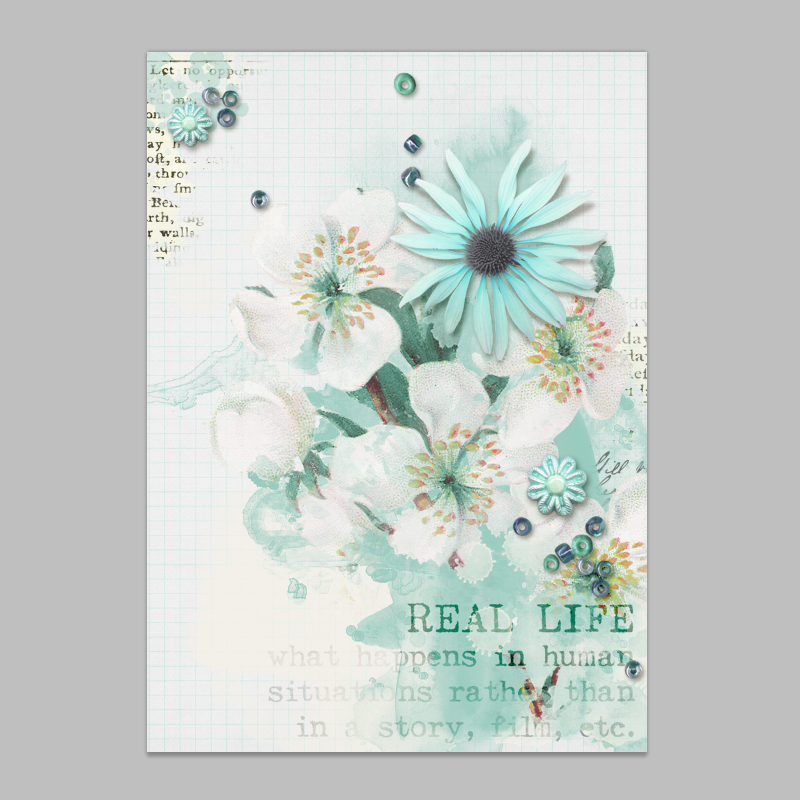
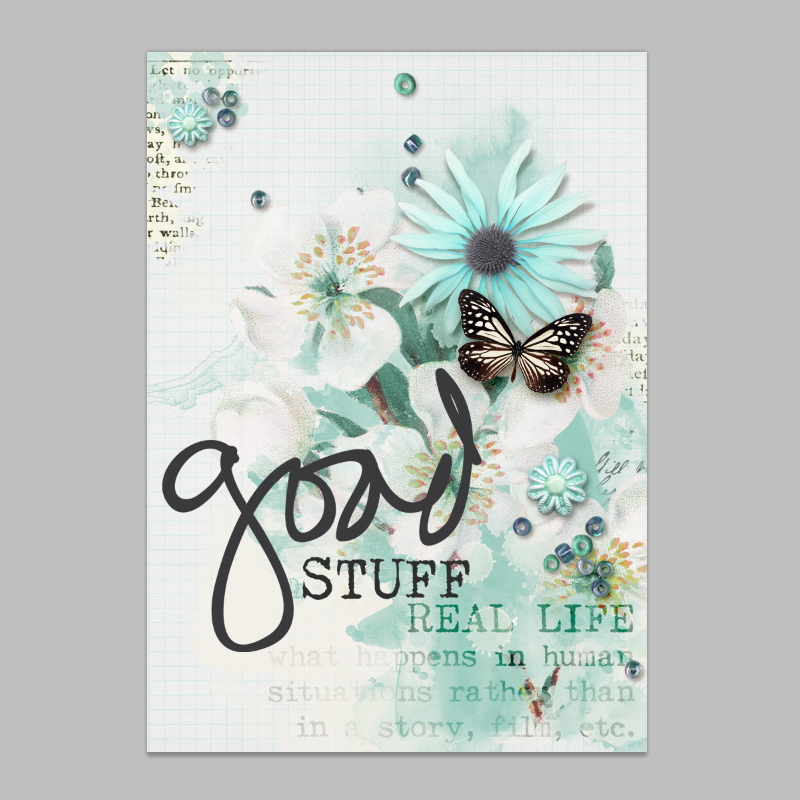
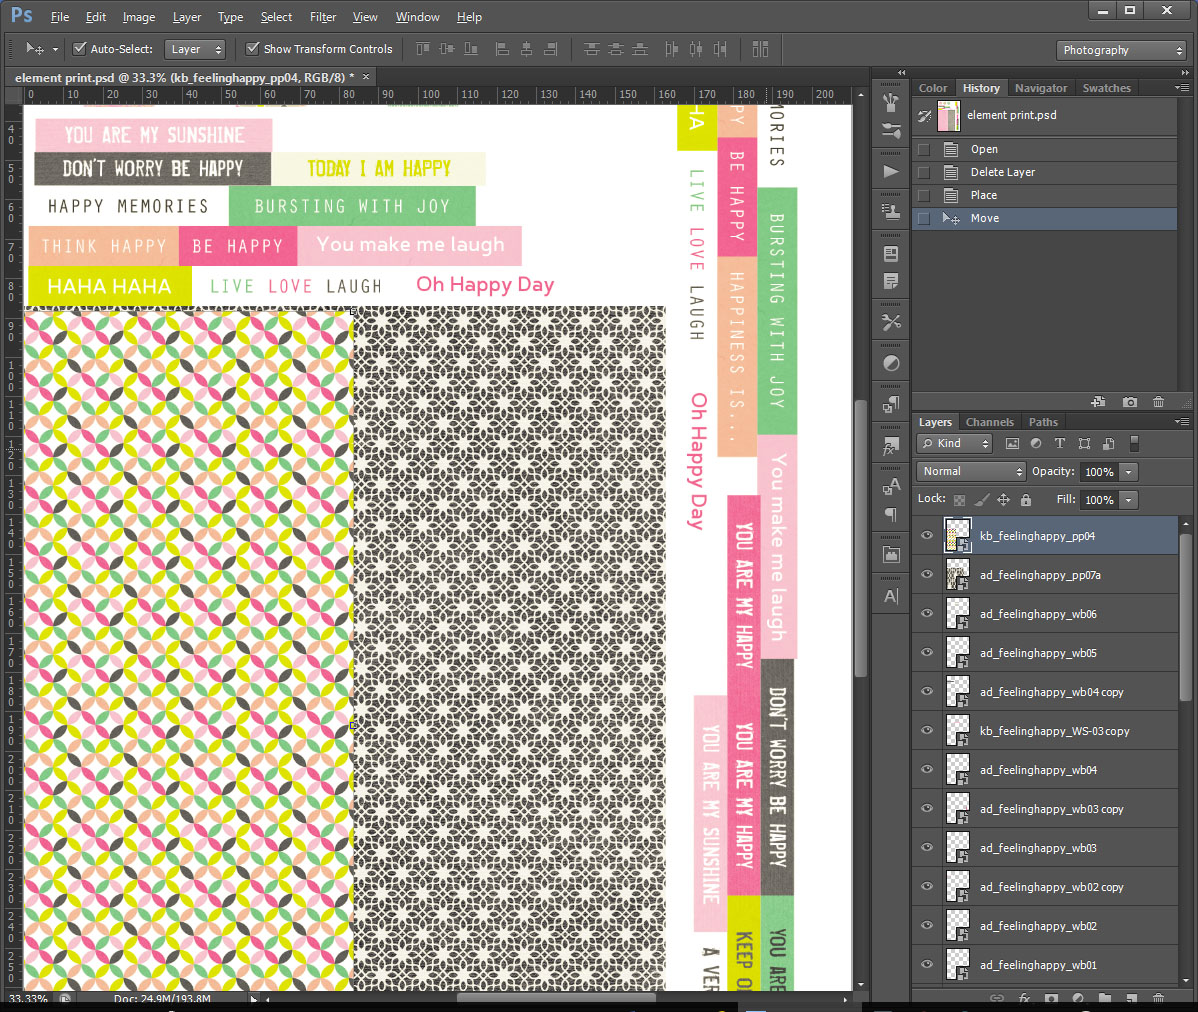
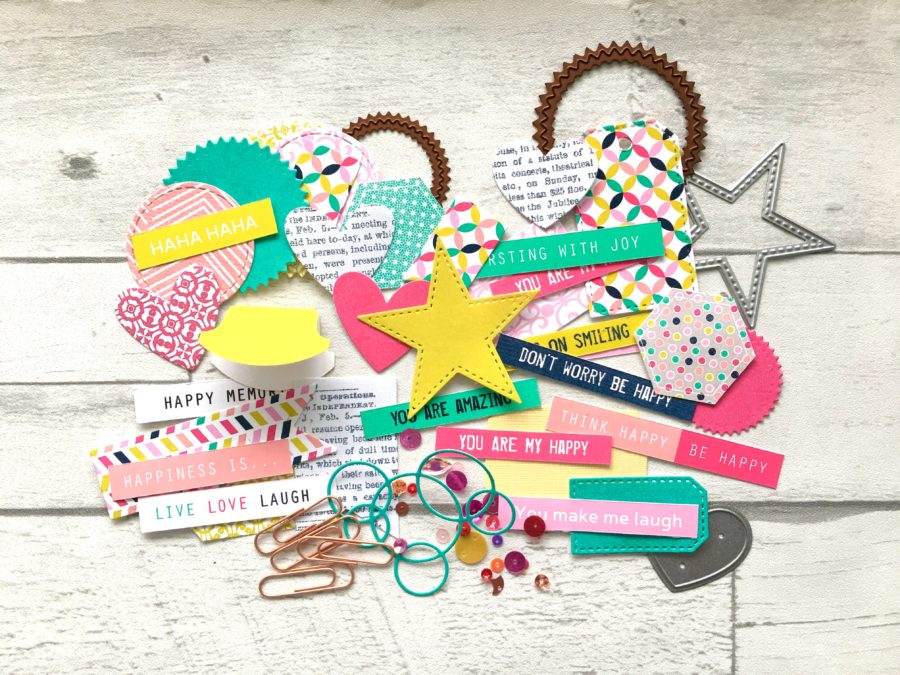
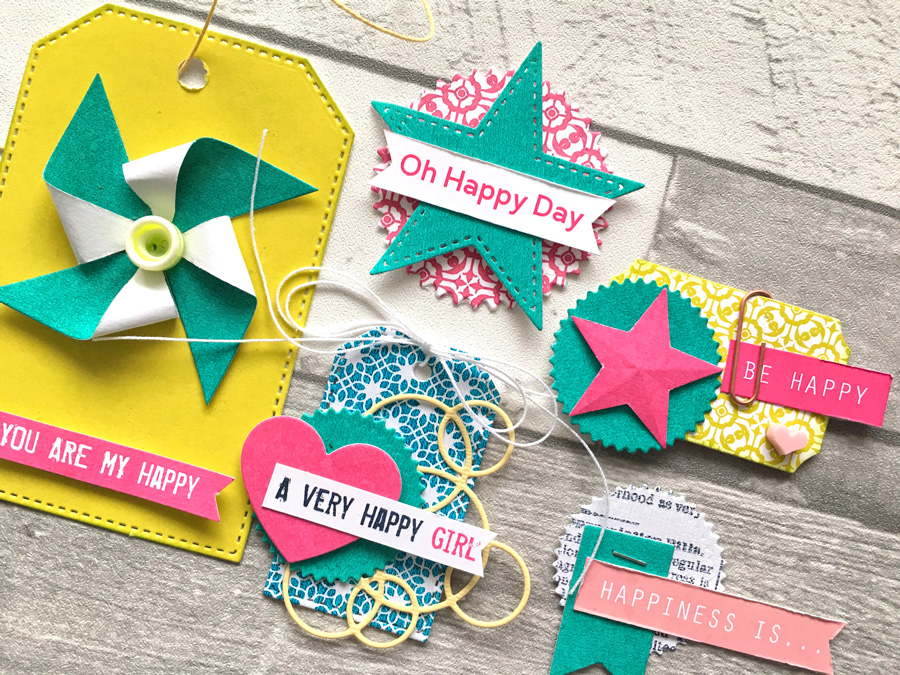
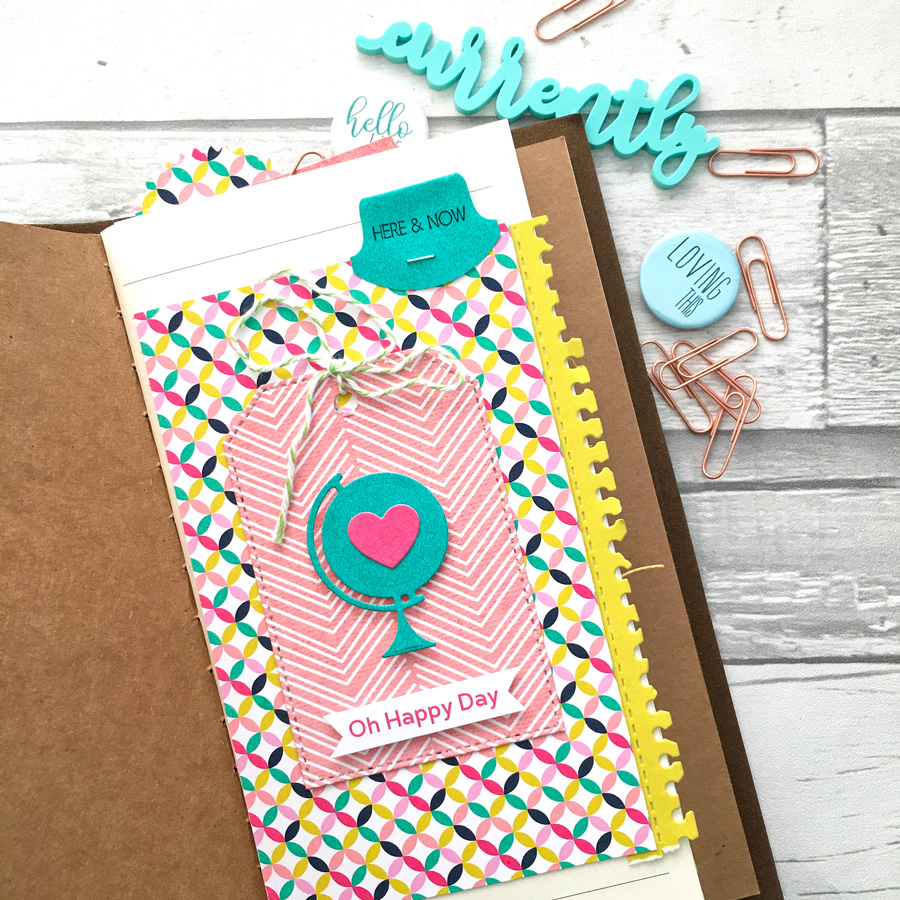
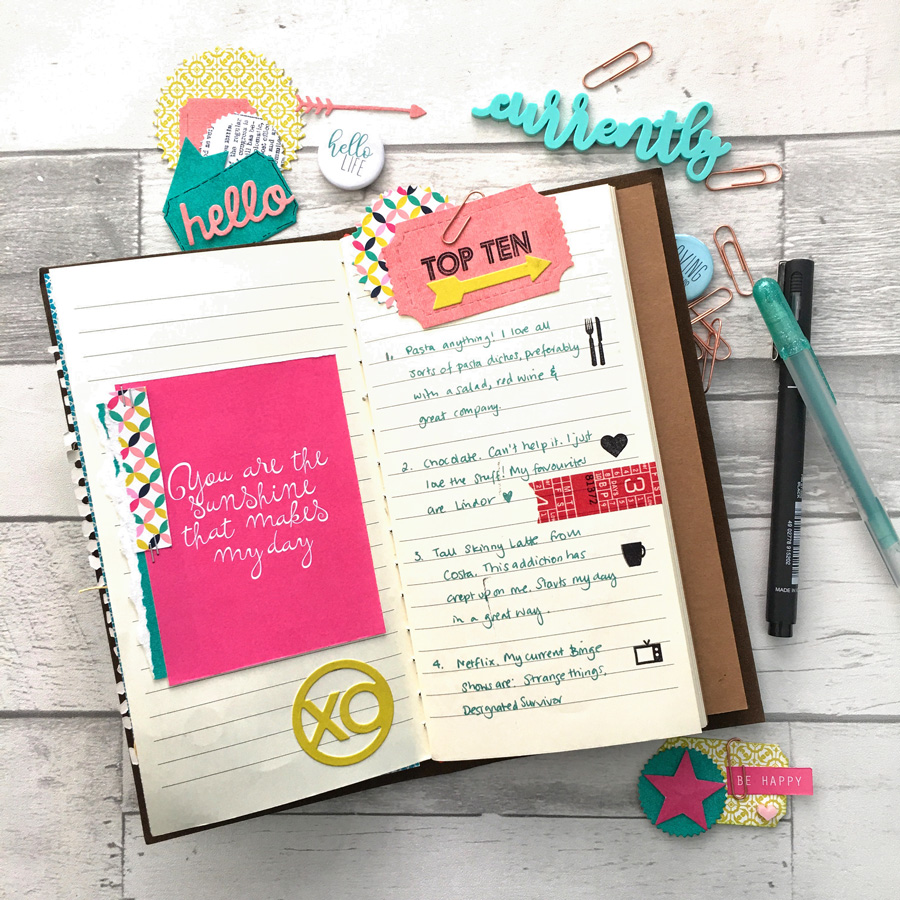
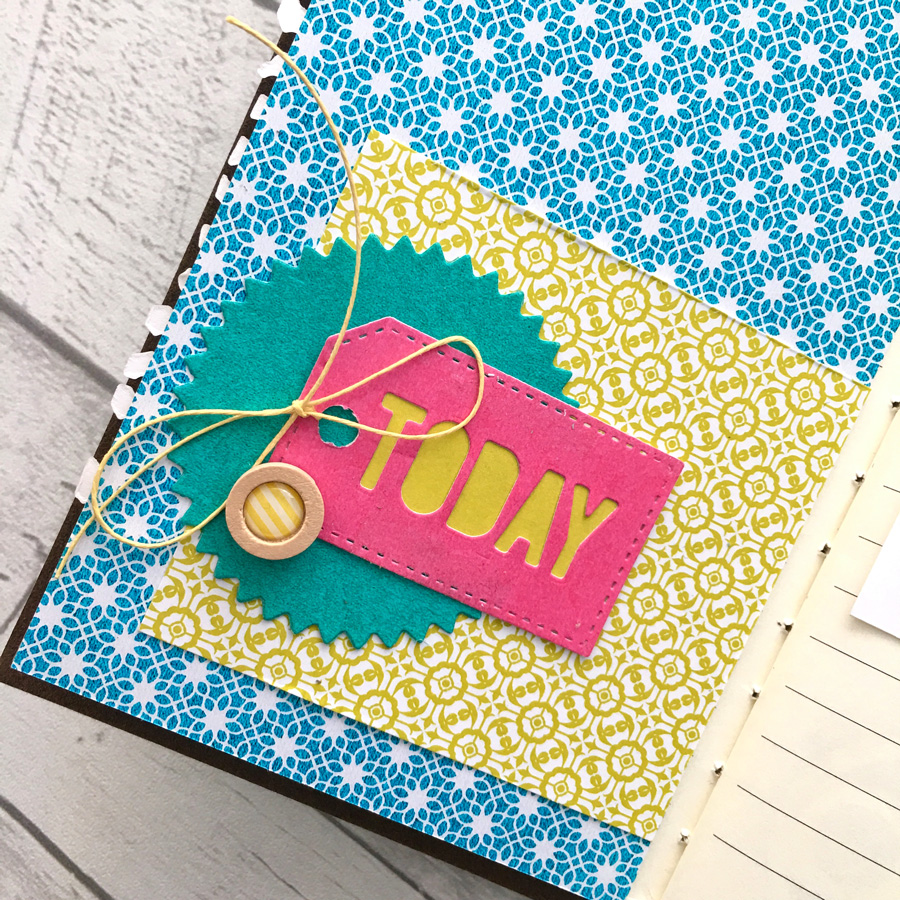
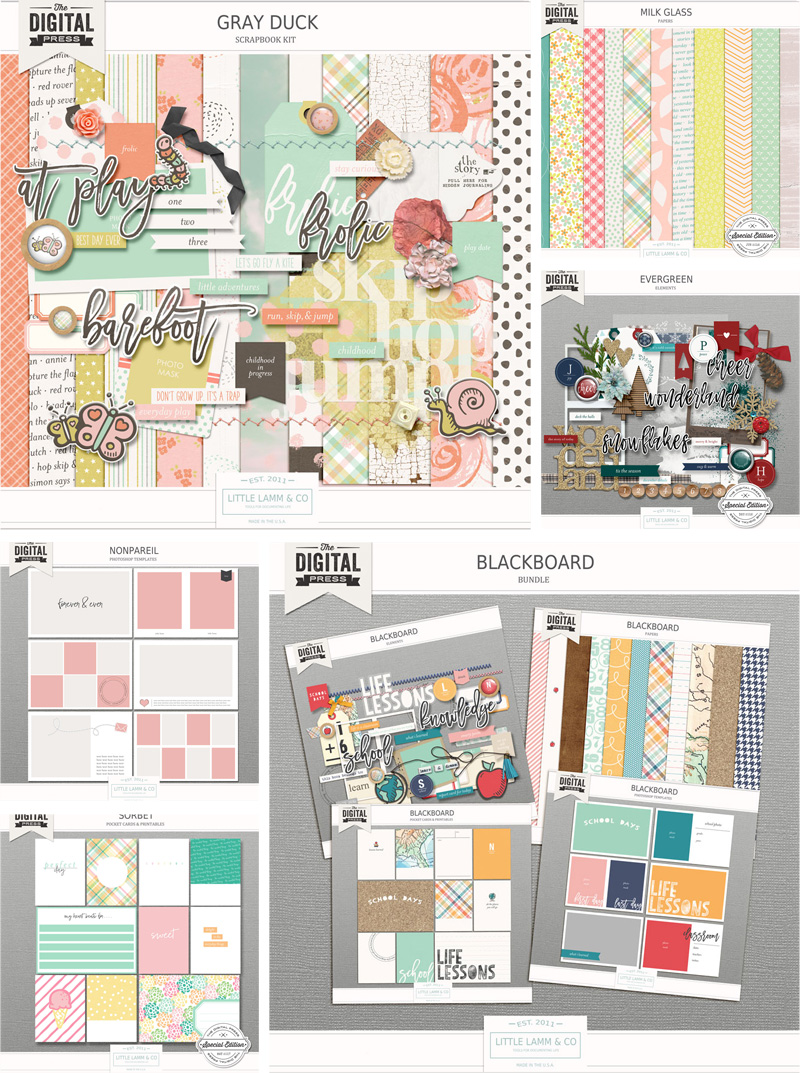
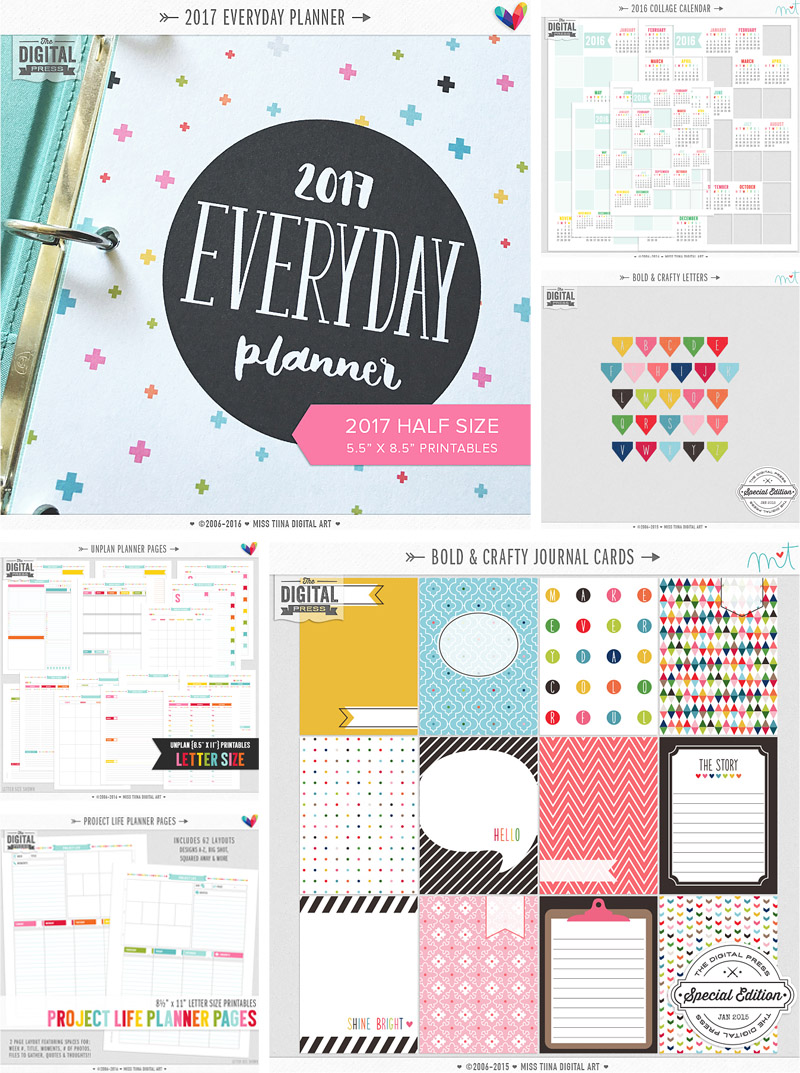
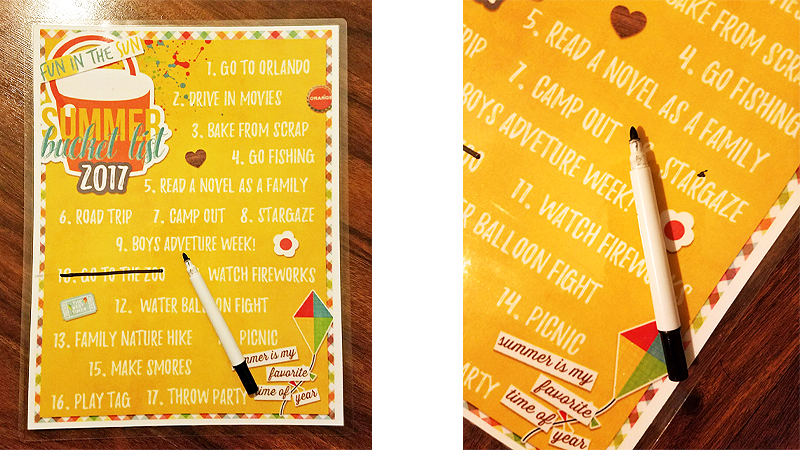
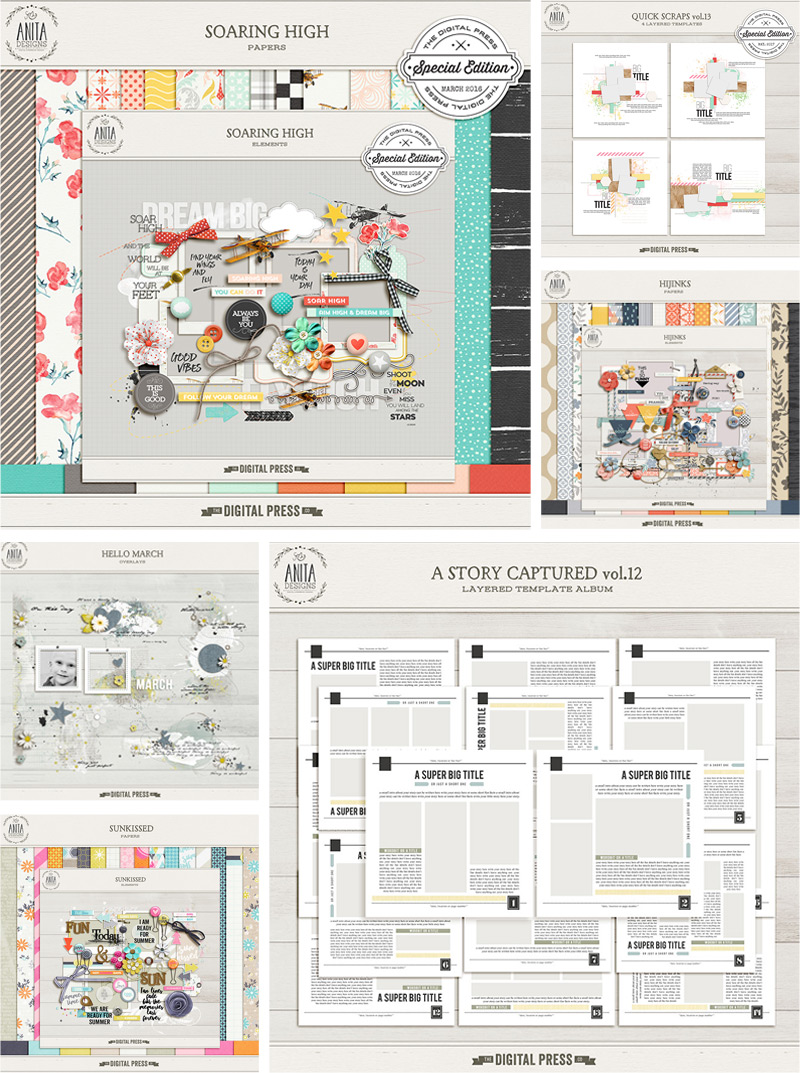
As you click through Miss Tiina’s shop at TDP, you’ll find yourself smiling. Her designs are bright and cheerful, clean and simple… and almost exclusively dedicated to getting us all organized! Her shop is the perfect place to stop to set up an amazing organization system for your busy life… and possibly supplement your memory-keeping stash, as well (as she has a few different pocket card and paper sets available, in addition to her signature line of printable planner items).
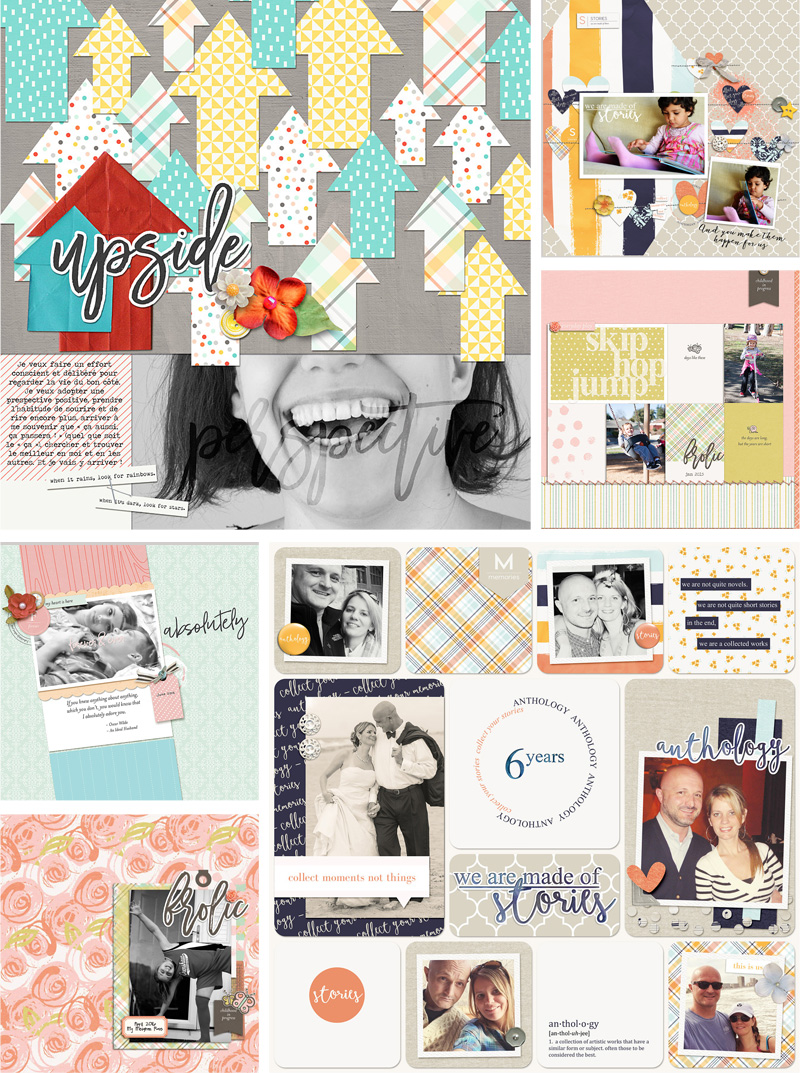
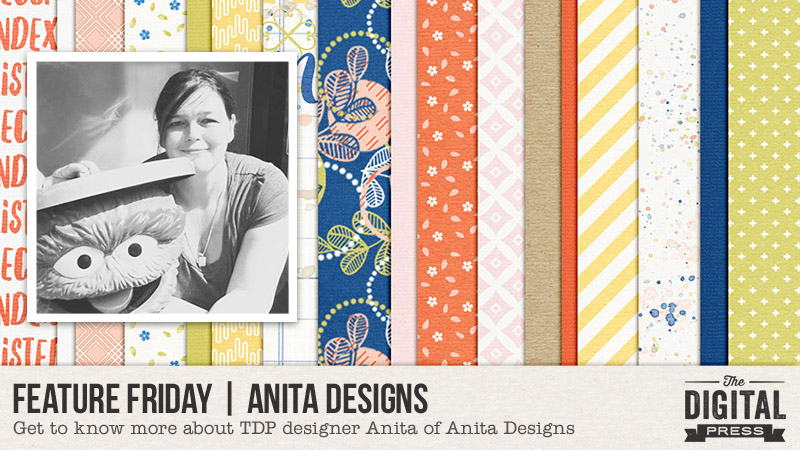
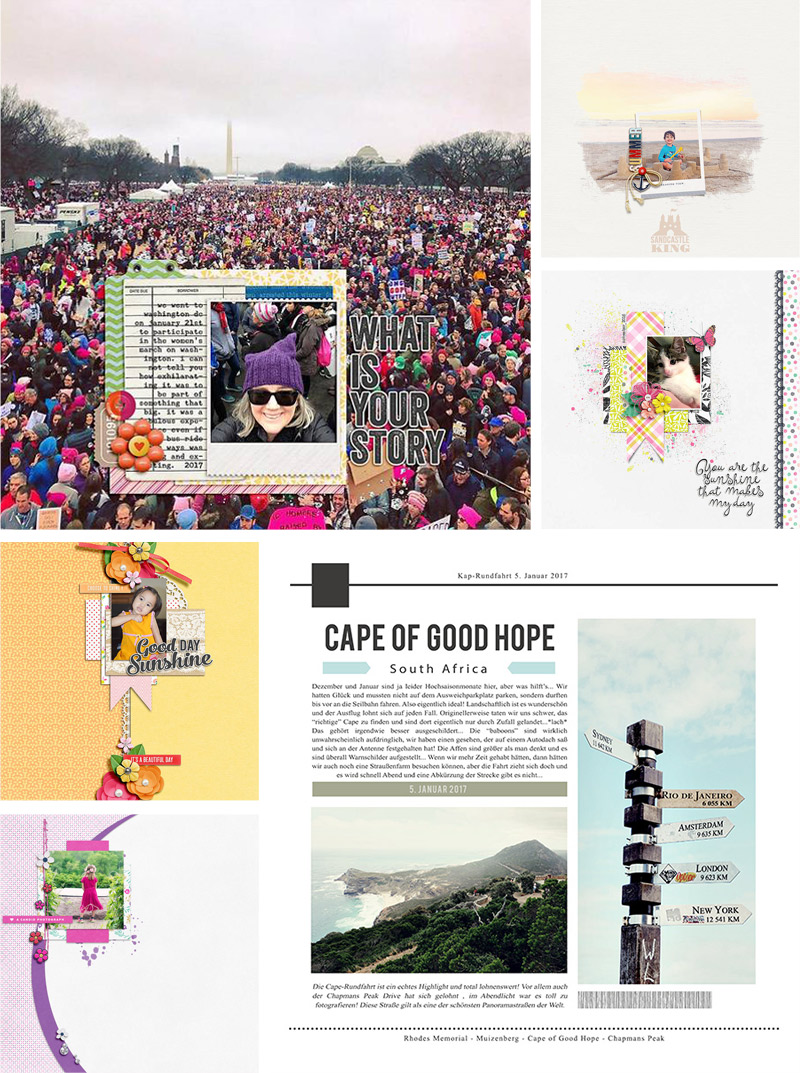
Here’s a look at just a few of my favorite products by Tina…
We’ve also asked Tina to provide us with a Top 5 list that is representative of herself at this point in her life… and she chose to share her “Top 5 Things I Love That My Kids Do”…
- They do their chores without being told
- They go to bed on time
- They use their manners almost always
- They make handmade birthday, Mother’s Day, etc. cards
- They snuggle with me like they are still my babies 🙂
I hope you’ve enjoyed getting to know Tina a little bit better today! If you’ve been looking to get yourself organized and would love a fantastic, simple planner system that you can print at home — I have great news! Starting today, there will be a 30% OFF SALE in her store throughout her entire feature week (the sale will end at 11:59 pm ET on Thursday 6/22), so it’s the perfect time to stock up!
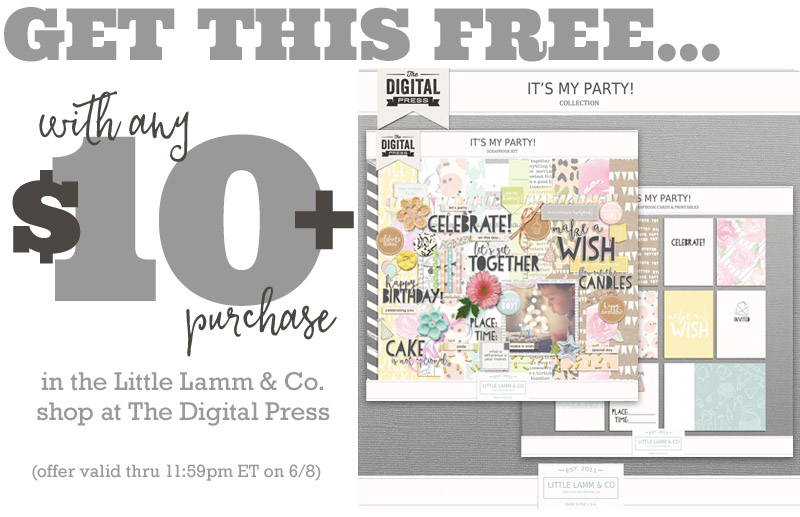
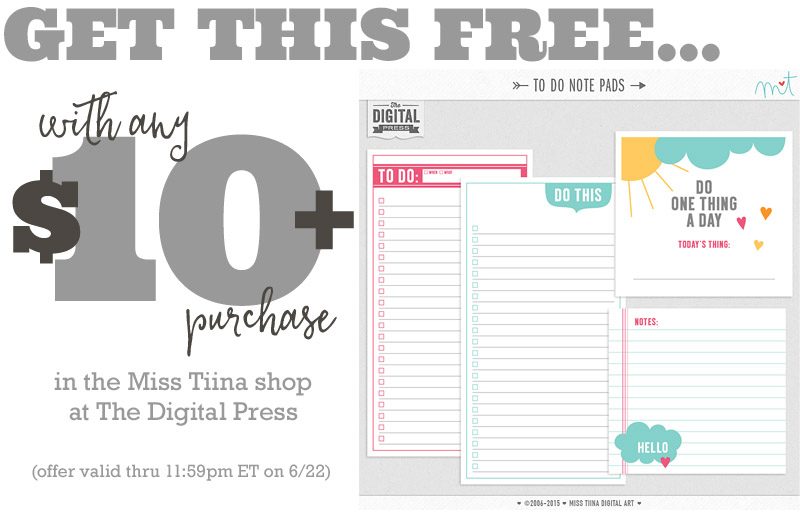
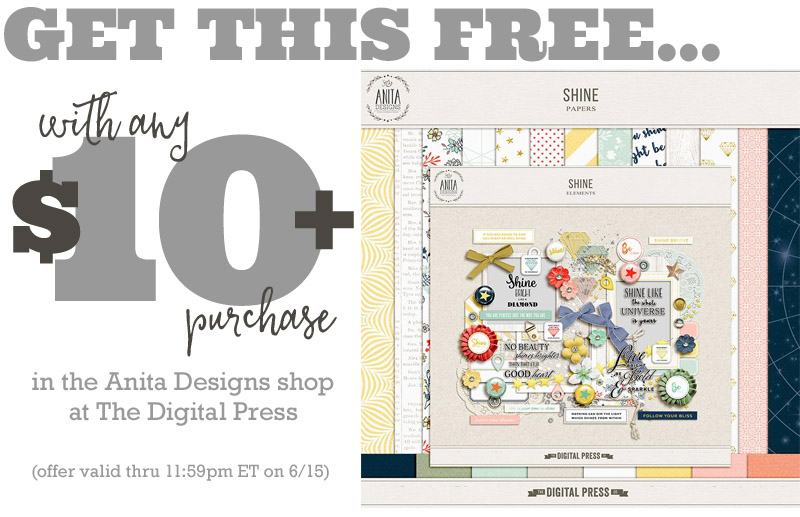
One last thing! Tina also has a very special Free-with-Purchase offer for everyone this week! You can snag this really fun set of printable note pad pages for FREE with any $10+ purchase in her shop — this week only!

About the Author Laura Passage is the owner of The Digital Press, and also the designer behind Wishing Well Creations by Laura Passage (WWC). She works now as a graphic designer in both the digital and paper scrapbooking industries, but previously spent over a decade working as a college soccer coach. She lives in the Pacific Northwest with her husband and two young sons (affectionately referred to as The Tiny Terrorists), and will rationalize eating coffee ice cream for breakfast to anyone who questions it.


 About the Author Carrie is a creative team member here at The Digital Press. She and her family enjoy spending time outdoors, year-round, near their home in Colorado. In addition to scrapbooking and the occasional hybrid home decor project, Carrie also reads voraciously, accumulates fabric, makes soap, brews beer, grows hops, and tries to keep indoor plants alive.