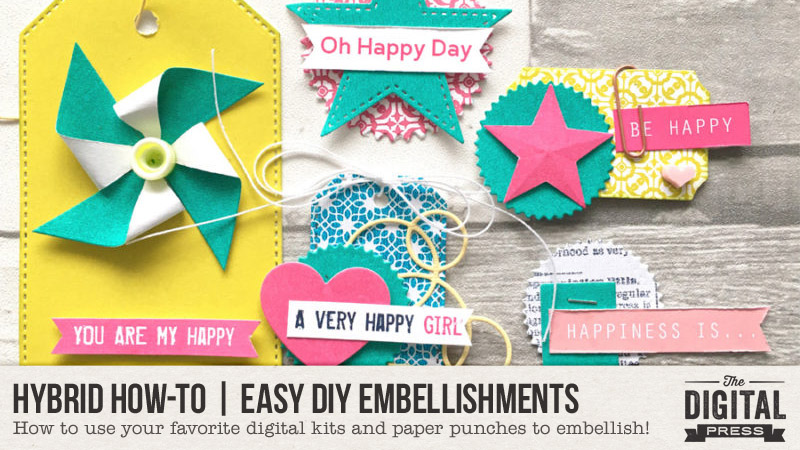
Hey everyone. It’s the first Saturday of the month, and so it’s time for another edition of Hybrid How-To here on The Digital Press blog! Today I am here to share some ideas for creating unique decorative embellishments using your favourite digital kit along with some dies and punches.
Like many crafters, I love using stickers, die cuts, and other decorative items… but my budget doesn’t stretch to buying lots of them. Therefore, creating my own embellishments from a digital kit is not only thrifty… but they really add a unique and original touch!
Supplies Needed:
- Punches, dies, and/or decorative scissors
- Foam tape, glue, and/or double-sided tape
- Accessories such as paper clips, enamel dots, sequins, etc.
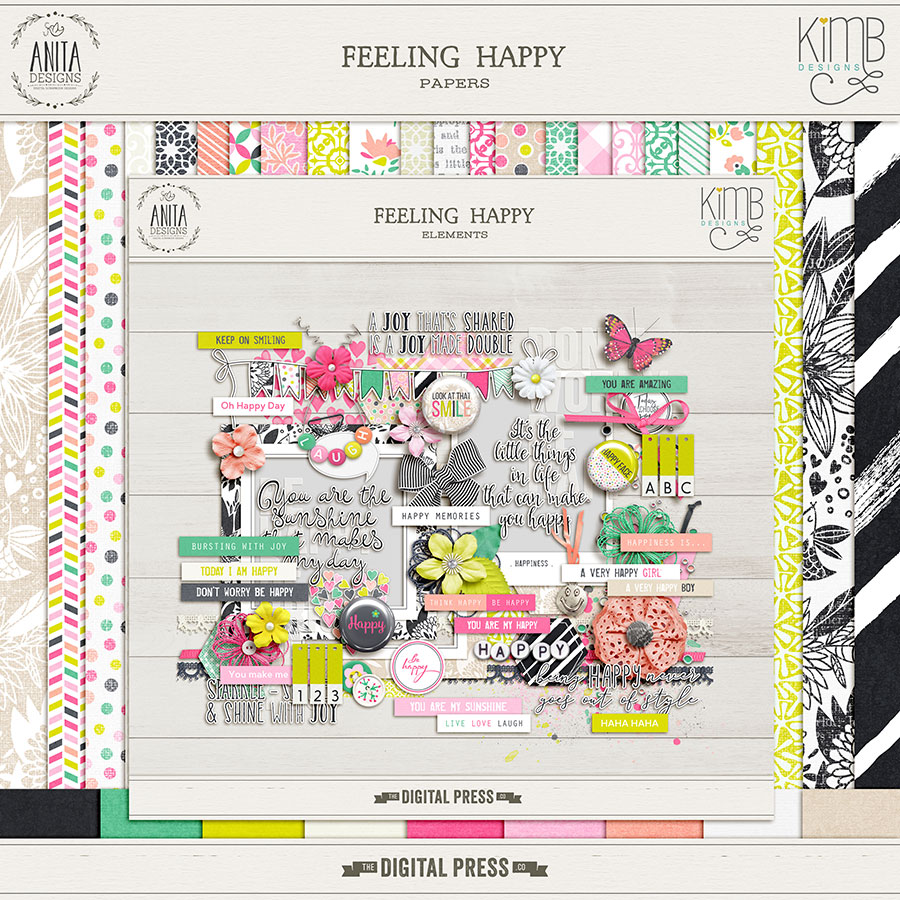
- Digital kit of choice (for this tutorial, I’m using Feeling Happy by Anita Designs & KimB Designs)
Instructions:
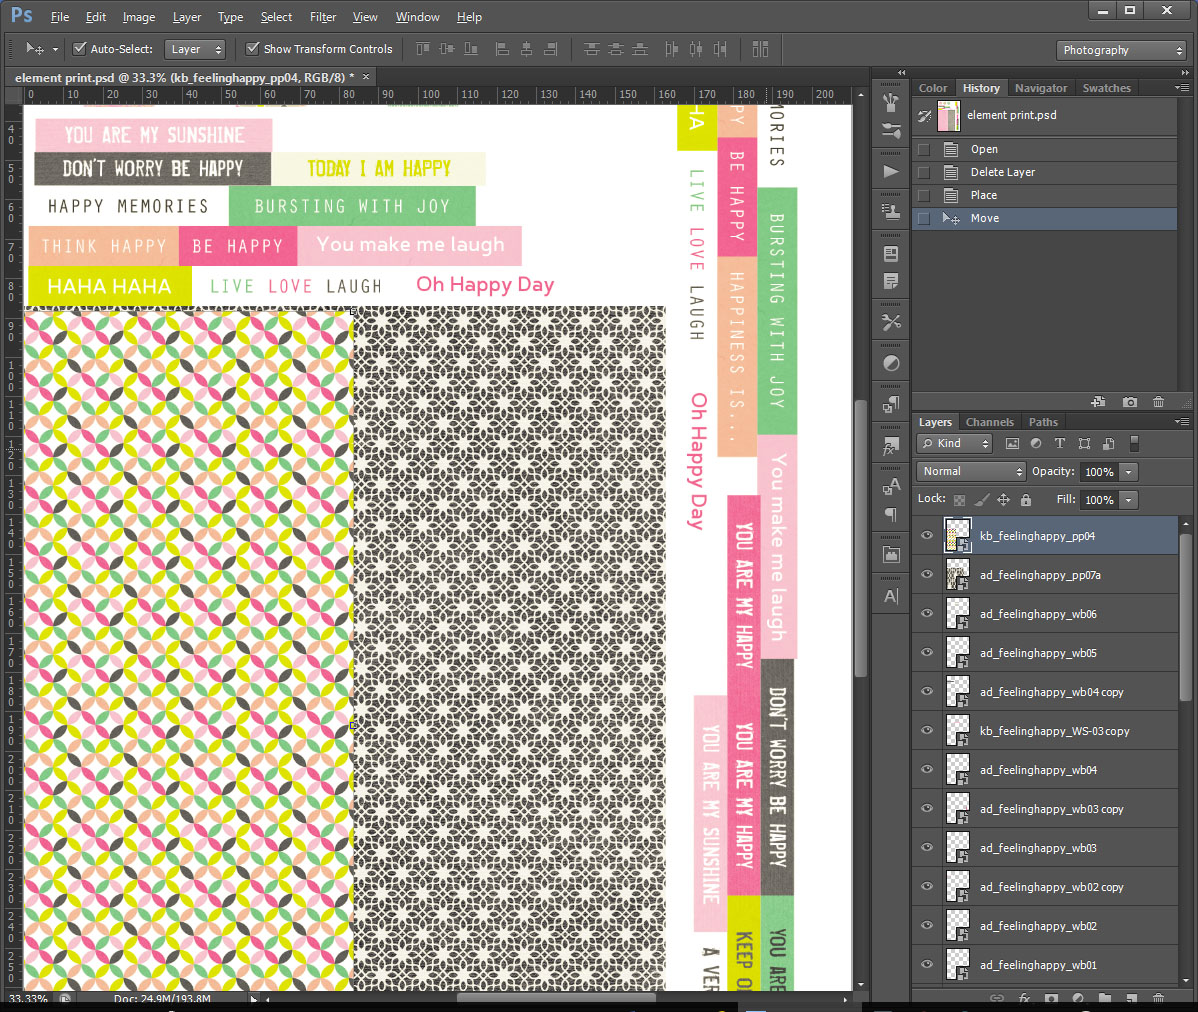
I always like to start my projects by printing the embellishments as die-cuts. I use Photoshop and just drop my favourite embellishments onto a page to be printed later.
Because I will be creating small embellishments to fit into a Traveler’s Notebook for today’s project, I also scaled the patterned papers down slightly, as shown here…
Die-cutting is still a firm favourite technique and it has been seeing a bit of a revival lately. Although I own a Silhouette, paper punches and dies are really quick. The wafer-thin dies means that you can store lots of shapes now without taking up too much room!
Here’s a look at a batch of embellishments I punched out, using the printed version of the page layout you saw in Photoshop, up above. I created a little pile of interesting shapes using the different patterned papers and solid papers that came with the kit…
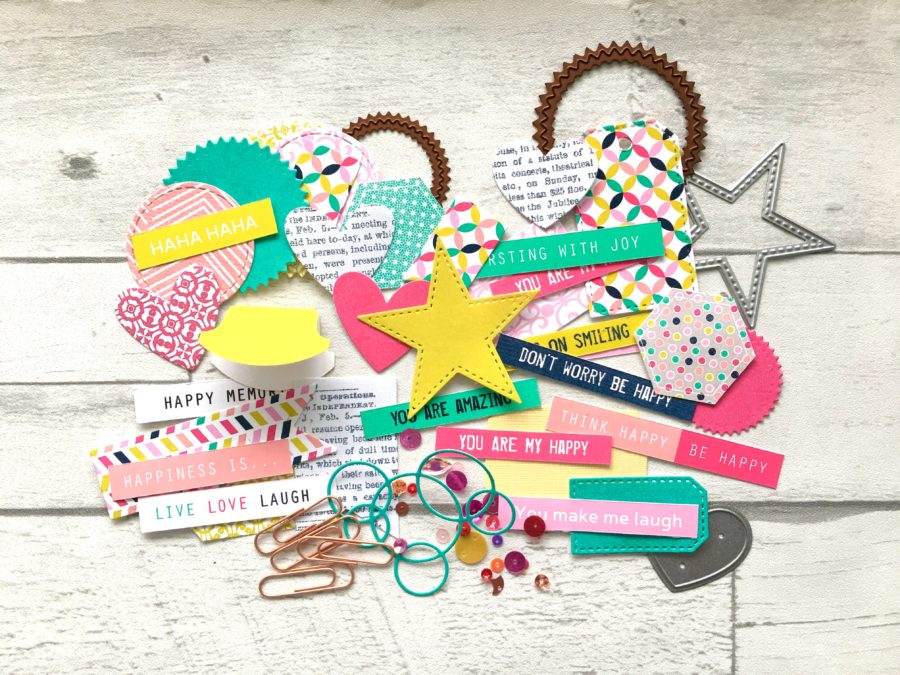
As you can see, circles are always a great choice for a base; you can use different sizes to keep things interesting. Ticket and tags come in all shapes and sizes, as well, and are also a must-have for me.
Now for the fun bit… once you have a selection of items, you can play around with layering them on top of each other, as shown below…
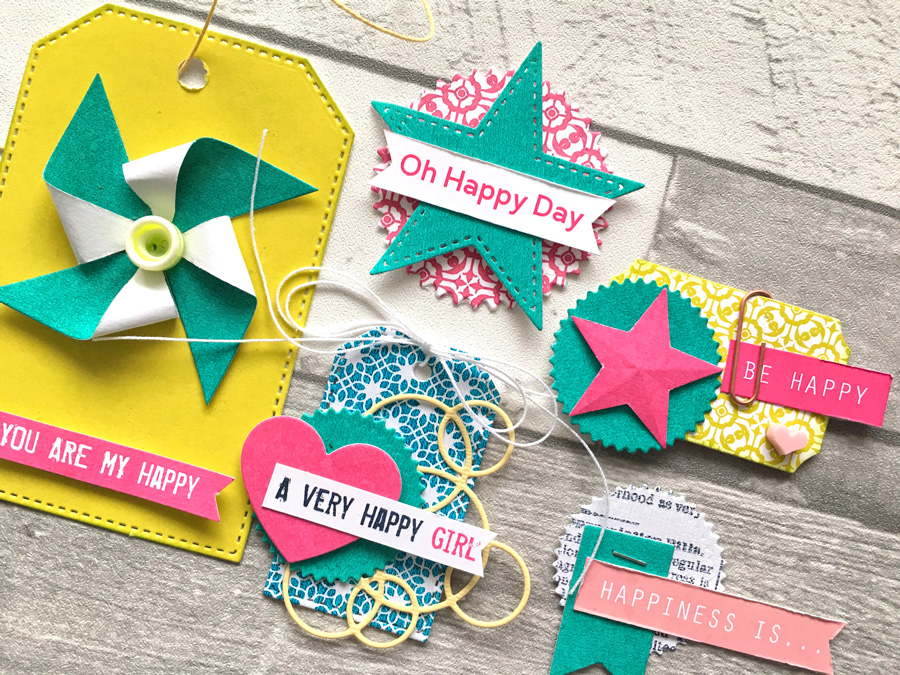
*TIP* As you can see above, notching out the end of the word strip sentiments adds a little more interest when it hangs off the edge of the design.
Next, for my attempt at a Travelers’ Notebook, I decorated the page much the same way that I would decorate a card or scrapbook page. This helped to warm up the creative juices…
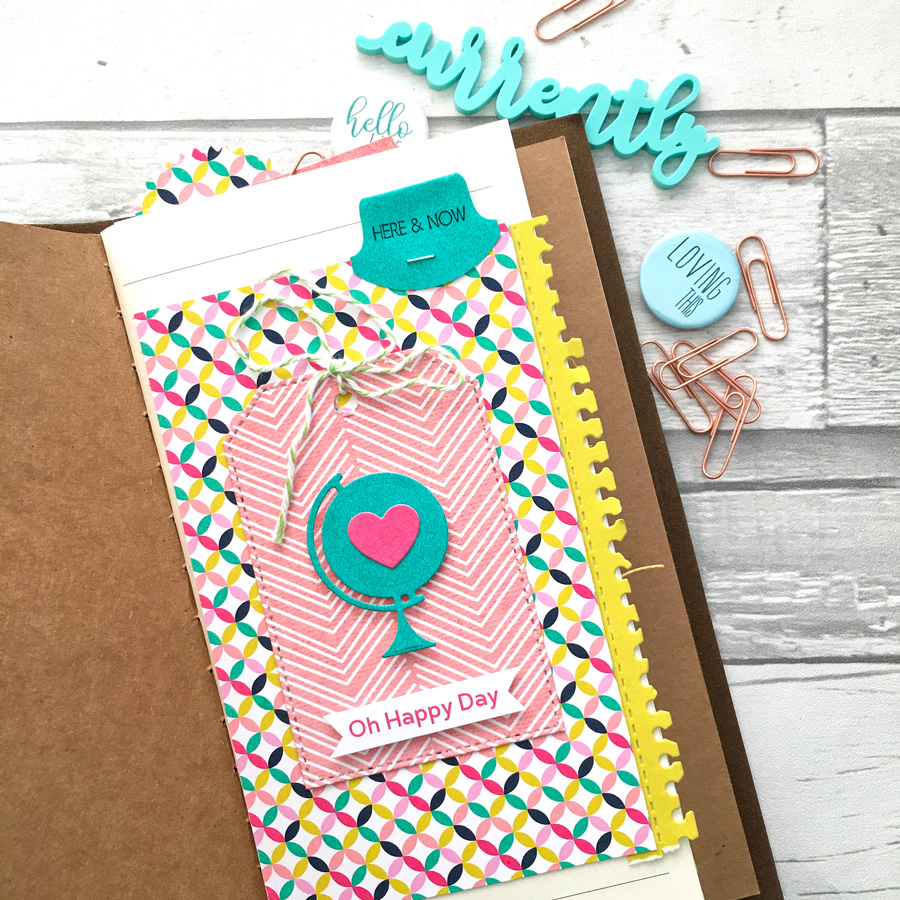
I did a couple of list-style pages as a way to break the ice. The ready-made embellishments really added a little pizzazz to the page!
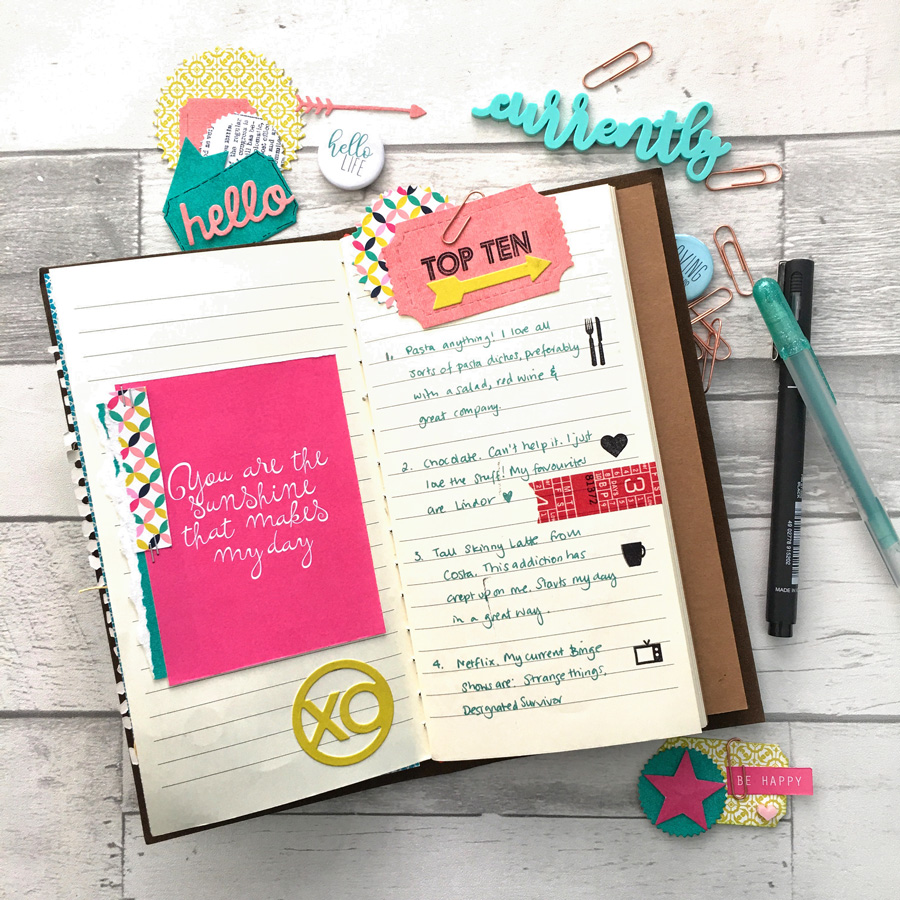
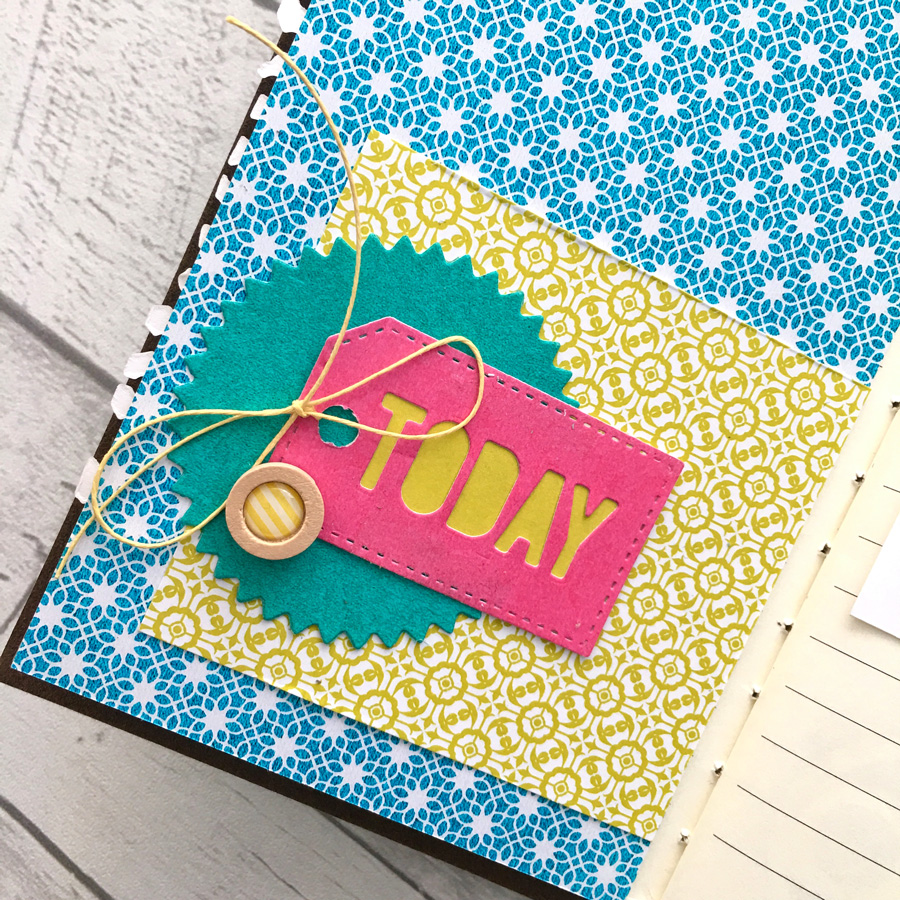
Then I also added some physical supplies and decorations to the pages (items such as paper clips, flair, and brads). Here’s a close-up look at one of the adorable little wooden brads and some string that I added…
See how easy and fun this is? Why not pick out a few of your punches and dies and create some ready-made embellishments for your next project? Having printed and punched a selection of papers and sentiments ahead of time, you will be able to whip up a unique layered embellishment in a flash!
I would love to see what you do if you give this a try. Share your homemade embellishments with us in the June Hybrid Challenge thread to earn Challenge points (you’ll find it in THE CROSSWORD SECTION in TDP’s forum). Hope you join in!

Morag Cutts is part of the Hybrid Creative Team here at Digital Press. She has been an avid scrapper and photographer for ten years. Although she adores the flexibility and creativity of digital, Morag can’t resist playing with paper and embellishments — so hybrid scrapping is the perfect medium for her! Morag lives in the UK with her hubby, two kids, and recently-adopted puppy.