Summer is officially here next week in the Northern Hemisphere. A lot of the kiddos are already out of school and a few weeks into their summer break, however. For me, that is when summer actually starts. Well, the fun activities of summer, anyway! 🙂
Every summer since my kiddo was about 5, we sit down as a family and make a fun-filled and jam-packed summer bucket list! What is a summer bucket list? A bucket list, itself, is a list of goals, achievements, activities, etc. that a person wants to complete during their entire life. A summer bucket list is exactly as it sounds: a bucket list for your summer!
Today, we’ll cover how to create a fun summer bucket list that has been created using digital scrapbooking supplies, and printed out in order to post in your house for the whole family to see and use all summer long.
Supplies Needed:
- Your list
- Digital scrapbook supplies of your choice
- Printer*
- Laminating machine & sheets*
- Dry erase marker
* if you don’t have access to a printer and/or laminating machine, you can also take your digital file to a professional printer to have it printed and laminated; here in the United States, businesses like Staples, Office Max/Depot, etc. provide these services at a relatively cost-effective rate
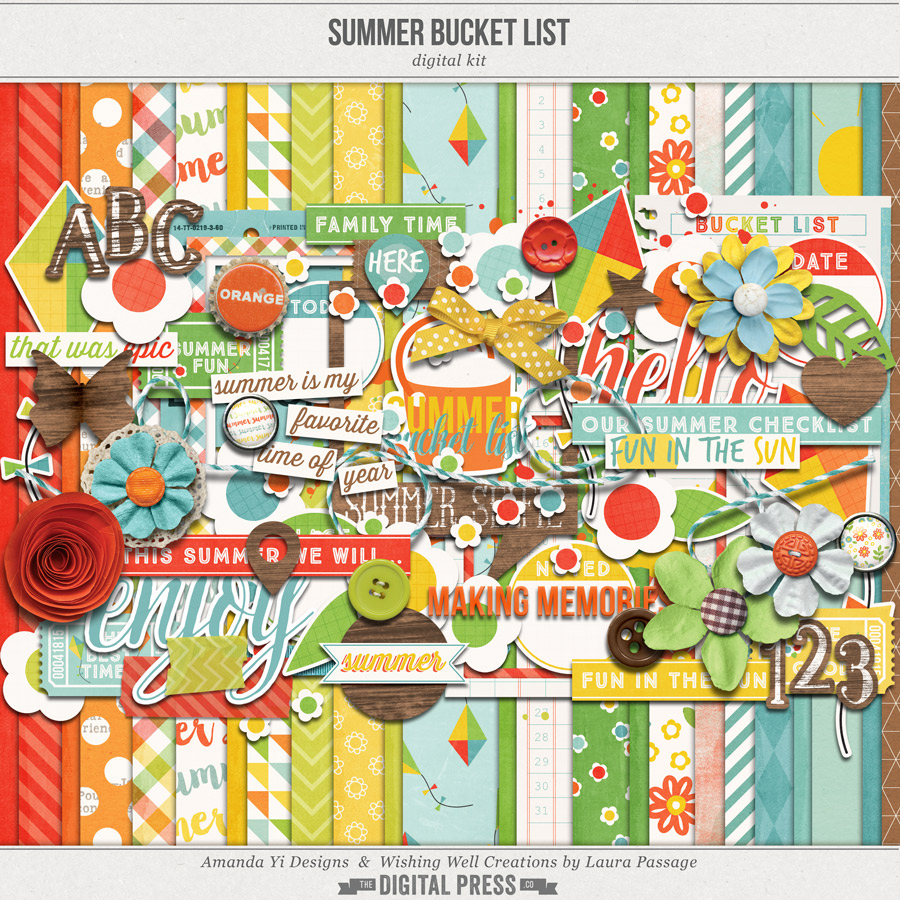
When it came to choosing digital supplies to make my list, I had a lot of options! There are so many great items in the store here at The Digital Press. I chose to use a product that was created specifically for this purpose — a kit called Summer Bucket List that was designed by Laura Passage as a collaboration with Amanda Yi Designs a couple of summers ago…
Instructions:
I use Photoshop Elements (PSE) 13, but most of the following steps will be the same (or similar) in most versions of PSE or Photoshop (PS). That being said, this project is more of a “make it as your heart desires” kind of thing. There are no set rules on how your list should look, or how you go about completing it. It is your bucket list, after all! 🙂
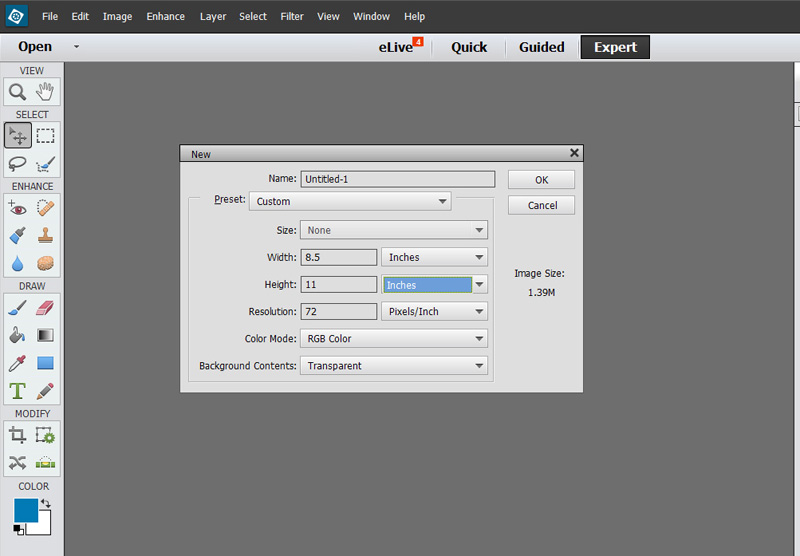
For mine, I started out with an 8.5″ x 11″ canvas in PSE. That is the standard-sized paper here in the states; therefore, it is easier for me to print at home and laminate. You can use whatever size canvas you like best, however (and/or whatever size is easiest for you)…
Next, I chose a patterned paper from the digital kit I was using, and opened it in PSE to use it as a background for my list.
It’s important to note that there are 2 ways to go about importing a 12″ x 12″ paper into a 8.5″ x 11″ file. You can drag the paper into your canvas after you open it separately in PSE — and because it’s bigger than your canvas (1″ taller, and 3.5″ wider) it will cover the entire canvas area and overlap the edges. This is fine; when you save your final image, you’ll only “see” what you can see on the canvas area that you’re working on.
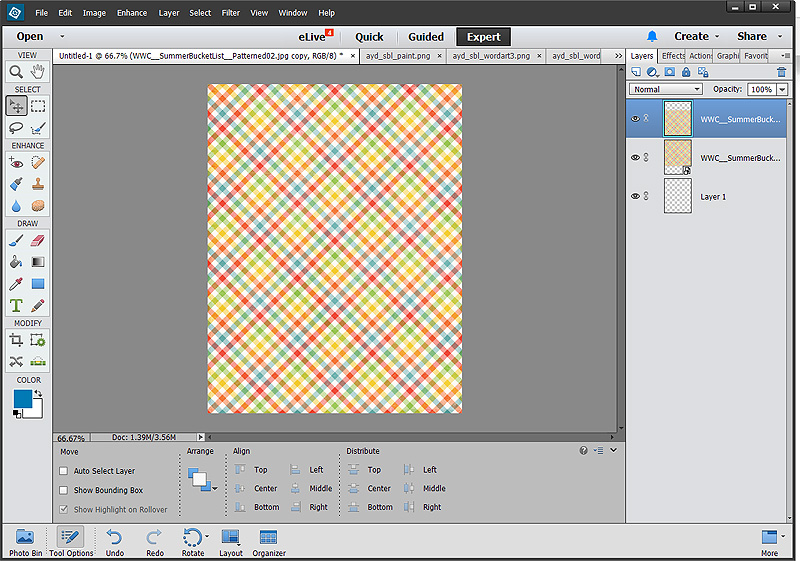
Alternatively, you can open the paper straight into your canvas, which is smaller than the paper, and it will fit itself into the width of your canvas (but won’t be tall enough to cover your entire canvas). You’ll see what I mean in the following image (it fits nicely horizontally, but not vertically)…
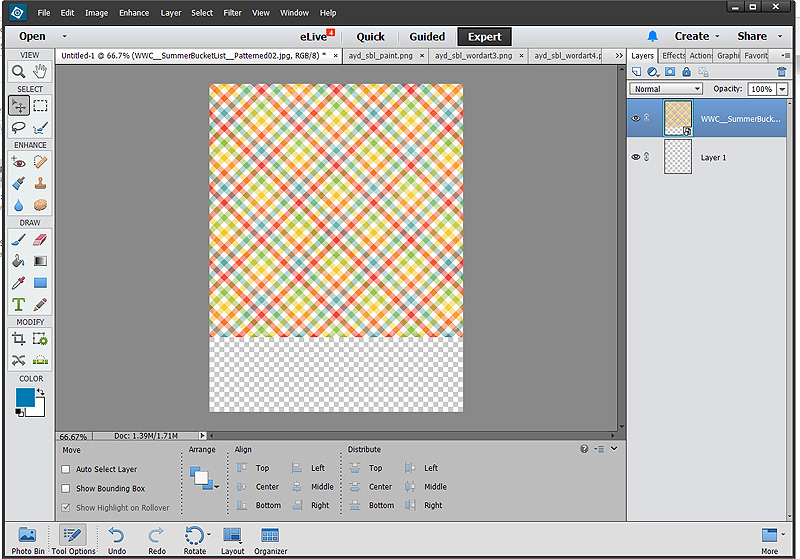
In this second situation, you don’t want to stretch it out to cover the entire page (i.e. re-size it by stretching it vertically but not horizontally), or else you will distort the pattern. Instead, another solution is to copy the paper layer, lay it on top of the original paper layer, and then scoot it down until the blank area at the bottom is filled up.
As you can see, however, this will cause a visible line if the digital paper has any distressing around the edges (most do)…
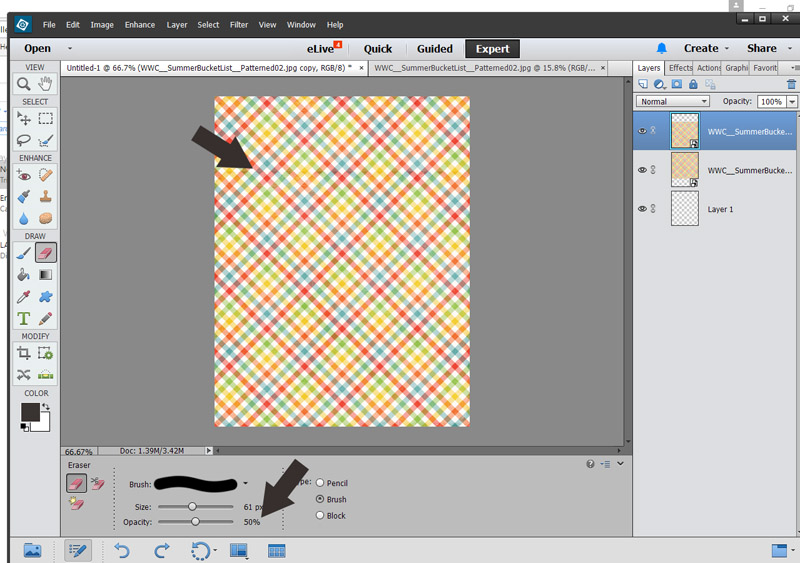
This can be easily remedied. Choosing your Eraser tool, you set it at whatever size you like — big enough to cover the line, but not so big that it erases the entire paper. I set my opacity at 50% and then erased over the distressed edge area that created the visible “line.” Simple as that! You end up with what looks like a solid 8.5″ x 11″ page, as long as you’ve lined up the pattern between the two paper layers…
Now comes the part we all know and love so much — using elements and scrapping!
There are no rules here; you don’t even have to use the same size as I am showing. You can make a list, pocket scrap it, cluster and journal, add photos, and more.
Here is a look at the finished digital copy of my 2017 Summer Bucket List…

Once I was done creating the image of the list itself, I sent it off to a local printer to be printed. I chose 65lb cardstock and had it printed via a color laser printer (it’s personal preference, but I find that a laser-printed finish often not only looks better, but it usually holds up better in the long run, as well). I had it laminated with 5ml laminate. Here is the completed finished product…
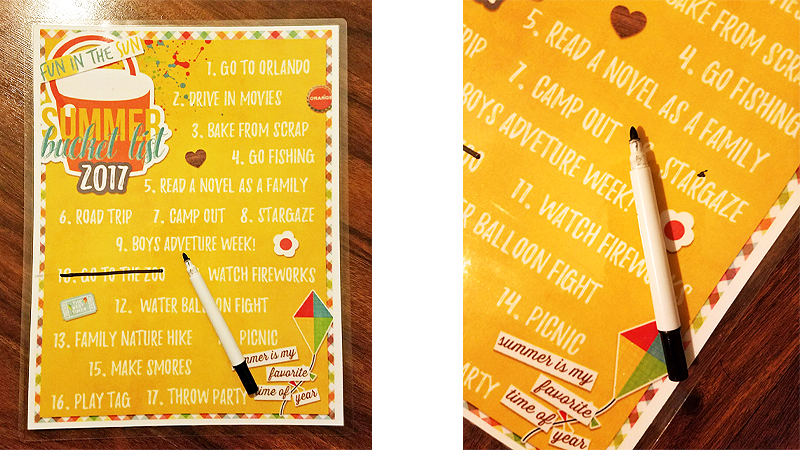
As you can see from the photo above, there was a reason I chose to use a list format and to laminate the final product after printing it off — my 9-year-old son thinks it is his job to mark off each item as we complete things throughout the summer. He is determined that we will get through every single one of these this year!
You can do bucket lists for just about anything in your life: vacation bucket lists, “30-before-30” bucket lists, and pretty much anything you can list and label. Most of us have busy summers. Making a list (of even the simplest variety) and marking those fun family things off each time you complete a list item can make it just a little bit more fun — and also ensure that you remember all of your fun summer goals! It is also a great yearly keepsake to add to your album at the end of the summer, because it will go along with all of the photos will be taking and scrapping!

About the Author La’Shawn Castings is a creative team member here at The Digital Press. She is a 30-something, full-time working, nerdy, somewhat lazy, digi-scrapping, photo taking, college football loving, panda obsessed, yellow wearing, Harry Potter nerding, Doctor Who watching, historical fiction reading, southern wife & mom.