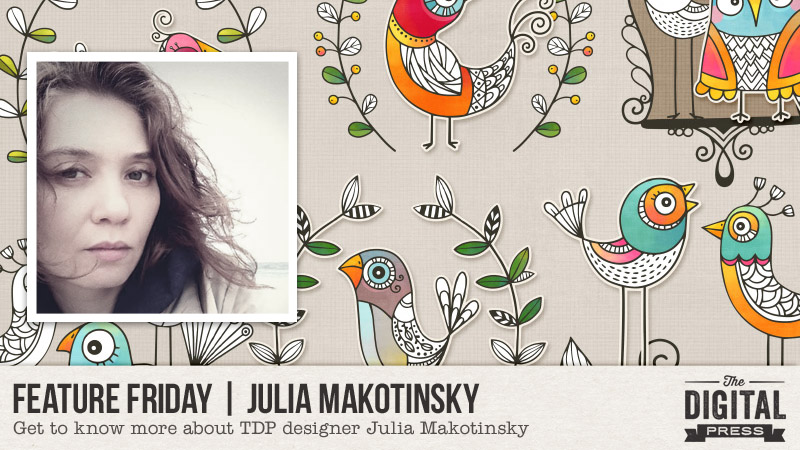
Happy Friday, everyone, and welcome to another edition of our Feature Friday series here on The Digital Press blog! This week, I’m thrilled to put the spotlight on the amazingly-talented Julia Makotinsky. This is actually Julia’s second feature here on the blog (you can find her Foodie Friday post from February 2018 HERE).
In order to learn more about Julia, personally, this time around… I asked her to share 5 things we might not already know about her (and she answered with words and pictures!)…
- I got my driver’s license at the age of 39, and when I asked my younger brother whether it was going to be hard to pass the test his reply was “I don’t remember, it was 15 years ago for me.” Another funny part of this story… as I was taking the written part of an exam, one of the questions was, “when are you allowed to answer your cell phone while driving?” This question didn’t even exist when my brother took his test 15 years ago! 🙂
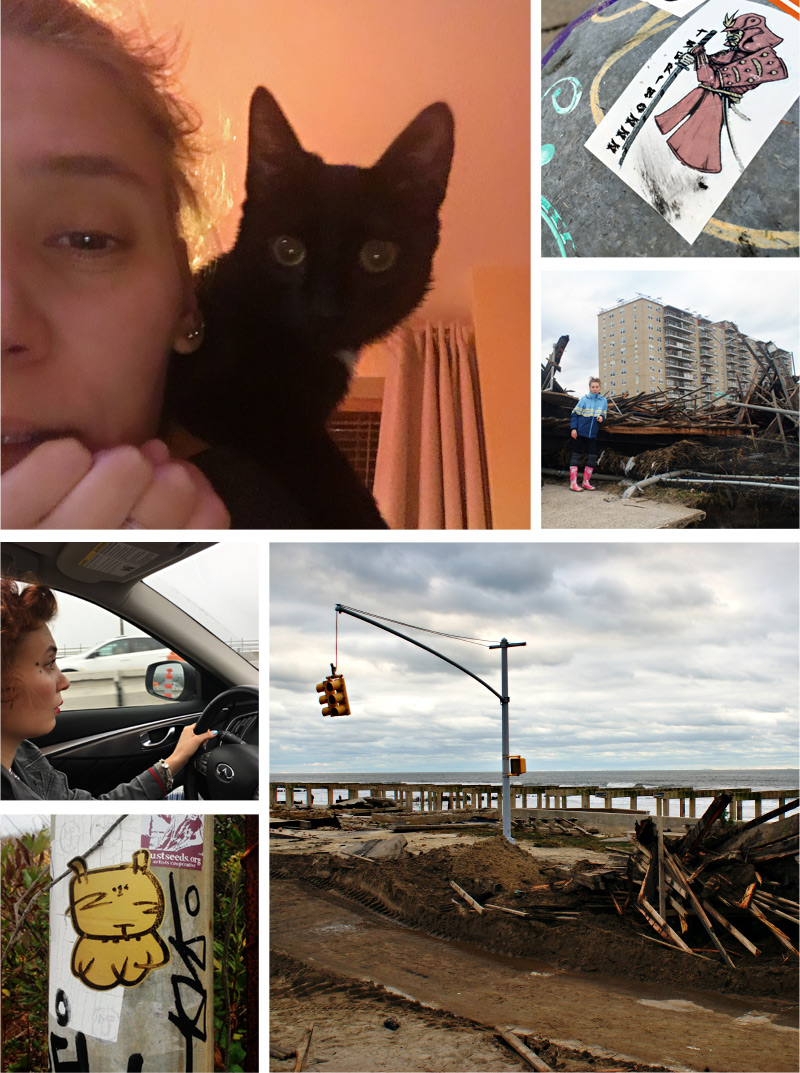
- I live right on the beach in New York, which was destroyed by hurricane Sandy in 2012. It was hard for a few months without hot water, and it was cold… but our beaches are back and beautiful as before. Every time I leave New York I always miss the view and sound of the ocean, especially at night during summer.
- Two years ago my boyfriend and I rescued a kitten; he was only 3 weeks old. We named him Laki and he is a beautiful black baby boy who is spoiled by me and allowed everything. When he was younger he used me as a climbing tree to get places he couldn’t jump to yet, and boy was it painful. But now he sometimes might jump on my shoulders while I’m sitting on the floor or chair unexpectedly, just because he feels like it, and he only does it to me. 🙂
- I don’t have any tattoos, but I really want one. Unfortunately, I was always a chicken when it came to needles but lately I’ve been thinking more and more about designing my own tattoo and actually getting it.
- I take pictures of random stickers found on light posts, fences, street signs, and sometimes even garbage cans. 🙂 There is just something exciting about finding a new sticker I don’t already have picture of. Some day when I have enough, I plan to print a book with all of them.
Here’s a look at Julia, her kitty, some of the damage from Hurricane Sandy, and some of the awesome stickers she finds and photographs…
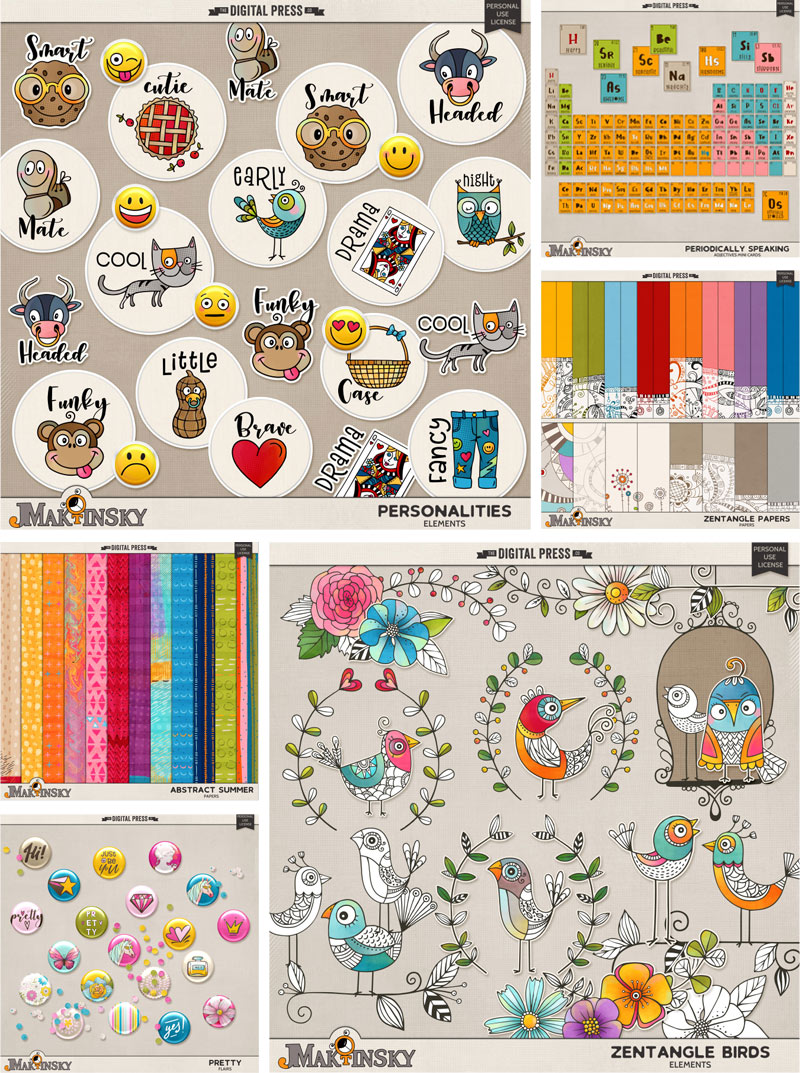
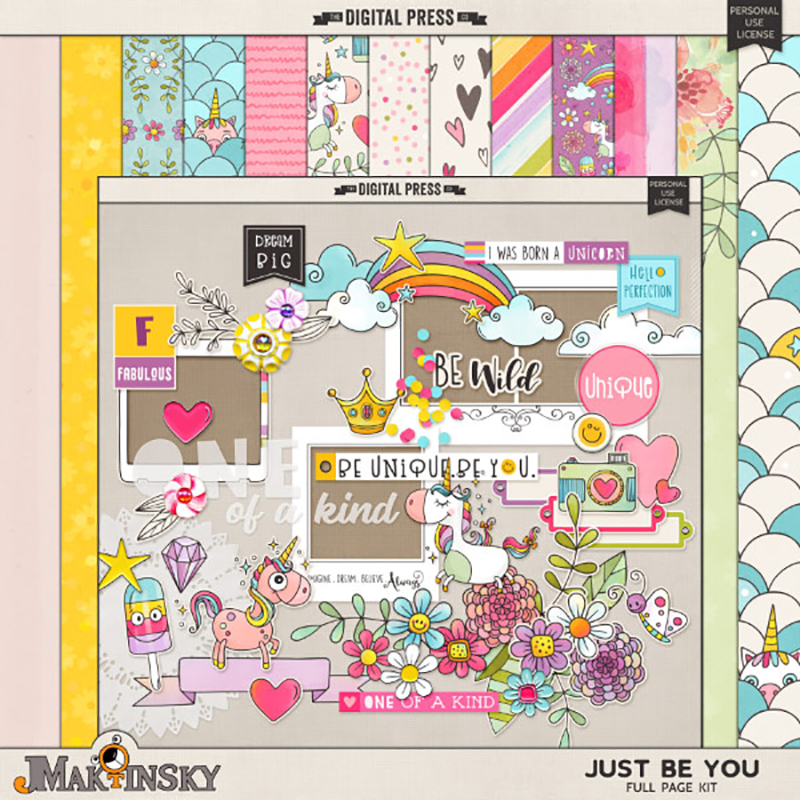
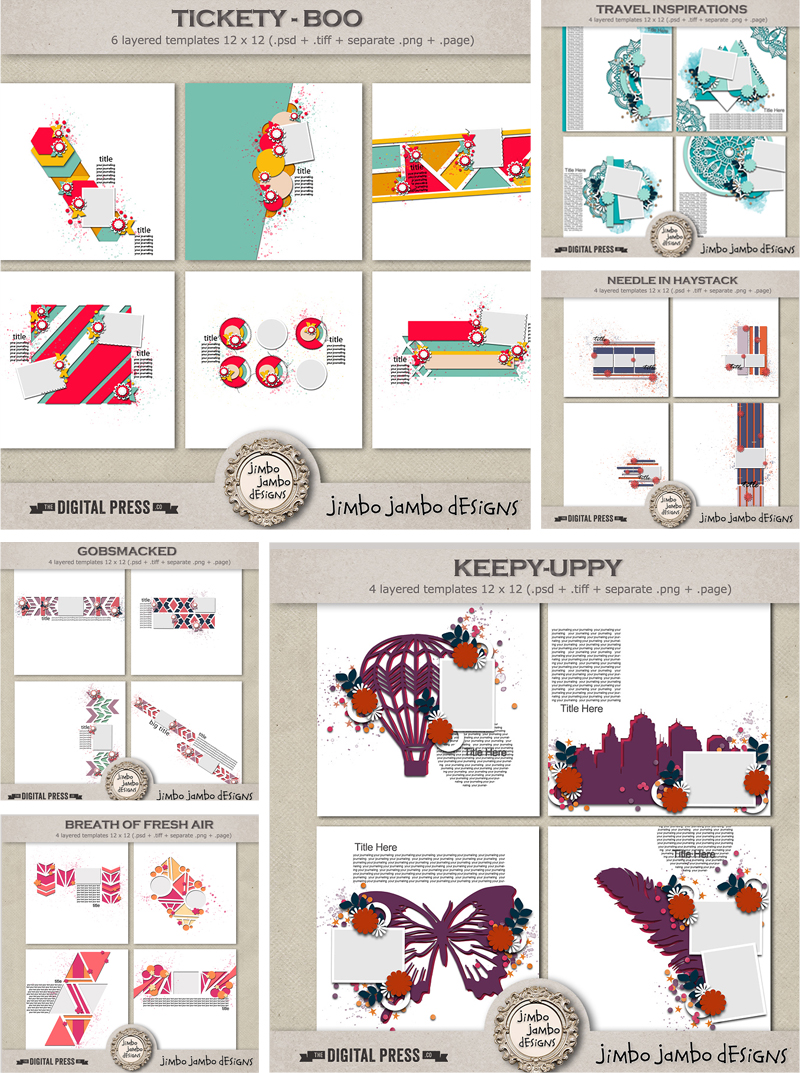
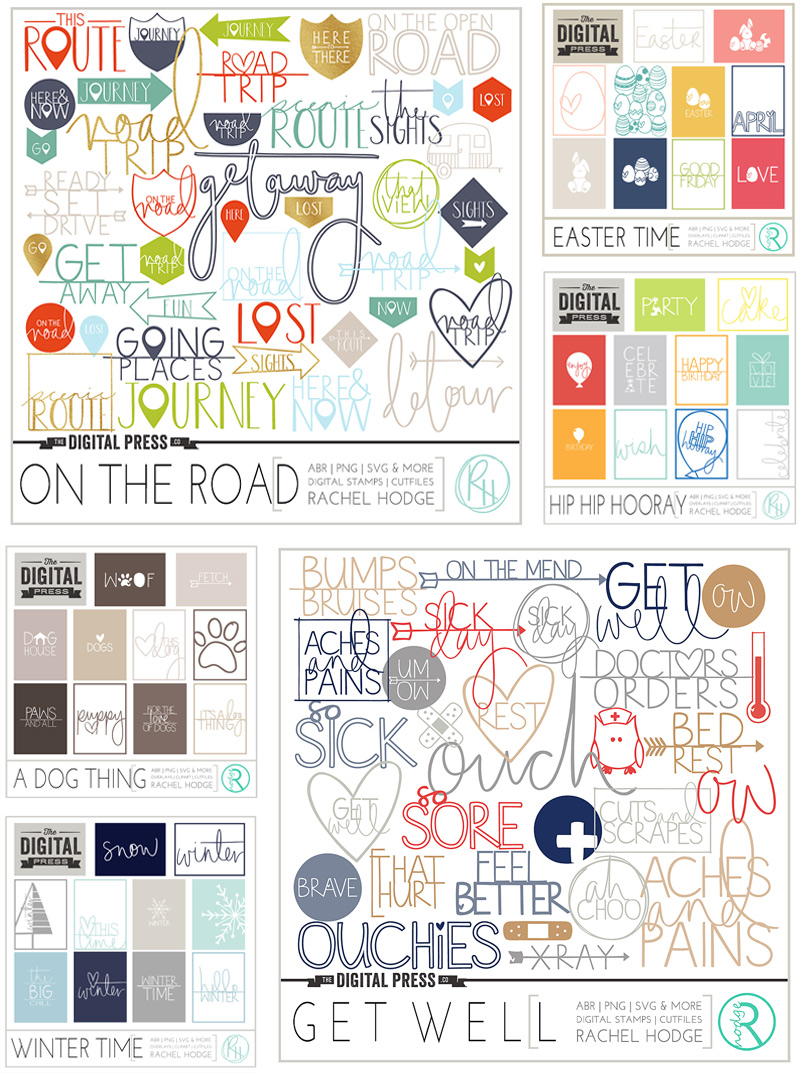
Have you had a chance get to take a look at Julia’s shop here at The Digital Press? It’s full of fun, whimsical illustrations and designs that she hand draws herself! I’ve got to tell you, it was really hard to pick out just 6 of my favorite products. I really love all of the vibrant colors and adorably fun characters Julia brings to life with her illustrations. Here’s a peek at a few faves…
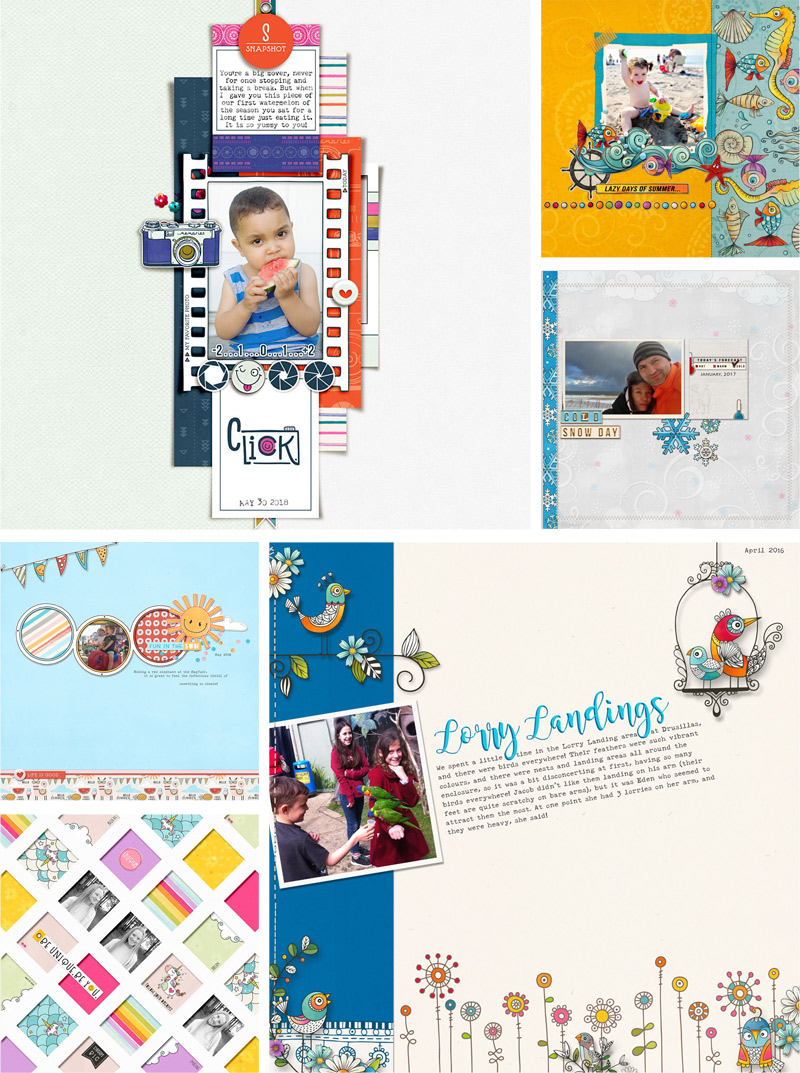
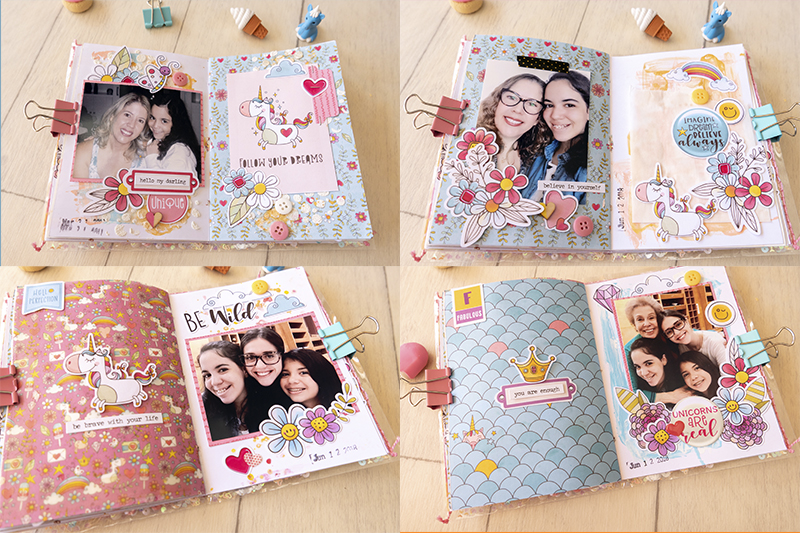
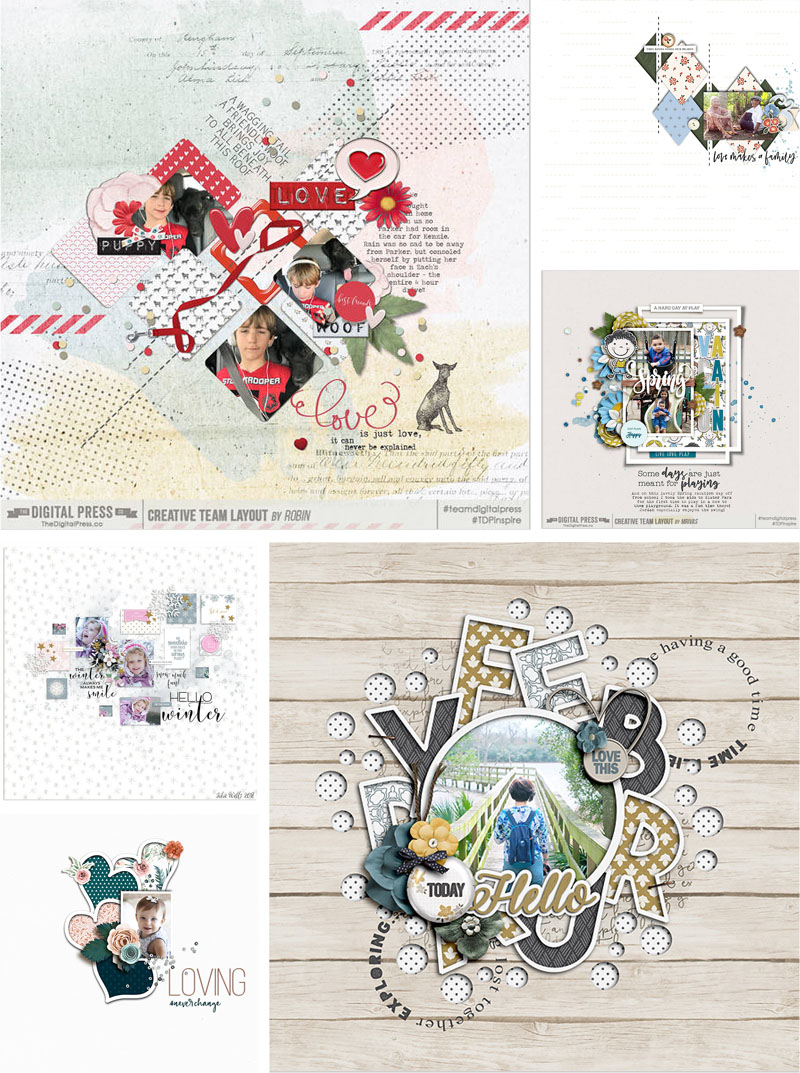
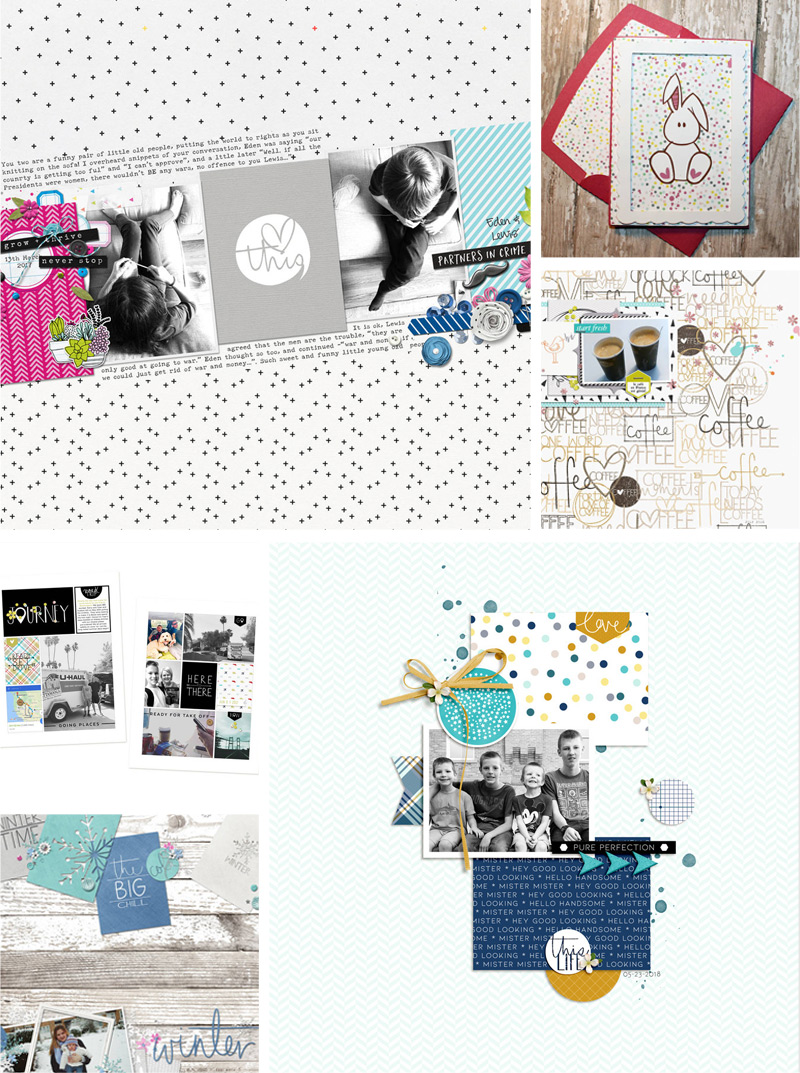
To give you a look at her products in action, I’ve also compiled this sampling of digital layouts that were created with her designs…
I am so glad to have had the opportunity to help you get to know Julia a little better today!
Now that I have you excited about her amazing digital artwork… you’ve got to go check out her shop here at The Digital Press during her feature week and take advantage of this week’s 30% OFF sale throughout her feature week (the sale will end at 11:59pm ET on Thursday 7/5).
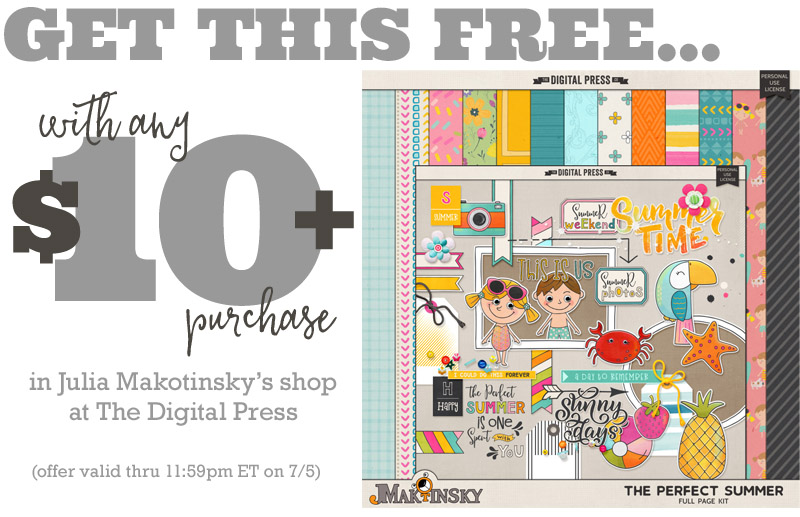
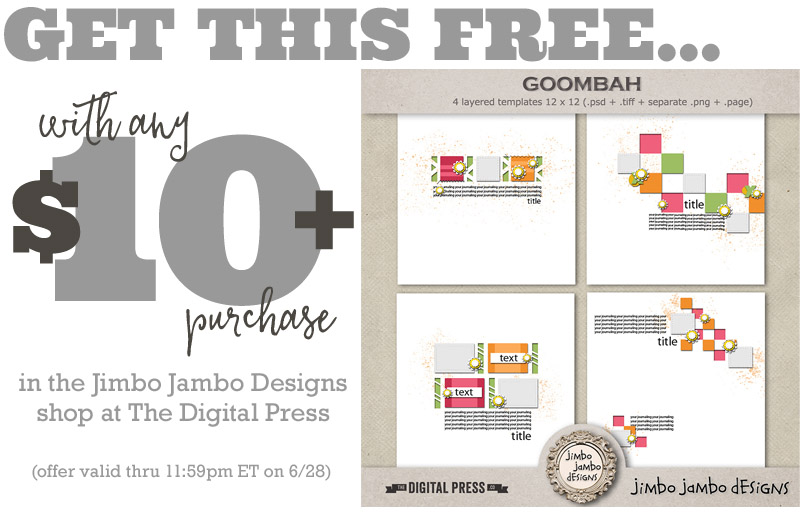
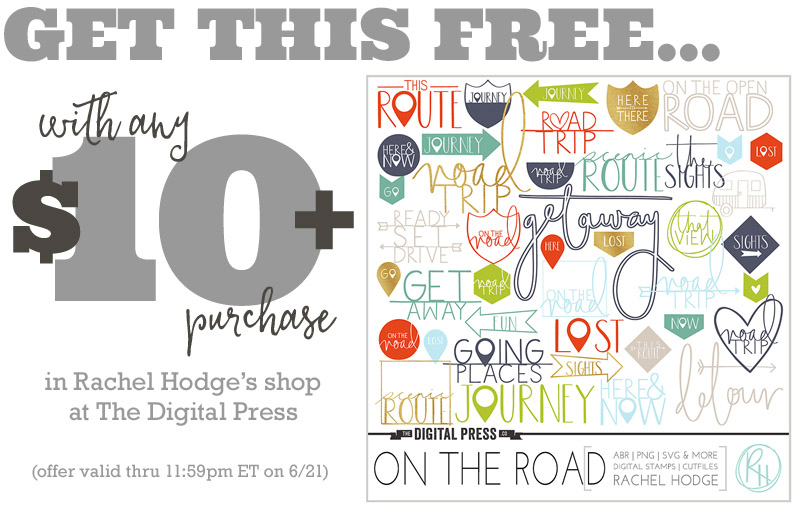
Additionally, Julia has a special Free-with-Purchase offer for everyone this week! Don’t miss out on this opportunity to stock up on your favorite products from Julia Makotinsky… and you will get this awesome brand-new (just released today!) full kit — The Perfect Summer — for FREE with any $10+ purchase in her shop — this week only (again, this offer ends at 11:59pm ET on Thursday 7/5).
 About the Author Carrie is a creative team member here at The Digital Press. She and her family enjoy spending time outdoors year-round near their home in Colorado. In addition to scrapbooking and the occasional hybrid home decor project, Carrie also reads voraciously, accumulates fabric, makes soap, brews beer, grows hops, and tries to keep indoor plants alive.


 About the author Astrid is a member of the creative team here at The Digital Press. She lives with her husband and her 2 teenage/adult kids in Germany. As a mini-jobber with only 10 hours/week, she has plenty of time for her digital scrapbooking hobby. She has Netflix and Amazon Prime, and is addicted to nearly all series. Vampires, zombies, vikings… it doesn’t matter; she likes everything. She loves the ocean and the summer heat, but lives in the opposite: mountains. Therefore, she loves visiting her family in Algeria or the south of France.


 About the Author Corrin is a member of the creative team here at The Digital Press. She is a fan of the Big Bang Theory and a lover of cozy pajamas or flip flops when the sun finally shines! She lives in the breezy South of England with her husband and 4 crazy kids, who regularly discover & plunder her secret chocolate stashes, and hopes that maybe this will be the year she reaches the bottom of the laundry pile!