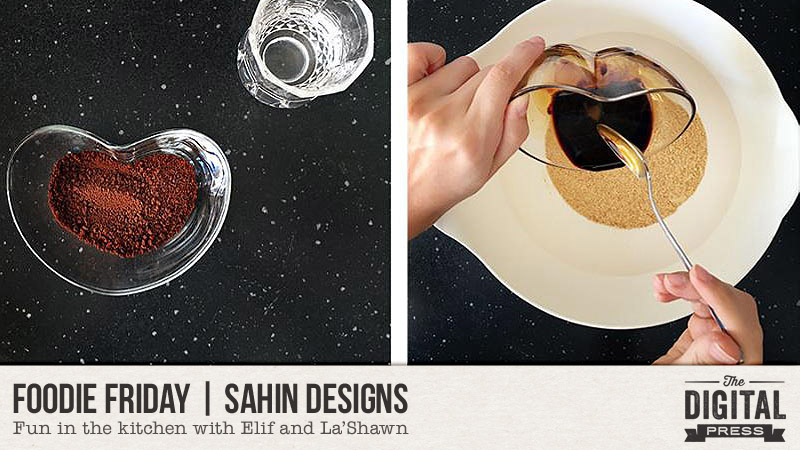
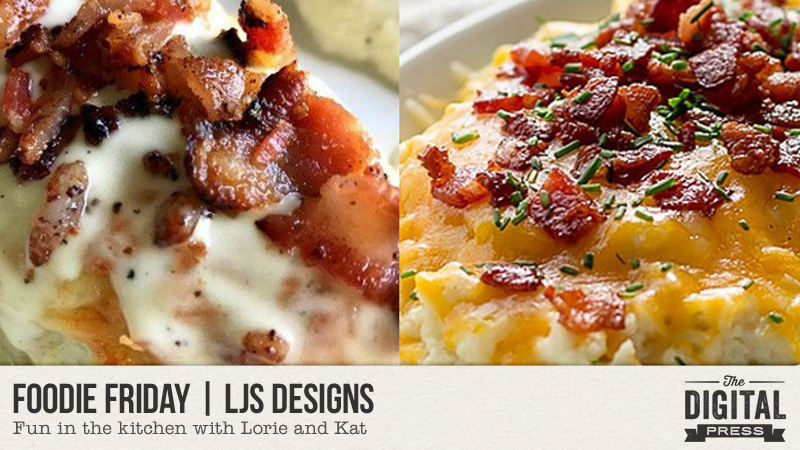
Happy Friday, all… and welcome to the most recent edition of Foodie Friday here on The Digital Press blog!
As you have likely already caught on throughout the month so far.. this is a new series based on the amazing response we had to the “Mess Hall” activities during TDP’s Summer Camp back in July. As such, every Friday throughout the rest of the year, we will be combining this fun feature with our weekly designer feature series — and having some fun in the kitchen! Every week you will get the chance to peak into the lives (and kitchens) of your favourite TDP designers and creative team members.
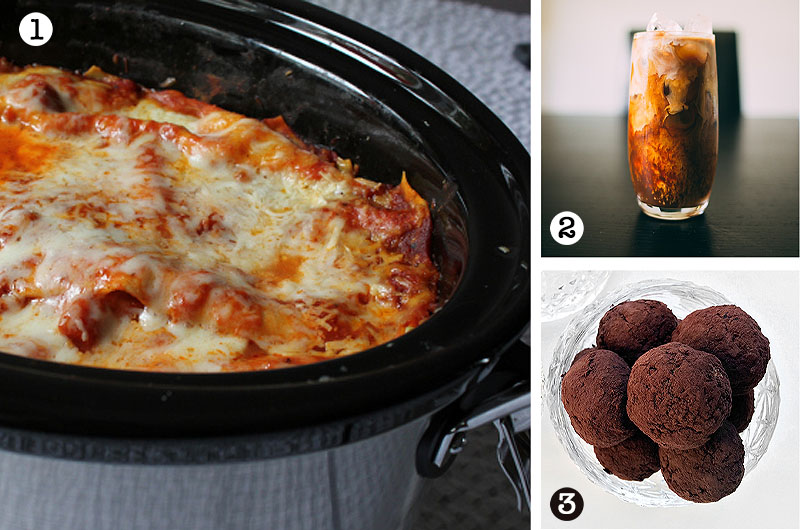
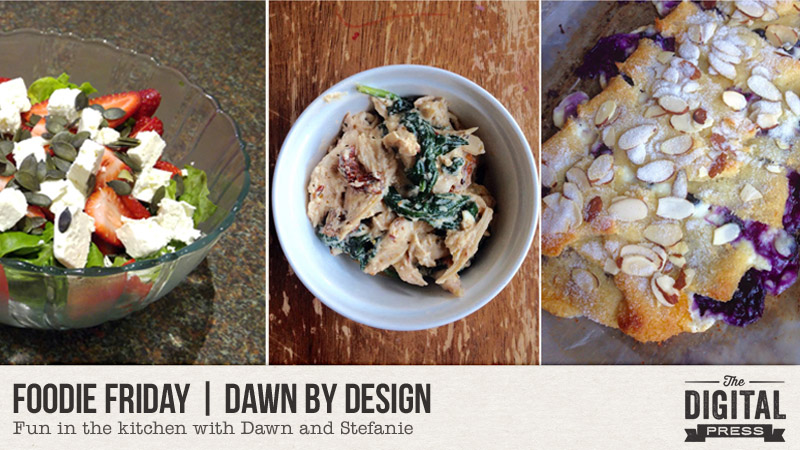
This week, I have joined forces with the always-fun Dawn of Dawn by Design — and we’re sharing two recipes from her kitchen and one from mine! My recipe is an easy salad (a recipe garnered from my oldest son’s fiancee)… and Dawn has added a scrumptious chicken pasta dish along with a blueberry cream cheesecake to finish everything off sweetly!
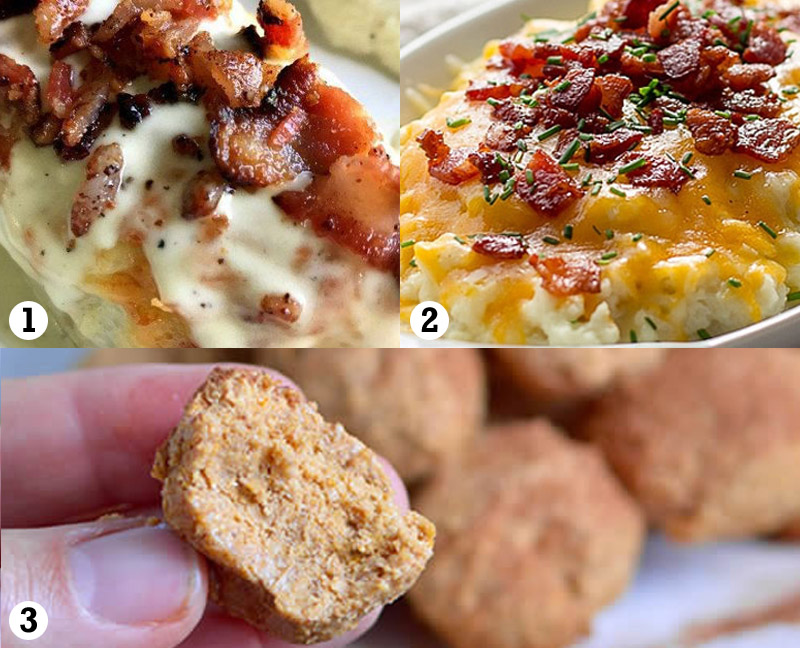
So, what are these delicious things you see pictured above?
- Strawberry and Feta Salad
- Creamy Tuscan Garlic Chicken
- Blueberry Cream Cheesecake
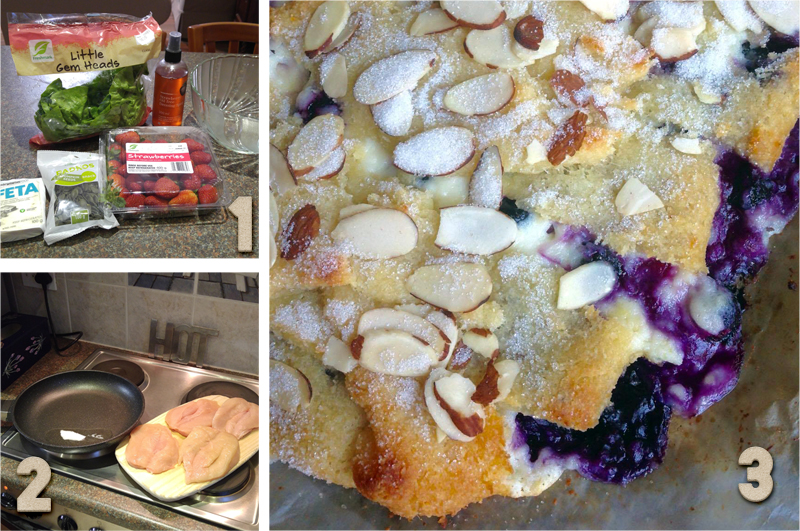
Strawberry and Feta Salad
INGREDIENTS NEEDED
—2-3 cups (250–400g) strawberries, washed and quartered
—1/2 tub (or 2 rounds) of feta cheese, drained and cubed
—1 small head of lettuce (cos, romaine, or rocket/arugula all work nicely)
—pumpkin seeds (optional)
INSTRUCTIONS
—Tear the washed lettuce into bite-sized pieces and layer into the salad bowl
—Add the strawberries and cubed feta cheese and sprinkle pumpkin seeds on top
—Add dressing of your choice. That’s it! I, myself, have served this with a strawberry-based vinaigrette (yum!)
Creamy Tuscan Garlic Chicken
INGREDIENTS NEEDED
—1 – 1/2 lbs boneless skinless chicken breasts (sliced into cutlets)
—2 tablespoons olive oil
—salt and pepper (to taste)
—1 cup heavy cream
—1/2 cup chicken broth
—1 teaspoon garlic powder
—1 teaspoon Italian seasoning
—1/2 cup parmesan cheese
—1 cup spinach, chopped
—1/2 cup sun-dried tomatoes
INSTRUCTIONS
—Season the chicken with salt and pepper, and then saute in a large skillet on medium-high heat for 3-5 minutes on each side (until browned and thoroughly cooked). Set chicken aside on a plate.
—Bring the heat down to medium. In the same skillet, whisk in the heavy cream, chicken broth, garlic powder, Italian seasoning, and parmesan cheese for a few minutes (until mixture thickens slightly).
—Add spinach and sun-dried tomatoes. Simmer for a minute or two, until spinach wilts. Return chicken to pan and flip a few times, so that it is thoroughly coated in sauce.
Blueberry Cream Cheese Danish
INGREDIENTS NEEDED
DOUGH
—1/2 cup almond flour
—1/4 cup coconut flour
—1/4 cup confectioner’s (powdered) sugar
—6 ounces shredded part-skim mozzarella cheese
—5 tablespoons butter
—1 large egg
FILLING
—4 ounces cream cheese
—1/4 cup whipping cream (at room temperature)
—2 tablespoons white sugar (granulated)
—1 teaspoon lemon zest
—1 cup blueberries
TOPPING
—3 tablespoons sliced almonds
—1 tablespoon white sugar (granulated)
INSTRUCTIONS
DOUGH
—Preheat oven to 350F degrees and line a large baking mat with parchment paper or a silicone liner.
—In a medium bowl, combine almond flour, coconut flour, sugar, and baking powder. In a large saucepan, melt cheese and butter over low heat until it can be stirred together.
—Add egg and vanilla extract and stir to combine. Stir in almond flour mixture until dough comes together (keep heat on low). It will still have some large streaks of cheese. Turn out dough onto a silicone mat or directly onto a kitchen counter and knead until uniform (this only takes a little kneading).
—Cover with parchment paper and roll out to about a 14×8 inch rectangle. On the diagonal, cut 1 inch wide, 1 ½ inch long strips along both sides, leaving a solid rectangle of dough in the center.
FILLING
—In a medium bowl, beat together the cream cheese, cream, sugar, and lemon zest until well combined. Spread down the center of the dough, leaving about ½ inch all around. Sprinkle with blueberries.
—Fold the strips of dough over the filling so that the ends overlap. Pinch the dough at the ends to seal.
TOPPING
—Sprinkle with sliced almonds and granulated sugar and press gently to adhere.
Bake 20 to 25 minutes, until pastry is golden brown and firm to the touch. Remove and let cool completely, then slice into strips to serve. Serves 8 to 10.
We’re betting that you’re hungry just reading through these recipes, and that you can’t wait to try them out!
Well, if you’re up for a challenge… come to the forum and check out our Recipe Book challenge, which launched this month and is designed to help you create a quick-&-simple book of your favorite recipes — get this — in time to print it up and give it to friends and family members as a holiday gift later this year(!). Sound like fun? Come check it out HERE.
Meanwhile, it wouldn’t be a designer feature week without a fantastic sale and a special Free-with-Purchase offer… so you’ll be excited to see what Dawn of Dawn by Design has in store for you! Not only is her entire shop marked down 30% OFF throughout her entire feature week (sale prices will be valid through 11:59pm ET on Thurs 9/21)… but she also has this awesome deal in her shop all week long, as well! Spend $10+ in the Dawn by Design digital Scrapbooking shop, and get the following brand-new / just-released full kit, Trick or Treat, completely FREE!


About the author Stefanie is a member of The Digital Press creative team and a stay at home mother of three older children living in Cape Town, South Africa with her hubby of 29 years, two of their three children and 2 cats. She loves photography, travel and digital scrapbooking the good and the ordinary everyday.


 About the Author Kate is on the hybrid team here at The Digital Press. She lives on the Utah/Colorado border with her husband, 5 kids, 10 chickens, and a dog named Gracie. She’s a city-born girl who found she’s really a country girl at heart. She can be found outside, barefoot, and probably in her garden.