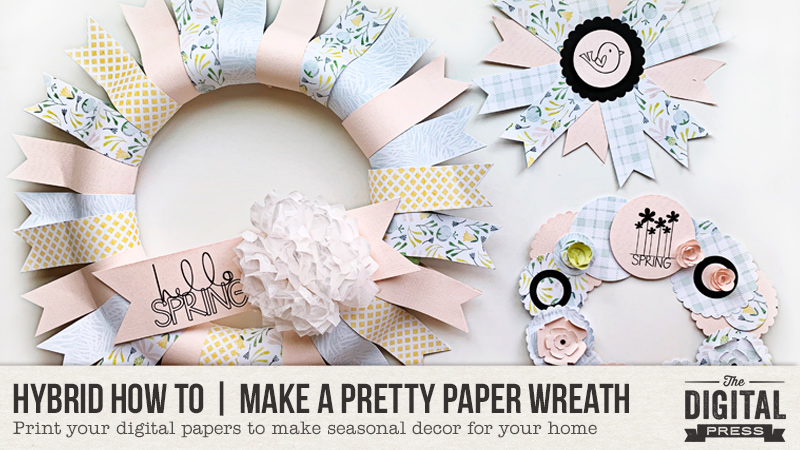
Hello everyone, and welcome to another edition of our Hybrid How-To series here on The Digital Press blog! Today I’m going to teach you how to make some pretty paper wreaths using products from your digital scrapbooking stash.
It looks like Spring has finally arrived for many of us, and it is a welcome sight for sure! This season brings us back outside, perhaps doing some gardening or work in the yard. It’s the season that feels fresh and new, so for me I thought about bringing some spring color into my house by using my pretty digital papers and word art from The Digital Press to make some paper wreaths for decoration.
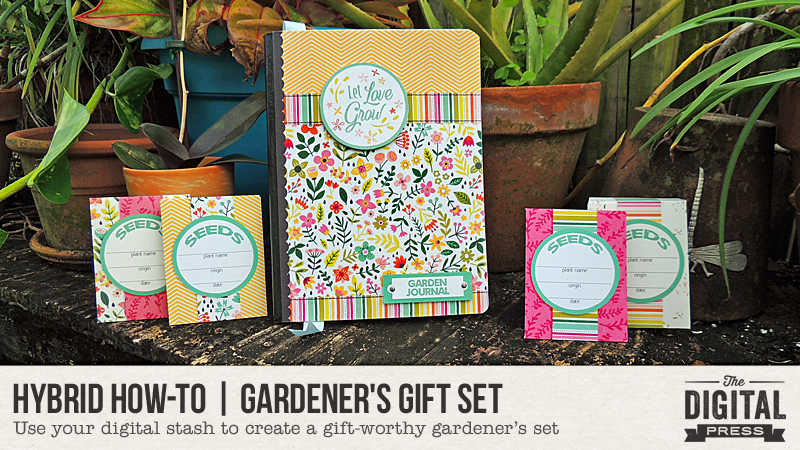
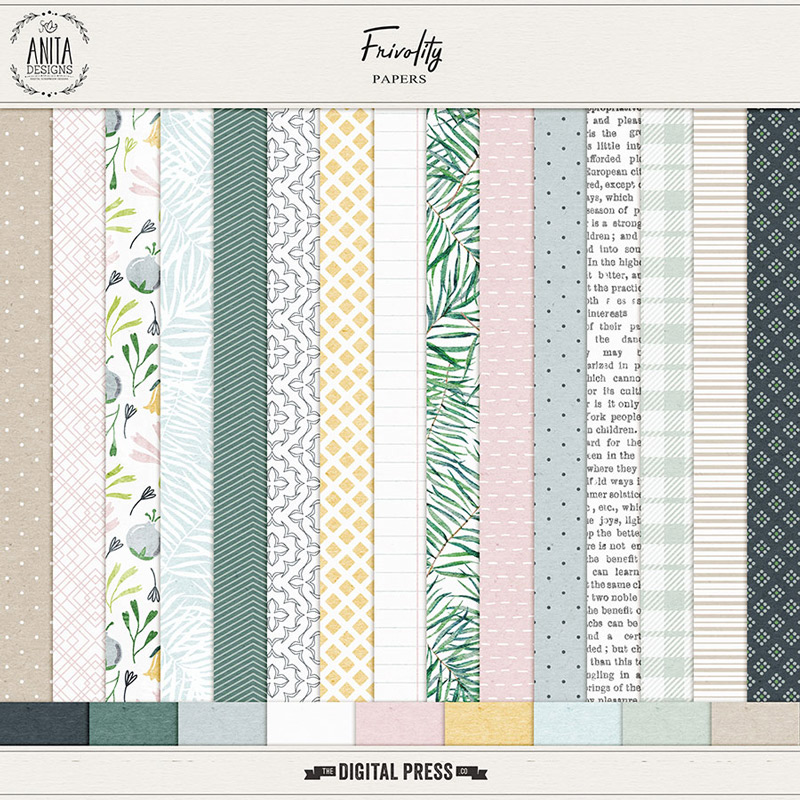
I ended up making three easy decorative wreaths — each of which can hang or be propped up on my mantle or a table, etc. They add the perfect touch of seasonal decor to my home. The hardest part was selecting which gorgeous patterned papers to use… but I finally decided on the Frivolity Papers by Anita Designs, shown here…
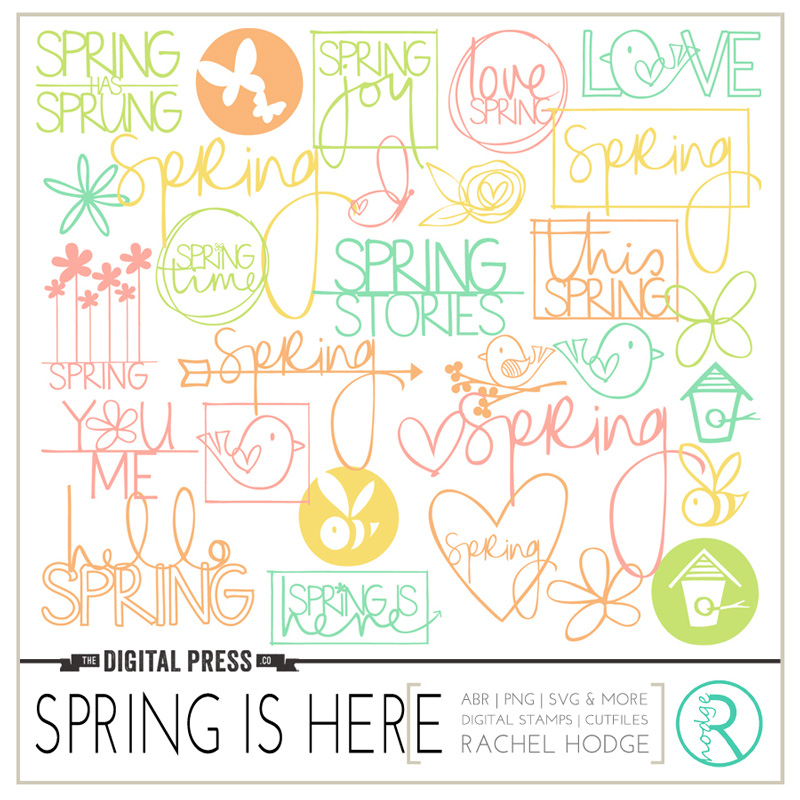
I also picked out a word art/stamp set to use to decorate my wreaths; I love the spring designs on the Spring Is Here set by Rachel Hodge…
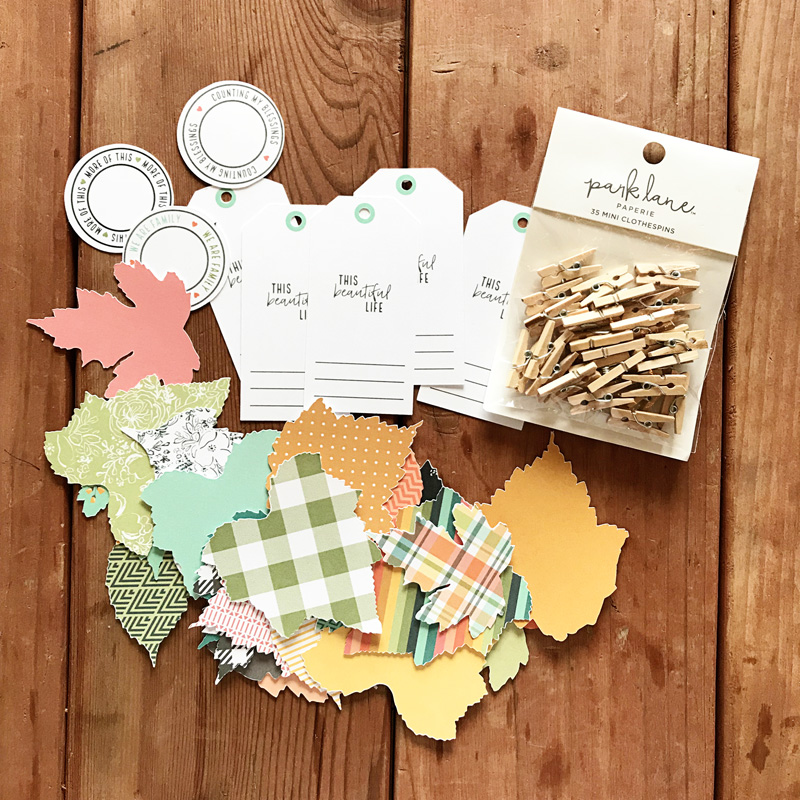
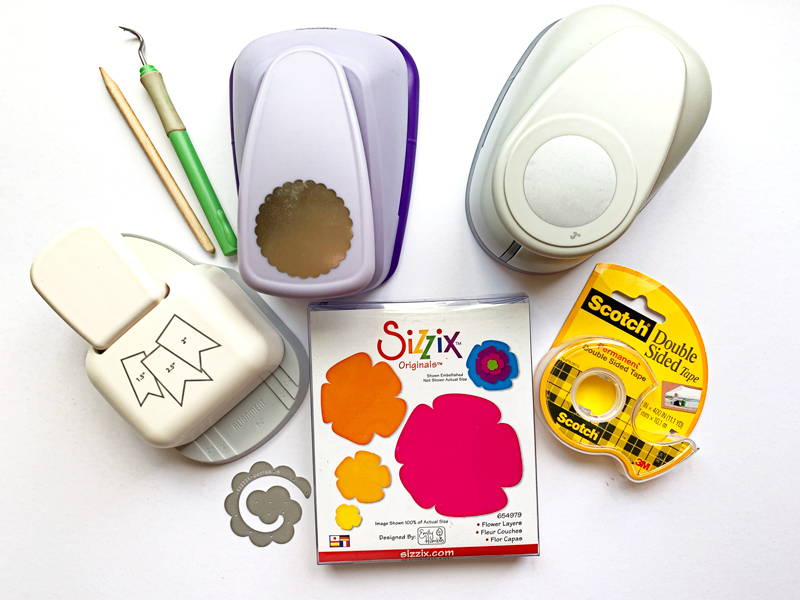
Finally, here is a quick look at some of the tools I grabbed out of my scrap stash to use for this project (you can easily adapt your own project to whatever tools/punches/shapes/etc. you happen to have on hand!)…
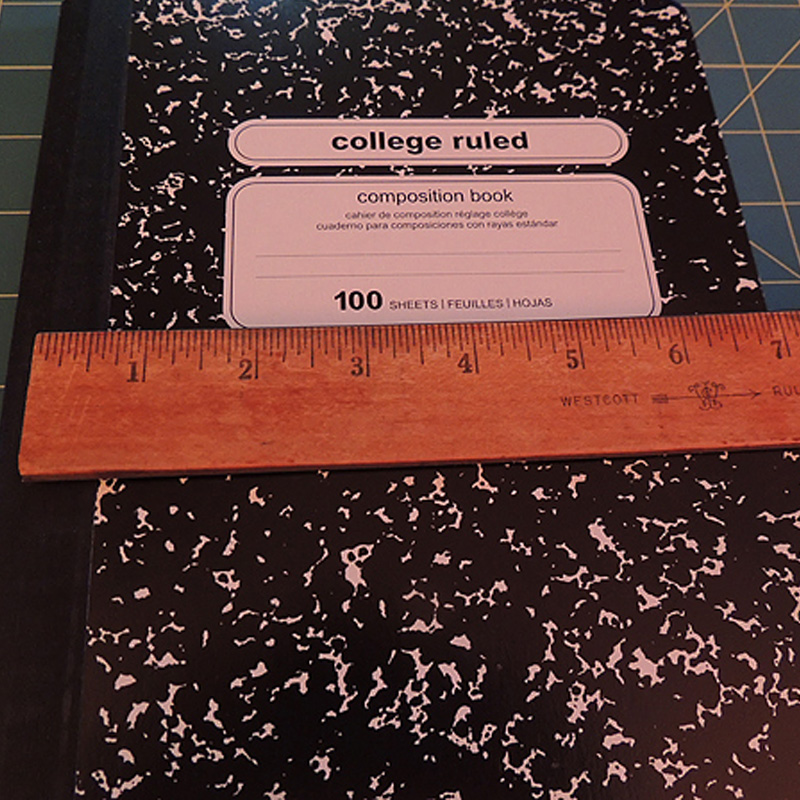
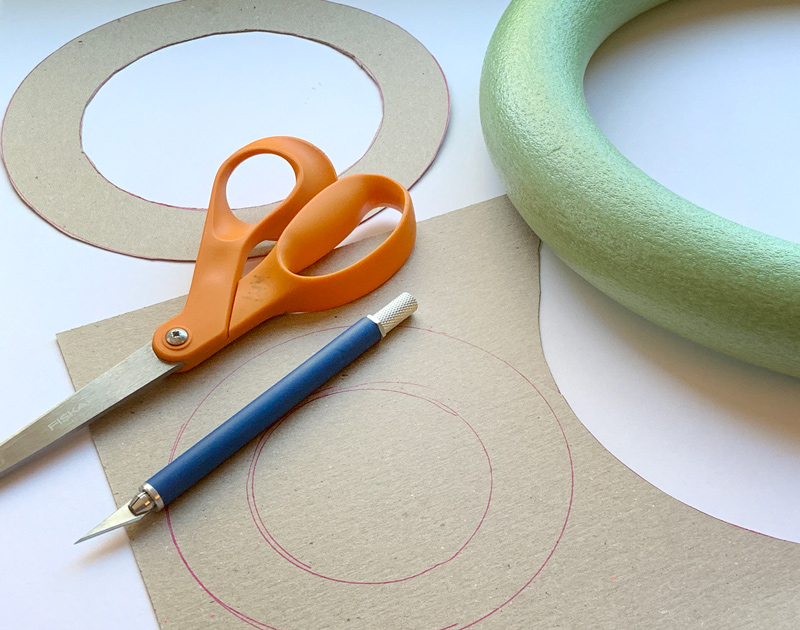
To begin, I bought a foam floral wreath from my local craft store. This one measured about 11 inches wide; they come in different sizes and are not too expensive. For the other two wreaths I just made myself a template using chipboard I had on hand. I drew a circle onto the chipboard using a cup, and then another circle around it using a bowl to outline the first circle. I cut everything out using scissors and a craft knife.
I decided to work on the large foam wreath first.
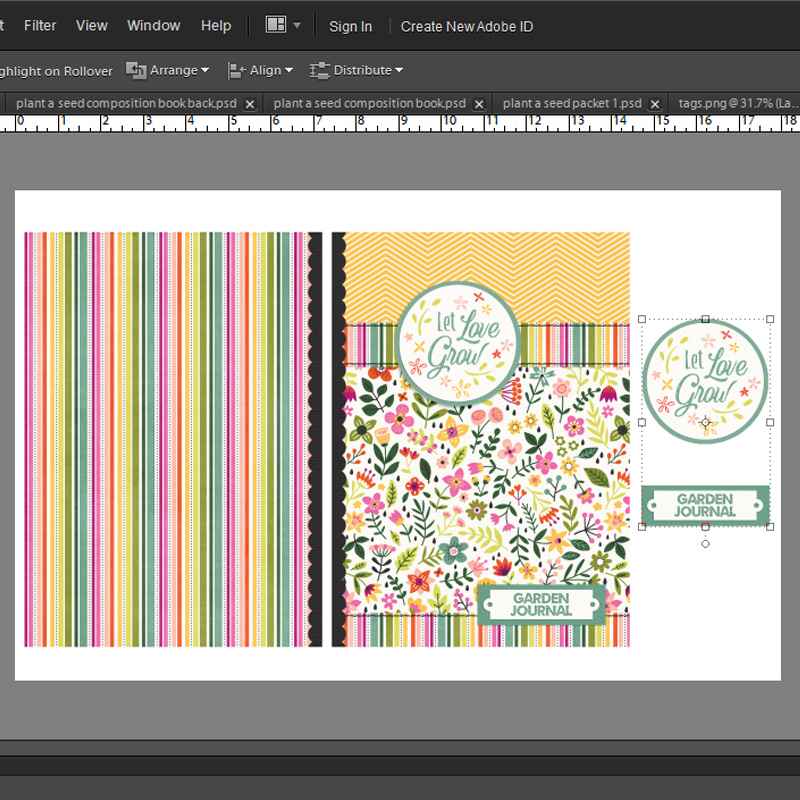
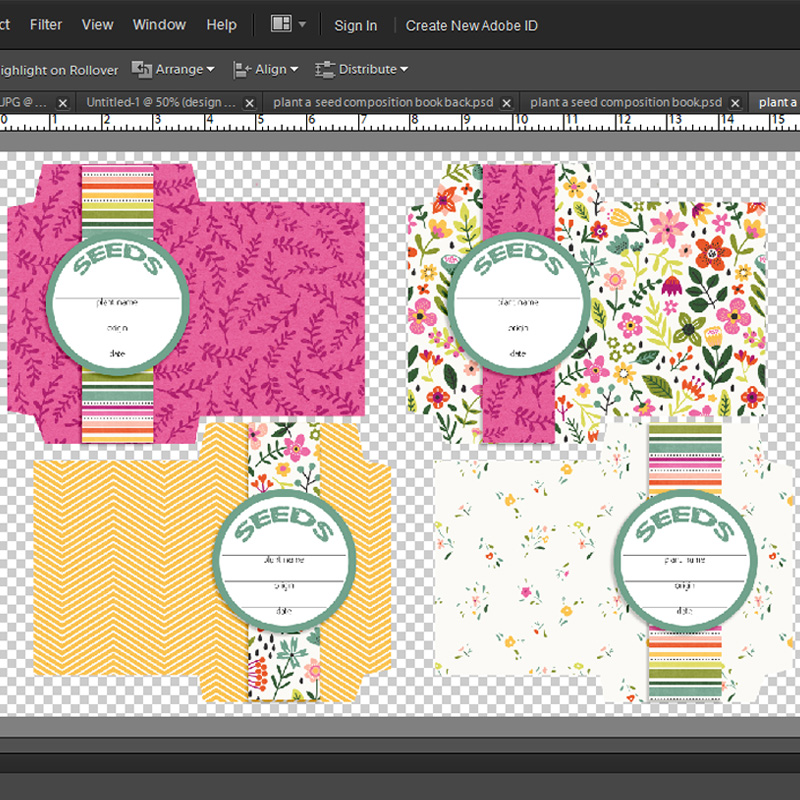
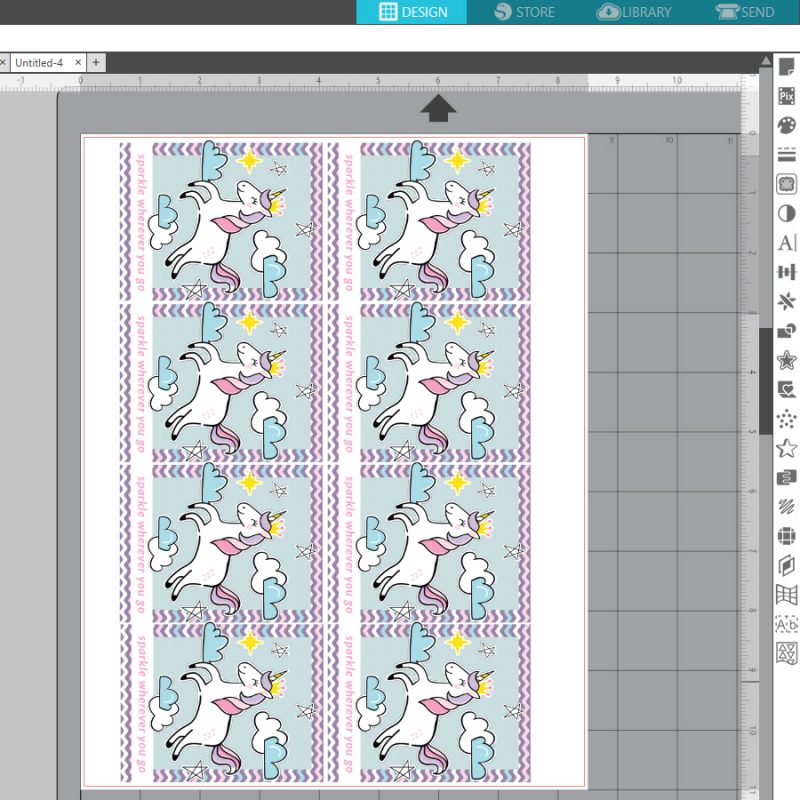
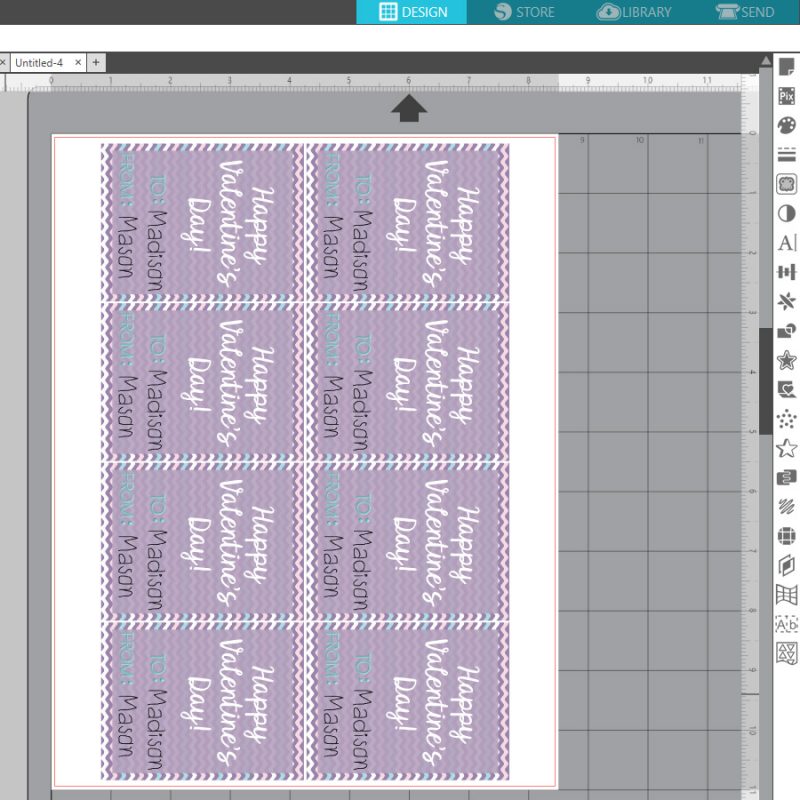
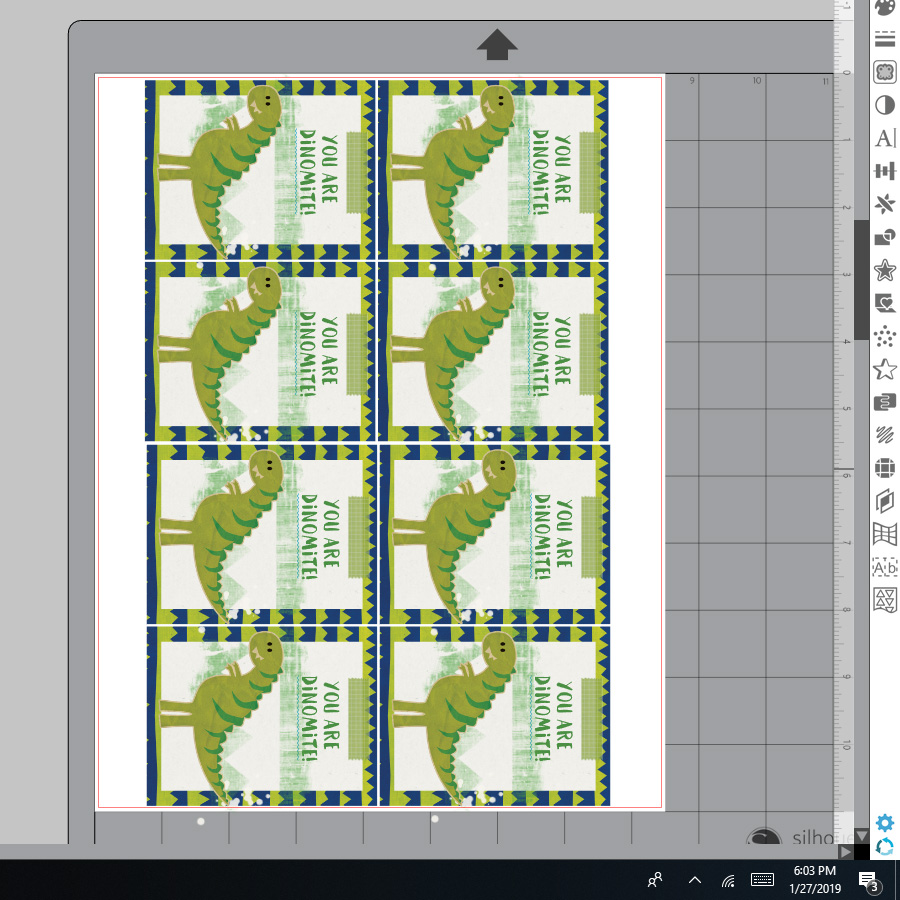
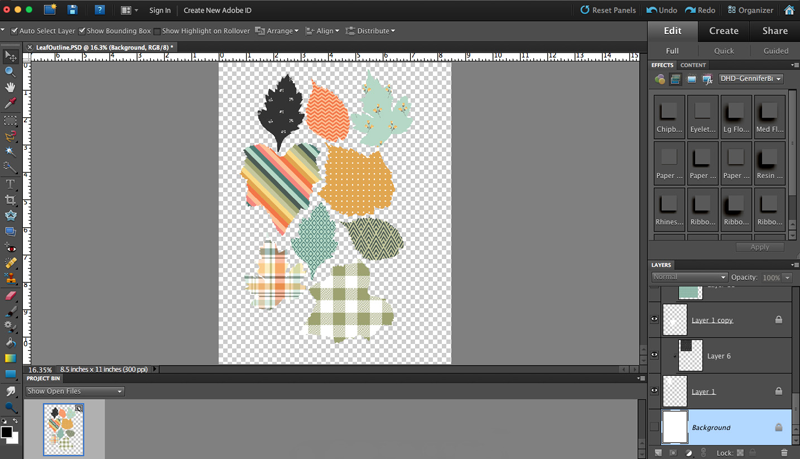
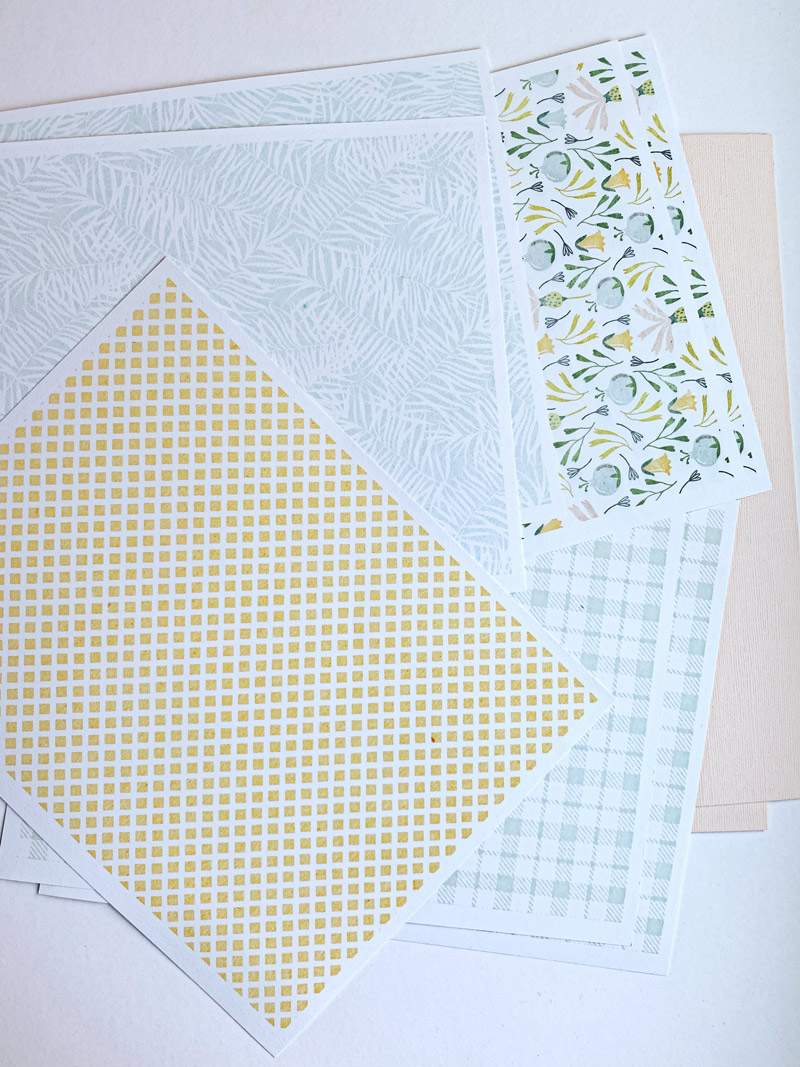
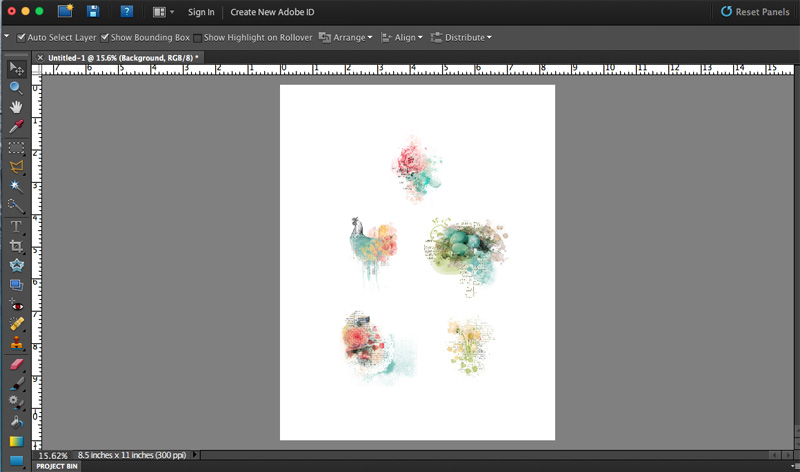
First, I selected my papers and printed them on my printer. My printer’s largest print size is 8.5″ x 11″, which worked fine for this project. I simply filled each 8.5″ x 11″ space with one of my 12″ x 12″ digital paper patterns from my stash, and then printed it out in full-sheet format, as shown here…
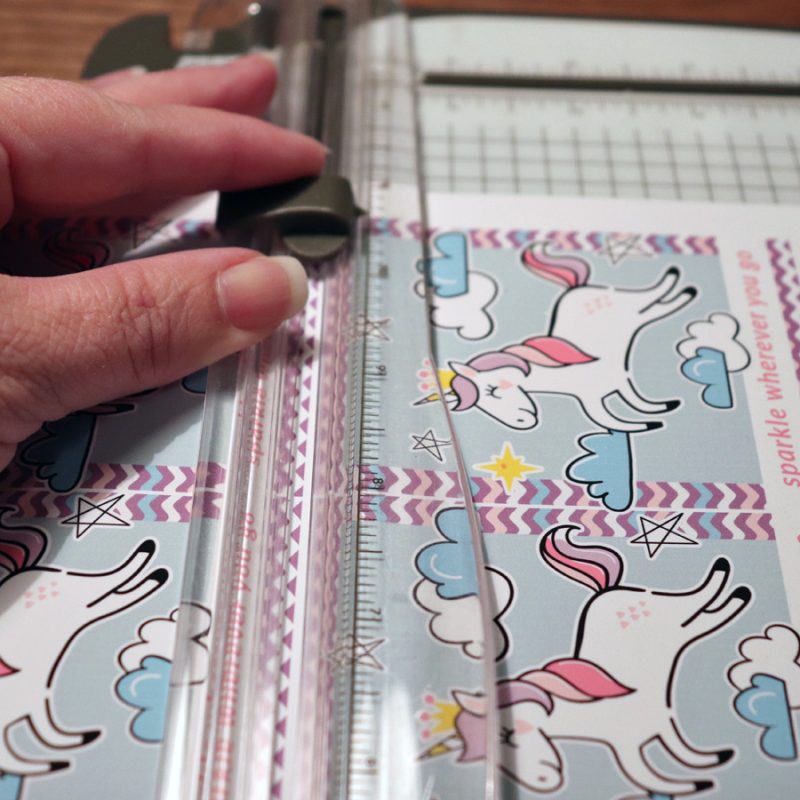
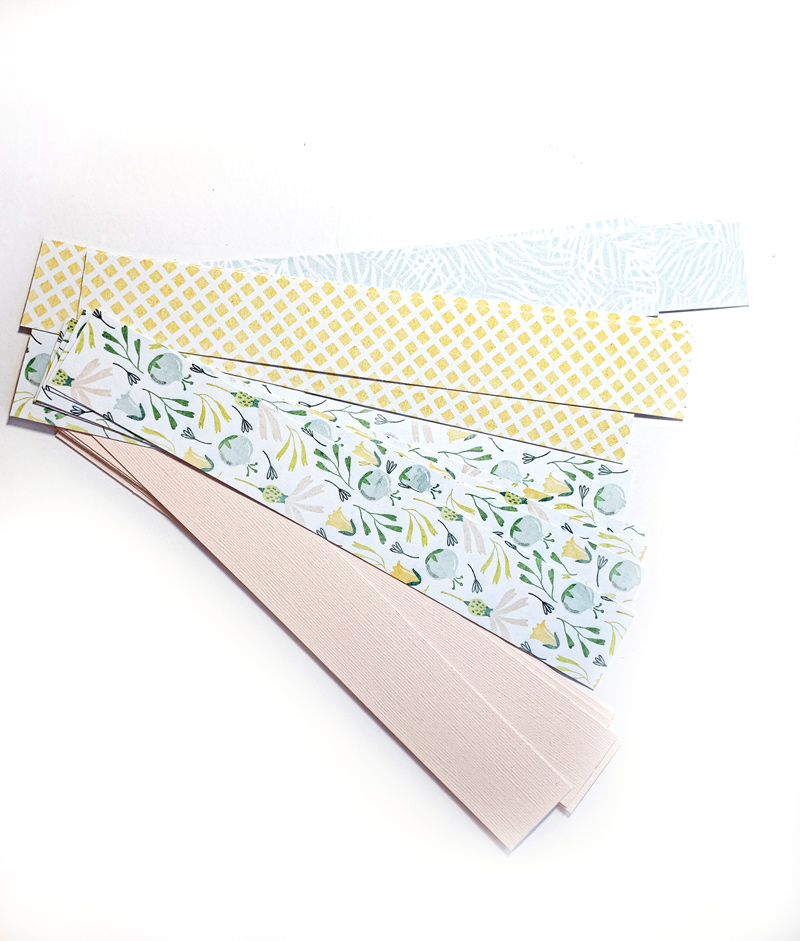
I loved having these gorgeous papers in my hands! After printing, I cut my papers into the strips that would later become the banner shapes that cover the wreath. I cut the strips 1 ½ inch wide and 10 ½ inches long, and I ended up with 5 strips out of each of the 4 patterns I printed. The number of strips you end up with will vary depending on how big of a ring you choose and how much you overlap your banners… but expect to use about 25 strips for a wreath this size.
Next, start attaching the strips around the foam wreath. I attached the papers together at the ends, so the paper is not actually attached to the foam and therefore is fairly loose around the wreath. You can make the strips overlap slightly, but don’t worry if a bit of the foam wreath shows thru (you can fix this later on).
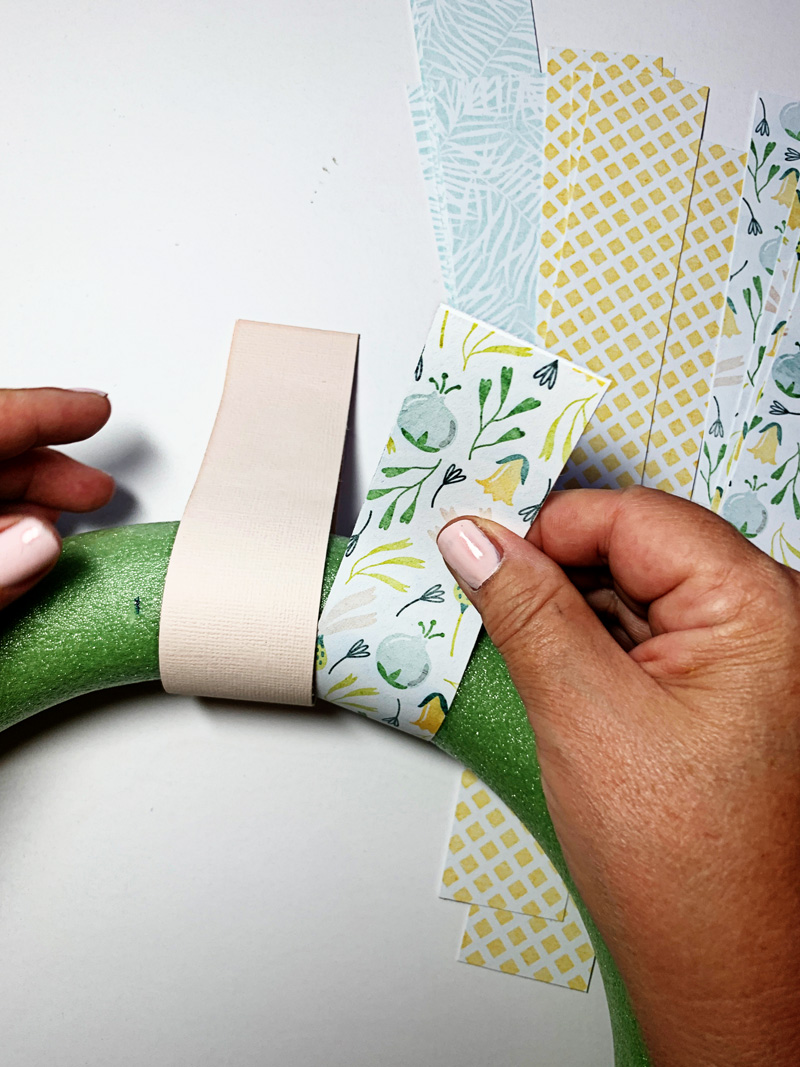
I started attaching my paper strips using a tape runner, but found it wasn’t holding them together well enough, so I switched to double-sided tape instead. It seemed to work much better. I think a strong glue adhesive would work well, also.
I worked in a somewhat random pattern, using a bit more of the solid cardstock. Here is what my wreath looked like after all the strips are on it…
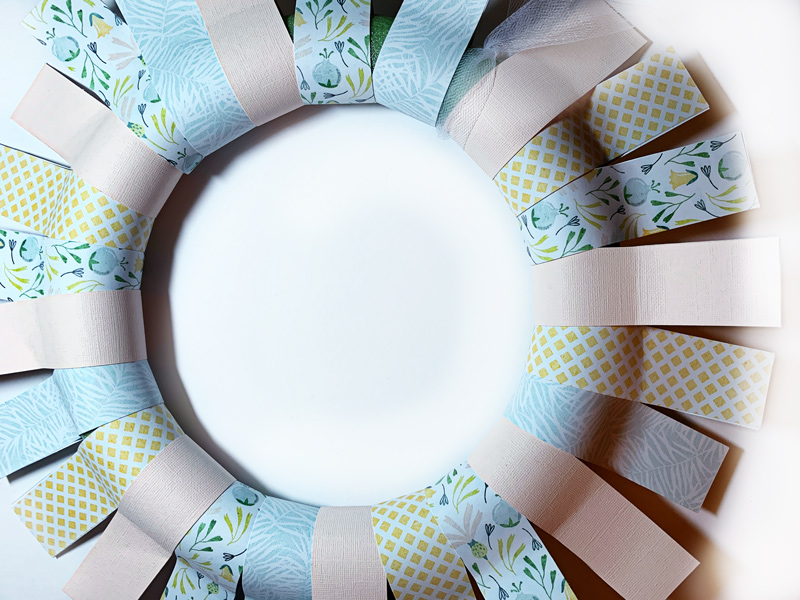
Pretty already, right?!
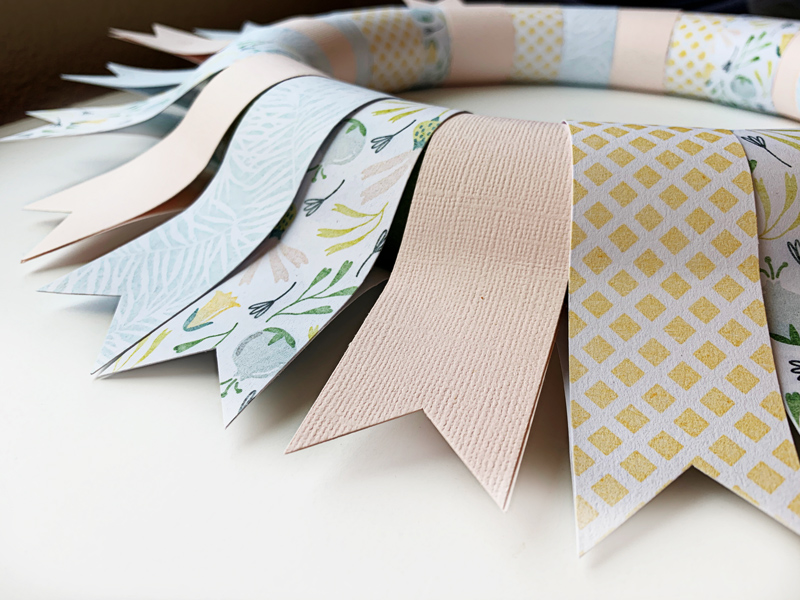
Next, I punched the paper into “banners”. This can be done a variety of different ways; I have a banner punch, so I used that… but it could be just as easy simply to cut the ends with scissors, too. You could also cut the strips into banners before attaching them to the foam… either way will work.
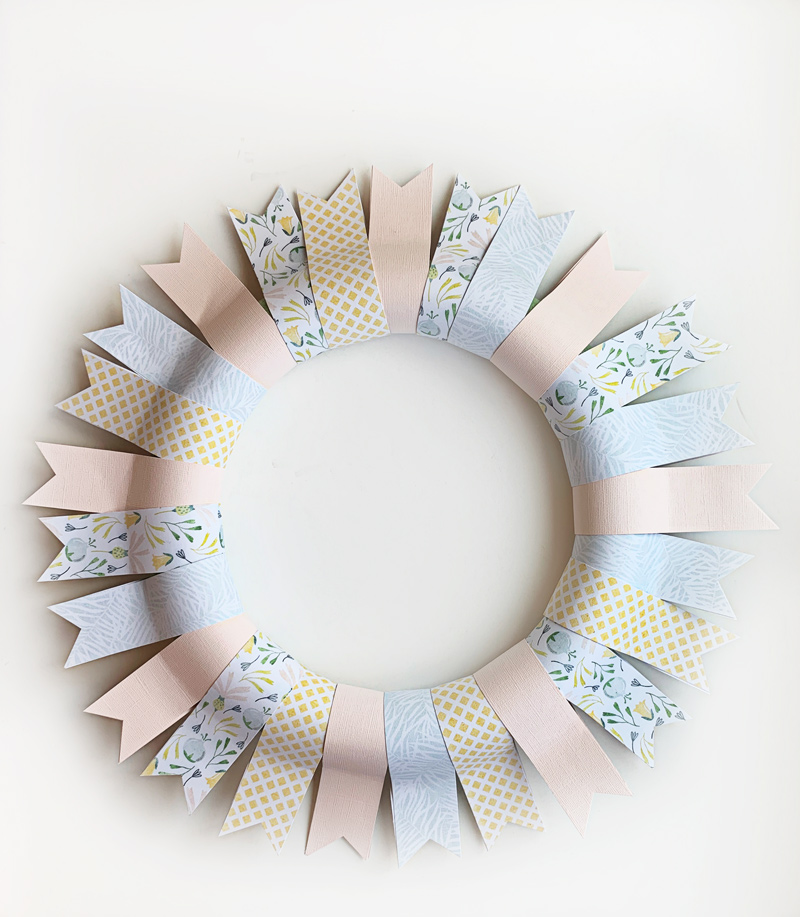
Once the strips were attached and cut into banner shapes, I could have stopped right there — I already thought this wreath would look great with a vase and flowers in the center sitting on a table.
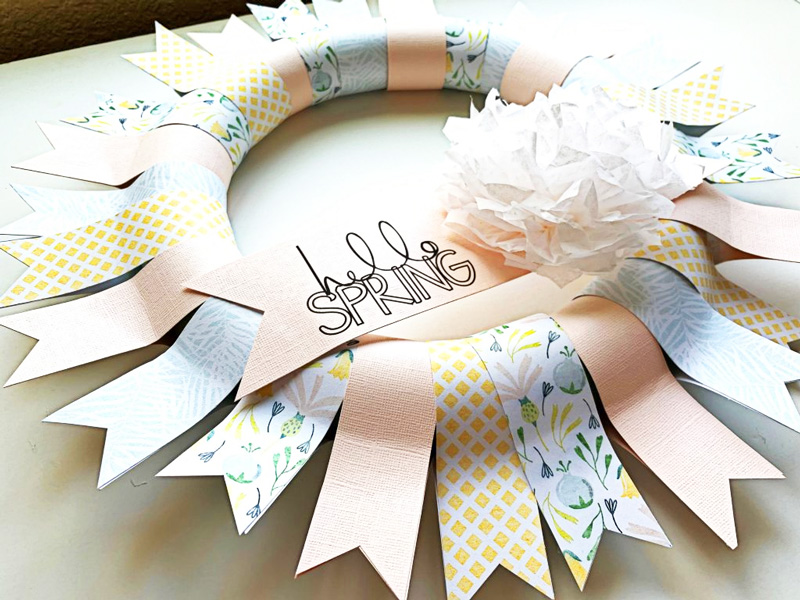
But…instead, I decided to add a banner and some gorgeous digital word art by Rachel Hodge by printing it out on my printer and then attaching it with double sided tape. I then added a tissue paper flower I made by folding tissue paper, securing the middle with a string, and then fanning out all the layers.
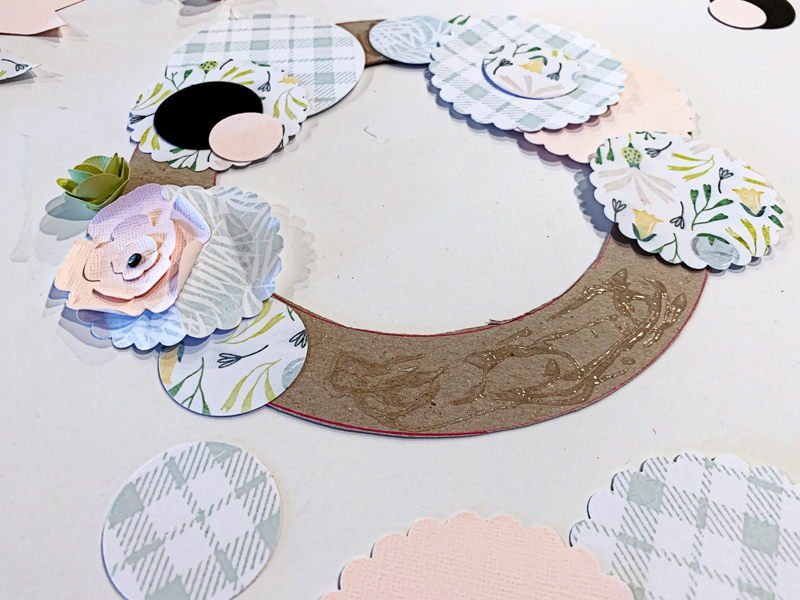
The next wreath I set out to make was the one using the chipboard backing that I had cut out by hand (see above). For this one, I decided to get out a few of my circle punches in various sizes — from 1 inch to 3 inches, in both regular and scallop edges.
I punched circle shapes into the paper I’d printed out… and then put these circles down on top of the chipboard piece. I put the larger circles down first, and then just built on top of them with the smaller circles — all before actually gluing anything (just to get an ideas of the pattern placements, balance, etc.).
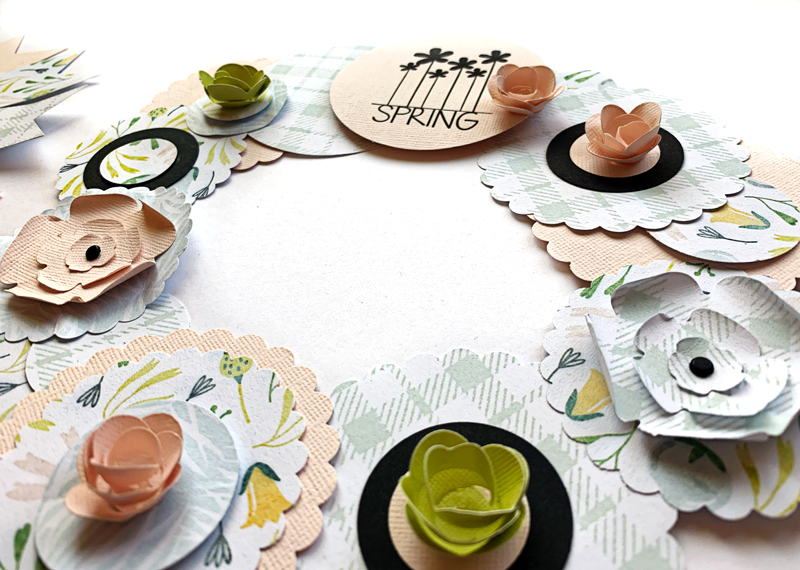
Then, I printed some more word art onto cardstock and punched it into a 2-1/2″ circle. I attached the various circles to the cardstock base, this time using my glue gun. I made sure all the chipboard was covered, and then I cut some flower shapes using my CuddleBug and Sizzix dies and added the flowers to some of the circles to add some dimension and variety. I love the way this one turned out, and it was so quick and easy!
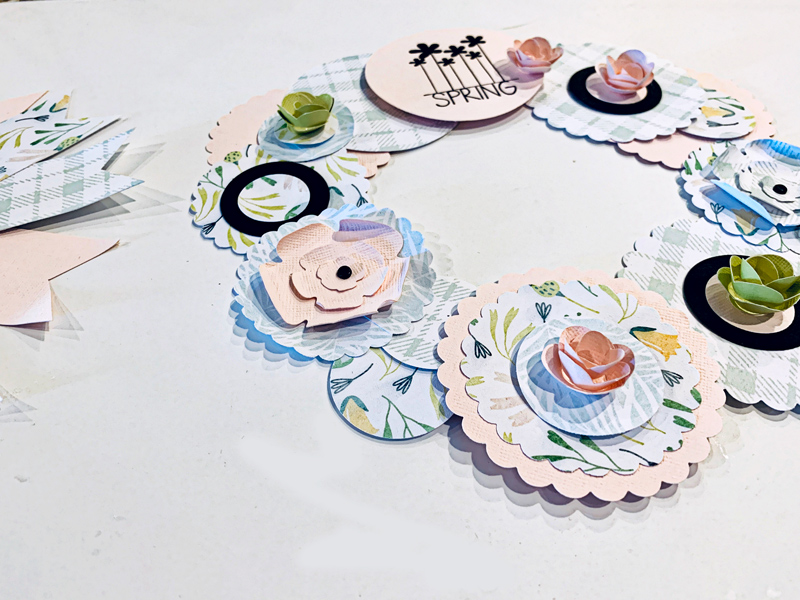
Here’s another look…
Lastly, I got to work on the small chipboard wreath (this one was the smallest, at approximately 5 inches in diameter).
For this one, I used strips varying from about 4 to 6 inches long… punched them with my banner punch… and then just adhered them with a glue gun (this time, I did not wrap them around the chipboard base; you’ll see why, below).
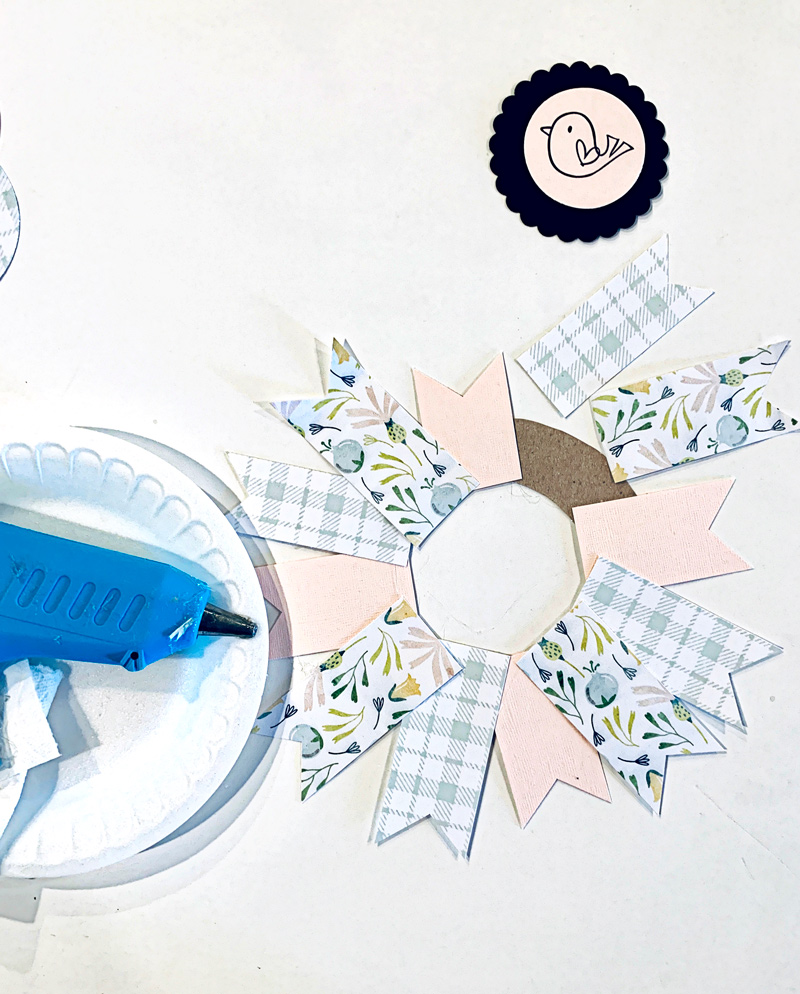
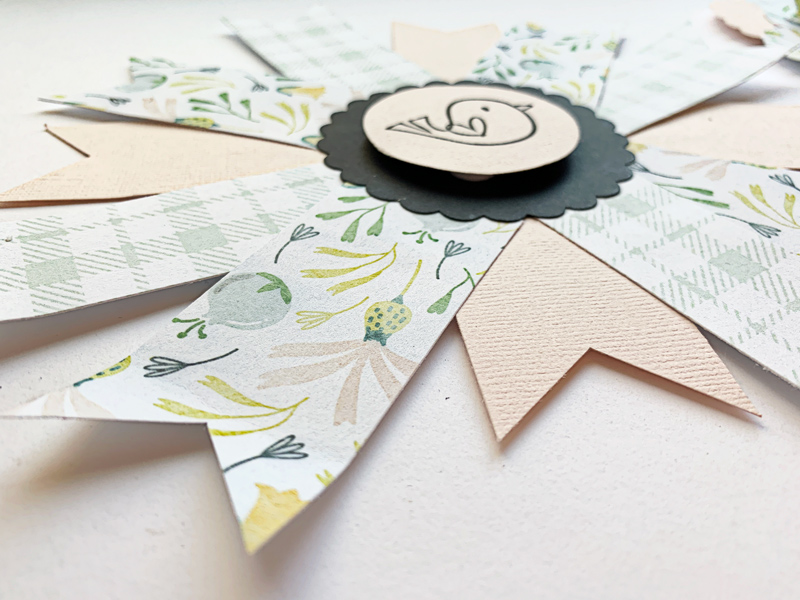
After adhering them, I punched a 3 inch scallop circle and a 2 inch image of a bird from the word art collection, and used those pieces to cover the center of the wreath, as shown below. I raised the circle of bird using pop up dots to add dimension. I added the center scallop circle to the middle making sure to cover over all the banner edges.
Here’s a look at the final product…
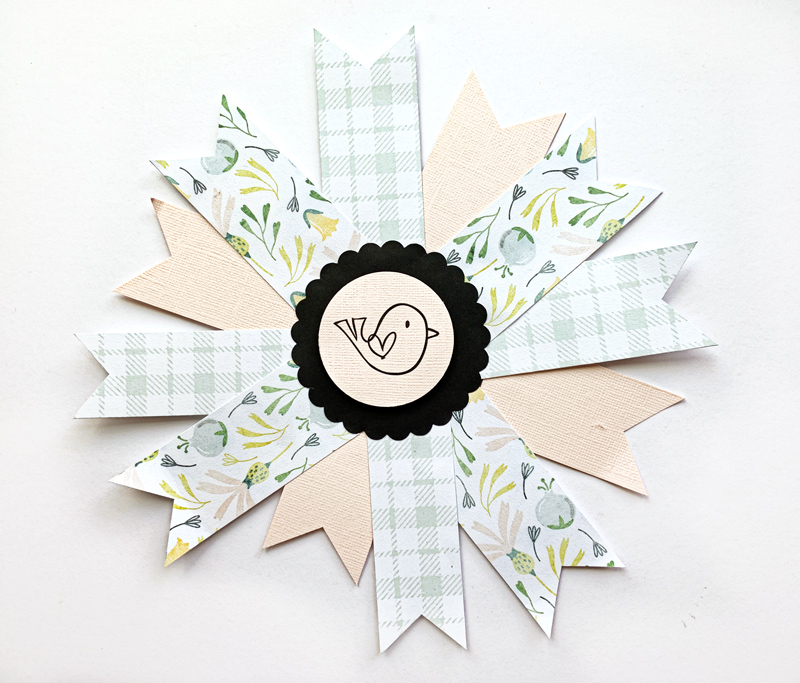
Isn’t it cute?
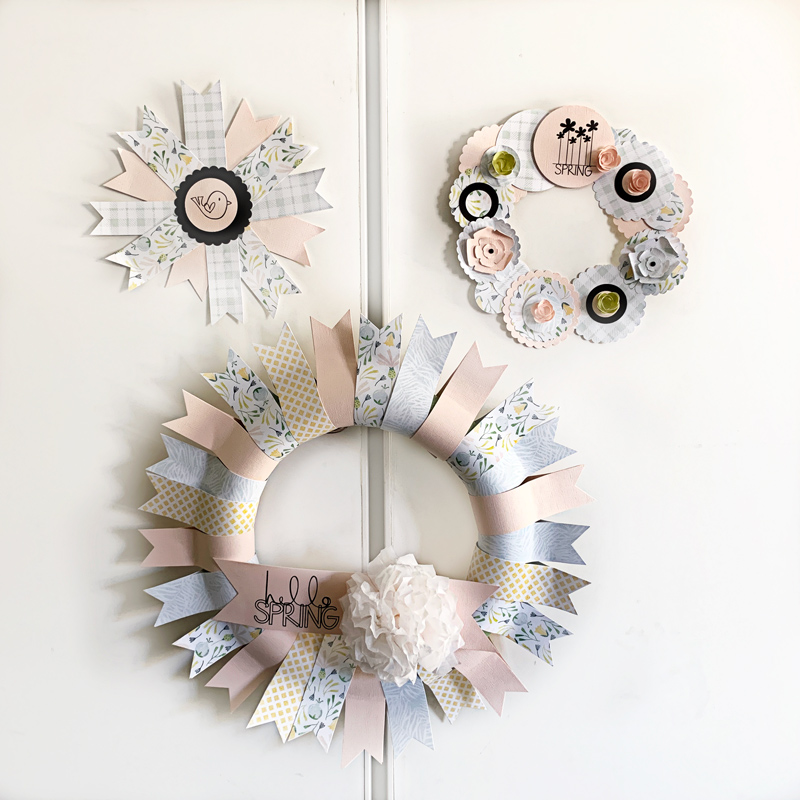
Here is a look at all three wreaths hanging on my closet in my office! They make me smile every time I walk in the room!
And that’s it! Each one was so simple… and fun to make. I hope I’ve inspired you to use your own digital products to make a paper wreath — whether for spring, or at any time of the year! We would love to see pictures of your completed projects in the Hybrid Gallery at The Digital Press!
Happy Spring, everyone!
 About the Author KerriAnne is a homebody who resides in the desert SW. She started scrapbooking when her kids were little and hasn’t stopped despite the teenagers rolling their eyes and sticking out their tongues! When not scrapping or being a chauffeur, she can be found consuming large amounts of iced coffee.

 About the Author Wendy has a strong passion for the arts, lots of creative spirit, and is fearless in working with new products and techniques. During the day, she works full-time as an Audit Manager. Wendy and her family live on the Gulf coast of emerald waters in Navarre, Florida. Her husband is from Italy and is an amazing Executive Chef at an Italian restaurant in Navarre. Her daughter is a Yorkie named Principessa. Wendy has over 20 years of experience in the scrapbooking industry. She has been published several times in print and online scrapbook magazines, and has designed for several manufacturer’s creative teams. Wendy is currently designing for The Digital Press as a hybrid artist.
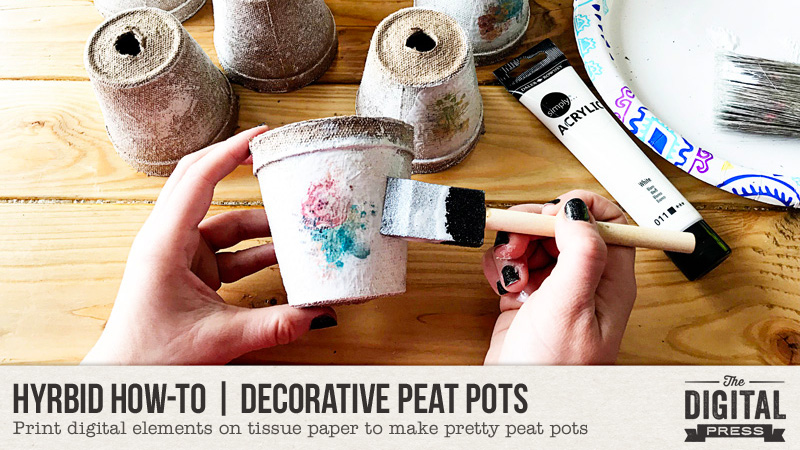


 About the Author Kate is on the hybrid team here at The Digital Press. She lives on the Utah/Colorado border with her husband, 5 kids, 10 chickens, a dog named Gracie, and a cat named Kit. She’s a city-born girl who found she’s really a country girl at heart. She can be found outside, barefoot, and probably in her garden.