Hybrid How-To | Back To School


I can’t believe it!  It’s that time of year again… Back To School.  Some are wrapping up their summer vacations and some are already in school, but soon we will all be needing to set those alarms and start getting up early — and it will be time to meet new teachers! Every parent loves this time of the year, and every kid hates it… well, most!

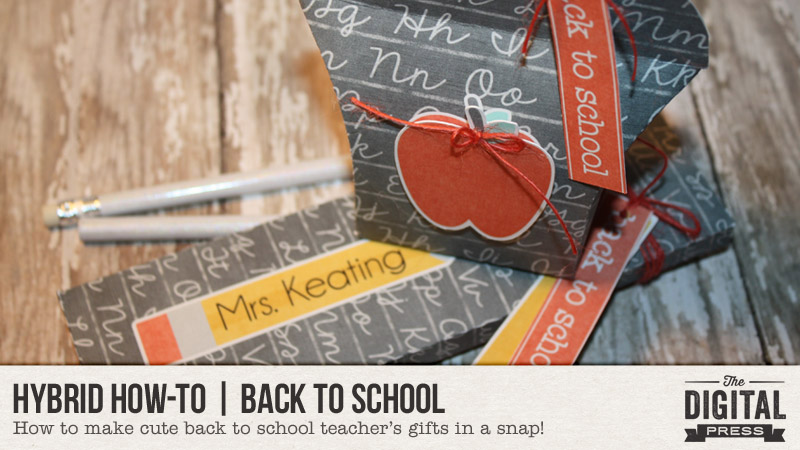
It’s always fun to bring your new teacher a special gift when you meet them. This post details a couple of fun and really easy teacher gifts. My favorite tool in my craft room is my Silhouette Cameo. It’s perfect for using digital kits to create to your heart’s content. I used the print and cut feature to create the following back to school teacher gifts.


HYBRID: BACK TO SCHOOL


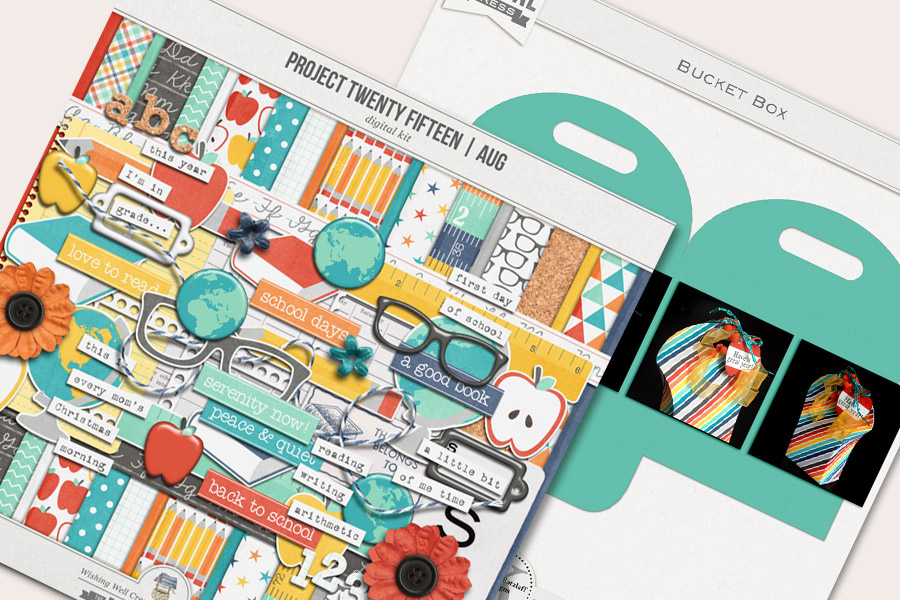
For these projects I used the Project Twenty Fifteen | August Kit by Laura Passage, and the Bucket Box template by Kelleigh Ratzlaff Designs. I also used my Silhouette Cameo and the SSDE v3 to design a pencil box.


HYBRID: BACK TO SCHOOL


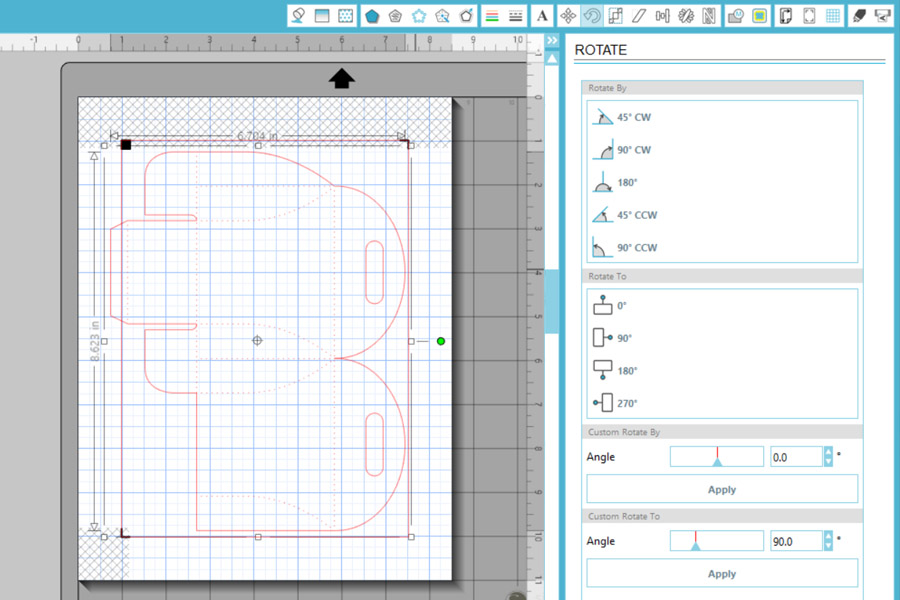
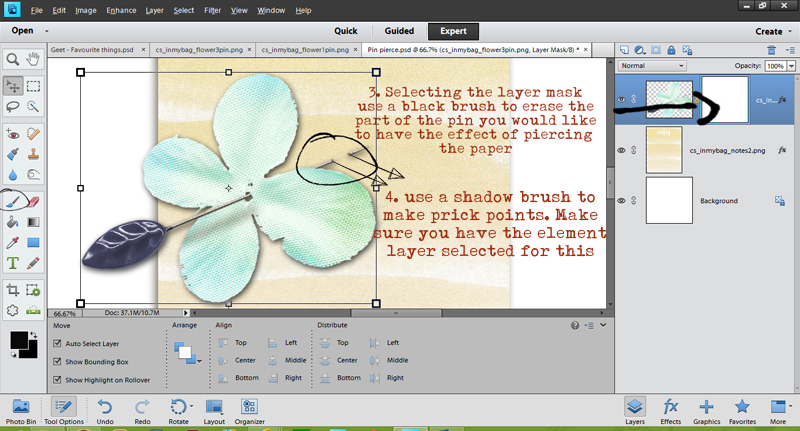
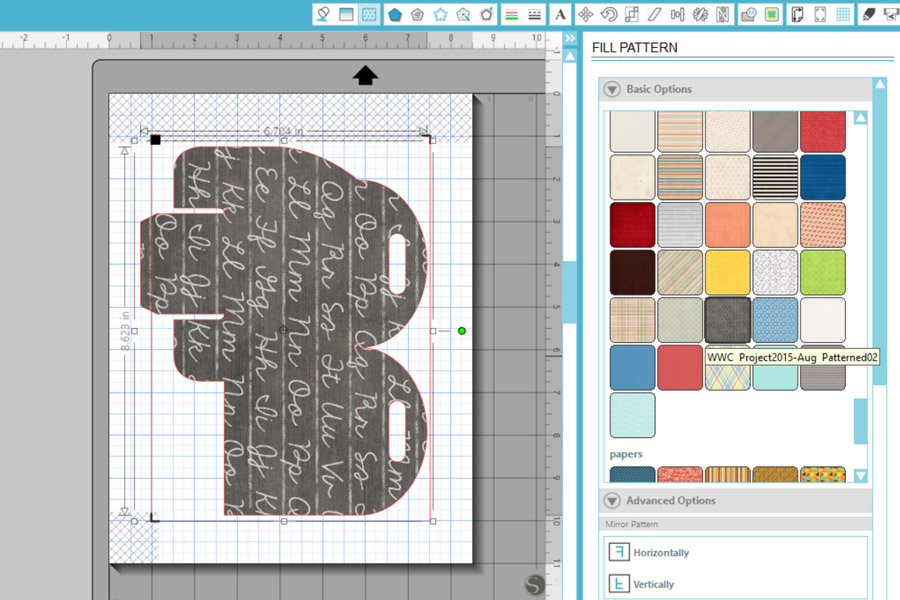
First, you will open your cut file. Once open, highlight the whole are and make it a compound path (OBJECT/MAKE COMPOUND PATH). This is done to make the file go from a solid image to one in which you can see all of the cut lines.


HYBRID: BACK TO SCHOOL

.

Next, fill the image with a paper of your choice (I used one from the Project Twenty Fifteen | August Kit).

.

HYBRID: BACK TO SCHOOL


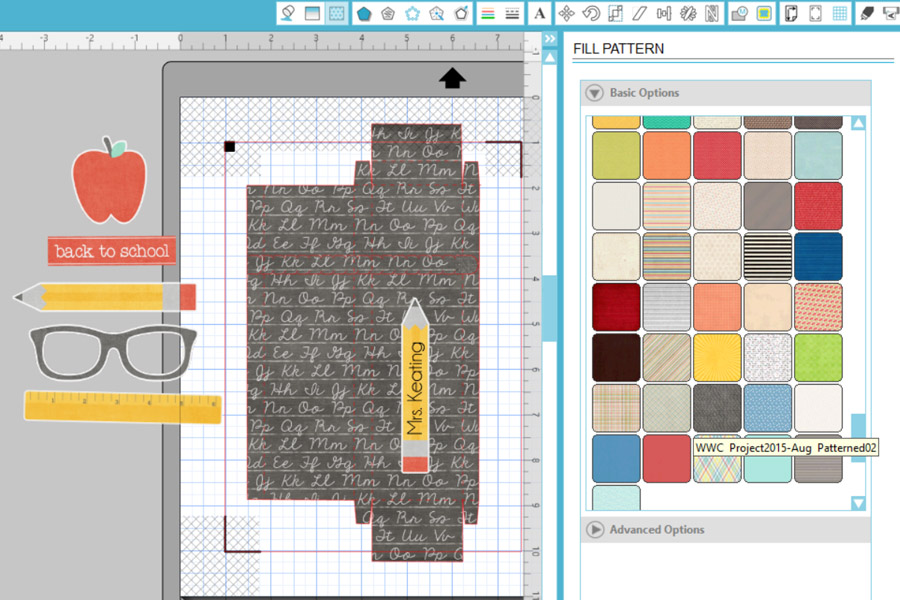
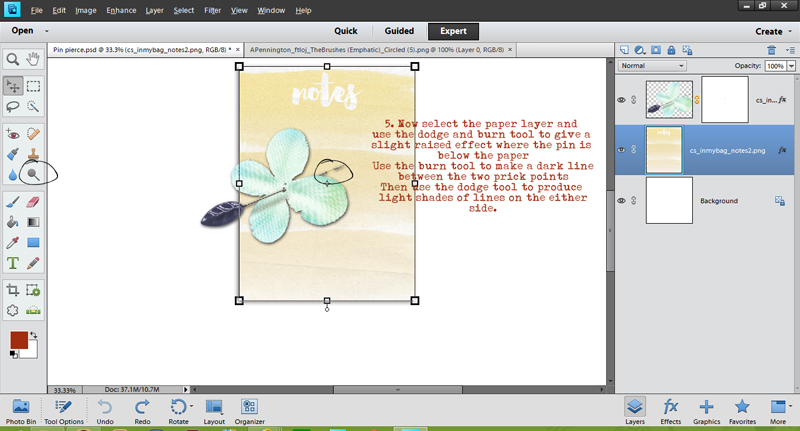
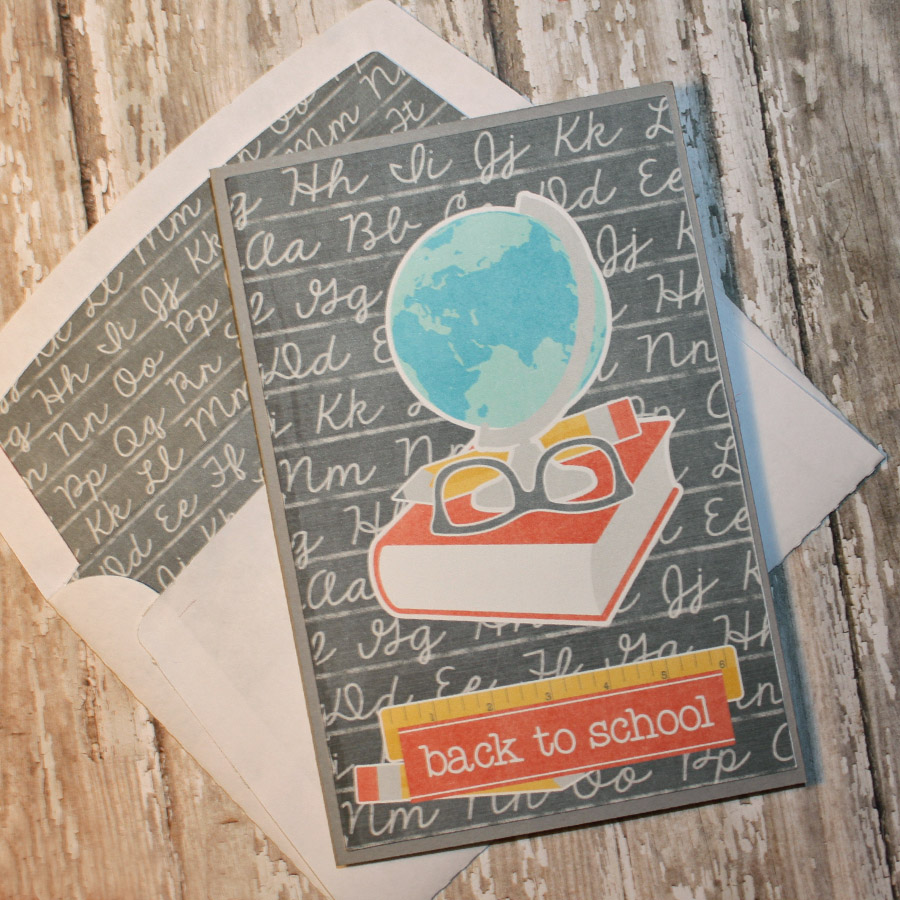
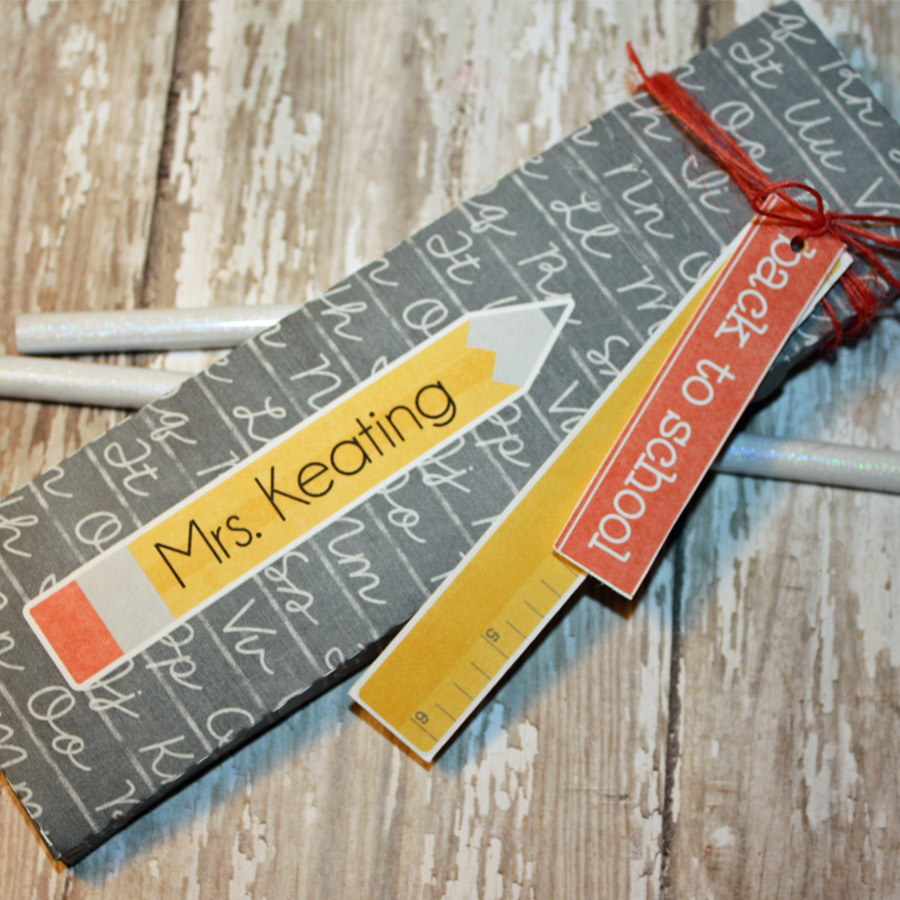
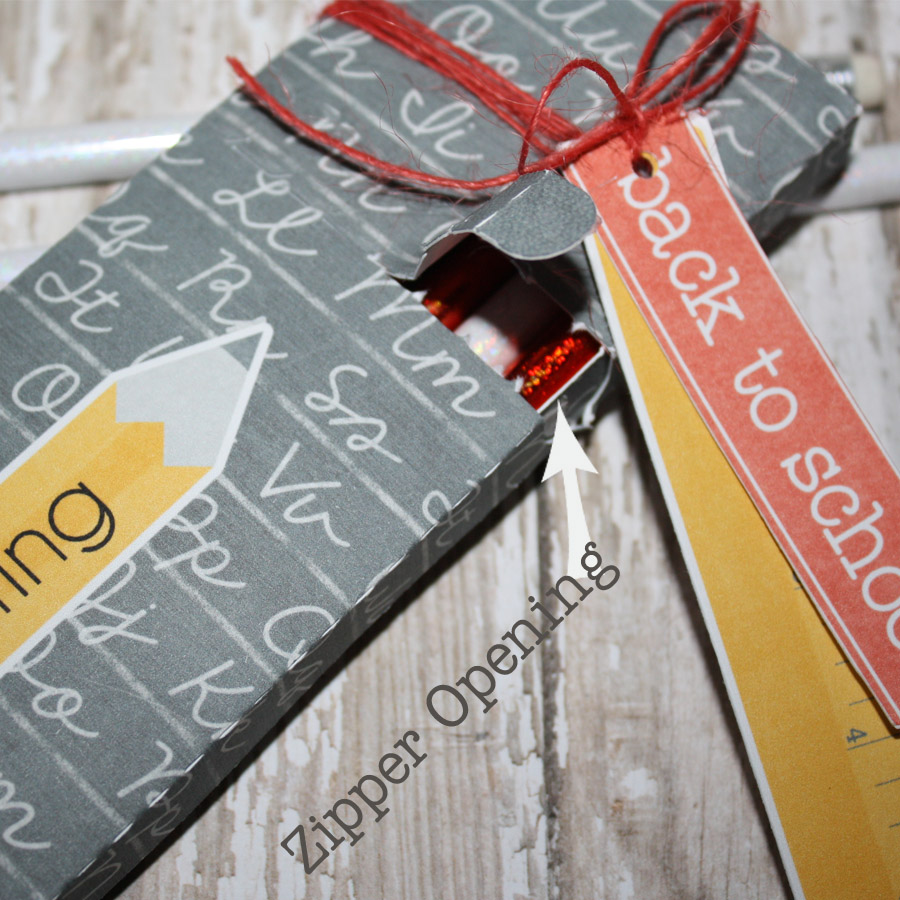
Do the same for the pencil box. I added a pencil from the elements found in the Project Twenty Fifteen | August Kit. I put the teacher’s name on the pencil. I also used more of the elements to create a card for the teacher. Once you’ve done these things and you have everything looking the way you want it, all you have to do is send it to the printer and then through your cutting machine. That’s it!

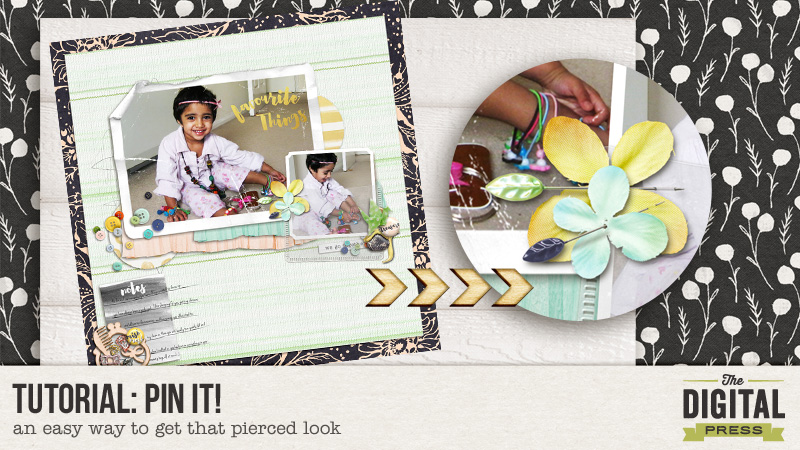
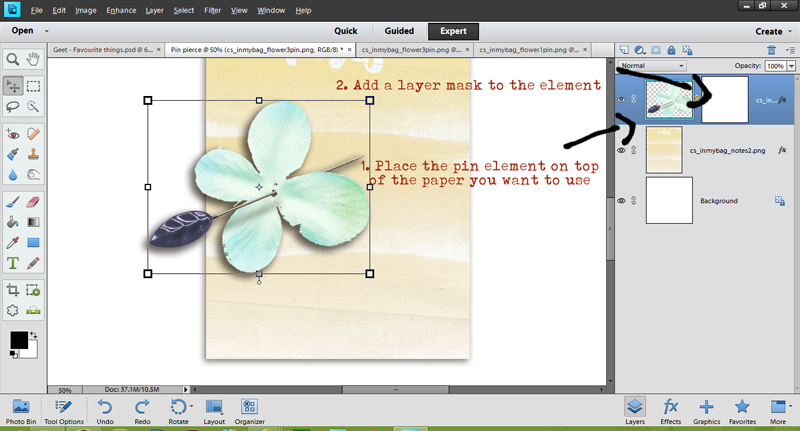
As you can see in some of the following images, you can also print and cut some of the individual elements you’ll find in digital kits, and attach them to your creations (or hang them from a piece of string or ribbon, etc.).


HYBRID: BACK TO SCHOOL

HYBRID: BACK TO SCHOOL

HYBRID: BACK TO SCHOOL


HYBRID: BACK TO SCHOOL

I hope that I have inspired you to create! I love sharing what I do with you. If you ever have questions, feel free to leave me a message.

It’s never too late… go and make those teachers something special.


About the Author  TanyaTanya is a part of the Hybrid team here at The Digital Press.  She has been hybrid crafting for at least 10 years now.  She loves creating and sharing those creations with you. Her all-time favorite tool is her Silhouette Cameo. She says with the Cameo the sky is the limit. Tanya has been married for 26 years and has two sons: Chris, 23 and Chance, 19. She also enjoys crocheting, photography and woodworking.

Explore Nature

Explore Nature

Hey Guys! This month we are “exploring” here at The Digital Press. When I think about the word explore- I instantly thought of being outside! I was born, raised & still live in the gorgeous Pacific Northwest (Washington to be exact.) I have often felt that we (Washingtonians) take for granted how spectacular our state is- we have mountains & ocean & desert & rain forests!  Even though I haven’t traveled as much as I would like- I still feel like my home is one of the most beautiful places on Earth. So- I’m going to share with you a few ways that I a capture my natural world for scrapbooking.

First- I just plain love taking pictures of our backyard! Each season is just as beautiful as the one prior. The changing leaves in the fall, the snow covered peacefulness in the winter and my flowers blooming in the spring & summer. Gah- I have zillions of these layouts & they are all my favorites!

Explore Nature

Explore Nature


Explore Nature

Another way that I like to bring some nature to my scrapbook pages is with sunset photos. We’ve had some outstanding summer fire sunsets lately. The hardest part is always capturing a picture that looks as good as with our eyes!

Explore Nature

Lastly, and my most common way of scrapbooking nature is my kiddos enjoying it! I love capturing my kids playing outside on their bikes, running through the sprinkler, playing at the lake house, building snowmen or with a new bug they’ve found. I have a ton of samples of these layouts- but I’ll just post one of my favorites for ya!

Explore Nature


There are infinite ways to explore our natural environment- even in urban landscapes- there are beautiful parks, playgrounds and amazing architecture.

My challenge to you- (HERE) in the FORUMS–  Explore Nature!

Amie
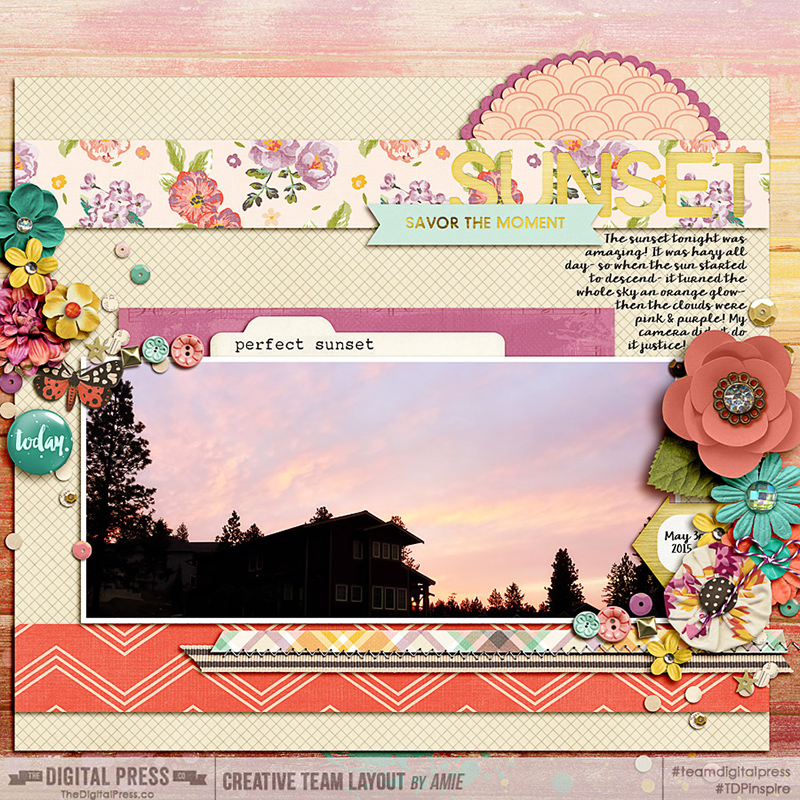
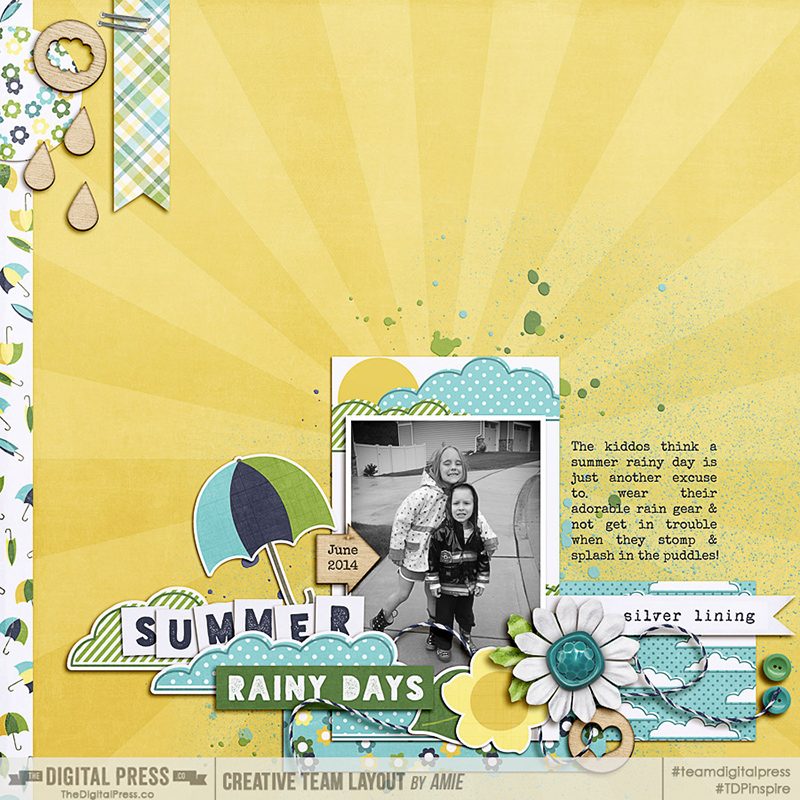
About the Author: Amie is a craft loving, dental hygienist in WA state who loves her husband, two kids (ages 7 & 4), English Bulldog, coffee, baking cupcakes, daffodils, glitter & sprinkles, reading a good book and lip gloss- not necessarily in that order.

Explore Your Life

Explore Your Life - Reflect on the past year and future goals
Hi everyone! It’s the start of a new month, and that means a new crop of challenges in the forums here at The Digital Press. Each month we create a series of blog posts and challenges that correspond with one word. This month, we chose the word EXPLORE.

“Explore” can be interpreted many different ways and we would love to have you join us as we investigate these different aspects through our scrapbooking.

I personally gravitated towards the “Don’t live the same year 75 times and call it a life” word art. So I was thinking about reflecting on the past year of my life, and thinking about goals that were achieved and what needs working on for the next year.

Explore Your Life - Reflect on the past year and future goals

So, what about you? Will you take some time to reflect on the past year of your life and see what you liked and would like to change? I’m hosting a challenge over on the forums at The Digital Press and I hope you will come play along! Check it out at The Drawing Board: Challenges. See you there!

Amy H.About the Author: Amy is a wife and mom to three from Ontario, Canada. She’s always been interested in scrapbooking, but didn’t try digiscrapping until 2008 when she received PSE for her birthday. By then she had 1 year old twins and a baby, so the thought of just playing for 10 minutes, hitting save and walking away with no mess was extremely appealing! She’s been hooked ever since. She loves being the memory keeper in the family, loves taking photos, loves telling the stories. She’s also excited to know that these memories are recorded for her grandchildren to enjoy someday!

Pin It!

Pin it! Banner

Hello everyone! I can’t believe its August already. We are well and truly into the second half of the year!!! Time is certainly flying by for me, hopefully that is always a good indicator! We have an exciting month here at The Digital Press with Pennysavers products  and the theme being “explore”. In that spirit, I wanted to share an easy way to achieve a pierced look on paper. I am always exploring new ways to make my layouts seem more realistic and fasteners are a big part of how I do that. I simply can’t seem to leave things hanging on my layouts!!!

By way of disclaimer, I have stumbled upon this by trial and error so there may be indeed be a more effective way of doing this! I have used Photoshop Elements to demonstrate the steps but it should be fairly easy for Photoshop users to replicate this in their program.So here goes…

Step 1: Select the elements – the pin and the layer you want pierced. This layer could be paper, cloth or even plastic pockets. In this case I have selected a Journaling card and a flower pin from Creashen’s kit “in my bag”. First I will place the pin on top of the paper. Next I will add a layer mask to the element layer.

Step 1
Step 1

Step 2:  Now with the layer mask selected (shown by the bounding lines), choose a black brush and begin to erase that portion of the pin that you would like to be behind the paper. Once you are happy with your selection, choose a dark shade of drop shadow brush and with the element selected now, brush over little dots where the pin pierces the paper going in and coming out.

Step 2
Step 2

Step 3: Now you can see we are getting there but not quite. If you think about it, the portion where the pin is behind the paper should be slightly raised. We can easily create that effect using the dodge and burn tools. First select the burn tool and a colour you are happy with, brush over in a straight line between the two prick points. You should have the paper layer selected for this. Follow it up by selecting the dodge tool and brushing a lighter shade effect on either side of the “burned” line. TIP: to make straight lines, press and hold the shift key.

Step 3
Step 3

Voila!!! You can see how this is looking much more realistic now! Here’s a closer look.

Final look
Final look

And here’s the final layout in which I have used this technique.

Final Layout
Final Layout

Credits: Creashen’s In My Bag.

Hope you found this useful. Please don’t forget to share your layouts where you use it or if you have another method of doing the same, I’d love to hear about it! Till next time…


Profile pic avatar small

About the author: Shivani Sohal is a donner of many alter-egos. A finance professional by day in busy London, she morphs into a seemingly normal mum of two in the evenings and weekends. She is constantly found with her fingers in too many pies and juggling the metaphorical balls. That is living on the edge for her; aided by the two ankle biters and a darling hubby who define the warm and mushy for her. She is ferociously dedicated to memory keeping – almost immune to any nay-sayers (or equally disruptive crying children or annoying house fires!!!);keeping her head down and forging ahead at all times.

Explore Your Family History

blog_header_famhist

My Dad was born and grew up in a VERY small town in northern Arizona. Until a couple of years ago, I had no idea how my family ended up there, or even how my Grandparents met.

My Grandpa moved to Tucson in the 1930s – his Grandfather had died of tuberculosis and the family doctor recommended that his Grandma and Mom, who both had the disease, move the rest of the family to the dry Arizona climate for health reasons.  My Grandma’s family moved from Oklahoma during the Dust Bowl.  They packed all of their belongings into a truck and drove west on Route 66 until they ran out of money in the tiny town of Williams, Arizona (it’s very Grapes of Wrath).

My Grandpa and his brother owned a small construction company, and they were working out at the Camp Navajo Army Depot when he met my Grandma, who was working as a Secretary in one of the buildings.  As they say, the rest is history!

A scrapbook layout with some of my family history was definitely needed – I thought The Road Ahead by KimB and Digital Scrapbook Ingredients was perfect for this story.


explore_family_history_900px

I love all of the family photos from Williams – the annual Rodeo, the old buildings in town, my dad in an adorable bow tie and jeans, my Grandparents on their way to church, or my aunt and the family’s dog.  And my Great-Grandparents even make an appearance (off to the left) – one of just a few photos of them still in existence.

It is fun to think about the “what ifs”.  What if my Grandma’s family had made it farther west?  What if my Grandpa never moved north for work?  My dad (and my sister and I) wouldn’t exist!

We’d love to see your layouts – join us in the forum!


Kacy

About the Author:  Kacy is a member of The Digital Press Creative Team.  She’s an Environmental Engineer living in Arizona with a cranky, pudgy, but insanely cute calico kitty.  She enjoys scrapbooking, crocheting, dancing awkwardly to electronic dance music, Grumpy Cat, cupcakes, Stephen King books, and men in kilts.

Explore Your World

explore

This month we are focusing on the word: Explore

This word really could mean anything. I feel like it could mean the obvious of exploring parts of the world, but I also felt like it could mean exploring your past/heritage, looking for another perspective on something, or exploring something you have always wanted to try. I myself could explore lots of areas in my family’s lives in addition to personally. I am kind of excited about this word and what all it can mean.  I hope you are as well?

Searching for inspiration on Pinterest, I came across several quotes that inspired me:

August Word of the Month - Explore

Sources (1, 2, 3, 4, 5, 6, 7, 8)

As you can see, the word Explore can evoke beautiful images.  I love how powerful and beautiful this word is.  I really am inspired by it and cannot wait to see where it takes me in my own memory keeping.

Each month, we like to encourage you to step out of the box at times with our challenges.  Below are the list of upcoming challenges for the month that focus on Explore. For more information about our challenge system please read this post in our forums.


August Word of the Month - Explore


This gorgeous challenge schedule was created by creative team member Alina, using the brand new store collab Office Space that you can purchase for only $4 for the first 4 days of the month! We look forward to seeing you in the forums and here on the blog! Have a great August!


About the Author: Rachel Alles is on the Creative Team here at The Digital Press.  She is fortunate to share her life with her loving husband, Doug, and two blessings: Madeline and Maxwell.  The three of them are her main source of inspiration for her pocket and traditional style pages.  When she’s not scrapping, she enjoys anything Disney related, learning more about photography (and attempting to turn the dial off Auto) and dabbling in home decor projects.