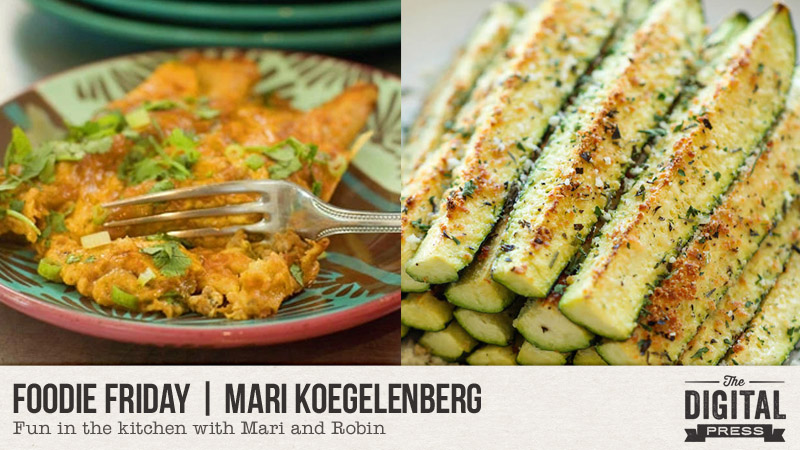
Welcome to another edition of Foodie Friday here on The Digital Press blog!
Continuing our fun blog series that explores “what’s cooking in the homes of our designers and creative team members?” …I had fun chatting with Meagan Tuck of Meagan’s Creations to see what she has going on in her kitchen! It seems that as the weather is getting cooler here in the United States, we’re both reaching for comfort foods — pasta and warm cookies for Meagan, and beans, rice, and potatoes for me (love me some carbs!). Between the two of us, we’ve put together a main dish, a side, and dessert for you. If you like the combination of savory and sweet, you’re definitely in for a treat!
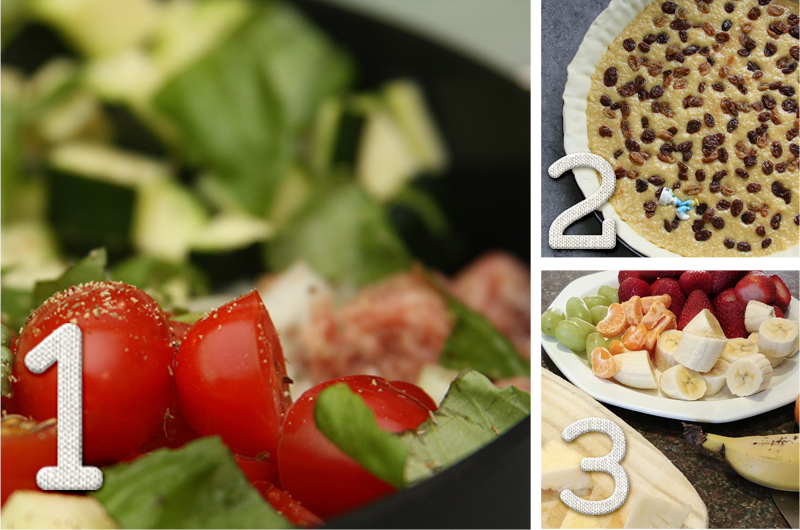
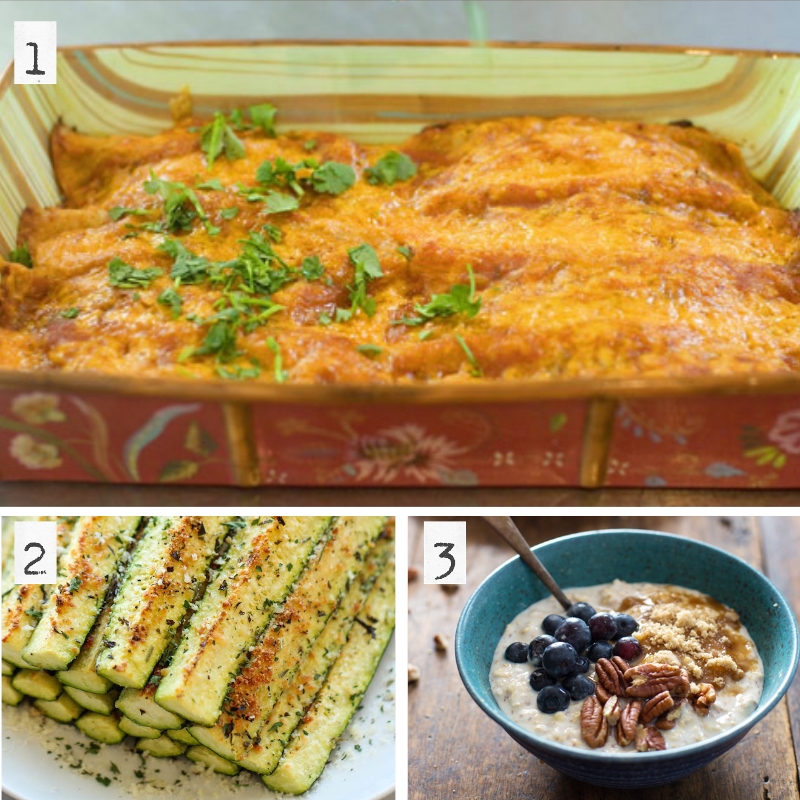
Doesn’t this all look yummy? I just had to make the cookie picture the biggest… because, well, cookies!
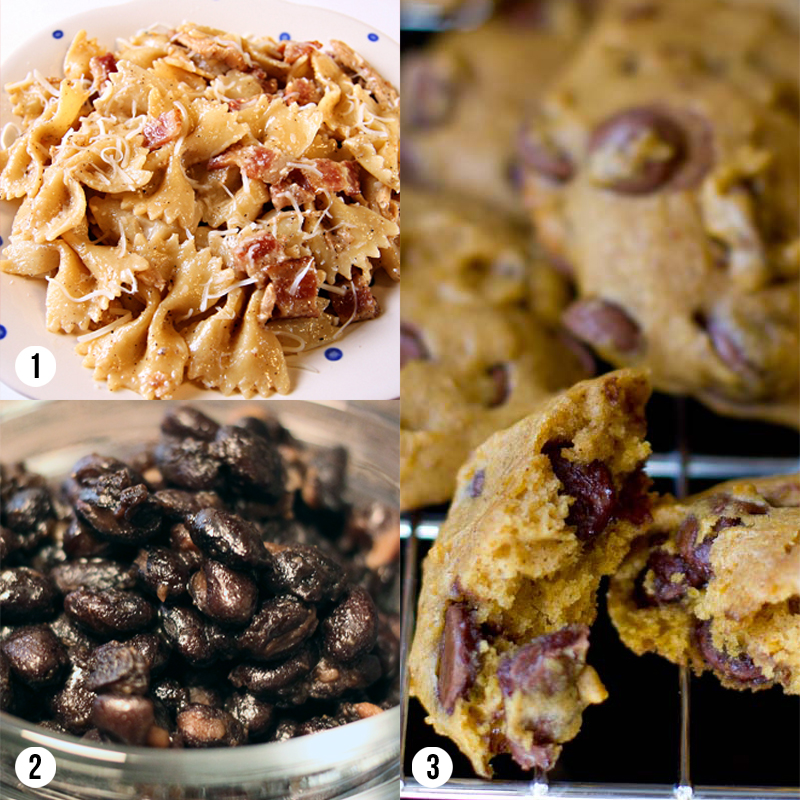
photo credits: [1] Kevin and Amanda, [2] TDP creative team member Kat Hansen, and [3] I Heart Nap Time
So, what is all of this deliciousness you see above?
- Garlic Chicken Farfalle
- Black Beans
- Pumpkin Chocolate Chip Cookies
Garlic Chicken Farfalle
About this recipe, Meagan says… “For a main meal, my family loves chicken farfalle — everyone enjoys this! For the garlic in this recipe, I use a spoonful of crushed garlic.”
INGREDIENTS NEEDED
—16 ounces Farfalle pasta
—1 cup heavy whipping cream
—3-4 chicken breasts (boneless, skinless)
—2-3 cloves garlic, crushed or garlic salt
—1/2 tablespoon pepper
—1/2 cup butter
—1 pound bacon, cooked and crumbled
—1/2 cup shredded Parmesan cheese
—12 oz mesquite barbecue sauce mixed with 1/4 cup lime juice
INSTRUCTIONS
—Place chicken and barbecue sauce with lime juice in a crock pot; cook on low for 6 hours.
—Pull marinated chicken out of the juices, allow to cool a little bit, and shred. Set this aside. Meagan’s tip — “I pull the chicken apart with two forks. For added barbecue flavor, I like to put the shredded chicken back in the crock pot with the juices until the pasta is cooked and then scoop out the chicken with a slotted spoon.”
—About a half-hour before serving, boil the pasta. In a small saucepan, melt butter, add garlic, whipping cream, pepper, Parmesan cheese, and crumpled bacon. Whisk together on low heat for 3-4 minutes. In a large bowl, pour over cooked, drained pasta, add chicken and stir through.
—Sprinkle a little bit more shredded Parmesan cheese on top, and serve!
[ recipe adapted from the Kevin & Amanda site ]
Black Beans
Beans are a staple in my pantry, and I just love black beans. By themselves, however, they can be a bit… blah. I love spices, so this is a recipe to jazz things up a bit and add an earthy, rich flavor (and it’s awesome to mix into rice, stews, or even chili). With the Liquid aminos in here, I don’t find the need to add any additional salt in the cooking, and I try to get low-sodium beans, too, if I can find them in the grocery store. If the beans sit for a while (re-heated the next day, even), the flavors really start to come through. This, literally, takes less than 10 minutes to put together!
INGREDIENTS NEEDED
—16 oz can black beans, drained
—1 tablespoon extra virgin olive oil
—1/4 teaspoon each chili powder, paprika and cumin
—1 tablespoons light soy sauce or Liquid Aminos (a soy derivative)
INSTRUCTIONS
—Combine all ingredients in a saucepan, mix well. Heat over medium heat for 3-5 minutes or until heated through. Serve immediately.
[ recipe adapted from Beachbody ]
Pumpkin Chocolate Chip Cookies
Says Meagan, “Quite simply, the BEST pumpkin chocolate chip cookies!”
INGREDIENTS NEEDED
—1 cup canned pumpkin
—1 egg
—1/2 cup vegetable oil
—1 cup white sugar
—2 cups flour
—2 teaspoon baking powder
—1 1/2 teaspoon cinnamon
—1/2 teaspoon salt
—1 teaspoon baking soda
—1 teaspoon milk
—1 tablespoon vanilla
—2 cups chocolate chips (or 11 oz bag of chocolate chips)
INSTRUCTIONS
[recipe adapted from I Heart Nap Time ]
Don’t these recipes all look delicious?! What is your favorite go-to comfort food in the cooler weather? We’d love to know!
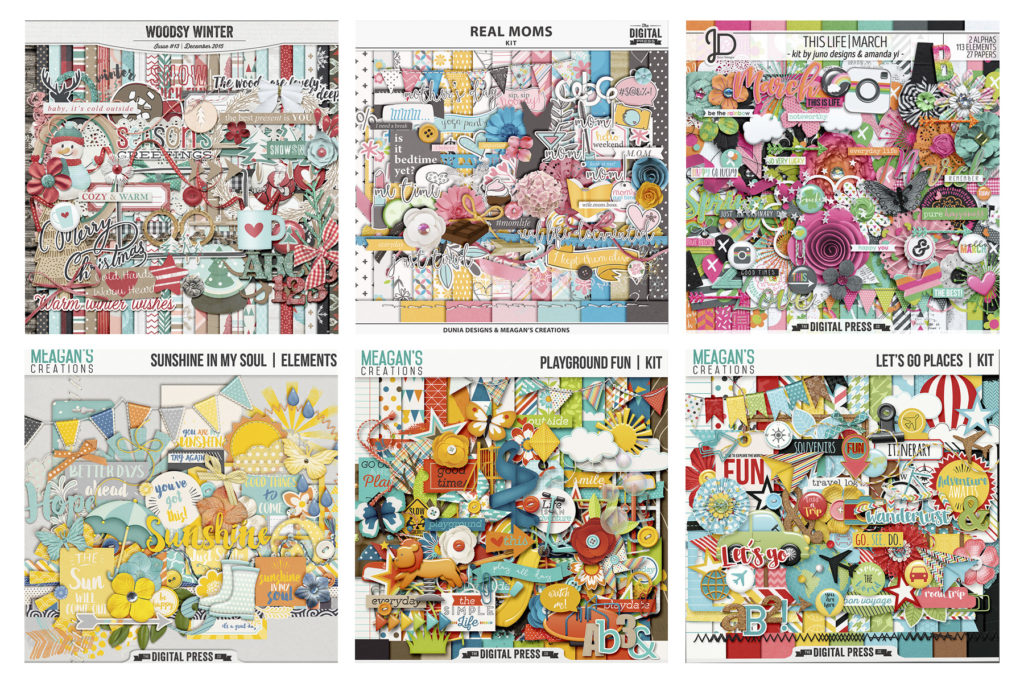
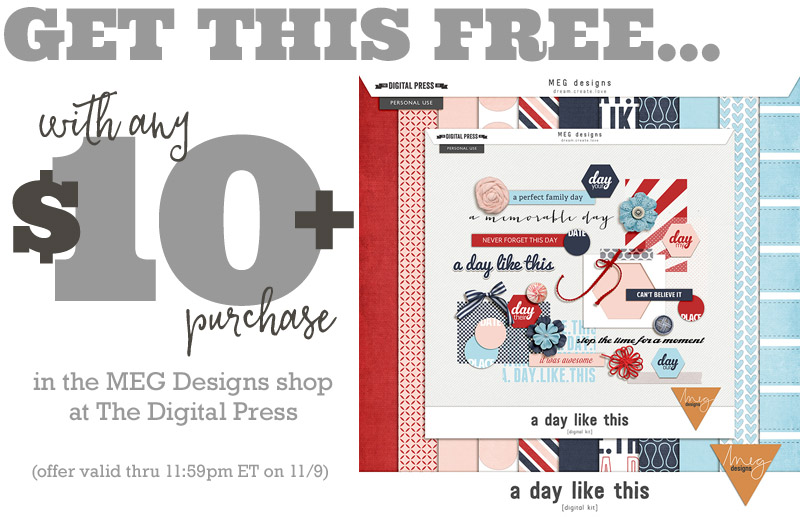
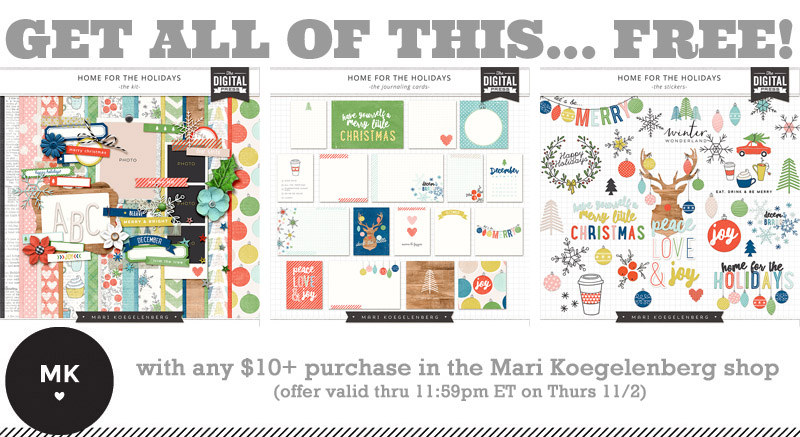
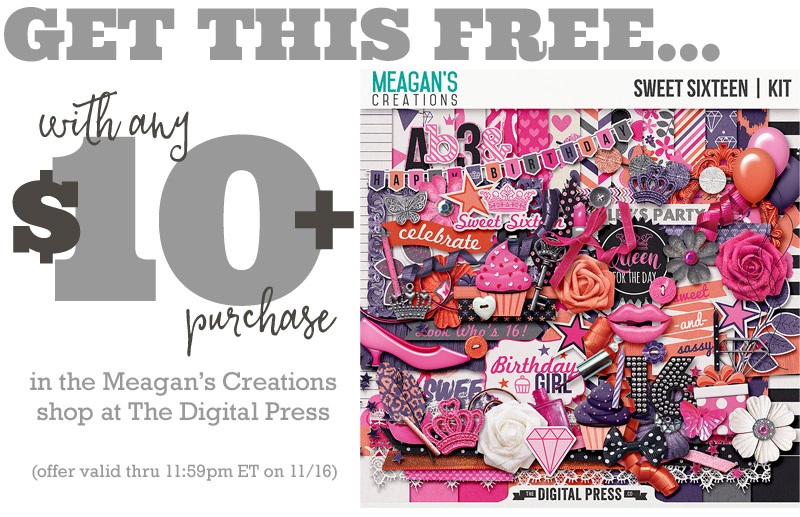
Meanwhile, it wouldn’t be a designer feature week without a fantastic sale and a special Free-with-Purchase offer… so you’ll be excited to see what Meagan of Meagan’s Creations has in store for you! Not only is her entire shop marked down 30% OFF throughout her entire feature week (sale prices will be valid through 11:59pm ET on Thurs 11/16)… but she also has this awesome deal in her shop all week long, as well! Spend $10+ in the Meagan’s Creations shop, and get the following brand-new FULL KIT that just landed in the shop today — completely FREE!
![]() About the Author Kat Hansen is a creative team member here at The Digital Press. A Director of Human Resources by day, she loves the opportunity to spend a few hours each evening being creative. Vacation memories feature pretty heavily in Kat’s scrapbooking pages, as do her son and “daughter” (of the four-legged furry kind). Kat has quite the sense of humor (she “blames” her father for this), which she incorporates into her journaling and memory-keeping.
About the Author Kat Hansen is a creative team member here at The Digital Press. A Director of Human Resources by day, she loves the opportunity to spend a few hours each evening being creative. Vacation memories feature pretty heavily in Kat’s scrapbooking pages, as do her son and “daughter” (of the four-legged furry kind). Kat has quite the sense of humor (she “blames” her father for this), which she incorporates into her journaling and memory-keeping.