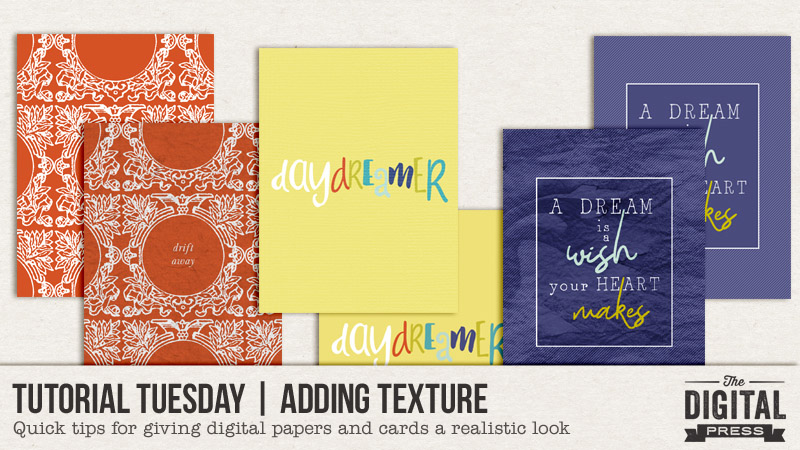
Is your life lacking texture? 😉
Or more specifically… are your digital layouts flat and boring? Or are you finding yourself, on occasion, using digital products that are texture-free (to enable home printing), but you want to use them digitally and you wish they had just a touch of texture?
Well, today I am here on the blog to show you an easy way to add texture to non-textured items (journal cards, papers, elements, etc… any texture-free digital image, really!).
For the purposes of this tutorial, I will be using journal cards to show you the technique… but remember, you can also use this method for texturing items such as digital papers, some flat elements (think: stickers), and even your own photos, if desired!
Here’s the process…
- Begin by opening your un-textured journal card in Photoshop (PS)… or similar photo-editing software program.
- Select a textured digital paper from your stash that has the texture you would like to replicate on your journal card.
- Place the textured paper on the layer above the journal card. Re-position it and re-size it desired.
- Next, de-saturate your textured paper (i.e. remove the color / convert it to black and white).
- Change the blending mode of the de-saturated textured paper to Soft Light (or Overlay).
- Duplicate the textured paper layer (if needed) for more texture… or… you can also decrease the opacity to lessen the texture that’s added.
Want to see this technique in action? Here are just a few examples of the variation you can achieve by using different textured papers…
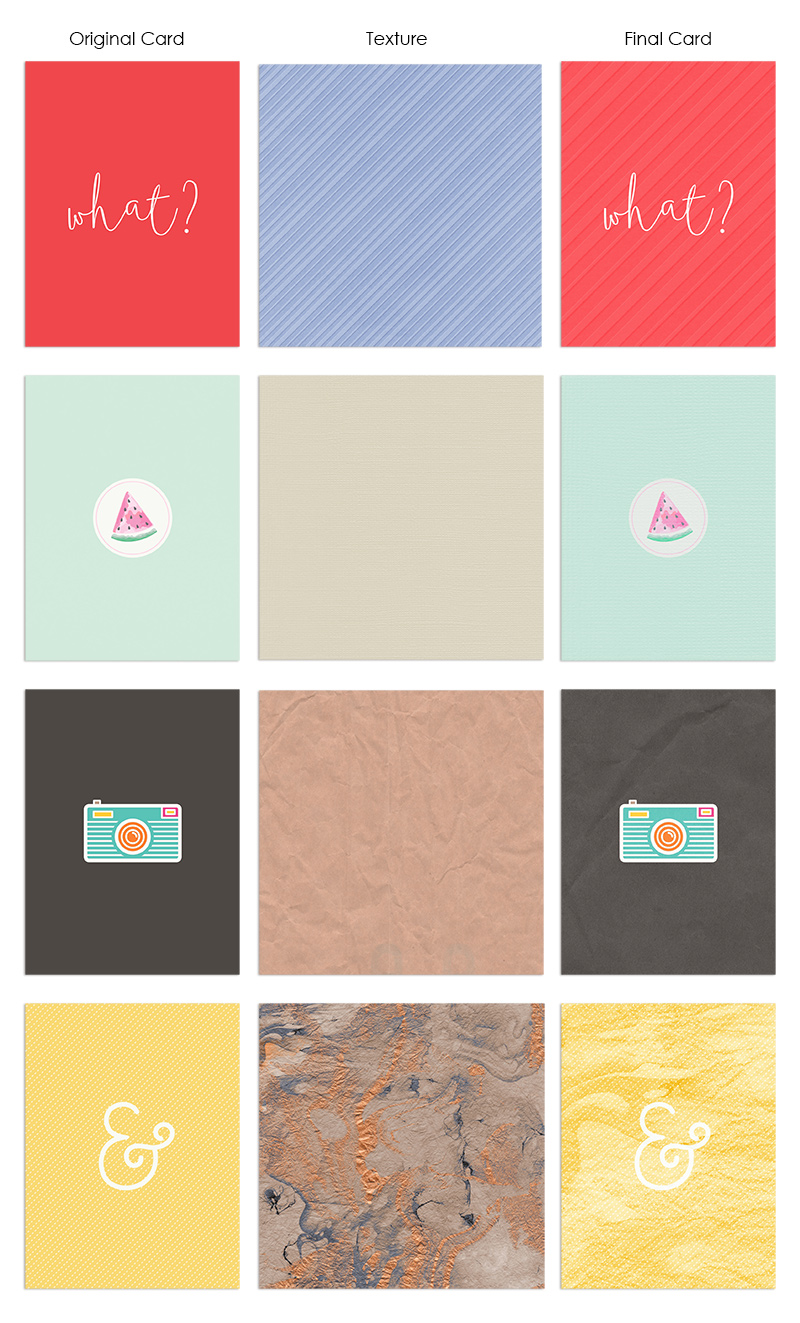
For the examples you see, above, I used cards from Documenting Everyday Filler Cards and Hello June (both designed by Dunia Designs). Additionally, the textured papers I used are (from top to bottom): Happy Tales Papers by Anita Designs and ninigoesdigi (top row), from BeachyKeen Cardstock Sand by Karla Noel (2nd row), and from Standing Tall by Kim B Designs (3rd and 4th rows).
Here are some extra hints to help you with this technique:
- If your journal card becomes too pale after adding the texture… you can either (a) make the texture/overlay layer darker… or (b) try increasing saturation of the base card to restore some of the original color (be careful w/ this 2nd solution, however, to make sure you don’t substantially change the color of the card in a way that no longer matches the rest of the kit you’re using).
- Adding texture to a white card can be difficult. Try changing the white slightly to an off-white (or slightly grey) color to enable you to see your desired texture effect.
- Similarly, the same difficulties can apply to completely black cards (but less commonly). In these cases, you can slightly lighten the black color of the base card.
I hope this very simple texture technique is helpful for you! Don’t be afraid to try different blending modes to achieve other effects, as well. I can’t wait to see what you can create as you give this new process a try!
![]() About the author Carolyn lives with her partner and 2 rescue dogs on 5 acres of paradise in the hinterland of the Sunshine Coast, Australia. Her camera, along with an assortment of lenses, is never out of sight. When not taking photos, she loves cooking and gardening and, of course, scrapbooking.
About the author Carolyn lives with her partner and 2 rescue dogs on 5 acres of paradise in the hinterland of the Sunshine Coast, Australia. Her camera, along with an assortment of lenses, is never out of sight. When not taking photos, she loves cooking and gardening and, of course, scrapbooking.