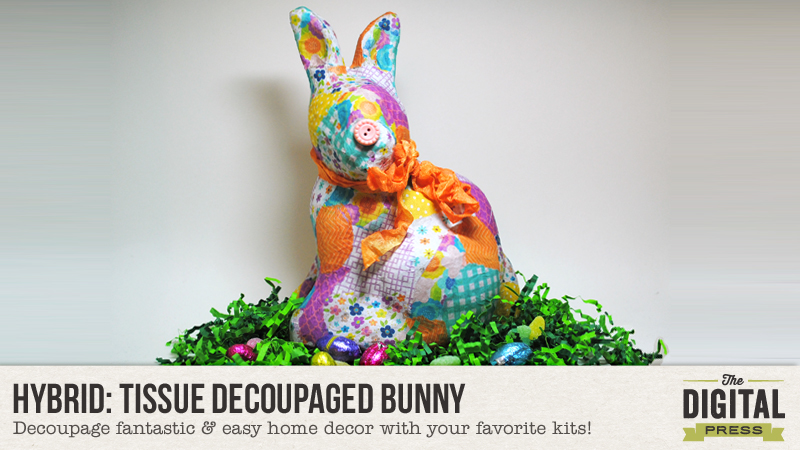
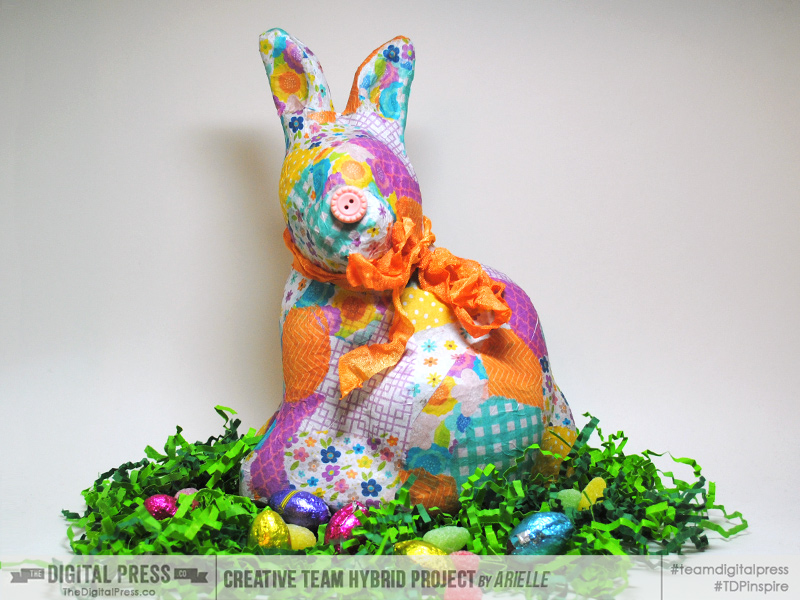
I am a sucker for bright colors, and Easter is one of my favorite holidays of the year! Arielle here with today’s “fun, easy, inexpensive and perfect to work on with the kiddies” project, a Tissue Decoupaged Bunny. Wouldn’t it make an awesome centerpiece for your Easter table? This technique is perfect for other decor items, such as picture frames, miscellaneous objects, old wooden chairs… you name it!
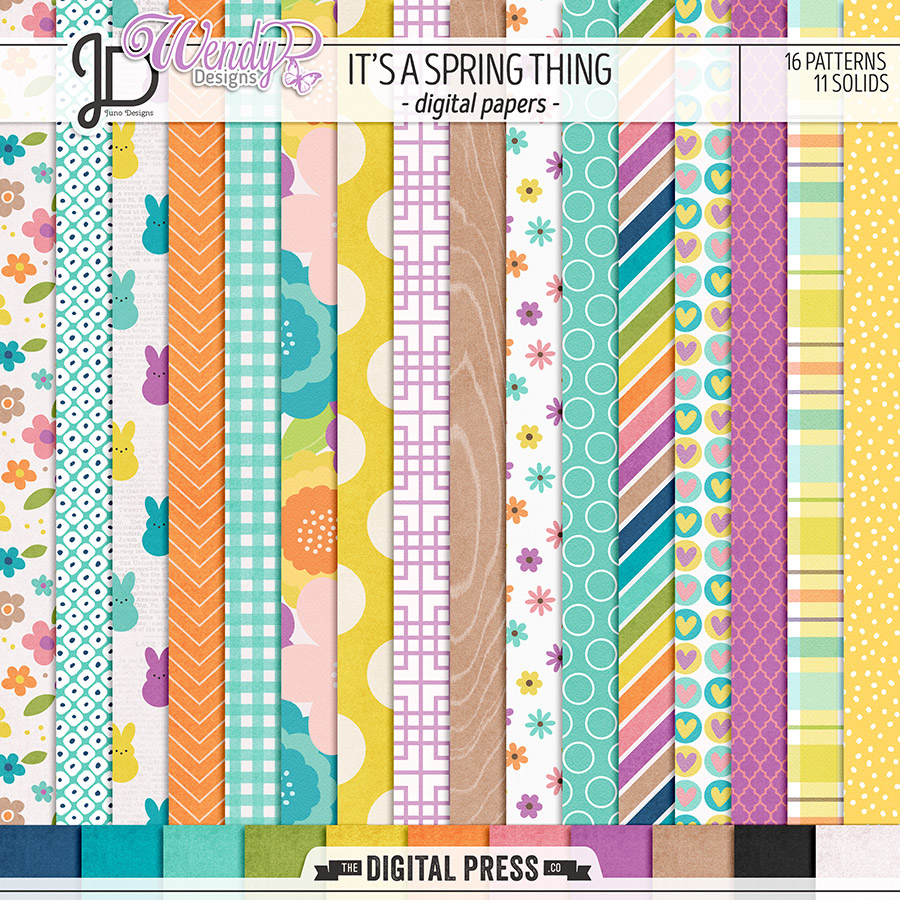
First, pick your favorite papers! I used It’s a Spring Thing | Papers by Juno Designs and Wendy P Designs. All these beautifully bright papers were perfect for my little bunny!
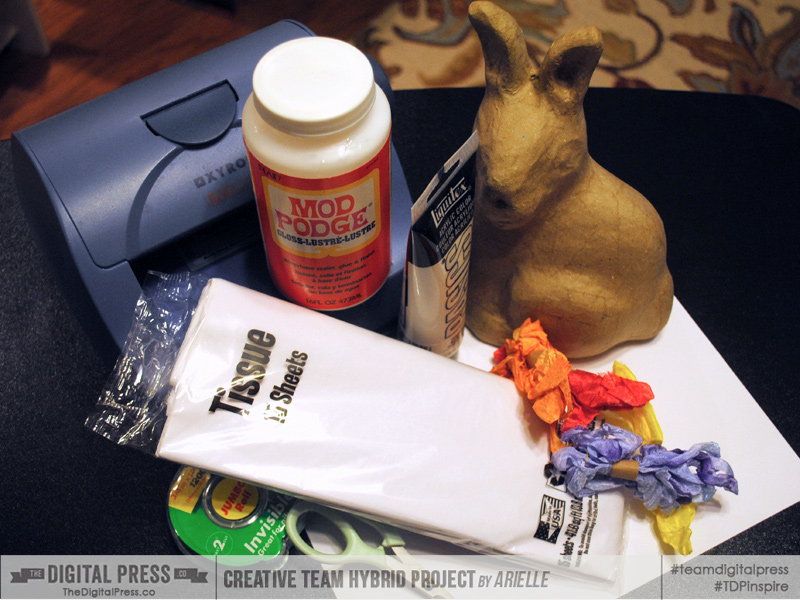
Then gather your crafty supplies —
- Thin cardstock
- Tissue paper
- Adhesives (I used a Xyron machine & scotch tape)
- Scissors or paper trimmer
- Other embellishments such as ribbon and buttons.
- Paper mache animal (or picture frame, etc…)
- Mod Podge (optional)
- Paint and brushes (optional)
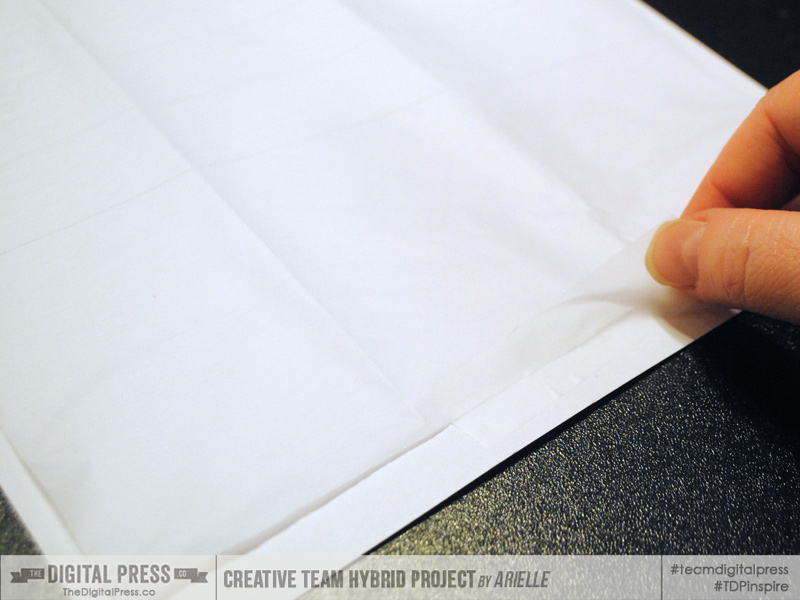
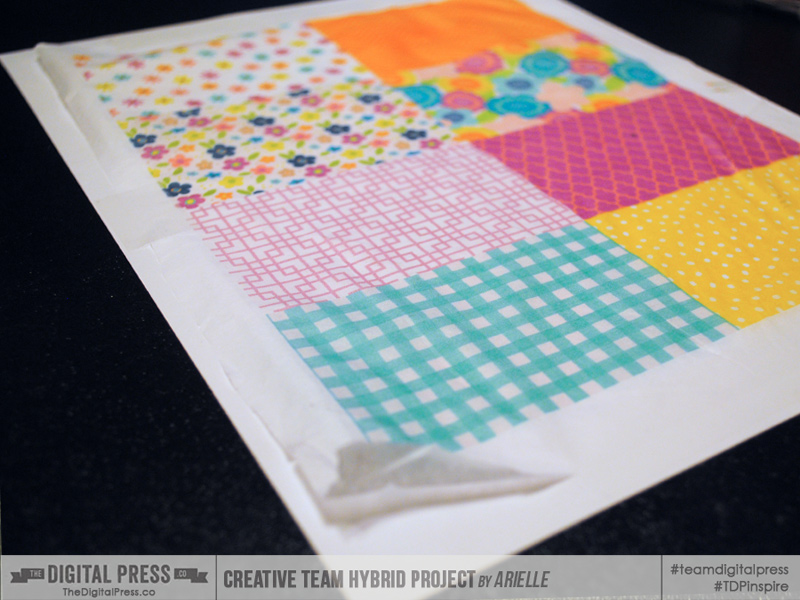
Start off by cutting some tissue paper to fit your cardstock. (I picked up some cheap tissue at the dollar store.) I cut it approximately 7.5″x 11″, then using invisible tape, I adhered it to the cardstock at the top and bottom. Be sure to put the paper into your printer so that it will print onto the tissue.
Set up a document of “swatches” to print. My swatches measured 3.5″ x 2.5″, and I was able to fit eight, centered, onto each page.
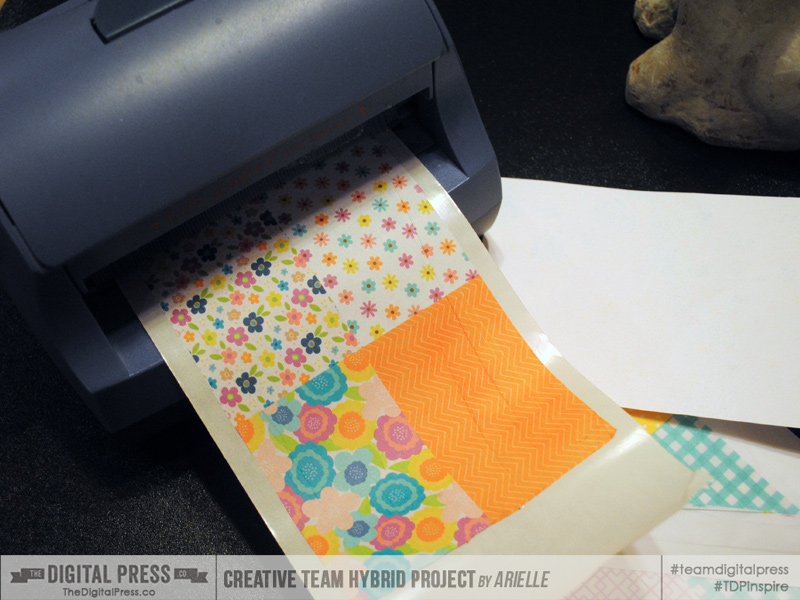
Remove the tissue, and trim off the excess, then run it through the Xyron. If you don’t have one, use Mod Podge, or some other glue. Be careful though and use it sparingly to prevent the ink on the tissue from bleeding.
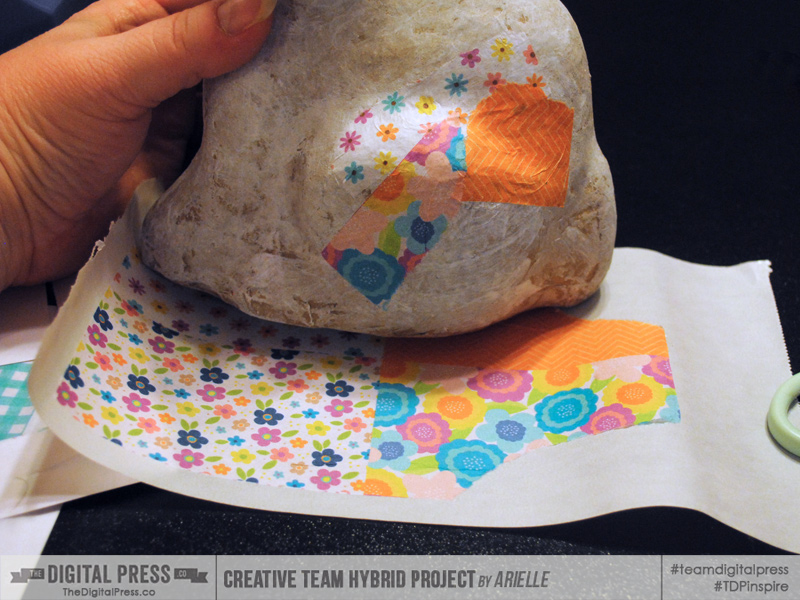
Tear your tissue into pieces and start applying. You’ll notice I also put a thin wash of white paint on my bunny before I started. Keep tearing and sticking the tissue to your project until it’s covered. It took a little over 2 sheets to cover everything.
To finish, you can cover it in Mod Podge or spray a fixative on it to preserve it. I also added a pink button nose and an orange ribbon around his neck! Get creative ~ you could even add paper flowers, pearls or beads.
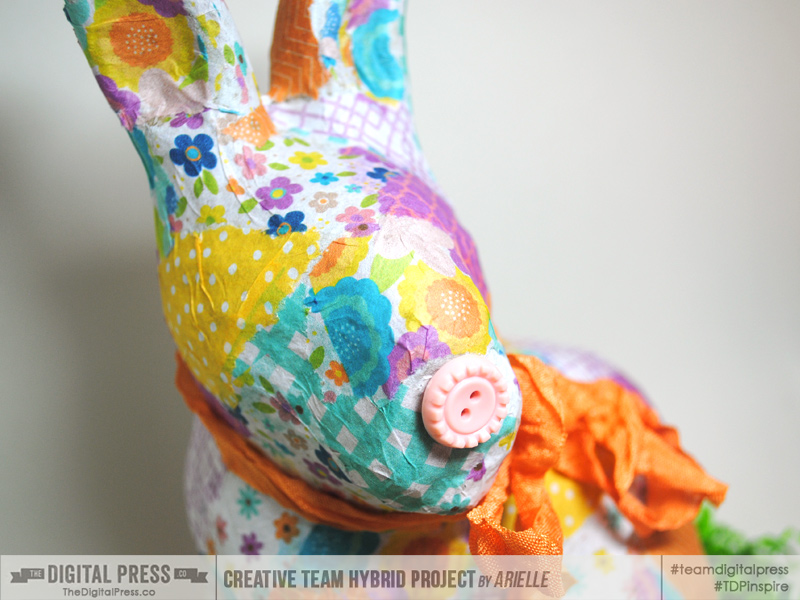
Add some candy and Easter grass and you’ve got a great centerpiece!
Want to try your hand at this easy decoupage? Please come join us in The Digital Press’s forum for a fun challenge related to this tutorial! You can create fantastic decor items AND earn points doing it! Points can later be cashed-in for discount coupons to the shop at the end of the month if you participate in the challenge system at The Digital Press!
 About the author Arielle H Gordon is a wife and mom of two crazy kiddos, ages 6 & 7. She moved around (a lot!) before returning to settle down in her hometown of Enterprise, Alabama, to marry her sweetheart and start her family. She is an avid crafter — digital, hybrid and otherwise! She LOVES Jesus, family time, camping, gardening, reading cozy mysteries, hot tea, popcorn, and anything on the BBC! This time of year, you’ll find her hoarding Cadbury Mini Eggs and Peeps, dying Easter eggs and waiting for Lent to be over so she can resume one or two of her less obnoxious vices…
Arielle, your bunny is adorable….thanks for sharing. Now off to Hobby Lobby to buy some supplies!!