Washi tape has been a trend in scrapbooking for quite a while now, and I’ll admit to having quite a stash. I have about 3 favorites that I tend to use on every project, however… so I decided to make my own shorter versions using digital papers. I’m here today to teach you how to do the same!
STEP 1 — First, gather your supplies:
- Tissue paper
- Double-sided tape
- Scissors
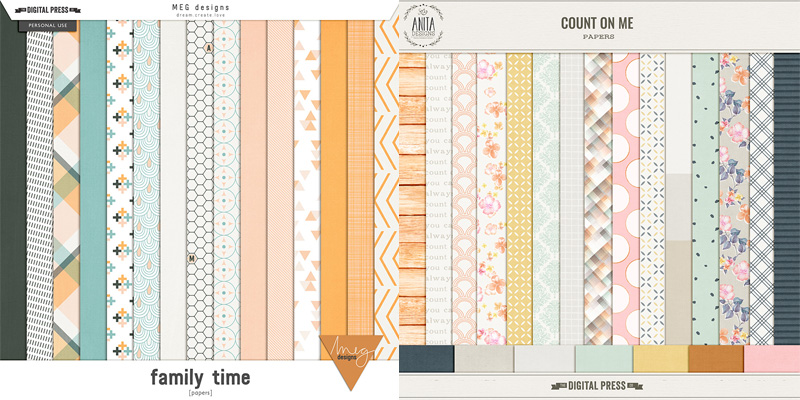
- Digital papers (I used papers from Family Time by Meg Designs, and also from Count On Me by Anita Designs)…
STEP 2 — Next, in Photoshop you will open up a page as big as your printer will print. Pull a few of your favorite papers into Photoshop, and make strips down the page, as shown here…
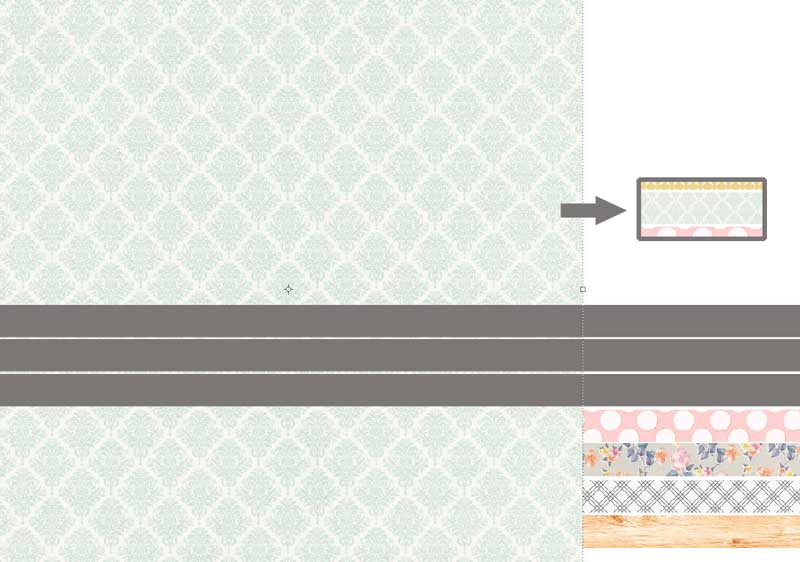
*TIP* make the strips a little wider than the width of your tape, in order to leave some room in case you don’t lay the tape exactly straight in STEP 5
You may need to resize the papers, making them smaller and overlapping them, in order to create the right size pattern for the thin strip. If you look at the blue damask paper, above, you will see that the pattern really needed to be smaller to get the damask effect on the thin tape strip… so I shrunk the paper down, duplicated it, and overlapped it to get the repeating pattern correct.
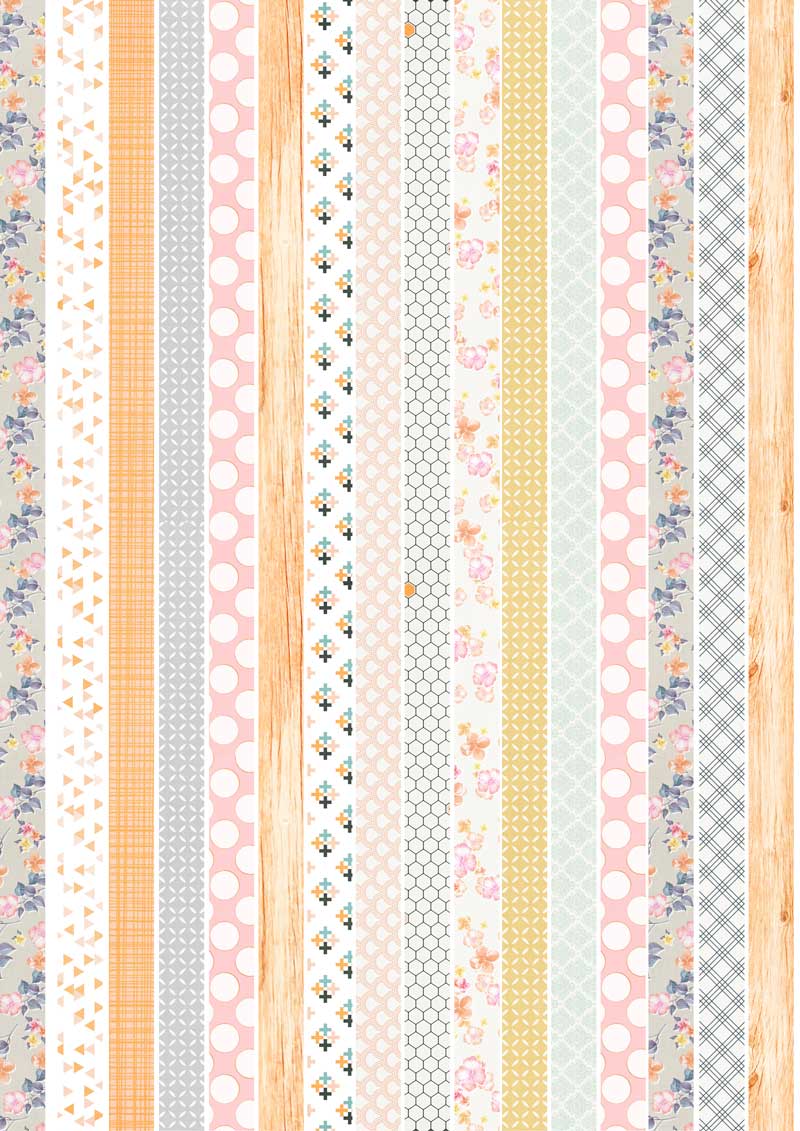
Here’s a look at my final document in Photoshop, before I printed…
STEP 3 — Your next step will be to cut the tissue paper to the size of the paper that will go through your printer, and secure it to the end that feeds into your printer with double sided tape (I use thinner tape for this). This is because the tissue paper won’t usually feed through your printer on its own, without getting all jammed up (it’s just not thick enough). Adhering it to a thicker piece of plain copy paper ensures that it will make it through the printer without jamming up.
*TIP* I also iron my tissue paper slightly on a low setting (no steam), to ensure that it’s really flat — but this isn’t mandatory.
STEP 4 — Now you will print as many copies as you like, depending on how long you want your tape rolls to be.
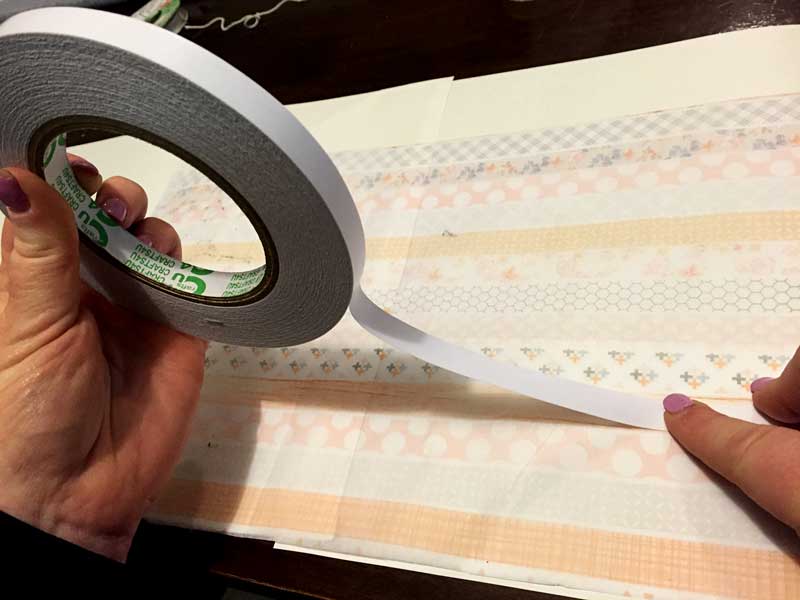
STEP 5 — Attach your double-sided tape to the back of the printed tissue paper strips, joining the papers if you printed more than one sheet of the same pattern…
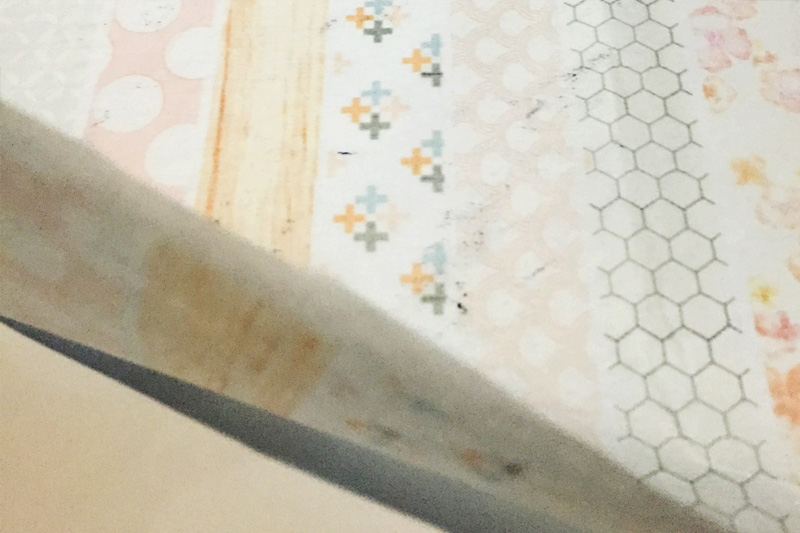
STEP 6 — After that, you will trim each of your new tape strips, cutting off the excess tissue that is wider than the double-sided tape. After that, you just need to roll up the strips…

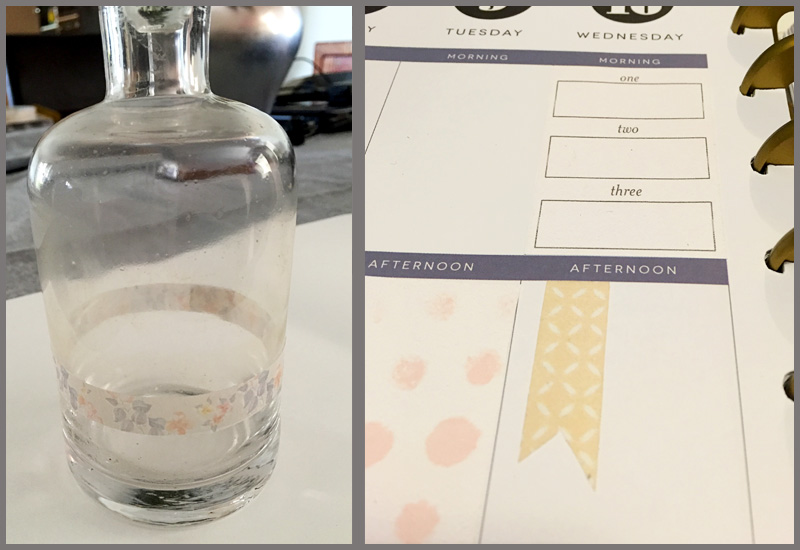
STEP 7 — Have fun playing with your new tape! You can use your “limited edition” washi tape strips on everything from scrapbooking layouts… to hybrid cards… to planner pages… or anything else you can think of! 🙂
 About the Author Amanda found digital scrapbooking in 2006, as a paper scrapper who was frustrated with the limitations of paper scrapping products. She now loves to combine paper and digital products and techniques for her pages and projects. She is the wife of a Naval Officer and has two teenage children. She lives in Australia, and has also lived in the U.S and Malaysia and loves that she has had the opportunity to travel the world with her family.
very nice post. helped me in making my own washi tape . i recommend it.