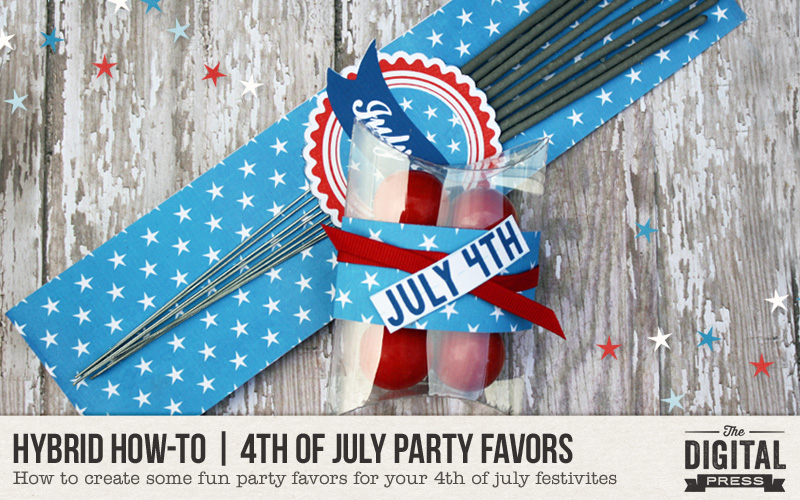
Summer is in full force, heat and all. So many fun things happen during the summer… vacations, pool parties, barbecues, and more — including the 4th of July! A lot of people celebrate the 4th with food, family, friends, games, and lots of fireworks. I love the 4th, and the meaning behind the celebration, so I decided to do make some 4th of July party favors. It’s easy, and I’m going to teach you how in today’s Hybrid How-To post!
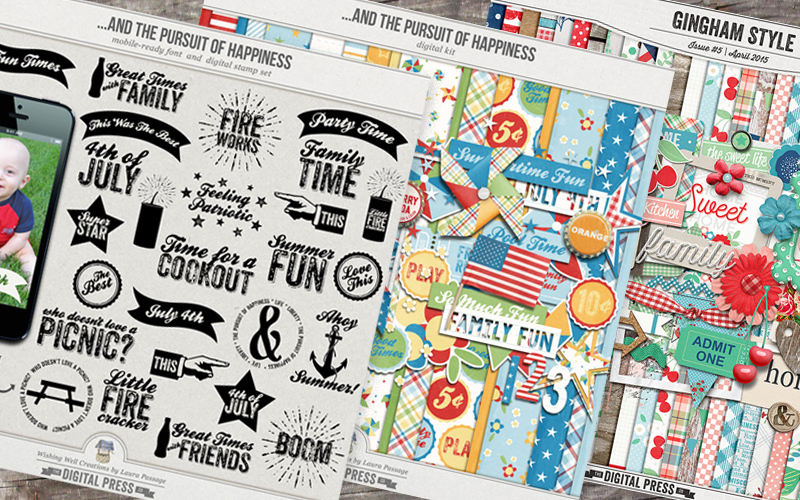
For this project I used the …And the Pursuit of Happiness | Kit & the coordinating digital stamp set set (which is also mobile-ready!) — both designed by Laura Passage. I also used the Gingham Style collab collection by The Digital Press Design Team (from back in April 2015).
I am a Silhouette girl… and I use the SSDE (Silhouette Studio Designer Edition) for almost everything. I find that even some of the more difficult things are easier to do in this software over Photoshop Elements (PSE). I still use PSE for my all of my scrapbooking, however.
First, I opened this pillow box file I already had in my stash of hybrid files. I re-sized it until two of them fit onto an 8.5″ x 11″ page. *NOTE* there is no need to turn on registration the marks here, but do make sure the cut lines are on.
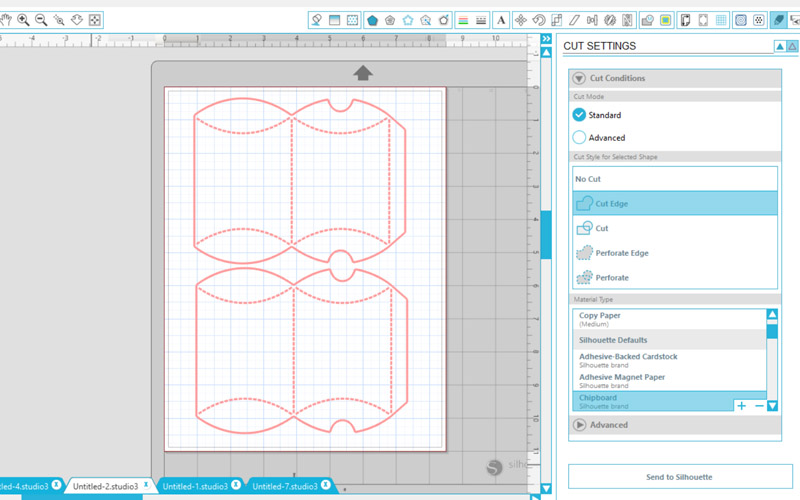
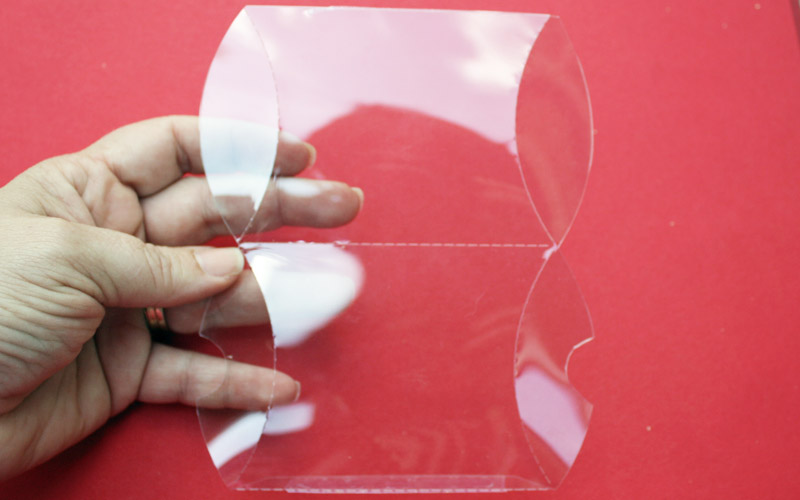
Then, I used SSDE to cut out my project on clear cardstock. I loooove clear cardstock! It can be purchased online. It is a little thicker than the acetate sheets that I used in my floating ornament tutorial. I put my cardstock onto the cutting mat, loaded it, and cut. The cut settings are “chipboard, blade on 7 and double cut.” Then, to assemble it… I just used one strip of double side tape on the edge.
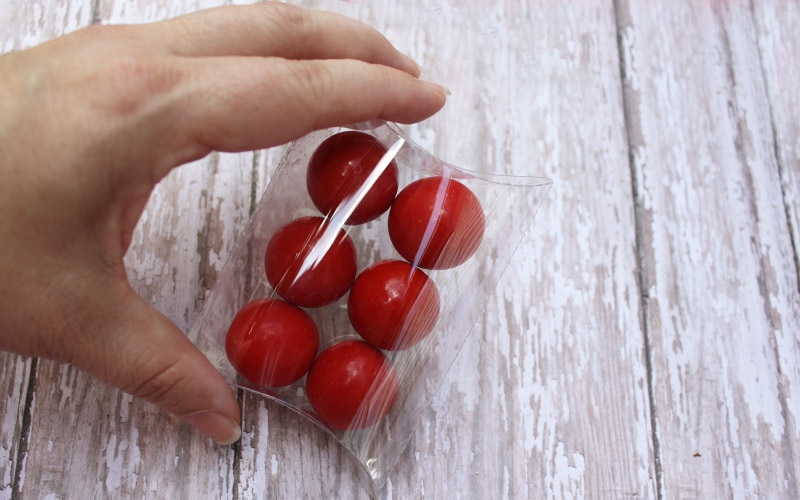
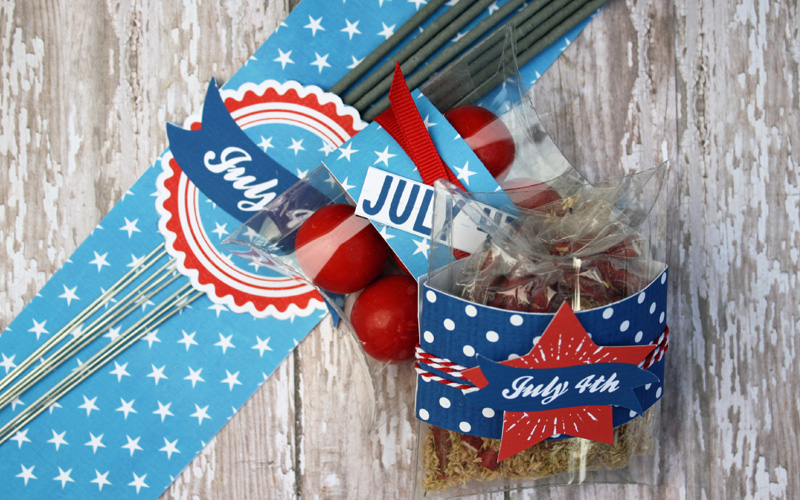
Next, I filled my new pillowbox container! I used fireball candies to fill this one. I think the finished product will be cute in a little basket on the treat table at a party. I also filled another pillowbox container with little firecracker pops.
The next step was to embellish the pillow box. I drew out long strips and used various digital papers from the kits to fill them in. I also opened up a few element files (using the star shapes, and stamps from the mobile-ready font & stamp set) and put them on the same page. Again, no need to turn on the registration marks in SSDE, because after printing I will cut them out with my scissors.
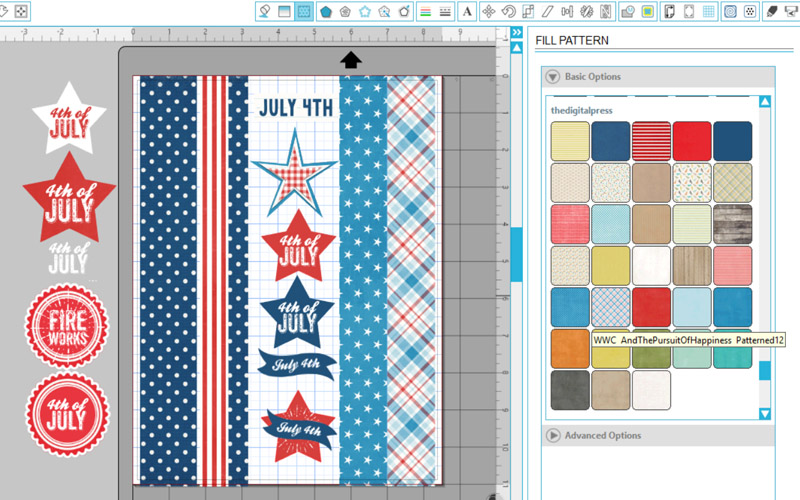
Here’s a look at some of the pieces after I printed them out, as I was cutting them out…

Next, I combined the paper strips with the other elements — attaching them with double sided tape. I also embellished with ribbon. How cute are they?
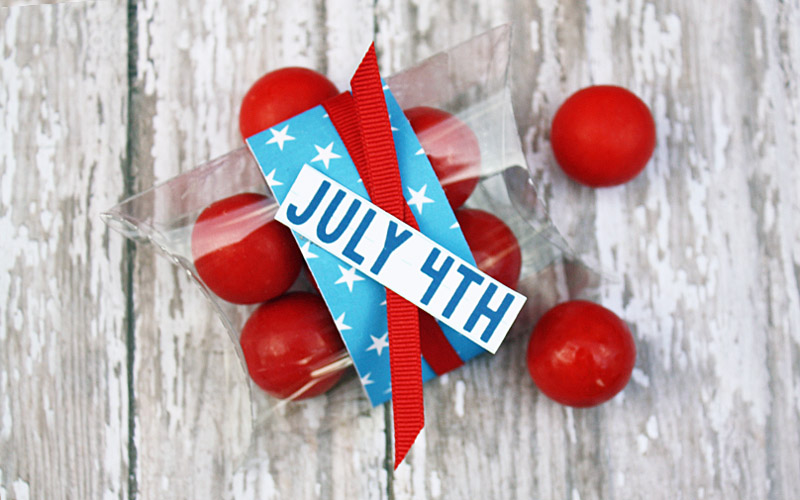
This next one is the one I filled with the firecracker snaps (you throw them on the ground to pop)…
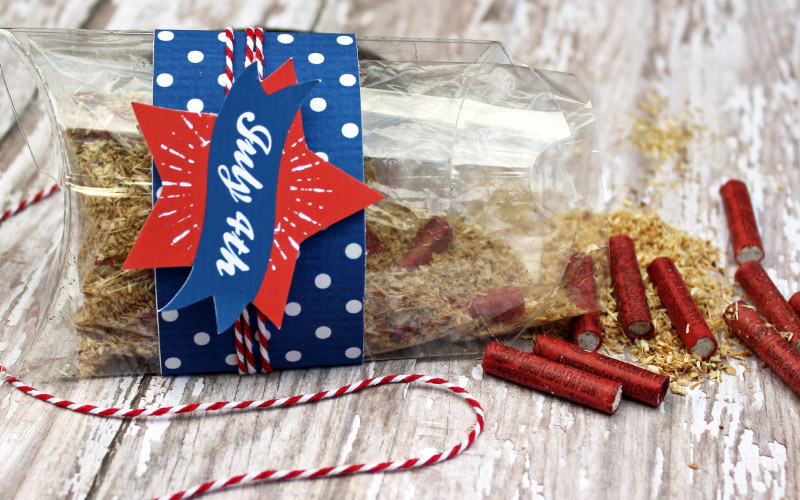
Now, to make the sparkler holder. These will be presented as a “Thank You” gift for coming to our 4th of July festivities…
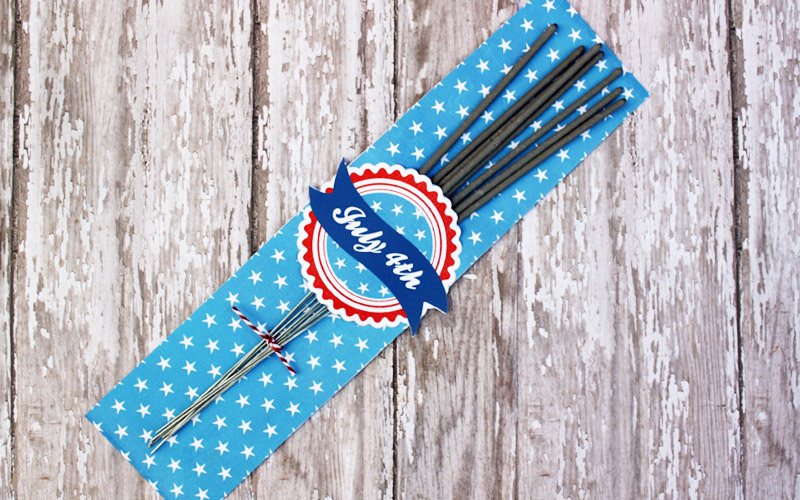
For this part of my project, I used Silhouette Studio. To design the holder, I used elements from all three products.
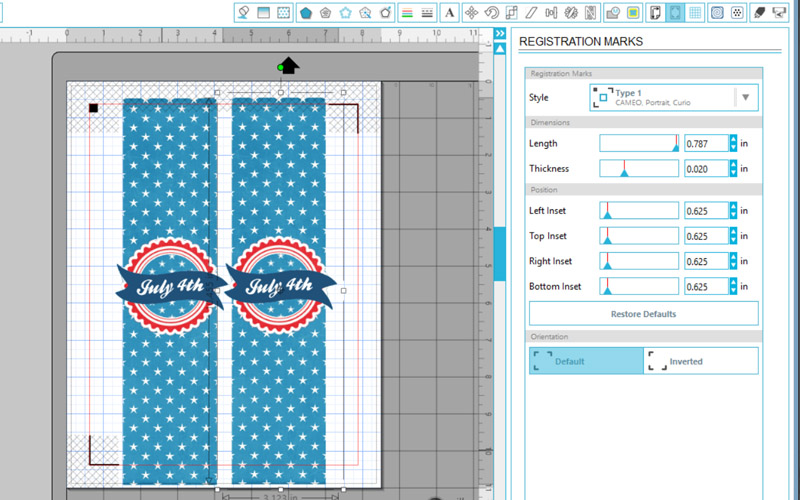
You can print and use scissors (or an exacto knife) to cut around the opening… OR… if you have a Silhouette, you can turn on your registration marks and do a print and cut. As you can see, the design is past the registration marks — and that is okay because I will cut that part with my scissors. You can see here that I have cut marks around only part of the middle part of the design. I did this by tracing the “circle” part of the design and cutting part of it away. This is to ensure that it would only cut a small opening for the sparklers to fit through.
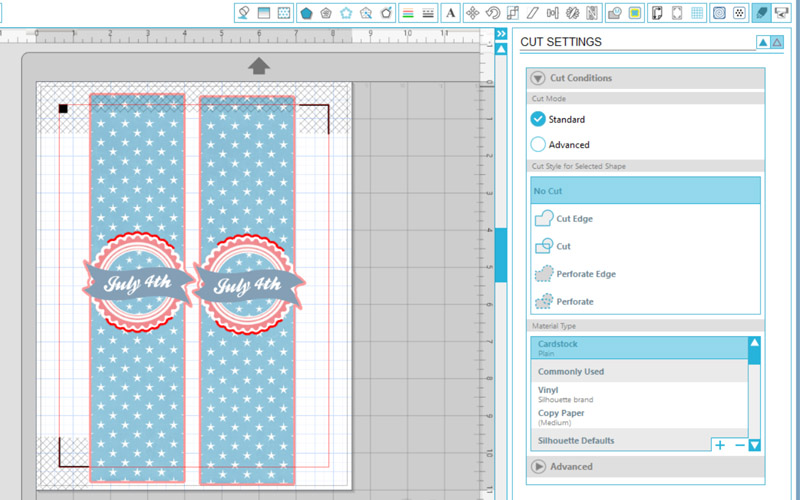
You can see here in this next image where it cut (I put the sparklers through the opening so that you can see what I mean)…
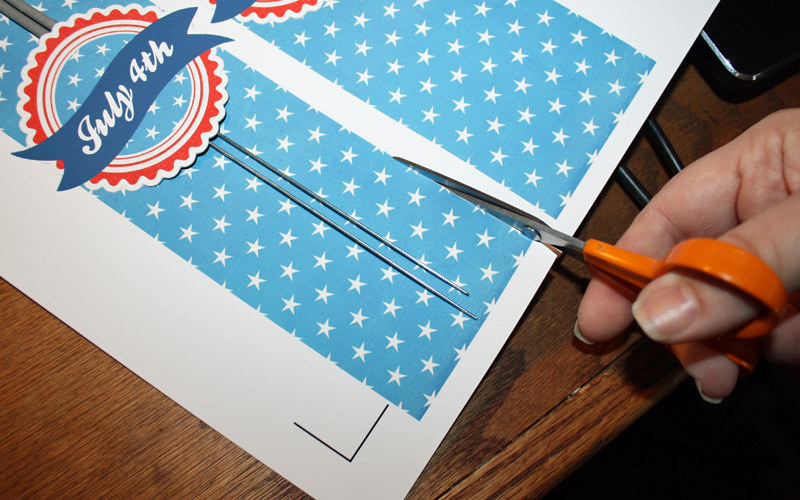
The part that goes past the registration marks will not cut. That is okay for this project. I simply took my scissors and cut out the rest.
I backed the sparkler holder to make it a little more sturdy. To do this, I started out by drawing out a 8.5″ x 11″ shape then filled it with paper from the …And the Pursuit of Happiness kit. To get the shape of the template, I mirrored the image and turned on my cut lines before printing. After printing, I cut it out with my machine. You do not have to use the registration marks for this part of the project. If you don’t want to go through all the steps above, you can simply print the paper and cut a strip with your paper cutter or scissors. It just won’t cover the back of the banner on the sides… but I think that would be just fine, and a lot quicker!
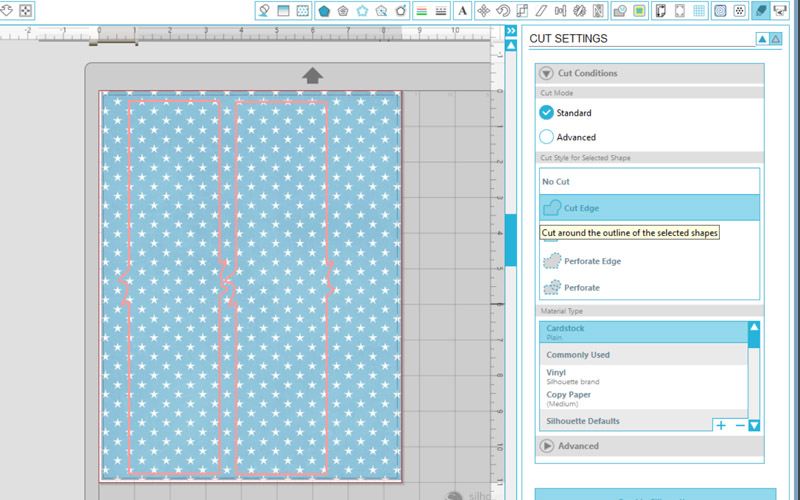

After cutting, adhere with double sided tape…

What a fun party favor! You could always add more details, as well… like the year, your name, etc.
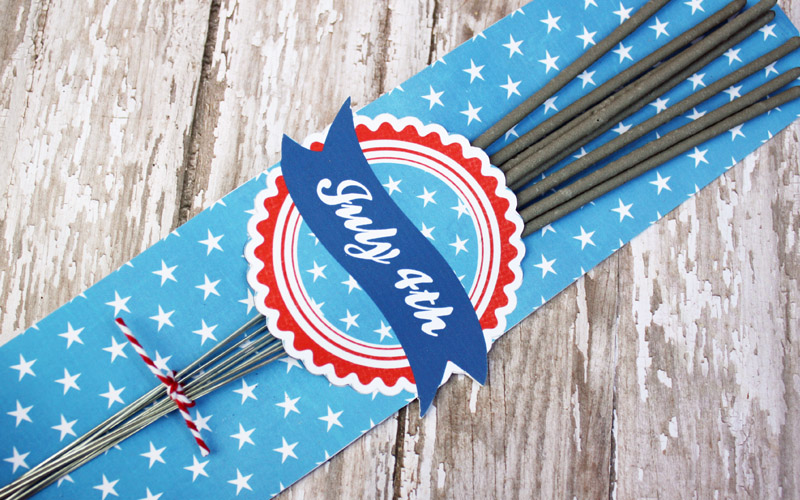
This project was really fun. There are so many more things you can make for your party. I’m thinking of things like cupcake toppers, garland, and food tags… just to name a few. Let your creativity run wild!
I hope that you enjoy giving these fun projects a try, and I also hope you have a safe and Happy 4th of July weekend! Thanks so much for stopping by the blog today!
 About the Author Tanya is a part of the hybrid team here at The Digital Press. She has been hybrid crafting for at least 12 years now, and loves creating and sharing those creations with others. Her all-time favorite tool is her Silhouette Cameo. She has been married for 26 years and has two sons: Chris, 24 and Chance, 20. She also enjoys crocheting, photography and woodworking.

Awesome 4th of July favors Tanya!
Very cute! You are so talented!
Thanks Teresa! These would be perfect for your 4th of July party!
Love all of it as always: ) can’t wait to see what you come up with next
Super Cute Tanya! Love This!! You are AWESOME at what you do!! You always amaze me at what you come up with! 🙂
Thanks Jennifer!!
Love this! Can you tell me where to purchase clear card stock?
Michelle, I’m pretty sure that you can get it from Hobby Lobby or Michaels. I’ve had this for a while and can’t remember where I got it from.