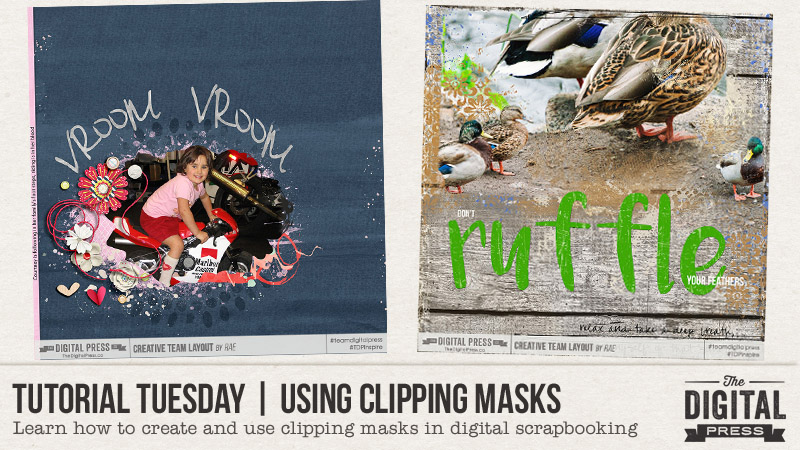
In Photoshop, I often create clipping masks in order to “change the shape” of the papers and photos I am using on my page, and/or to blend my photos or papers into the rest of the page. Today, I’m going to share a few ways that I utilize them and how I achieve different looks with clipping masks.
CREATE A MASK FROM A SHAPE OR ELEMENT
One way to use a clipping mask is to clip a photo or a digital paper to an existing shape or element, such as I’ve done in my Vroom Vroom page, shown here…
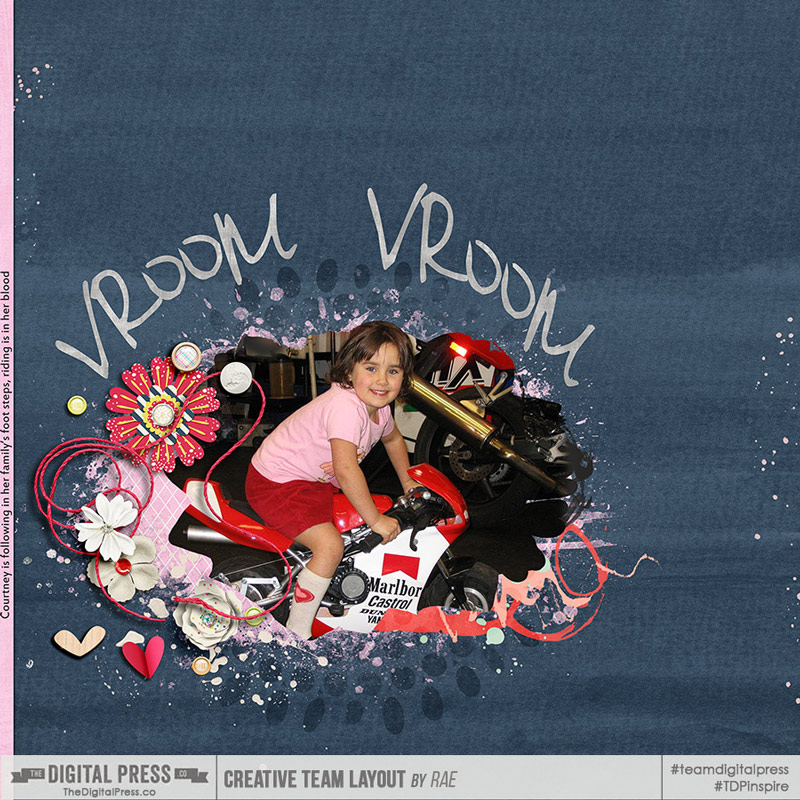
See the photo, above? It takes the shape of a mask that I created using flower elements (if you look on the right-hand edge of the photo mask in the layout above, you can see a few spots along the edge of the mask that look like flower petals… similar to the flower you see on the left-hand side of my layout. That’s because I created the mask using those shapes!).
To do this, first I selected a few flower elements and then merged those layers to create one shape. Then I applied a color overlay to it (while this step isn’t totally necessary, it’s really helpful because the colored flattened layer makes it much easier to see what your masking shape looks like without any dimension to it).
At this point you can re-size, warp, or re-position your newly-created mask shape as much as desired. Warping or puppet-warping are my preferred tools for manipulating a mask shape.
Once you have a shape you like… it’s time to clip your photo or your digital paper to that shape. While your newly-created mask layer is selected, open whichever item you want to use (photo/paper/etc.) and drag or place it onto your page. It will create a layer just above your mask layer. Now you are ready to clip them together. There are a few ways to achieve this and it all boils down to a personal preference. To create your clipping mask you can select Layer > Create Clipping Mask in the menu… or you may right-click on the paper layer and select “create clipping mask” from the pop-up menu that appears… or a third option is to press CTRL-ALT-G (for Photoshop) or CTRL-G (for Photoshop Elements, a.k.a. PSE). My personal preference is to hold the ALT key as I hover over the line between the paper and mask layer (you will see the cursor change to a downward pointing arrow) and then click. Choose your favorite method.
Now your item is clipped to your mask shape, and your item takes the shape of that mask. Refer again to my photo in the layout image above. Meanwhile, if you look in the layers palette at the right side of your Photoshop/PSE workspace… you’ll see that the top photo or paper layer will be indented just above your mask layer when you look at it in the list. Until you merge these layers, you will be able to independently manipulate these layers.
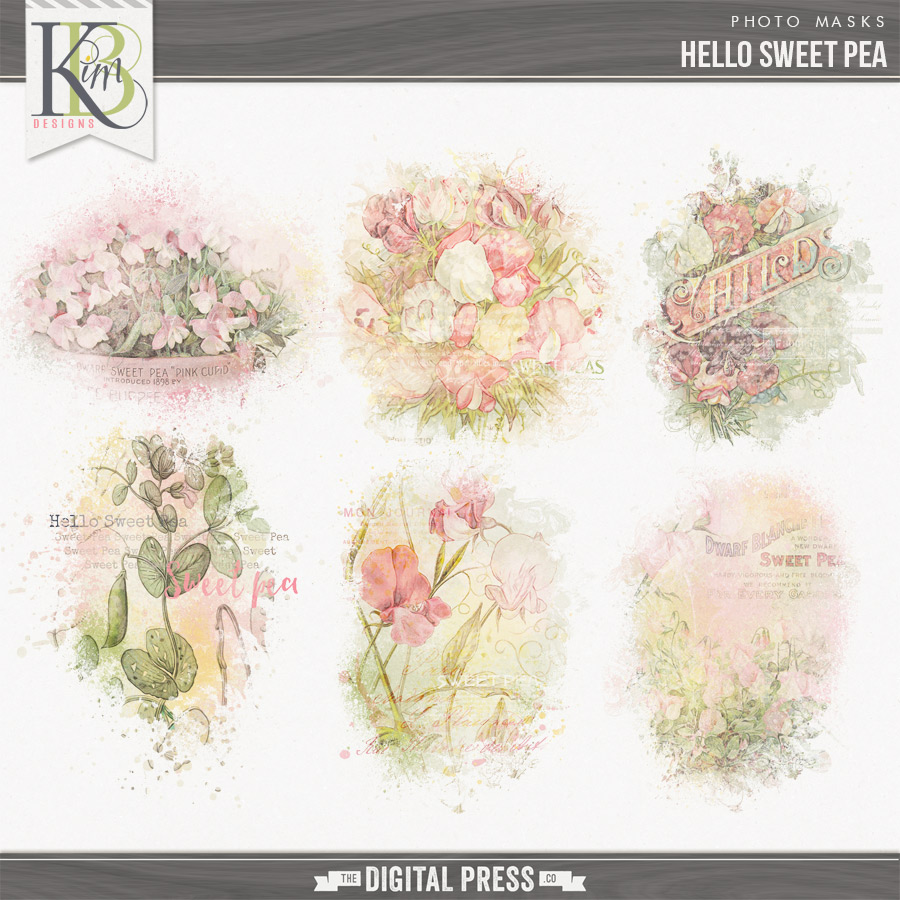
In my layout, above, I actually used a second clipping mask, as well — see the pink painty splatter just behind the photo layer? I clipped a pink paper to a mask from Hello Sweet Pea: Masks by KimB Designs, positioning this below the first mask and resizing to allow edges to peek out from under the other mask. Here’s a look at the mask I used before I covered it with that pink paper you see in my layout…
…and that actually brings me to my second method for using clipping masks on my digital pages…
CLIP MULTIPLE PHOTOS OR PAPERS TO A MASK
Another way to use a clipping mask is to clip more than one photo or paper to a mask, as I’ve done in my Ruffle Your Feathers page, shown here…
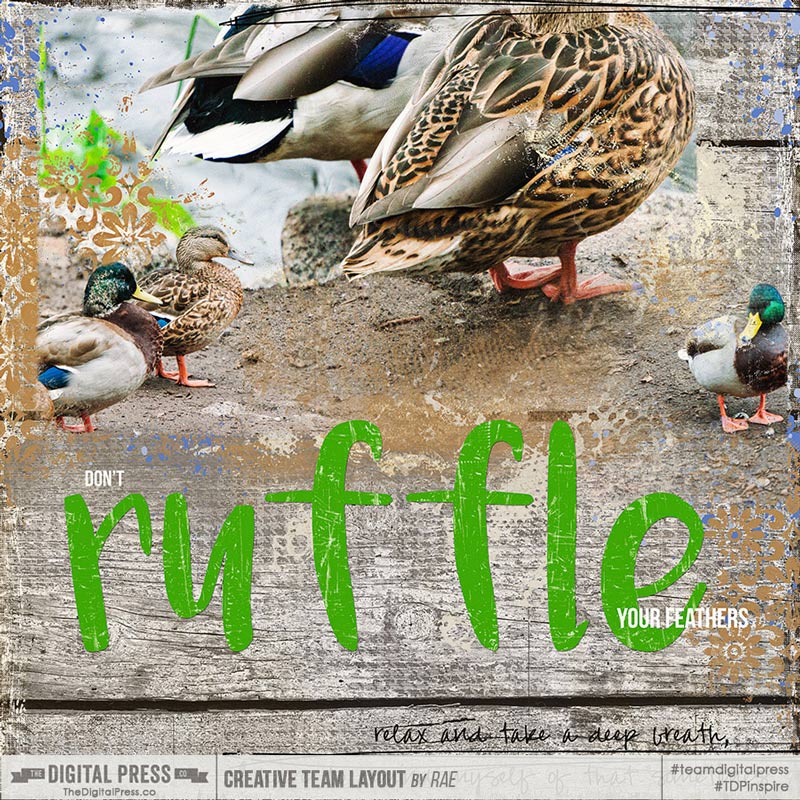
This mask was a little more labor intensive, as I ended up stuffing my mask with 3 photos, some paint, and an overlay.
To do this, I used a mask from Cracked {Quick Masks} by Anita Designs, shown here…

You can clip as many products as you wish to your mask. To clarify, the bottom layer will be your mask, and then each layer above it will be “clipped” (CTRL-ALT-G in Photoshop; CTRL-G in PSE) to the one below, so that all layers clip together above the mask layer.
Because the mask I chose to use was not solid (there were some transparent areas, as you can see in the examples on the preview, above), some of the underlying background paper was visible in the masking. When I erased back some edges from the photos, they blended more easily because of the transparency of the mask, allowing the underlying background to unify the 3 images (there had been rocks that I erased out of one photo). In addition to adding some paint and an overlay into my mask… I stamped over the clipped layers with some paint and another overlay.
The mask opacity may be increased or decreased. A simple way is to erase away the desired areas you wish to be more transparent or if you want the mask to be more solid, select a brush and fill in areas of the mask. Be sure to have selected the mask layer in the palette first.
If you haven’t used a clipping mask before, give it a try! It opens up a myriad of possibilities in your page design (and the process can also be quite addicting). Have fun with it!

About the Author Rae is part of the design team at The Digital Press and has been a scrapbooker and photographer for many years. She lives on the west coast (USA), with her hubby and labradoodle. She’s addicted to chocolate, TV shows, books and Photoshop.