Category: Photography Tips

Tutorial Tuesday | Photographing an event

Hey there! With Holiday season upon us, we thought it might be a fun idea to give you some tips on how to photograph an event, whether it is Christmas (as in my examples below), a birthday party, a baby shower, a family reunion, a professional event or anything you could think of!

Capture the “big picture”

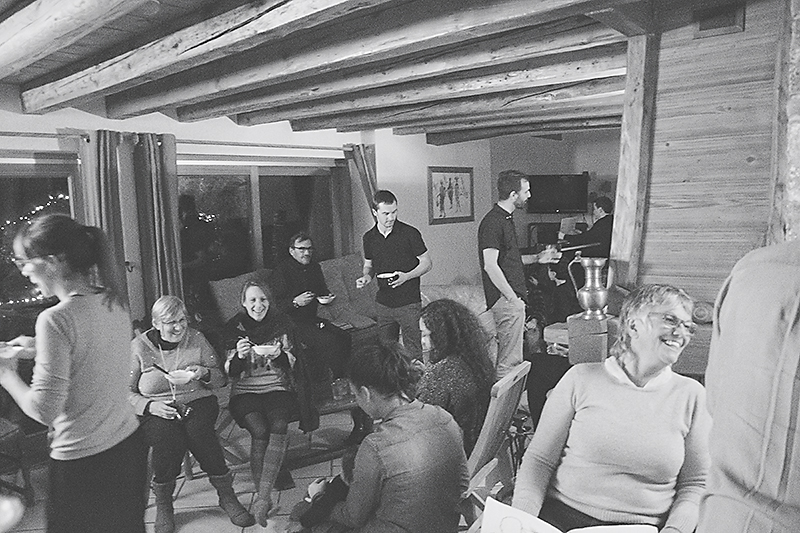
This is the most “obvious” thing, that we usually all do, so it’s an easy one to remember. Take a couple images of the whole event, the whole room (or rooms if it’s a big event). This will help record the location, but also the weather, the time of day. Of course, you will have most of the guests on those photos, even the shy ones that won’t agree to be photographed alone or in smaller groups! Remember to change your points of view so that all those pictures don’t look the same. If you can find a higher position (from a scene, for example, or even by stepping on a chair), it’ll be easier to have the whole room in your image. Use the widest lens you have (18mm in the image below).

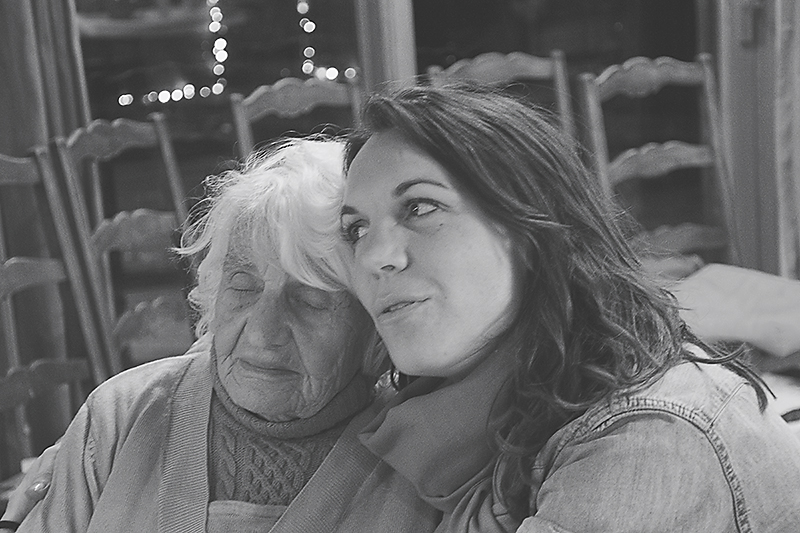
Focus on the relationships

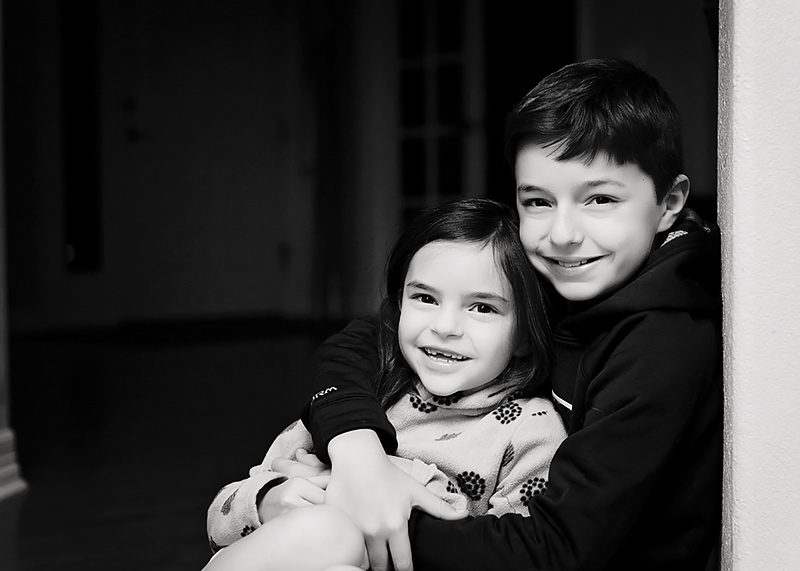
Those events’s main interest is usually to be together, so remember to capture that in your images. The moment people arrive at the location and greet each other is a perfect opportunity to capture those happy reunions. Don’t hesitate to photograph people hugging, talking, laughing with each other. That’s the whole point of being together, right?

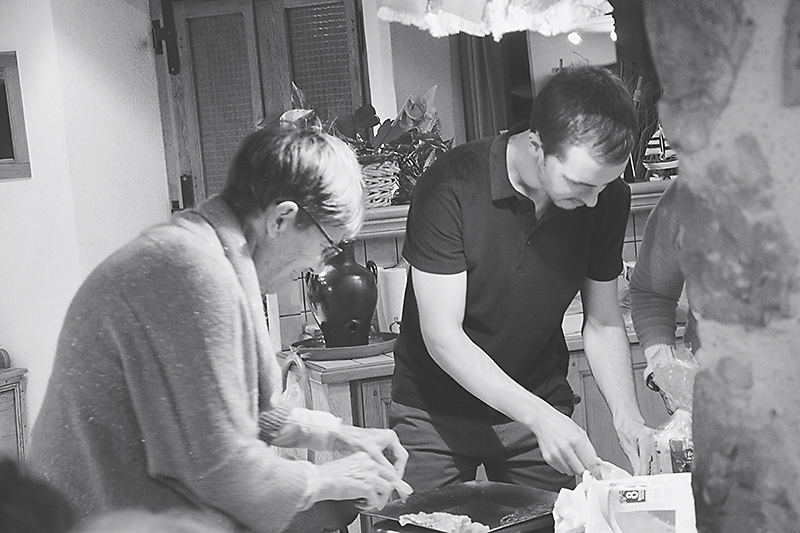
Take some “documentary” images

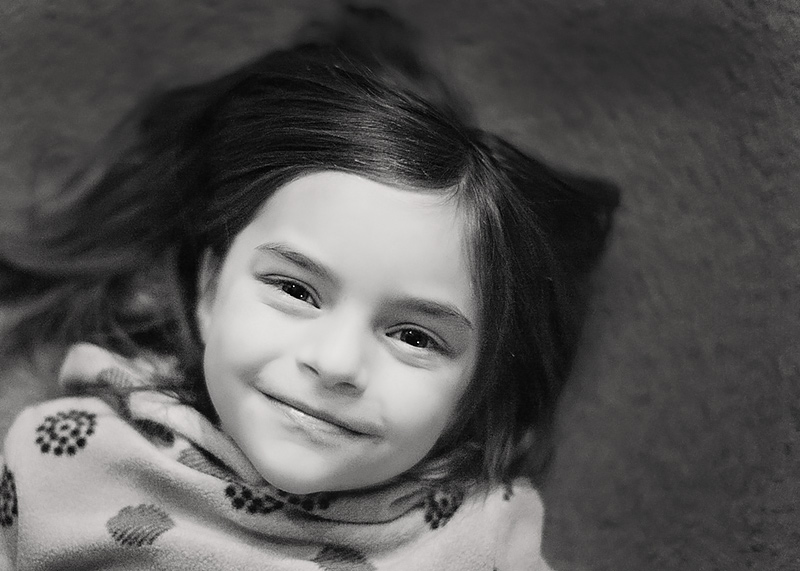
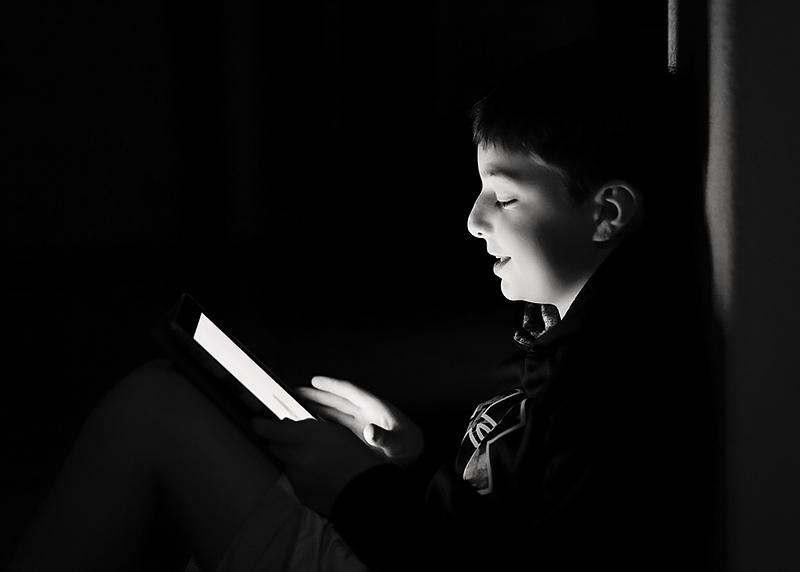
This is another great tip to help take photos of the shy guests: take their photo without them noticing, without directing the scene you’re photographing, as if you were a fly on the wall. Capturing them that way will help you getting relaxed, natural photos of them. Of course, if they ask you to delete the photos, you have to respect that… but try showing them how awesome they look first, they might change their mind! LOL

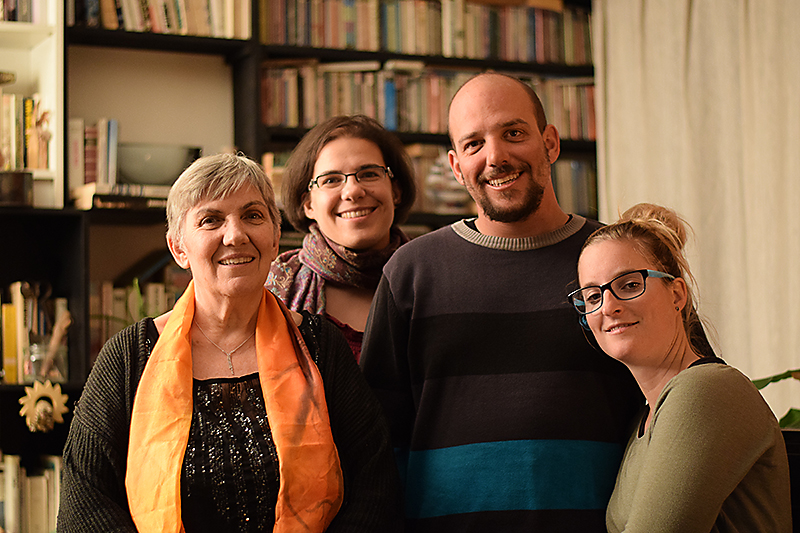
Take some posed photos

If it works with the kind of event, have a little “photo session” with traditional, posed photos of the guests. I have a tradition like that with my mom, brother, sister-in-law and now my niece when we celebrate my mom’s birthday on December 26th. It’s almost the only photo I have every year of my brother who hates to have his picture taken and is awfully good to avoid my camera… but at least I have one good yearly photo of him! LOL

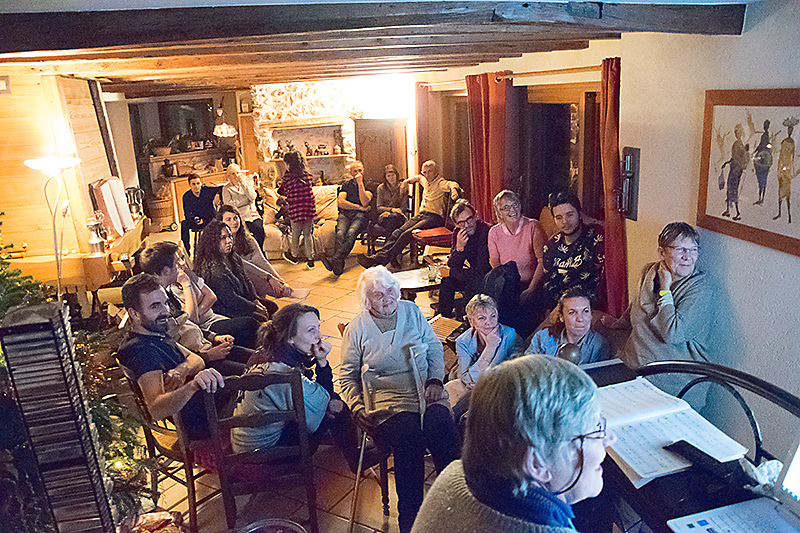
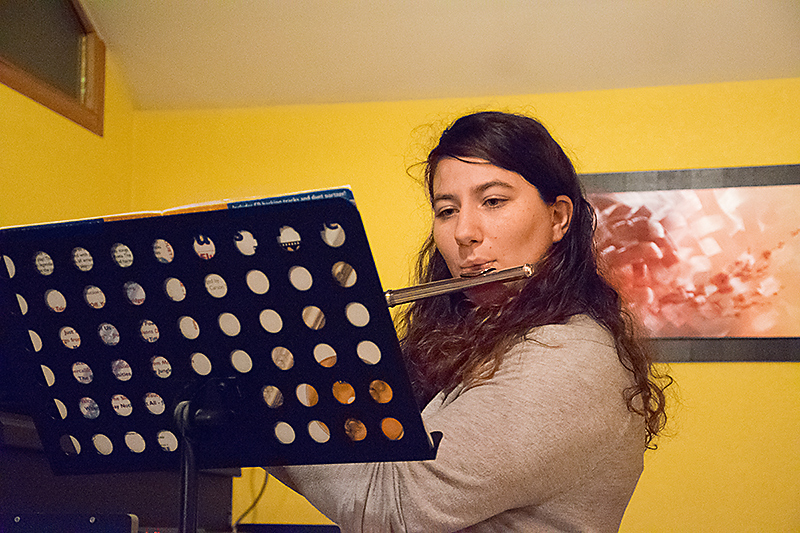
Photograph the details

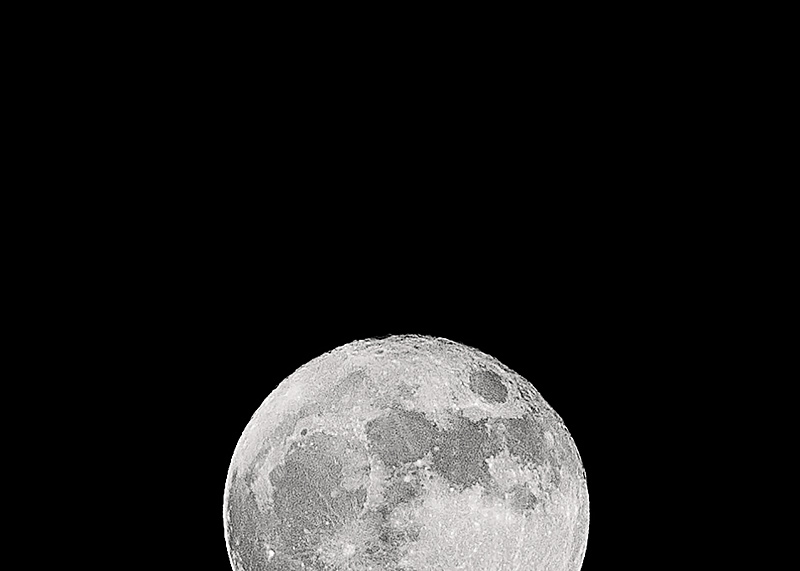
Remember to photograph all the details of the event. Decor, food, piles of gifts, the games that are played during the event, the flowers, the activities (below my family watching old photos my mom had scanned and my cousin playing some music), the invite and more! Those details make the “personality” of an event, what’s special about THAT event, they deserve to be remembered!

Don’t stress too much about technique and be present

As you can see from my pictures above, technical perfection wasn’t my main concern there. I made sure I recorded those memories, even though my white balance was a mess and some pictures were blurry, but the most important thing for me was to be present, enjoy my family (that I don’t get to see very often) and have a good night making memories with them. Don’t get too caught up in getting the “perfect” settings or trying to figure out a new photographic technique but remember to make and record memories, even if the pictures are far from being perfect!

EXTRA TIP: take videos!

Last but not least, remember that pretty much all cameras can take videos so use that awesome feature. It’s especially great for speeches, music, dancing, candles blowing, gifts opening and anything with movement! And if you want to add these videos to your scrapbooking pages of the event, here’s another tutorial on how to use QR codes on your layouts.

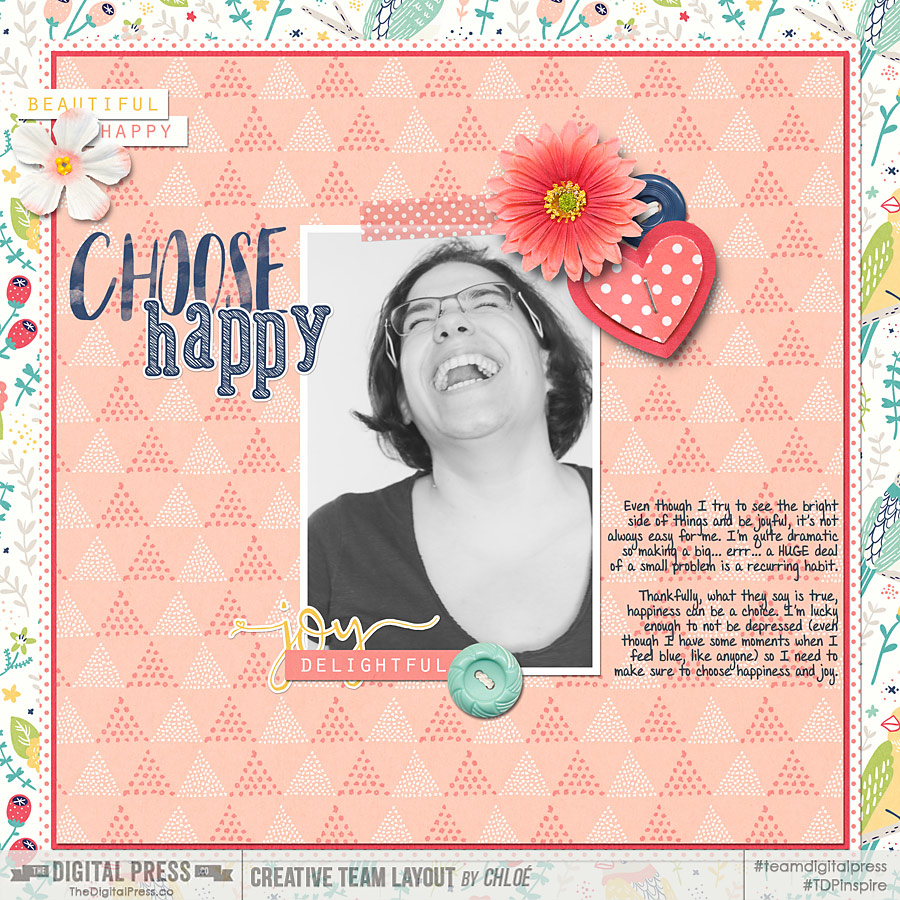
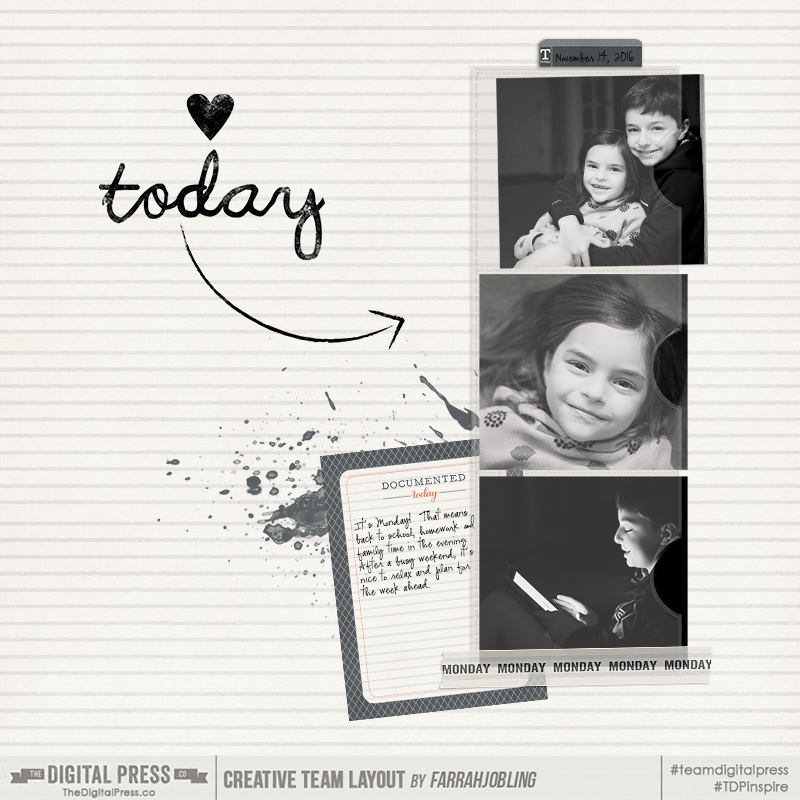
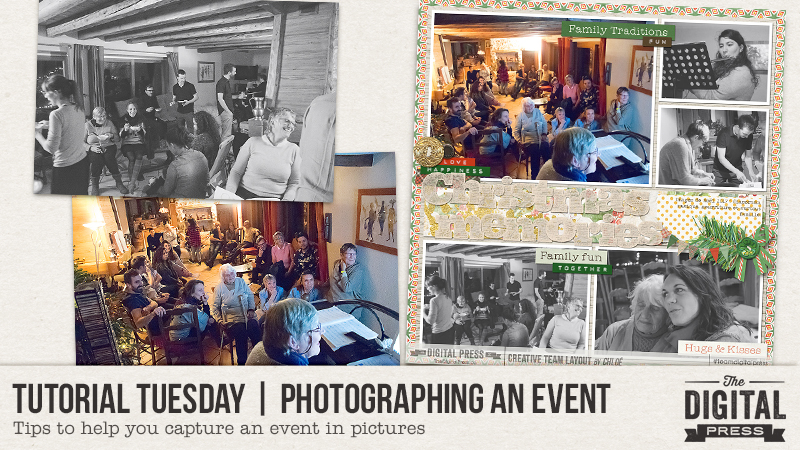
Here is a page I created using last year’s Christmas pictures and the beautiful kit “Traditionally Festive” by KimB Designs.

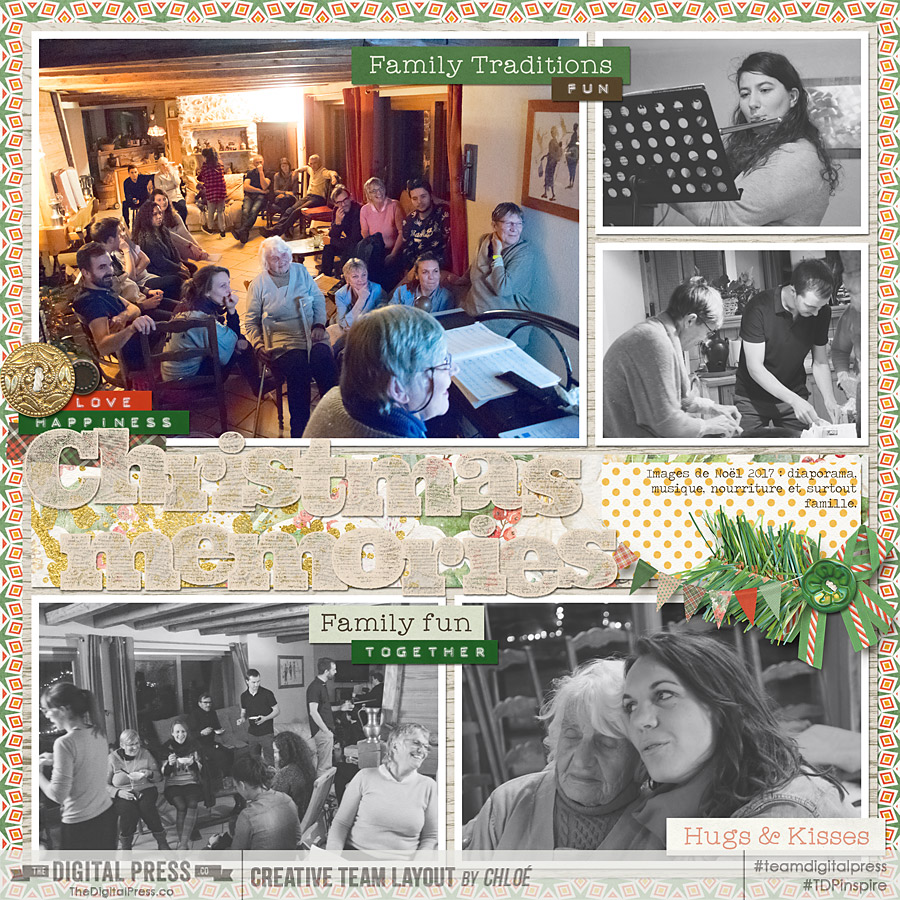
I hope you’ll find these tips helpful to capture all those fun memories on the next event you attend!


ChloéAbout the author  Chloé is in charge of PR and communication for her small town by day, is a digiscrapper “by night,” and a photographer whenever the light is beautiful. She lives with her man and dog Kira in a small town of Alsace (in the northeast of France), where she loves to read, watch good TV shows (TWD being her absolute favorite), and just hang out with her friends — no matter if they are close by, online, or away in her Swiss hometown. She recently became quite obsessed with Bullet Journaling, FlyLady and Zero Waste.

Tutorial Tuesday | 5 Tips for Sports Photography

Do you sometimes find it uninspiring to scrapbook sports photos? As a busy mom of 3 boys I have spent countless hours on the sidelines of almost every sport and have thousands of sports photos to prove it! The majority of those photos will never make in onto a scrapbook page, but the stellar ones that take your breath away, those will!  Today I am sharing my top 5 tips to help you capture stellar scrapbook worthy sports photos!

1. Nail the shot with sharp focus – It helps if you have a particular person of interest playing the game because then you can follow this person on the field of play with your camera. This is especially true with continuous movement sports such as soccer and basketball. If you don’t have a person of interest, you can focus on a position such as pitcher, batter, quarter back, etc.

Consider using a continuous focus mode so that you can focus on the action as your kids move around. In your manual it’s called AF-C (Nikon) or AI Servo (Canon).  You’ll thank yourself for making the switch when you’re photographing kids indoor sports because it’s so much easier to follow the action than moving around a single focus point.

2. Anticipate the Action – Knowing where to stand is one of the most important parts of sports photography.  Each sport is different and the games have their own flow of action.  Photographers want to be where the action is going, not where it has been.  Each sport generally offers a ton of options as far as where a photographer can stand. Get to a game early to find the best spot or move around as the play continues to get different shots from multiple spots.

3. Capture the emotion – photos showing the emotions of playing the game are the most rewarding and memorable. Sports offer a variety of photo opportunities aside from the action on the field. While the expressions of the players involved in the action are usually great, don’t forget about the players not involved in the action or the coaches and fans. The sidelines are great for shots of players interacting with each other, coaches instructing players, and sideline portraits. Don’t be afraid to turn away from the action during the moments to catch the emotion in the bench area.

4. Tell the story with composition – A sporting event is rich with storytelling ideas and opportunities for great composition. Use the lines of the field or the movement of the player to tell the unique story of the game in action. Use items that would sometimes be considered an eyesore to creatively frame your photos. A simple baseball fence can become a unique frame for your subject if you shoot close enough to it:

5. Take multiple shots – Use a continuous (burst) shooting mode to capture several frames in succession. Depending on how fast the games move, you’ll be able to capture a great series of images of your child in action. Use a zoom lens to get in close to your player, so it feels like you are right there with them on the field :

Don’t expect every photograph to be a game-winning shot. The best way to get better with any photography is with perseverance and practice, and before you know it you’ll start to see more consistent results!


JenniferHigniteJennifer Hignite is a mom of three boys and new homeowner with her fiance in the mitten state of Michigan. When she is not scrapbooking, she enjoys photography, watching her boys play sports, decorating, and shopping at Target.

Tutorial Tuesday | Posing tips

I’m a fervent advocate of scrapbooking yourself and being in the picture. Yeah, I know… I can hear you from afar! “But, I hate to be photographed!” “But, I’m not photogenic!” “But, but, but…”

Enough with those big buts! Today I am here to share a few different tips that will surely lead to more flattering pictures of yourself. My hope is that if you employ these tips, you’ll feel more confident to join your family in the picture (and/or to take more self-portraits)!

Tip 1 | Make the Turtle

The first posing tip is to “make the turtle”. It’s a posing trick I discovered through Peter Hurley, one of the greatest head shot photographers in the world. When you take a close-up of your face, remember to move your face slightly forward and down. You will feel and look super weird from the side, but this “turtle-like” move will define your jaw line and make you look 5 pounds lighter. Seriously, it’s magic. In the following photos (before using this tip), I’m standing in a natural position and I look OK, I guess….

But here in the next two photos, I followed the turtle tip. Look at the difference it made! Defining the jaw line has a huge effect (left photo). Of course, it’s somewhat weird from the side (right photo), but who cares! It’s worth the effect you get from the front angle…

Tip 2 | Create Movement

For photos that are framed more widely, the key is to create movement, shapes, and empty spaces with your body. The golden rule here is “if it bends, bend it!” Remember that whatever goes towards the camera will look bigger/wider, so the general advice is to put body weight on the leg that is farther away from camera.

Look at how the use of different poses completely changes the way my curvy self looks!


Tip 3 | Use a New Shooting Angle

If you want to elongate your body and focus on your face and eyes, try taking the photo from slightly above. Be careful, though, as the angle of the shop might change the body’s perspective and look unnatural if it’s too extreme!

*NOTE* besides concealing a few pimples, the pictures above are not retouched at all. No make up, no photoshop, and still feeling good… that’s the magic of posing!

I hope these few posing tips will help you feel more confident to get in front of the camera more often. You, too, deserve to be photographed, scrapped, and remembered in your family’s album! But above all, know that you are a beautiful person and soul — so let your light shine, smile, have fun, and be YOU! And scrap a page or two (or ten!) to celebrate YOU!

Here’s a layout I created using one of my recent photos…


ChloéAbout the author  Chloé is in charge of PR and communication for her small town by day, is a digiscrapper “by night,” and a photographer whenever the light is beautiful. She lives with her man and fur-babies in a small town of Alsace (in the northeast of France), where she loves to read, watch good TV shows (TWD being her absolute favorite), and just hang out with her friends — no matter if they are close by, online, or away in her Swiss hometown. She recently became quite obsessed with Bullet Journaling, FLyLady and Zero Waste.

Tutorial Tuesday | Getting Kids to Smile at the Camera

Ever wish you had a few tricks up your sleeve for getting kids to smile at the camera? I’m here today to help!

It’s often hard to get natural smiles from kids… and let’s face it, simply saying “cheese” often leads to the some of the cheesiest of smiles. So what to do?

I’m the first to admit that bribery goes a long way, but the last thing we really need is blurry photos due to a sugar high and smiles covered in chocolate. Right? So… instead, here are a few tips that will help you get some natural smiles.

  1. Chit Chat — I have found that some kids are shy or nervous about making sure they smile, just like the practiced at home, which can look fake or forced. If I just randomly bring my camera down and start chatting about school or what they ate for breakfast or who their favorite super hero is, I can get them talking and they’ll smile without thinking about it and then the don’t even notice when I bring my camera back up and start snapping away.
  2. Catch them off guard — On occasion, I will say something out of the blue that kids aren’t expecting or make it seem that I’m trying to get a cute smile out of one of the children and end up getting great smiles out of everyone because it lightens the mood and takes the focus off of having to force a smile. This helps to get great natural smiles.
  3. Distraction — Distraction works really well when kids aren’t cooperating at all. My favorite technique is to ask them to make a silly face or a tiger face and I make faces too. The kids get distracted and start laughing or smiling on their own.
  4. A little humor — My son always makes a funny face when I go to take his photo. Always. He always looks constipated, but as soon as I say the word, he can’t help laughing hysterically. Of course, I’d never say that to a client, but other jokes work great. For example, if a kid is picking his nose, I ask if he has some tasty cheese-boogars that he can share.
  5. It is what it is — Many of my clients want picture perfect smiles, but I’m more of a lifestyle type person myself. I absolutely love photos where my kids aren’t smiling, whether is a posed shot or just a quick capture. I’m drawn more to eyes than mouths, so I’d rather avoid squinting eyes from big smiles. Sometimes kids just are who they are and I strive to capture them in the moment. If I don’t get smiles, it’s no biggie… I get a lot of great shots anyways.

Want some examples of these tricks in action? Here is a layout I created using a few photos of the silly faces my daughter makes…

Next time you are photographing kids and find that you’re struggling to get a natural smile from your subject… give a few of these tips a try, and see if they don’t help you capture a fantastic shot or two!


FarrahAbout the Author  Farrah Jobling is a member of the creative team here at The Digital Press. She lives in Denver with her amazing family — Mike, Nicholas (9), Claire (7), Hope (2 yr old puppy) & Kringle (9 mo old bunny). She works from home as a photographer and enjoys scrapping her personal photos.

Save

Tutorial Tuesday | Photography Tips for Shooting in the Dark

As the Northern Hemisphere eases its way into winter and the days get shorter and shorter, the amount of light available for our photography decreases significantly. Don’t put your camera away for the season and let your scrapbook go empty, however. Grab it back out of the closet and take great photos with these shooting tips!

Low Light Photography Tips

EXPOSURE TRIANGLE — We already know that light is the most important consideration for taking great photos. You’ve heard about the “exposure triangle” with regards to photography — which refers to ISO, aperture, and shutter speed. To make the most out of our settings in low-light conditions, we’ll need to increase our ISO, open our aperture as wide as we can, and lower our shutter speed to as slow as we can get it without incurring camera shake. A tripod can be useful if you need a very slow your shutter speed. Make sure you double-check your white balance, too (one of the disadvantages to using ambient light is that indoor light has more of an orange-ish tone to it).

FLASH — Use a flash. I’m not a huge fan of the onboard flash, and my camera body doesn’t even have one… but sometimes, we have to do what we have to do so we don’t miss capturing something. If you have an onboard flash, explore some options for diffusion or direction. If, however, you have an external flash, try pointing it up and behind you to avoid direct flash and red-eye.

ALTERNATIVE LIGHT SOURCES — Get creative with other light sources! Ipads, flashlights, or even the moon can give you enough light for a great shot. Here are a couple of examples…

Turn your photo black-&-white and increase the contrast! It can be tricky to get the coloring just right without a great light source (and/or your photos might have more graininess with a high ISO)… but you’d never know that in black-&-white! Black-&-white images also look GREAT on scrapbook layouts…


I hope these tips will help you create photos — and scrapbook layouts — that you love (easier and faster)!


FarrahAbout the Author  Farrah Jobling is a member of the creative team here at The Digital Press. She lives in Denver with her amazing family — Mike, Nicholas (9), Claire (7), Hope (2 yr old puppy) & Kringle (9 mo old bunny). She works from home as a photographer and enjoys scrapping her personal photos.


Save

Tutorial Tuesday | Creating Star Bursts


When I first started out in photography, I was always amazed when I managed to capture camera lens artifacts such as star bursts, sun flares, or bokeh in my photos. They seemed to appear randomly and I had no idea when and why they were occurring. Eventually I took a look back through my photos, studied the camera settings, and then started experimenting. I now have a few tips on how you can capture star bursts such as the one in the photo below (taken at the beach just after sunrise)…


So what causes these star bursts? Simply put, star bursts are caused by the diffraction of light hitting the blades of your lens. The effect is magnified the smaller the opening through which the light passes into your camera. That is why it is easier to get this effect using a wide angle lens with a small aperture opening (i.e. higher F-setting). You can use any light source — including the sun, of course — or you can experiment with other light sources such as street lamps, night lighting, car headlights, Christmas tree lights, etc.

For those who are more technically-inclined, it is interesting however to note that the number of rays on the star burst is usually directly related to the number of blades of your lens. For lenses with an even number of blades, the number of star rays will be that number (that is — an 8 blade lens can create a star burst with 8 rays, etc.). For lenses with an odd number of blades, the number of star rays will be double the blade number (so a lens with 5 blades will create a star with 10 rays).


The following tips will help you to create star bursts…

1. Camera and lens

You can achieve this result with a simple point and shoot camera… but it is easier with a DSLR (I am not sure what is possible with all different models of phone cameras). Also, try experimenting with different lenses. The effect is usually easier to obtain with smaller focal lengths… so the wider the view the better.

2. Time of Day

It is possible to achieve this at any time of day… but I have found it is easiest early in the morning or late in the afternoon when the sun is not too overwhelming. If you shoot during the day, however, you should always make sure that you do not look directly into the sun — even through your camera’s view finder.  🙂

3. Camera Settings

You will ideally need an aperture setting smaller than f9 (i.e. f9 and above). Also you will want a wider focal length… so use your 50 mm,wide angles lens or telephoto lens at the widest angle.

4. Angle to the Light Source

This is where you will need to experiment and move about. Look through your view finder or screen while moving around and changing angles. You will be surprised at the difference a few degrees up or down or a few feet to the left or right will make. Walk around until you get the effect you desire. As a final tip, you may find it easier if you partially block the sun as I have done in some of these photos.

Here are another couple of recent photos of mine (with the camera settings I used listed on them)…


I have been experimenting trying to get star bursts in my portrait photography… but still need more practice, as you can see. 😉


To finish off, here is a page for my Word of the Year book (my word is “breathe”), which I created with one of my starburst photos…


AvatarAbout the author  Carolyn lives with her partner, eldest daughter and 3 rescue dogs on 5 acres of paradise in the hinterland of the Sunshine Coast, Australia. Her camera, along with an assortment of lenses, is never out of sight. When not taking photos, she loves cooking and gardening and of course scrapbooking.