Category: Inspiration

Simplify Your Scrapping Goals for 2016

Simplify Your Scrapping Goals

I don’t know about you, but for me it seems that with every year, things are picking up speed and happening so fast, time is just zooming by. 2016 is just around the corner. Seriously! Like in just over a week this year will be over and we’ll be figuring out how January has arrived already. I still cannot believe it. With the end of one year and the beginning of another, it is the perfect time to set aside a few minutes to think about our delightful hobby and what place it will take in our lives in the months/year ahead. And although I’m a horrible one for making/keeping goals, I think it is important to at least think about them.


Simplify Your Scrap Goals

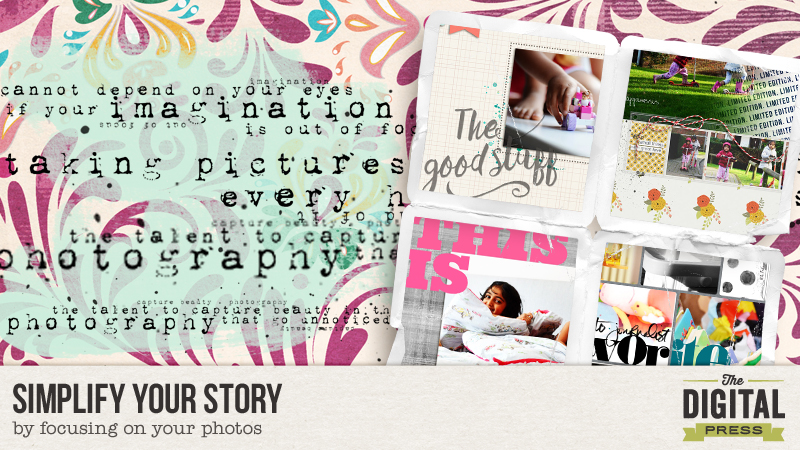
What goals do you have as far as scrapping in 2016? Will you document weekly/monthly (like Project Life)? Create mini albums by theme? Scrapping for a main album? Just flying by the seat of your pants? No matter what your project, I’m going to share a few tips on simplifying your scrapping goals. Hopefully you’ll find one useful.

  1. Be sure to upload and back up your photos. If you set aside a specific day (eg. the last day of the month), you can be sure you aren’t going to miss your photos and/or scrap opportunities.
  2. Keep a to-scrap list. Whether you use a good ol’ fashion notebook, a planner page, or an excel spreadsheet, make a list of things you really want to focus on and/or scrap this year. Take a few minutes to scroll back through all of your photos and stories that need to be told. Jot down a few key details (which photo/story, ideas for a title, a kit you might have in mind, etc.). Sometimes I buy a kit because it is adorable, but that means that I’ll push another project aside because it doesn’t match the newest acquisition. With a to-scrap list, at least I will keep everything on ‘paper’ if not in mind. The to-scrap list is also a wonderful thing if you are on a creative team (or two, or five… lol)

Simplify Your Scrap Goals

  1. If you are on a creative team, whip yourself up a quick sheet to track what you are working on, what needs to be done, where you need to post, and what social media you’ll be using. It really helps to keep things straight and to ensure you are doing the best for your designer/store.
  2. Speaking of stores, look at challenges as a great way to get your scrapping done. Fit the challenges to pages you want to create, even if you have to think about the challenge in a creative way. Most challenges have a degree of flexibility built in to them. And challenges come with benefits like store discounts, so if you scrap a page you have on your to-be-scrapped list and you finish a challenge, it is a win-win.
  3. If you do a bigger project (a themed album, Project Life, etc.), choose a main font (or two), stick with one format, a particular title card, or pick a color scheme to keep consistency in your project and save you time/energy while you are at it. Keep it simple.
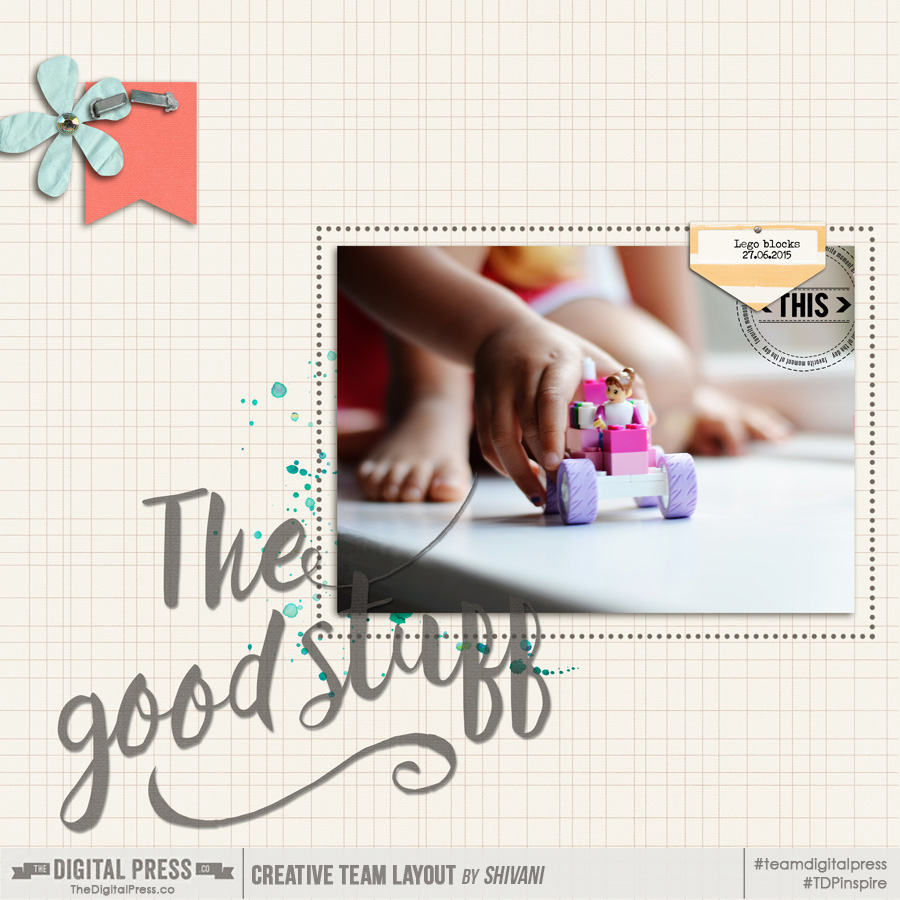
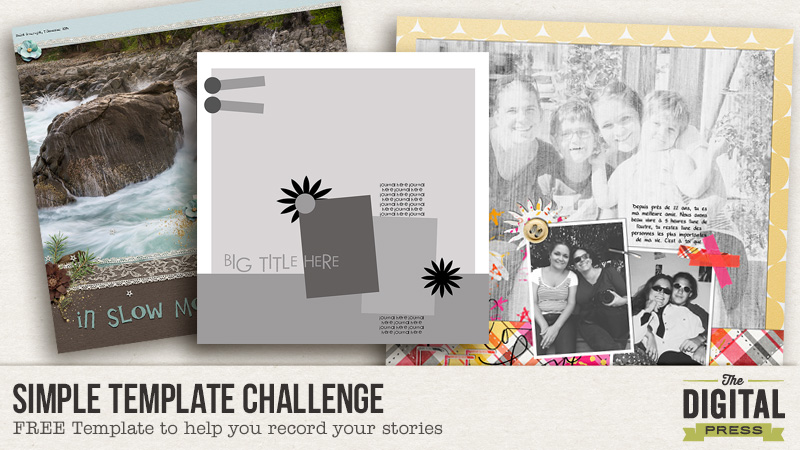
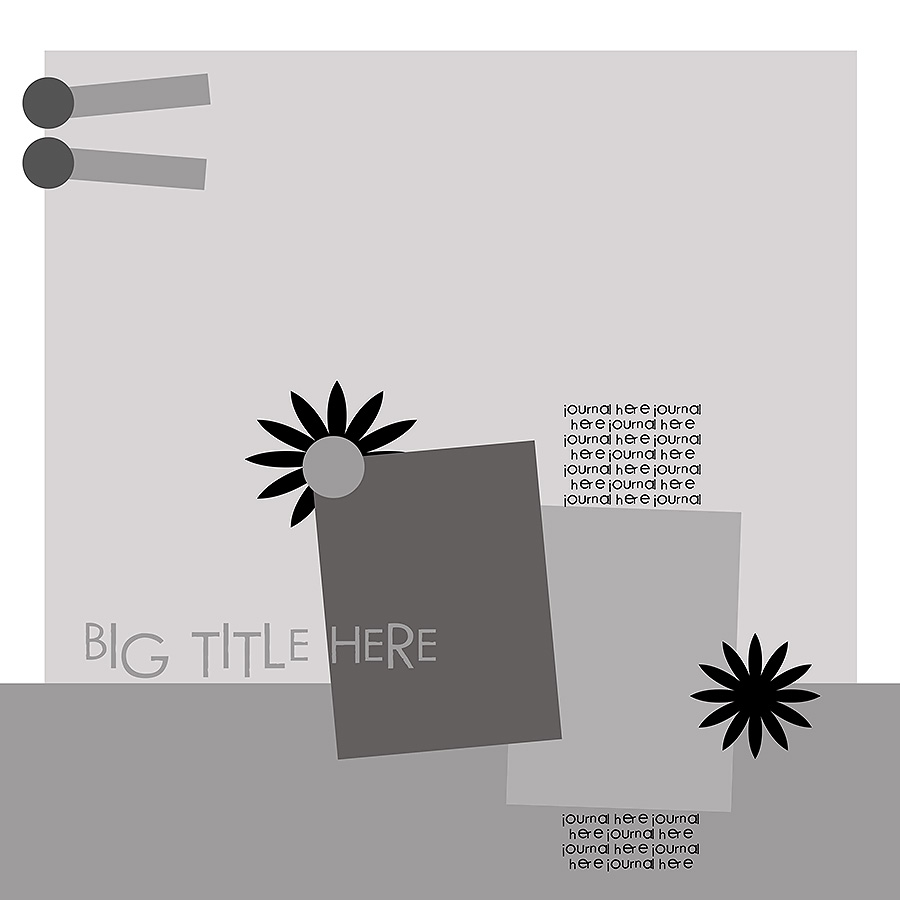
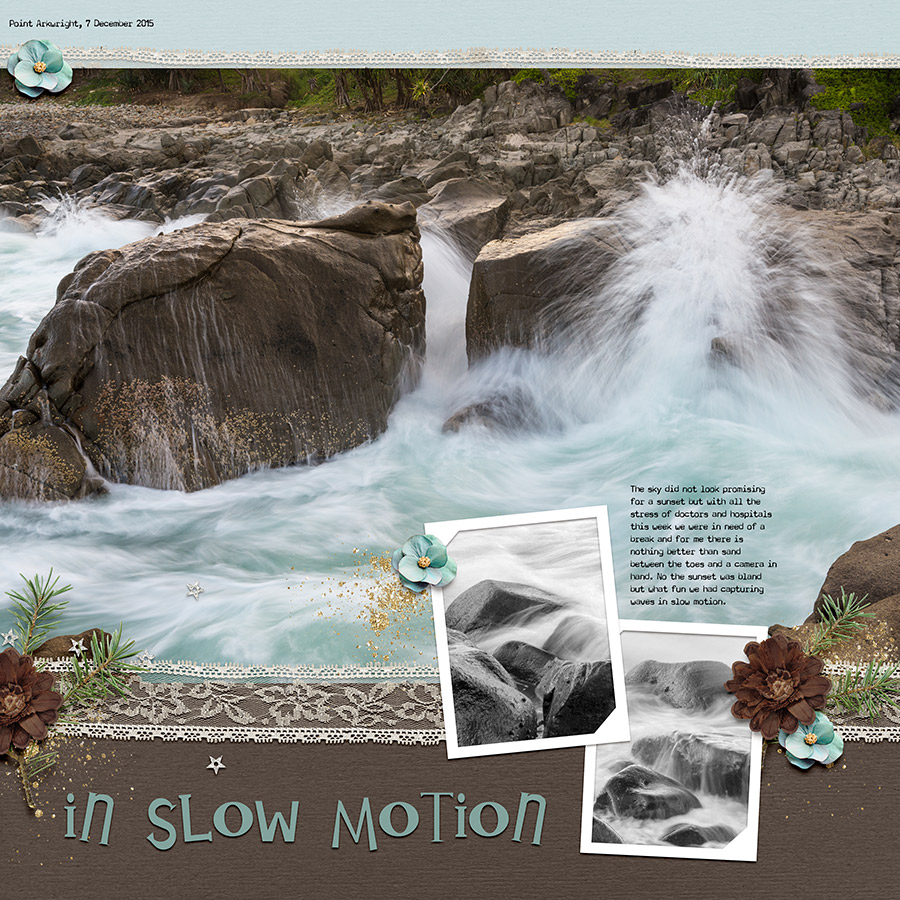
  4. Templates, templates, templates. Some people don’t like the idea of using templates because they feel that somehow it is cheating or that their creativity doesn’t show through. I totally disagree. You can tweak a template all you want, but it gives you a quick base to start with and when you want to get pages done and finish some of your scrap goals, a template can be a good friend. And if you are working on a bigger project and use a set of templates from one designer, you can flip, rotate, mirror or whatever, but it allows you to add to the consistency of the finished project while simplifying.

I hope that you found something useful here, and that you are excited for the year ahead and all of the fun scrapping that is coming up.

Come on over to the forum and check out the challenge associated with this blog post.

Merry Christmas and have a Happy New Year!!!


KimberleeAbout the Author: Kimberlee is a lover not a fighter; a stay-at-home gran, a poet, and a lifelong learner. She grooves on saturated colors, Tuesday dance parties, optimism, glitter and sunshine. She colors outside the lines.  She is a dreamer. She is a collector of moments.  She is all about the story.  Kimberlee completed her MFA in Creative Writing and recently finished her M.Ed. in Instructional Design.

Tutorial Tuesday | Five Inexpensive Hybrid Gifts

AHG_giftyhybrid1

It never fails — someone unexpectedly gives you a gift. You heart rate jumps, and your mind races, and you think, “oh no, I need to reciprocate — and FAST!”

Well, today’s Tutorial Tuesday post will show you some really great, fast, and inexpensive gifts that you can make using items you might already have on hand. Albums, notebooks, frames, and jars are all the perfect mediums for hybrid crafting! Today, I will show you how I transformed these items into terrific customized gifts… and quickly, to help you deal with surprise gifting emergencies!

AHG_giftyhybrid1

The first item you can use — JARS! Jars are so easy and fun, you can fill them with anything… candy (my favorite), sewing kits, a candle… you name it, and it will probably fit in a jar! The only thing you have to worry about is a nice little band to go around it, and a focal point. For the example shown below, I used Dunia Design’s 25 Days Kit to create this adorable little candy jar. I made a 2″ band in Photoshop using 2 complementary papers, and printed the band… along with that cute snowman and a sentiment. The top of the jar is covered in a cupcake liner, but could have easily been another paper from the kit. All I had to do at the end was add a button and twine, and that was it! Easy-peasy!

AHG_giftyhybrid2

The second item we’ll use today — FRAMES! Craft stores have all kinds of DIY frames, and the one I used (shown below) cost me just one dollar. I loved the elements in Mari Koegelenberg’s 12 Days | Full Kit, as well as the bright colors. Using white acrylic paint, I whitewashed the frame, and then let it dry. While it was drying, I measured my frame, and set it up in Photoshop exactly how I wanted it to look (what can be easier than that?! …and the benefit is, you can save your project to print & use again & again). After I set it up, I separated all of the elements for printing. Setting it up this way allowed me to print only what was needed, which cuts down on ink! I popped a couple of the trees up with dimensional adhesive, then outlined some of the elements with glitter glue.

AHG_giftyhybrid3

Item number three to share with you today — HOME DECOR! This is probably one of my favorite types of projects. For an easy and yet elegant project, search online for quilt patterns! I found this awesome tree and converted it into a template. All the gorgeous papers in Scotty Girl Design’s Season of Joy Collection popped in my mind, and I knew it would be the perfect digital collection for this project! Again, I set up my design in Photoshop first, and then I printed, trimmed, & adhered it all to a cardstock base. I also added a few elements from the collection, and adhered them with dimensionals. Finally, I added a nice frame, and it was all finished!

AHG_giftyhybrid4

My fourth project use another great/inexpensive item — NOTEBOOKS! Shown below is a little notebook I snagged in a dollar bin somewhere (and I won’t pretend that I bought just one!). To use it for this hybrid project, I first measured the notebook and then made (in Photoshop) a little panel to adhere to the front, using Project Twenty-Fifteen | December Kit by Laura Passage and a few physical supplies like buttons. If you have a note-taker in your life, this would be a fine gift!

AHG_giftyhybrid5

Finally, the last item we’ll look at today — ALBUMS! This cute 4″ x 6″ album was also a dollar store find. I loved all the journal cards in Twenty Five | The Collection by Mari Koegelenberg, so I decided to use them to make this ready-made album. I can’t think of anyone who wouldn’t love this for Christmas (or any other day of the year!); all they have to do is add their own photos. 😉

AHG_giftyhybrid6

Here’s a look at the inside; journal cards and patterned papers combine to make a fun little album. Just set up a Photoshop template for the size of your pages, and mix & match to your heart’s content. If the recipient is a little bit crafty, you could even print out & trim some elements for them to add for themselves!

AHG_giftyhybrid7


All in all, these five projects cost me less than a total of $20 (not including the price of the digital products used), and now they are ready and waiting in case I forget to shop for someone and/or get an unexpected gift!

Want to give this a try? We would LOVE to see your hybrid holiday decor – please share it with us over in the hybrid gallery and/or our The TDP Facebook page.


Arielle H GordonAbout the author  Arielle H Gordon is a wife and mom of two crazy kiddos, ages 5-1/2 & 7. She moved around (a lot!) before returning to settle down in her hometown of Enterprise, Alabama, to marry her sweetheart and start her family. She is an avid crafter — digital, hybrid and otherwise! She LOVES Jesus, family time, camping, gardening, reading cozy mysteries, hot tea, popcorn, and anything on the BBC! This time of year, you’ll find her glued to the Hallmark channel watching every single Christmas movie — even if she’s seen them 5 times each!

Hybrid: Reindeer Food Keepsake Ornament

Reindeer Food Keepsake Ornament


I can’t believe Christmas is just around the corner. It’s all happening way too fast this year; even my boys mentioned that it doesn’t quite feel like Christmastime yet. I mean, I just put up my tree and haven’t even gone shopping yet… and before you know it, we will be cheering “HAPPY NEW YEAR!” I’m going to do my best in the next two weeks to slow down and enjoy the holidays. I’ll let you know how that works. 😉

Meanwhile, today I am here to show you how to make an adorable “Reindeer Food” keepsake ornament!

I have seen the idea behind today’s tutorial before (the concept of making “Reindeer Food,” that is)… and I thought it would be cute to put my own little twist on it. Instead of simply putting the reindeer food in baggies to put out on Christmas Eve, I decided to also make an ornament so that when the kiddos are done putting out their reindeer food the can have a cute ornament to keep.

SUPPLY LIST

  • 4 in plastic fillable ornament (I purchased mine at the Dollar tree)
  • projector sheets (acetate sheets; found at any office supply store)
  • vinyl (I got mine from Hobby Lobby)
  • white cardstock
  • ribbon
  • printer and cutting machine (I use a Silhouette Cameo)
  • the special reindoor food (see below for recipe)
  • digital scrapbooking kit of your choice (I used 25 Days by Dunia Designs; I am absolutely in love with this kit!)

kit

Here is my secret Reindeer Food recipe: oats and glitter (I use both red and green). That’s it! …top secret, right!? I have also seen cheerios and little Christmas candy beads use before, too. I’m sure you can just add whatever you think Santa’s reindeer will eat. If they were my reindeer, they would be filling up on sweets… lots of sweets… 😉

food1


Next, we’ll create the ornament. First on that task list is creating the clear acetate insert for the ornament.

If you don’t have cutting machine available to cut the vinyl shapes that make up the reindeer, you can also print the reindeer directly onto the acetate sheets (just make sure that you get the right sheets for your printer). I like the look of the vinyl on the acetate, so the next few steps will detail that method.

First, you need to draw out the ornament template… and then use that shape to cut out the insert from the acetate so that it will fit inside the ornament. I cut my inserts at about 3.75 inches.

templates


I chose a reindeer image from the digital kit, and then before I “pulled it apart” (see below for explanation), I first laid it on top of my ornament template to test it and make sure it would fit.

sizehead


Next, I traced the pieces of the reindeer and separated them in my software (I use Silhouette Studio Designer Edition v3). I laid it out as shown below (separated by color) so that I could put my different pieces of vinyl on my mat in the same places cut one time instead of five.

vinylcut

Here’s a look at how I arranged my vinyl pieces on the mat; notice how the arrangement corresponds with the layout of the reindeer pieces in the image above. This is a good way to use up those vinyl scraps (I don’t do a lot of vinyl projects with my Cameo, so most of my pieces are scraps). My favorite thing to do with my machine is print and cut.

vinylpieces


After I had my vinyl reindeer pieces, it was time to fill the clear glass ornament. First, I removed the top of the ornament and filled it with the reindeer food…
fill


…and then it was time to assemble the rest. I inserted the clear acetate sheet with the reindeer vinyl adhered to it as shown here:

roll


To get the projector sheet in the ornament, simply roll it up and stick it in the ornament.  It will unroll when it is all the way in, and will look like this:

ornie

*NOTE* If you don’t have all of the necessary supplies to make the ornament, you can also simply design a header and fill little treat bags with the food — no cutting machine required! With that in mind, a tag comes in handy (you can also use a tag like this on the ornament itself). Here’s how to make the tag…

tagreindeerfood


I created the tag in the Silhouette software… but you can also do this with any photo editing program and a pair of scissors.

tags

I created two tag images (one reindeer image, and one with a written sentiment), and then tied them together. Aren’t these so cute?

tag

Here’s a look at the final version of this ornament with the tags. I love this little reindeer! I made a couple of these ornaments for some friends’ little guys… and they loved them!


tagblub


I also put the same sentiment onto a wider piece of cardstock in order to make a “treat bag topper”…tagreindeerfood_21


Here’s a look at the treat bag (just the reindeer food, without the ornament). This is a fun little gift, as well!


lightned


And there you have it!

I hope this tutorial has inspired you! If you’d like to give it a try, please join me in the forum and have fun creating something awesome for Christmas. You can earn points toward this month’s hybrid challenges! I can’t wait to see your creations.

Have a very Merry Christmas and a Happy New Year. Take time to slow down and spend time with the ones you love the most!


About the Author  TanyaTanya is a part of the hybrid team here at The Digital Press. She has been hybrid crafting for at least 10 years now, and loves creating and sharing those creations with others. Her all-time favorite tool is her Silhouette Cameo. She has been married for 26 years and has two sons: Chris, 23 and Chance, 19. She also enjoys crocheting, photography and woodworking.

Simplify Your Story: Focus on Your Photos

Simplify your story blog header


Hello, everyone, and Happy Friday! Today, we are a week away from Christmas… and there is so much going on! The festive spirit is in the air, and here at The Digital Press we haven’t slowed down in quite a while! First came Digital Scrapbooking Day (DSD) in early-November… and then came our site’s 1st birthday celebration at the end of November… which immediately morphed into our 12 Days of December blog series during the first half of this month… and now we are already thinking about what to do next year!

Our theme this month at TDP has been that of “Simplification” — which immediately made me think about ways to simplify our memory-keeping. The answer came quite easily — going back to basics! For me, that meant turning to the focal point of my memory keeping — the photos (and the story I tell via those photos). We all know that old saying about a picture being worth a thousand words.

To get going with this idea of simplifying things by focusing on my photos, I am going to share a few layouts I made to illustrate my point.

1. Go Big!  When I have good photos (oh, those rare occasions when I’m not critical of that shot I took!)… I do like to show them off. It is a simple way to simplify the page design by focusing on the gorgeous photos. Go big, and let them have the glory they deserve.


This-is-togetherness-copy-for-web

This-day-was-perfect-because-copy-for-web


2. Go big, but don’t lose the details.  Here, I have used a big photo but also captured a bit of detail with the addition of smaller photos. It’s the best of both worlds!


Be-happy-anyway-copy-for-web


3. Sequence  This is my favourite method when I like to show a bit of movement and give an inkling of what’s been going on. A series of different shots can read like a story; you can see the variations and enjoy them, whilst being fully aware of the theme. Cropping the photos cleverly can also help show movement, as shown in this layout:


Little-things-copy-for-web


4. Unique perspective  This is all about using a different angle or detail, rather than going traditional:


Best-of-times-copy-for-web


5. Inanimate  How about capturing the inanimate things around us? They can tell a story just as well as any portraits. Some of my favourite things to scrap are my kids’ toys. Here’s a look at a layout with shots that my daughter took of her toys:


Photo-journalist-copy-for-web


As you can see, there is a common theme in all of these layouts: each one focuses on the photos. Embellishing is quite toned down, and instead each one is more likely to include a piece of word art or two, or a catchy title. This helps put a context to the layout, allowing the photo itself to captures the memory and tell the story.

So, that’s it…  my tuppence worth of thoughts. Hopefully it gives you some great ideas… because I have just the challenge for you! Come to the forum to check it out here; I can’t wait to see some of your own layouts based on these ideas!

And as always… enjoy scrapping, and may the creative spirit be always with you! 🙂


Profile pic avatar small

About the author  Shivani Sohal is a donner of many alter-egos. A finance professional by day in busy London, she morphs into a normal mum of two in the evenings and weekends. She is constantly found with her fingers in too many pies and juggling the metaphorical balls. That is living on the edge for her; aided by the two ankle biters and a darling hubby who define the warm and mushy for her. She is ferociously dedicated to memory keeping – almost immune to any nay-sayers (or equally disruptive crying children or annoying house fires!!!);keeping her head down and forging ahead at all times.


Simple Template Challenge

TDP simple template challenge


Who doesn’t love a good template? I like how they can take the design guesswork (and time) out of creating a digital scrapbook layout… while also keeping things simple!

During this busy season, I still want to record my memories but I don’t have a lot of time to do so. Luckily some of my very favorite templates are available right here at The Digital Press!

Today I have a FREE template for you to download and play with! See below on how you can use this template to earn monthly challenge points here at The Digital Press. 😉

TDP Simple Template Challenge web
You can download the template –> HERE.

Additionally, if you need a little inspiration… check out these gorgeous pages from our talented creative team here at TDP:

inslowmotion_zpsjiw4w4pk

74-BFF


Now, I invite you to CLICK HERE and come over to the forum to join us in this week’s challenge! You can earn points toward monthly discounts in the shop if you participate (and you’ll get a page done for your album… win-win!).

.

Krista About the Author  Krista Lund is a mom of 3, married to her high school sweetheart and living in the San Francisco Bay Area. Some of her favorite things are brownies, chips ‘n’ dip, taking pictures, and documenting her family’s story.

12 Days of December – Day 12 – Christmas Stockings Traditions

header

I have always been fascinated by Christmas stockings. I’ve seen them in TV shows and in photos by friends who live in North America. Stockings all lined up… hanging on a mantel… just beautiful. I wanted to know more about the tradition and how it all started, so I did some research.

Here is the first legend:

St. Nicholas of Myra, believed to be the inspiration for Santa Claus, was traveling through a small village when he learned of the plight of a merchant and his daughters. In one popular version of the story, the once wealthy merchant had fallen on difficult times and was worried for the future of his three beautiful daughters. He was unable to afford dowries for his daughters (money or property brought by a wife to her husband at marriage), and with no prospects for wedlock, the three young women may be subject to lives of shame.

Upon hearing of this predicament, St. Nicholas set forth to secretly help the proud merchant, knowing he would not accept an outright gift of charity. Riding his majestic white horse by the merchant’s house one night, St. Nicholas tossed three bags of gold coins down the home’s chimney. The bags were fortuitously captured in the girls’ stockings, which had been hung by the fireplace mantle to dry. When the gold coins were discovered the next morning, the merchant and his daughters rejoiced. The young women went on to become married, and all lived happily ever after. Later, after the story spread, children began hanging their stockings by the fireplace in hopes that they, too, would receive gifts from St. Nicholas.

What a wonderful story. It really warms my heart!

The second legend is a little bit closer to home for me, though:

Another explanation for the tradition of Christmas stockings may be found in Dutch lore. In Holland, ‘Sinterklaas’ arrives on a ship from Spain with his assistant ‘Piet’ (Pete). Upon disembarking, they travel the country — with Sinterklaas upon his noble white steed, and Piet riding a mule. Dutch children would leave treats of carrots and hay in their clogs (wooden shoes) for the horse and mule, and Sinterklaas would, in turn, fill the shoes with small gifts for the children after the horse and mule had enjoyed their treats.

When Dutch settlers immigrated to America, they brought many of their traditions with them. Over time, Sinterklaas came to be known as Santa Claus, and it is quite possible that wooden clogs were eventually replaced by stockings.

We celebrate Sinterklaas every year, and still place a shoe in front of the fireplace (or for those who don’t have a fireplace, shoes in front of the back door do nicely, as well). In the shoes we place carrots & treats for Sinterklaas and his horse, and the next morning children find small gifts in their shoes, in return.

I’ve used stockings as decoration in our house during Christmas… but I never filled them with gifts. I just didn’t know. The first time my son received gifts in a stocking was when he got his yearly Christmas gifts from my husband’s boss (how awesome is that?!). The stocking was filled with lots of treats; the marshmallows were his favorite, but a small truck was a close runner-up. 🙂

I created a layout using Woodsy Winter (the December 2015 shop collab by the TDP design team), as well as Templated Duo #2 by Mommyish featuring Alina, and The Original Torn Bits No. 06 by creashens. Here’s a look:

merrymerry_900tdp


Now it’s your turn to tell me… what is the best gift you’ve found in your stocking? Was it a small gift with an emotional story… or a “big” gift that from your wish list? For those of you who don’t use stockings… what other traditions do you love? And what was your all-time favorite Christmas present? I would love to hear all about it, so leave me a comment. Additionall, if you made a layout, link me up and I’ll leave you some love.

Happy Holidays!


biancka

About the Author Biancka is a creative team member here at The Digital Press. She is a stay-at-home mom (SAHM), a wife to Edwin, and mom to Jasper. She lives in the east of The Netherlands (about 30 minutes from the German border). She is addicted to scrapping, but also enjoys baking, reading books (mostly thrillers), watching her favorite TV shows, and photography.