Capture Happiness

Capture Happiness

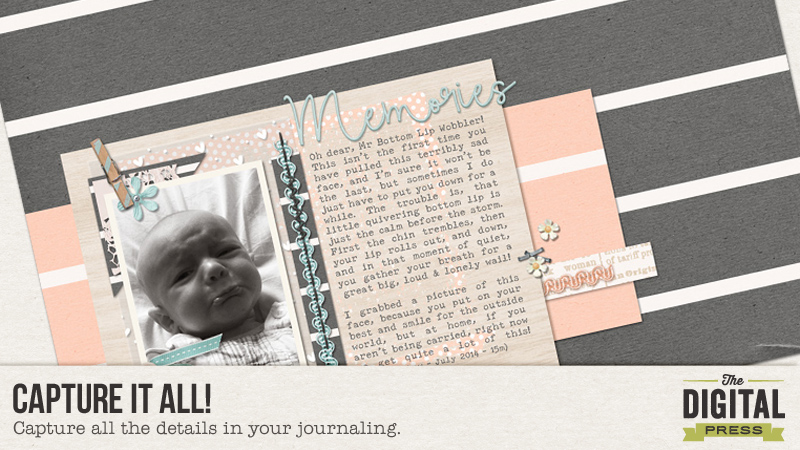
Scrapbooking is all about making memories, right?

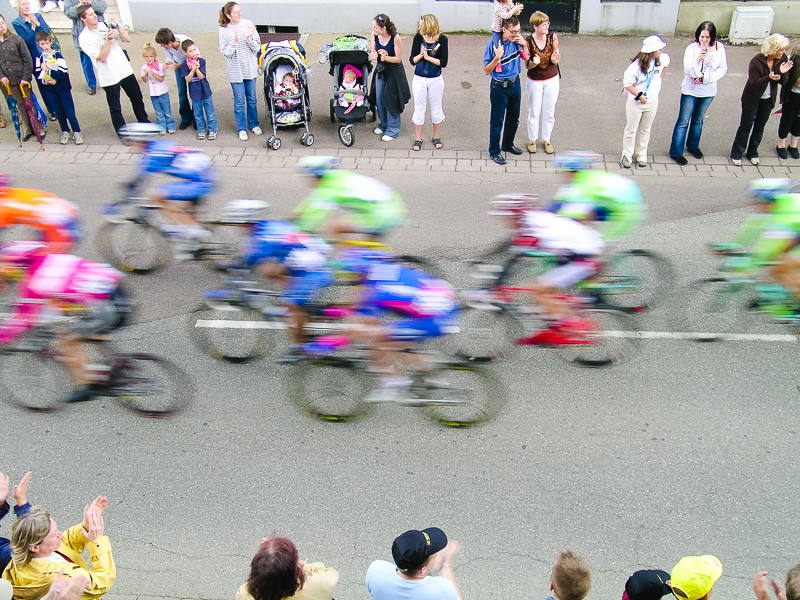
When you browse through the gallery, you will notice that most of the layouts and projects you find reflect happiness. Of course! We are all positive people, emitting positive vibes, and chasing positivity in life. We are able to scrap when we are sad, but we do scrap more and get more inspiration when we keep in mind happy moments.

In revisiting all of my layouts from over ten years of scrapping, I realized that I made at most five layouts of sad times. This does not mean that my life was only happy during that time; I cannot lie, as there was joyous, tearful, funny, as well as sad times. I asked myself, “why I am not interested in scrapping those angry or sad times?” I do not have the answer, and do not want to find out why! 🙂  I just choose to focus on the happy.

My thousands of layouts are not only focusing on big happy events I have experienced. No! They are just drawing happiness from little moments: a smile, a joke, great weather, or warmhearted words heard here and there from my loved ones.  Of course I never miss an opportunity to scrap a happy event. I do this because as I open my albums and scroll through the memories captured, I  get a nice feeling from great memories. This gives me a reason to scrap more. Happiness is within every little thing; we just need to capture it and make great memories.

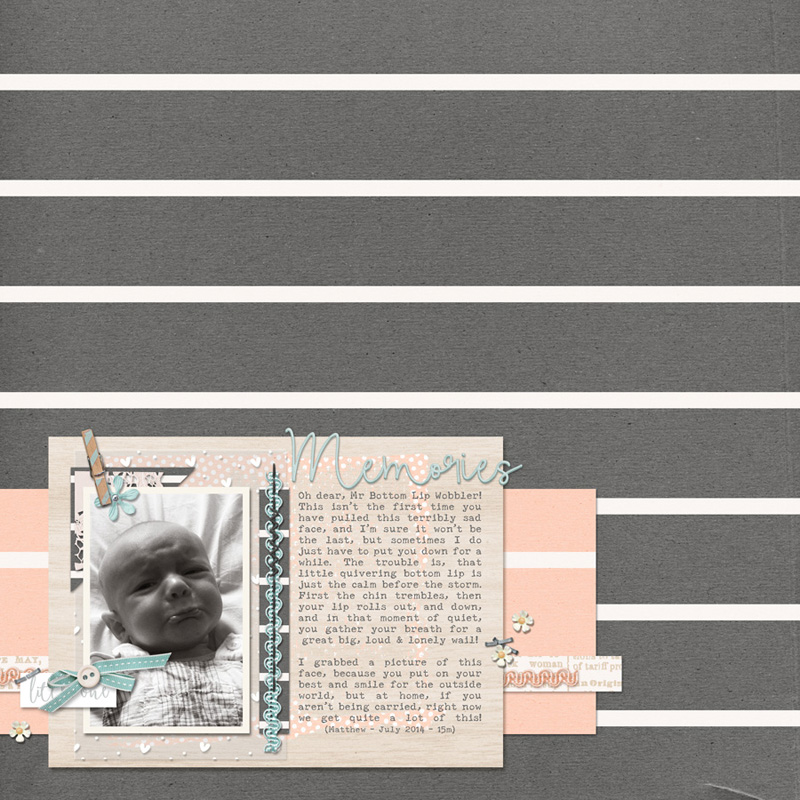
Just this week, I scrapped the page you see below. The photo and memory of that moment captured reminded me how much I love being a Mother.

Capture Happiness

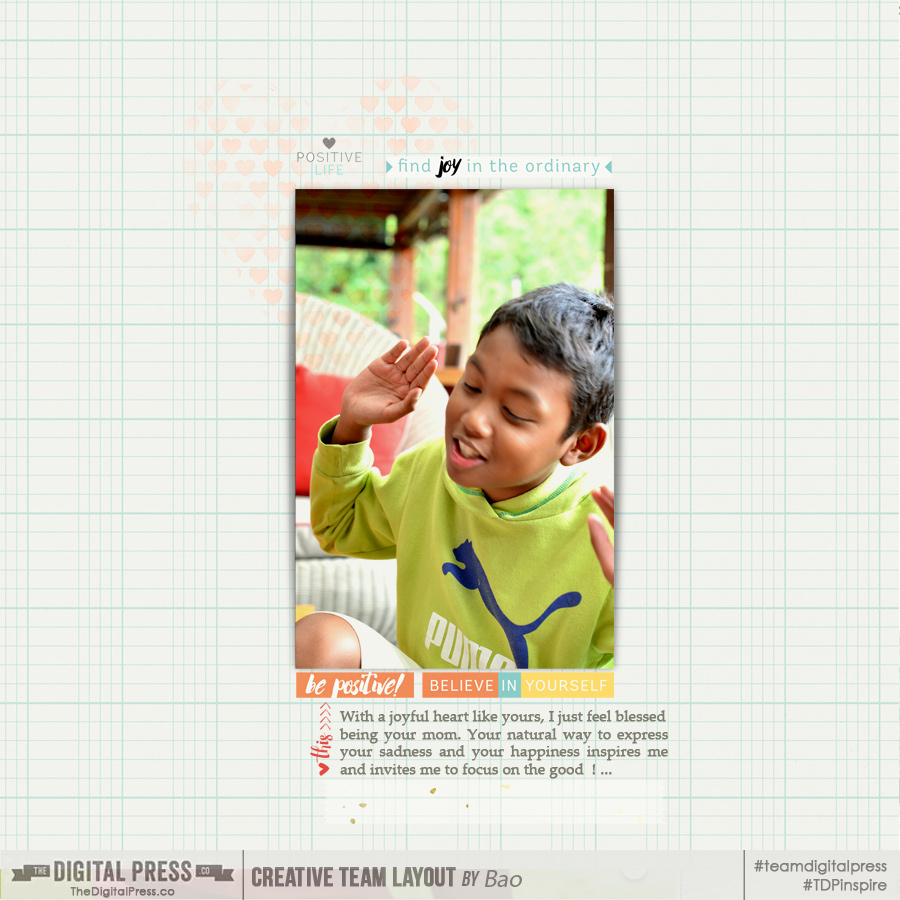
With this idea of capturing happiness in mind… the question to ask now is this — what about you? What is your last captured moment of happiness?

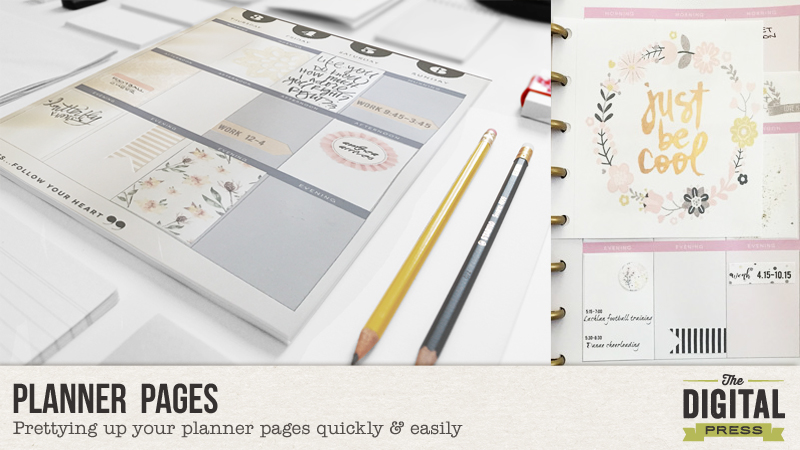
I invite you to come over to the forum and join us in a challenge this weekend — all about capturing happiness in your scrapping!


DSC_3131About the Author  Bao is a creative team member at The Digital Press. She has been a digiscrapper for about ten years now, and her style tends to be clean & simple. Most of the time she scraps her family’s photos. She also loves, however, to scrap other subjects such flowers, nature, environment, and foods. She says hello to all of you from her big island of Madagascar, and feels blessed to live there.

Tutorial Tuesday | Hybrid Pocket Treat Bag

Hybrid Pocket Treat Bag


Hi everyone! Indah here with an easy hybrid tutorial for you today…

Recently, I wanted to give my good friend a couple of chocolate bars I brought for her from abroad, so I used a plain paper bag to create a treat bag that doubles as a card. The good news is that this project is easily adaptable to all sizes of paper bags (and therefore, all sizes of treats!).

Here’s a look at the finished product…

Hybrid Pocket Treat Bag


To make this pocket treat bag, I decorated it with papers and cards from Scotty Girl Design’s Happily Ever After Collection. This is such a pretty collection and it really fit the girly theme/feeling I was going for.

Hybrid Pocket Treat Bag

To make one of your own… start out by folding up the bottom part of the paper bag. This will be the pocket to your card.

Hybrid Pocket Treat Bag

Then, you will cut down the paper bag to the length that you want. I cut mine down to about 5-3/4 inches (just below the notch on my paper bag)…

Hybrid Pocket Treat Bag

Next, you will adhere patterned paper on all sides of the paper bag. I printed mine using the digital kit shown above. You can do the same (with any kit you choose)… or you can even use actual physical supplies from your own paper stash.

Hybrid Pocket Treat Bag

*NOTE* do not glue down the front flap/pocket before you adhere the paper on the inside.

After you finish adhering all the papers, you will glue down the pocket. Use strong double-sided tape and only stick it to the sides of the pocket.

Finally, you will decorate your bag. I decorated the front side of mine with a doily, some flowers, and a little bling. I also printed out some pocket cards and added them to the front pocket — making the treat bag into an instant greeting card that the recipient will love!

That’s it! It’s easy, right? You can certainly go crazy when it comes to decorating. The best part of this project is that you can totally customize it to meet your needs.

Have fun and I hope you enjoy making this as much as I did!


IndahAbout the Author  Indah is on the creative team here at The Digital Press.  She has been a hybrid crafter for over 8 years, and loves making cards and paper crafts. She also loves collecting stamps and stickers.

Hybrid: Planner Pages

Planner Pages

Prettying up your planner pages can be fast and easy!  Who wants a boring planner?  Not me!

Each weekend, I sit at my computer and take about an hour to pretty up my planner for the coming week. I write all my appointments, etc. in pencil in my planner until after I pretty it all up.

The great thing about working with digital scrapbooking supplies is that you can find anything you might need at a moment’s notice and download it to use right away, without having to leave your house or your jammies!

To do this is simple:

  1. I start off by measuring the squares in my planner.
  2. In Photoshop, create clipping masks on an 8.5″ x 11″ document (the size I print on), using the sizes I just gathered.  Create additional clipping masks as needed (I tend to do more than I need so I have options).
  3. Create mini journal cards by adding text, papers, and other elements. Should you want to add something that would not fill a the whole clipping mask, either change the background to the color of your planner’s background, or decrease the opacity after using the size of the mask as a guide.
  4. Once complete, print and cut them out.
    Planner Pages
  5. Now that everything is ready, it’s time to add all of your pretties using your favorite adhesive.
  6. Finally, you can now replace all of the penciled in appointments, etc. with your favorite pen(s).

See?  Simple.

Sometimes I only use journal cards, like I did here with Dunia Designs’ February Documented (Cards):

Planner Pages

Here is an example where I used papers and elements from Hello February by Anita Designs as well as elements from Notebook Elements by France M. Designs:

Planner Pages


Have you thought about how you can use digital supplies to pretty up your own planner pages?  Here’s your chance to join us for a fun challenge in the forum to try it out!


AmandaAbout the Author: Amanda found digital scrapbooking in 2006 as a paper scrapper who was frustrated with the limitations of paper scrapping products. She now loves to combine paper and digital products and techniques for her pages and projects. She is the wife of a Naval Officer and has two teenage children. She lives in Australia, and has also lived in the U.S and Malaysia and loves that she has had the opportunity to travel the world with her family.

Capture It All!

Capture It All!

Most of the pages I scrap are an attempt to capture one little moment in time, one little joke, or one single experience.

I am pretty good at documenting who said what, as well as the where and when of things happening. Mostly, I am happy with that minimal amount of information… as it is enough to jog my memory so that when I eventually look back at the pages I have scrapped, each recorded moment comes flooding back into my memory and I can experience it all over again.

The notes about these little details are a really simple (but important!) way to document all of these important memories. Sometimes it’s all too easy to look back on a photo, with no other context, and forget those little details. That’s why these little bits of journaling can be so important and meaningful.

Most of the little moments I am trying to capture these days are the sights and sounds of my children. My oldest is changing fast… becoming a teenager already (insert teen eye roll here)! My youngest is a toddler, however, and while watching him do all sorts of things, I remember how quickly this stage passes by, as well. Therefore, for some of the pages I make, the basic information of who, where, when, or why… are not enough. I also want to remember the sounds, smells, sights, or feelings of a moment. I want to capture it all!

In the following page, I wanted to remember my little son’s wobbly bottom lip. There would be a good few seconds of this quivering lip, giving me a chance to pick him up again before he started to wail! But a year on from the photo, he no longer does this little trick! I have journaled about the way he looked, and about those quiet few seconds before the wailing began — the sight and the sound of the moment I’m capturing.

Capture It All!


Now it is your turn! Come on over to the forum and join into our weekly scrapbooking challenge!

I can’t wait to see what you choose to scrap about… and how you will describe the way it feels, sounds, smells, tastes… and all that stuff!


blog-picAbout the Author  Corrin is on the creative team here at The Digital Press, and is a fan of the Big Bang Theory and a lover of cozy pajamas. She lives in the currently wet & chilly South of England with her husband and 4 crazy kids, who regularly discover & plunder her secret chocolate stashes! She is still trying to get the house straight after moving 2 years ago. Who knows… maybe this will be the year she reaches the bottom of the laundry pile!

Tutorial Tuesday | Intentional Blur in photography

Tutorial Tuesday | Intentional Blur in Photography

In many cases, blurry photos are a bad thing: photos are supposed to be in focus and sharp to be considered good. I usually follow this “rule” but I’ve been trying to be more creative recently and I’ve decided to create intentional blur in my photos. And I found out that the result could be awesome, fun, and creative (as is often the case when you break an artistic “rule” on purpose!).

Let’s discover the 3 types of blur you can have in photography (all images are retouched with Dunia Designs‘s The Basics Lightroom Presets):

Camera shake: when your shutter speed is too slow to handheld your camera, you get camera shake. It can be “bad” when it’s distracting from the subject of your picture, but it can also be a fun technique when done on purpose. I took this very abstract image, for example, with a 3 seconds exposure and while spinning my camera in front of Christmas lights.

Tutorial Tuesday | Intentional Blur in Photography

Cynthia Haynes is a photographer I discovered recently who is known for her long exposure / intentionally blurry pictures, and she has some pretty inspiring shots!

Bokeh: this type of blur is created by using a very big aperture (very small f/number, like f/1.8 for example) and it’s usually in the backgound of something sharp, but you can also create bokeh “by itself”, on purpose. Last week we had some spectacular sunsets, and I obviously had to snap some pix after work. I started with the classic, in focus, shot.

Tutorial Tuesday | Intentional Blur in Photography

Not bad, but not very original either, right? Then I decided to manually un-focus and create bokeh with the sun reflection on the river. You can’t see the landscape any more, but you get an abstract picture where light and colors are the most important things.

Tutorial Tuesday | Intentional Blur in Photography

Here’s a more classic example of bokeh, that I created by focusing on the puddle right in front of me with a very big aperture, so that the background (and a bit of the foreground too, since the depth of field is very small) is out of focus.

Tutorial Tuesday | Intentional Blur in Photography

Movement blur: this happens when your camera is steady (because your shutter speed is fast enough for you to handheld it or because it’s on a strong support like a tripod, a table, etc.) but that your subject moves faster than your shutter speed. This is the technique you use to photograph fireworks, for example, that’s how you create those gorgeous “flowers”.

Tutorial Tuesday | Intentional Blur in Photography

You can also use this technique to show movement and gives a sense of speed. That’s what I did (without even knowing, I was just starting to take pictures and had absolutely no idea what I was doing! LOL) while photographing the Tour de France in our little town in 2005. I got on the first floor of a building, right above the road, and since the day was cloudy and dark, my camera (in auto mode) selected a shutter speed too slow for those speedy athletes.

Tutorial Tuesday | Intentional Blur in Photography

If I had do take that picture again, knowing what I know now, I’d definitely try to use a technique called panning where you follow your moving subject with the camera. That way, your subject will look sharp and the environment around it will become blurry, kinda the opposite of the image above.  It’s a perfect technique for races of all sorts because of how much it materializes speed.

I hope you’ll enjoy playing with intentional blur and find these tips helpful! Don’t hesitate to comment with your questions or post in the forums!


Chloé

About the author  Chloé is in charge of PR and communication for her small town by day, is a digiscrapper “by night” and a photographer whenever the light is beautiful. She lives with her man and fur-babies in a small town of Alsace (in the northeast of France), where she loves to read, watch good TV shows (TWD being her absolute favorite), and just hang out with her friends — no matter if they are close by, online, or away in her Swiss hometown

Capture Life

Capture Life

Happy March!  This month our word of the month here at TDP is CAPTURE.  Very few words completely describe scrapbooking more than this word.  Quite simply it means everything to us – to Capture Memories, Capture Stories, Capture Moments, etc.  For me, as long as I am capturing what is most important to me and my family in a creative way, I am happy.  What about you?  What does this word mean to you?

Browsing around the web, I found some fun inspiration images to kick-start your thoughts about the word CAPTURE

Capture Life - Inspiration

[ sources 1, 2, 3, 4, 5, 6, 7, 8, 91011 ]

Each month, we like to encourage you to step out of the box with regard to our challenges. Below, you will find the list of upcoming challenges for the month of February — each of which focus on our theme of CAPTURE. For more information about our challenge system, please read this information post in the TDP forum.

Capture Life - March Challenges at The Digital Press

The handy image you see above can be saved to your computer for reference throughout the month, as it features our schedule for March. 🙂 It was made by the ever-talented Alina from TDP’s creative team, using the brand new store collab, Fly Awaywhich was released today and can be purchased for just $4.00 for the first 4 days of the month!

We cannot wait to see how you implement our Word of the Month into your daily lives and memory-keeping!


About the Author  Rachel Alles is on the creative team here at The Digital Press. She is fortunate to share her life with her loving husband, Doug, and her two blessings: Madeline and Maxwell. The three of them are her main source of inspiration for her pocket and traditional style pages. When she’s not scrapping, she enjoys anything Disney-related, learning more about photography (and attempting to turn the dial off “Auto”), and dabbling in home decor projects.