Feature Friday | Calista’s Stuff

Happy Friday! I’m so excited to be here today to introduce you to the newest designer to recently make her permanent home at The Digital Press — Meta Wulandari of Calista’s Stuff! Meta initially joined us as a Guest Designer in April 2017, and we’re so excited to announce that she’s joining our Designer Team and staying at TDP!

This is Meta’s very first feature on the blog, so I’m excited to help you get to know her and her amazing products better… and whereas last year we used our feature series to help you get to know some fun trivia about your favorite designers, this year we’ve been using our designer feature series to give you a little peek into our designers’ creative spaces and more insight into their creative processes.

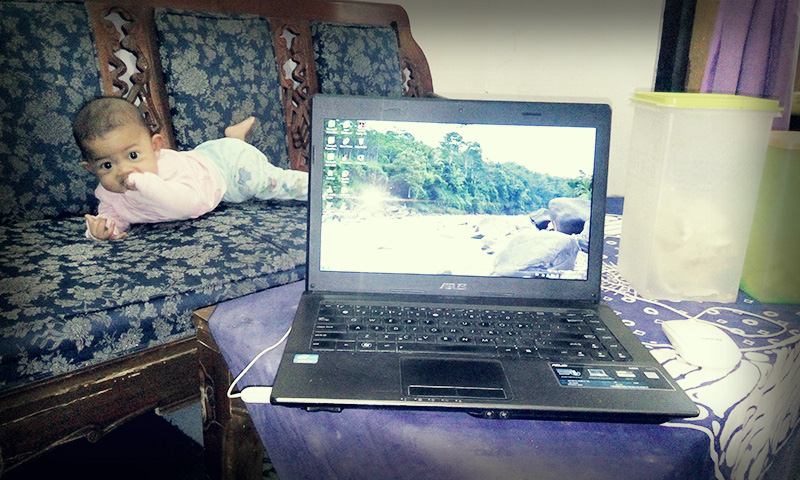
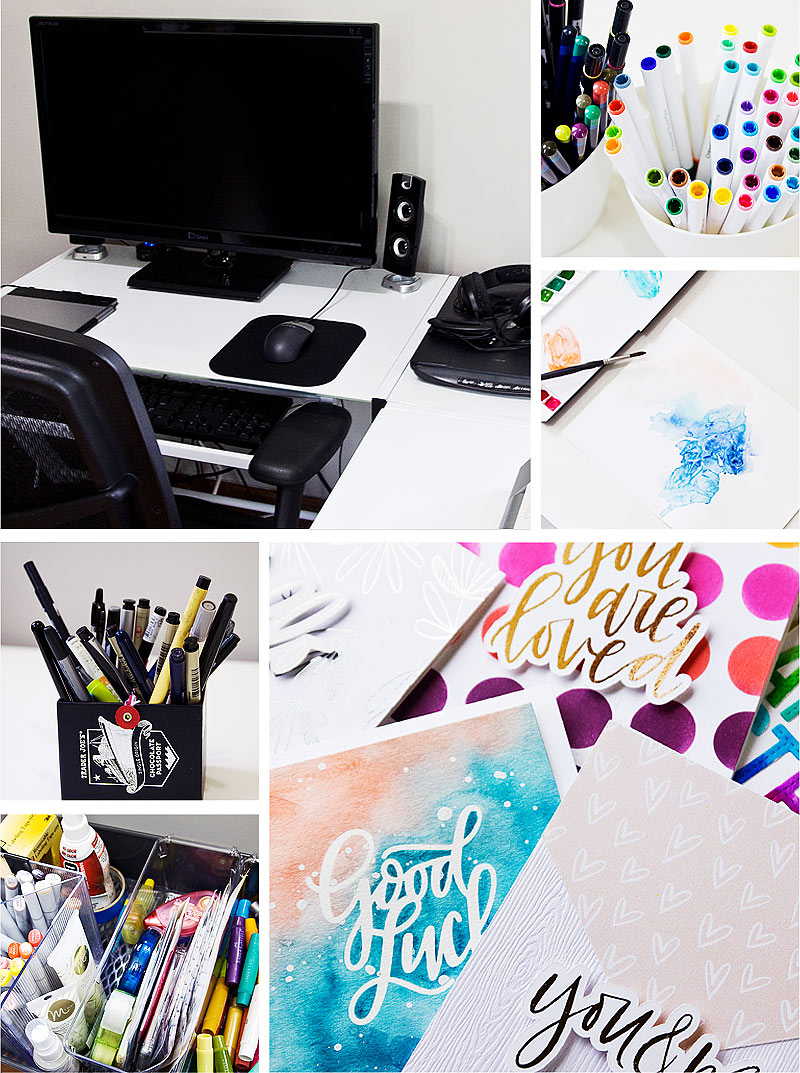
With that in mind, we asked Meta to show us her creative space. She says that she does her designing “wherever possible” in her house, using her laptop, because she needs to be available to take care of her sweet little baby, Calista (isn’t she precious? see photo, below)! She also said that she always has to have a snack around her laptop… “it’s mandatory!” Here is a photo of her laptop and her beautiful baby girl…

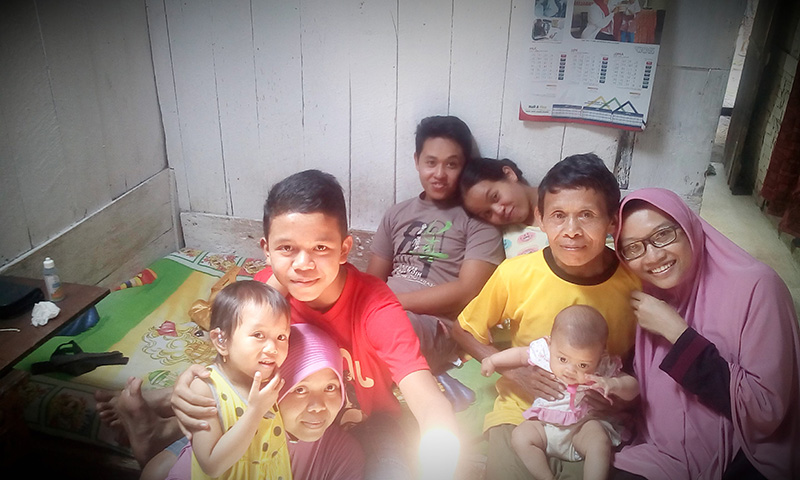
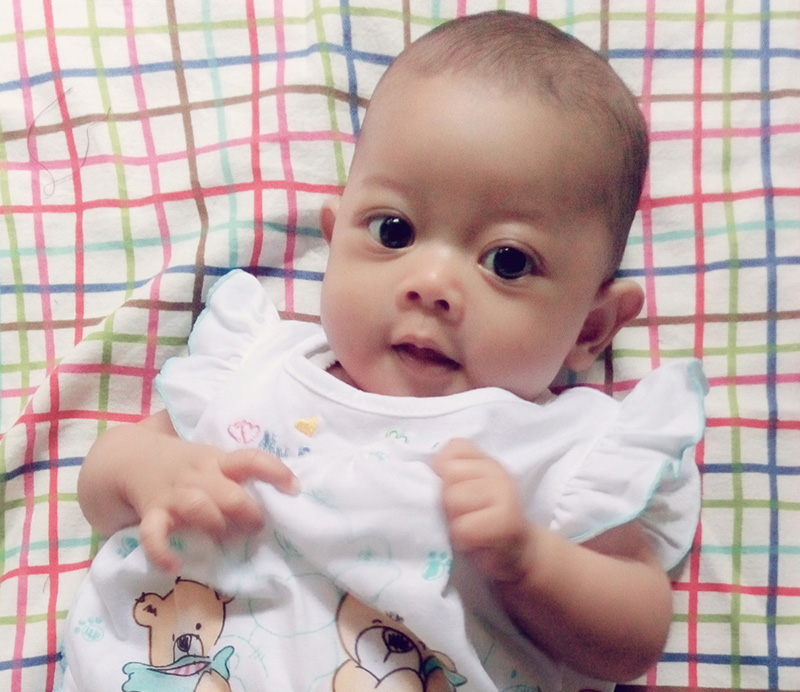
Meta says that her family has a very humble house, but they have each other and really enjoy their life together! Here are photos of her family and of her lovely 6 month old, Calista…

We also asked Meta to share with us a Top 5 list that is representative of herself at this point in her life, and she shared with us her Top 5 List of Things She Wants to Do/Have As Soon As Possible…

  1. She can’t wait to hear her baby call her “ibu” (mother)
  2. She can’t wait to have a vacation with her family
  3. She’d like a new laptop
  4. She’d also like to get a super speedy internet connection (she lives in a small town and it’s hard to get a full bar of internet signal)
  5. She wants all of her family members to be healthy, happy and continuing to support one another

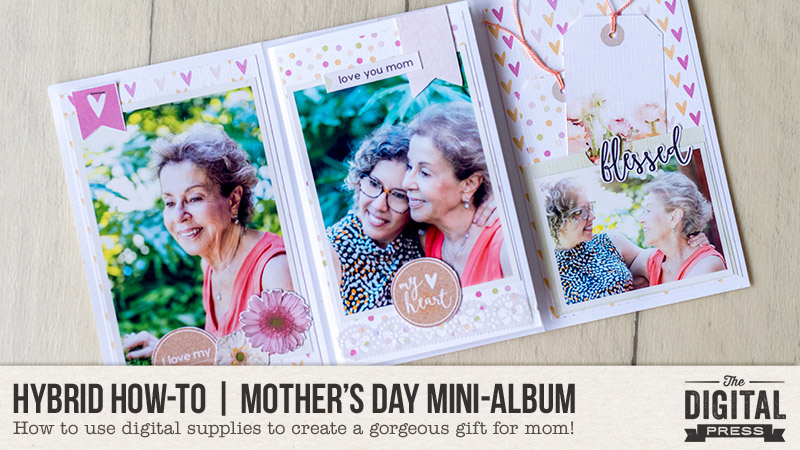
As for Meta’s products and design style… you will find lots of color and unique elements! She also creates such beautiful  and breathtaking blended elements that give you that special pop to your pages; they are simply stunning! She has fantastic templates in her store, as well… products for almost any occasion! Her designs always contain amazing flowers and wonderful word art options. Furthermore, I love that the items in her store are perfect for scrapbook pages AND pocket pages! There are so many versatile and useful options to be found.

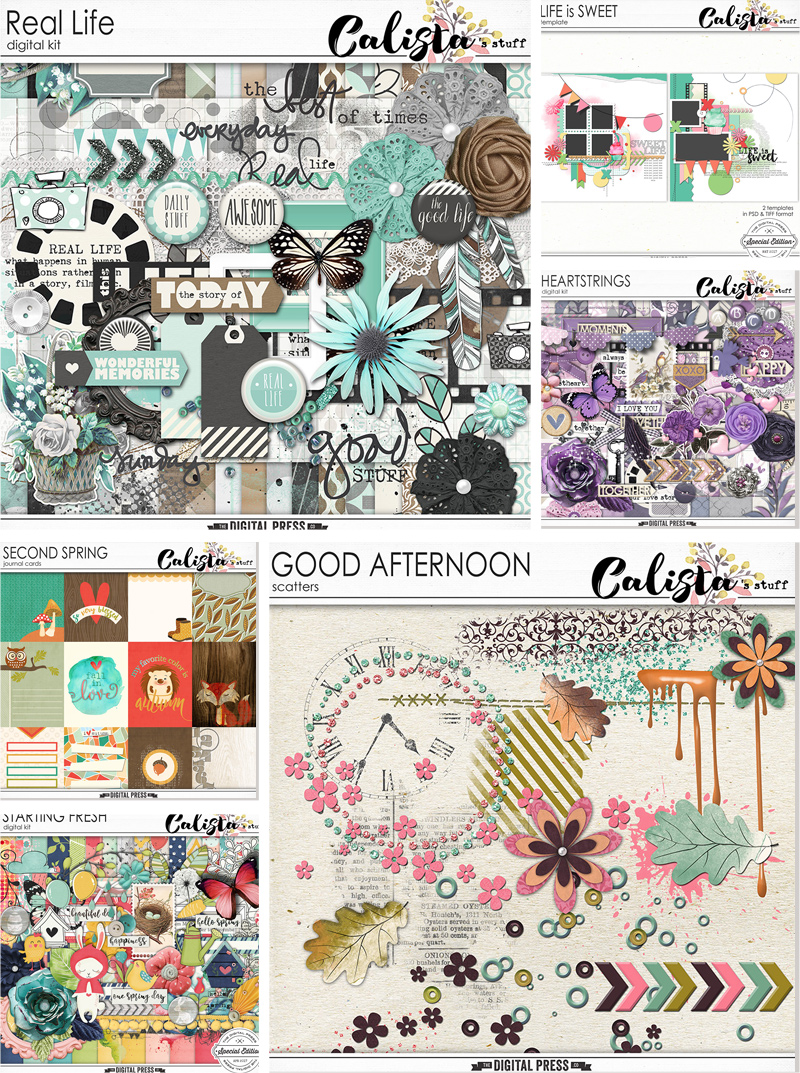
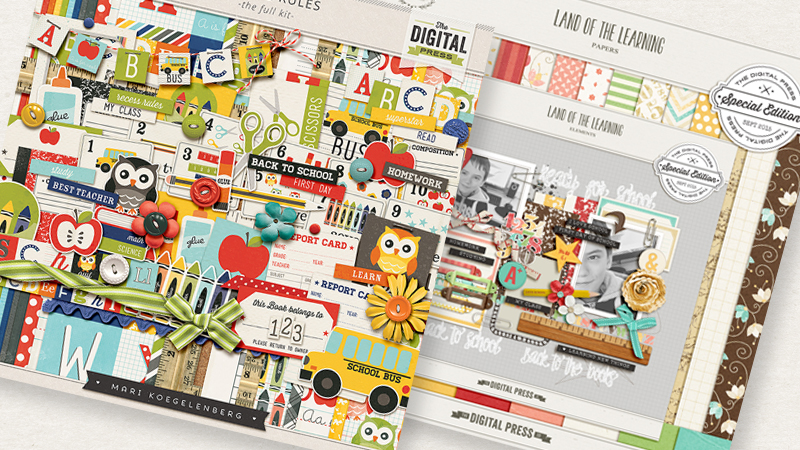
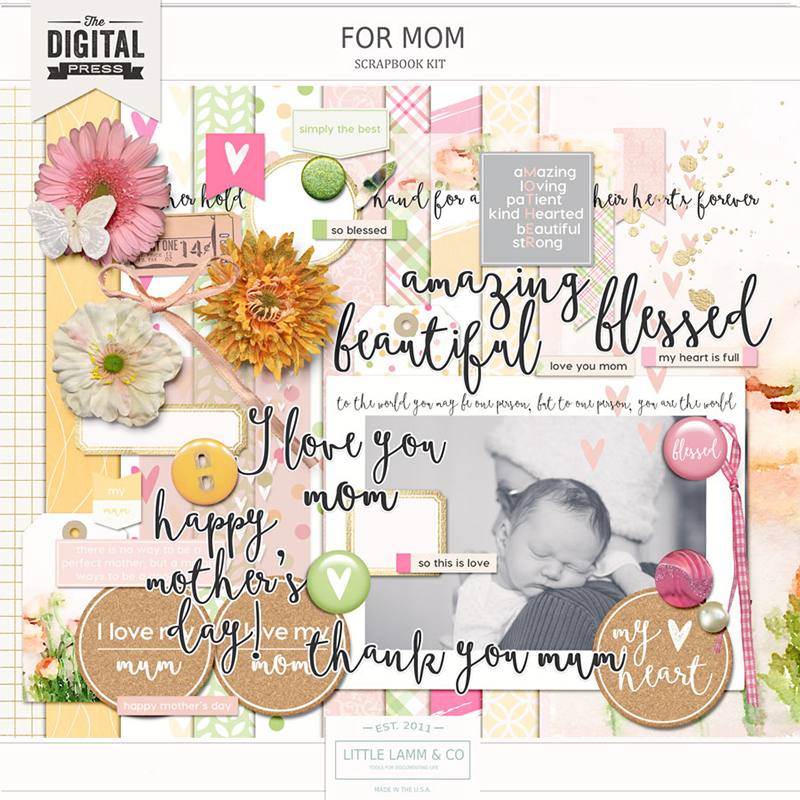
You’ll definitely want to take a look at the Calista’s Stuff shop and see for yourself how fantastic her products are, but here are a few of my personal favorites…

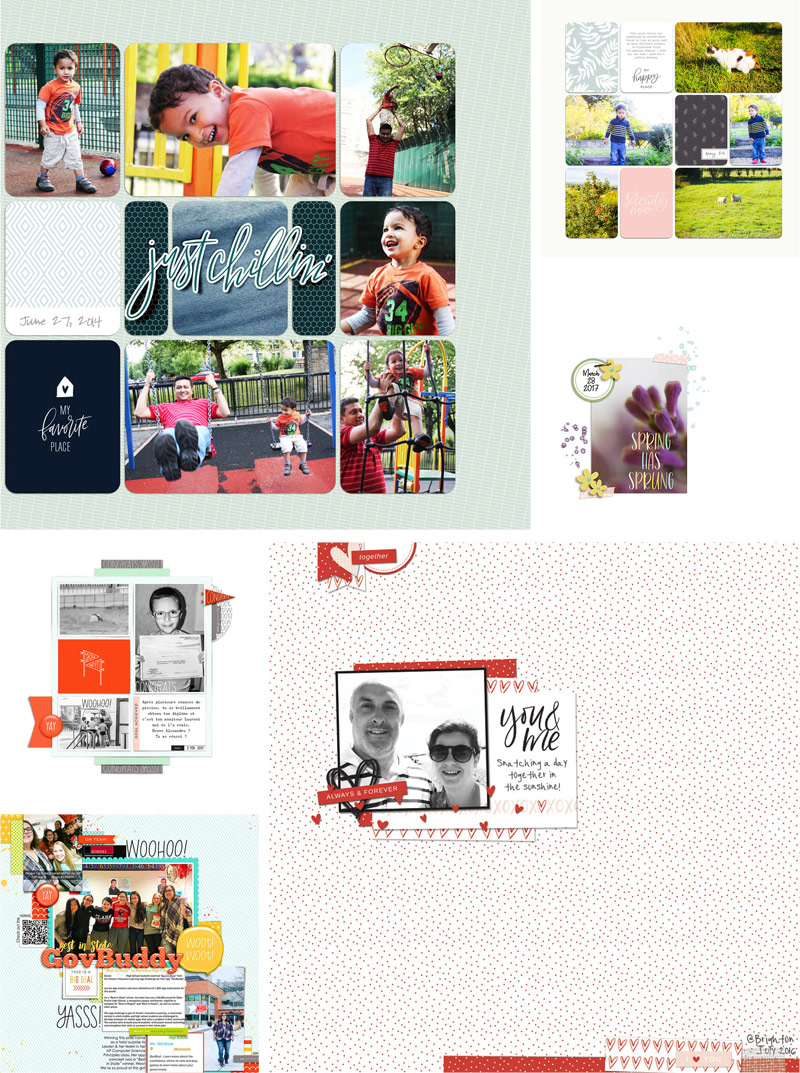
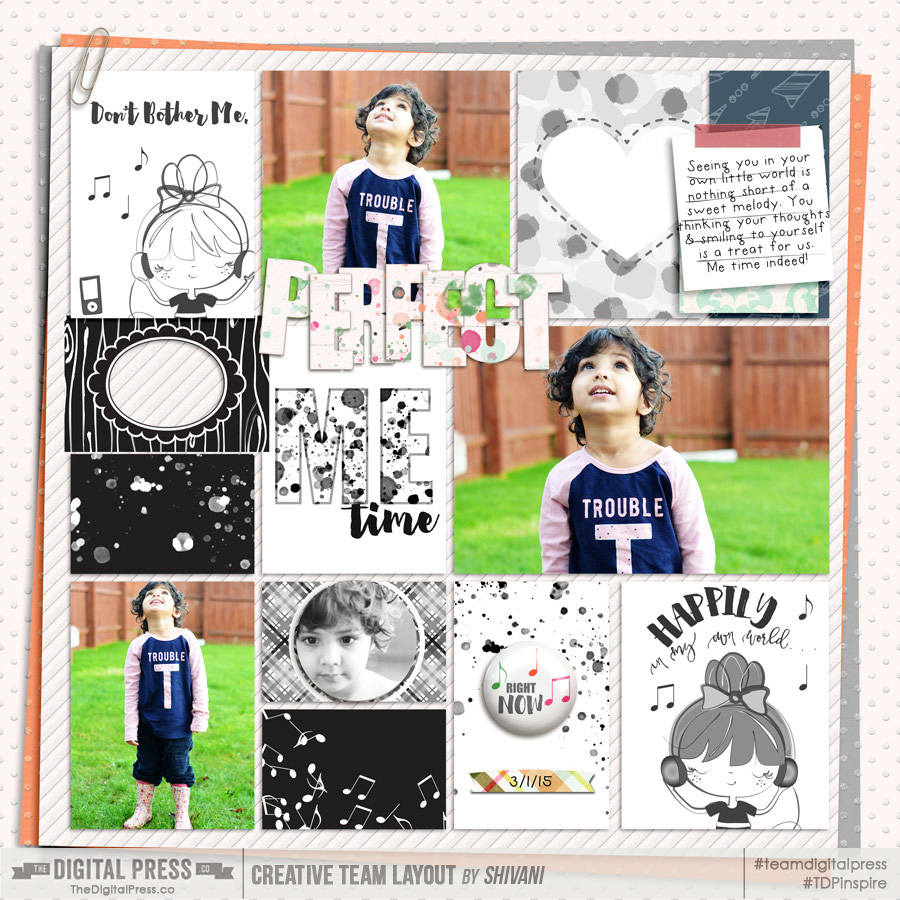
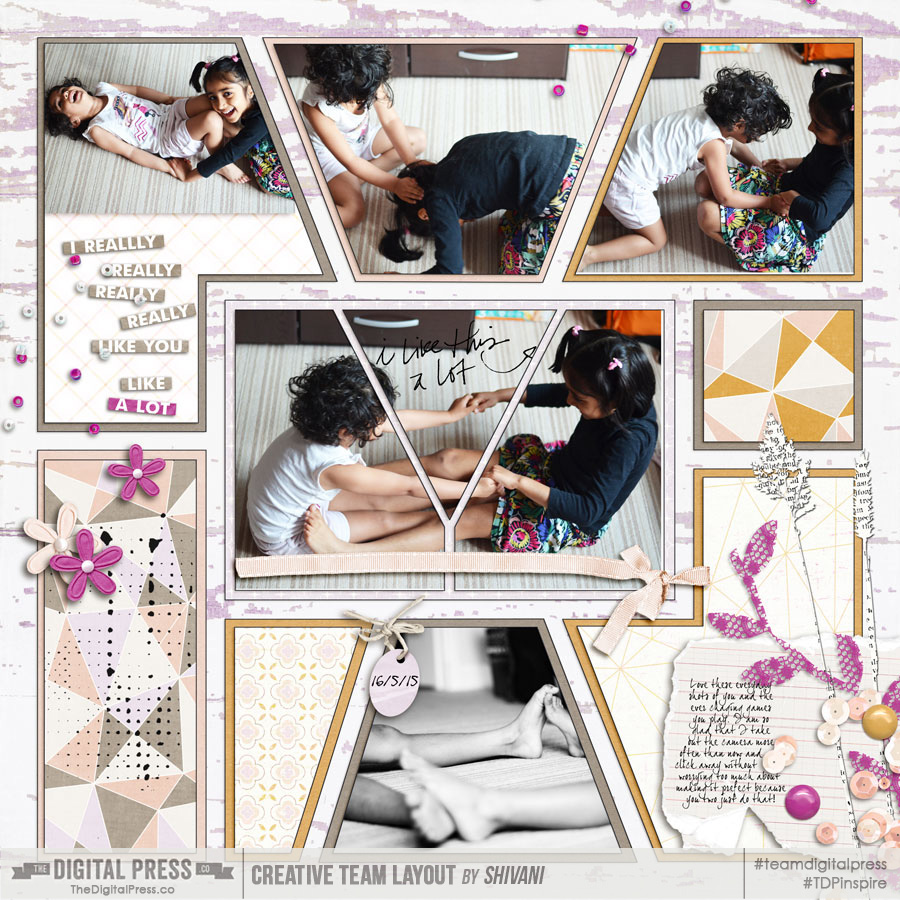
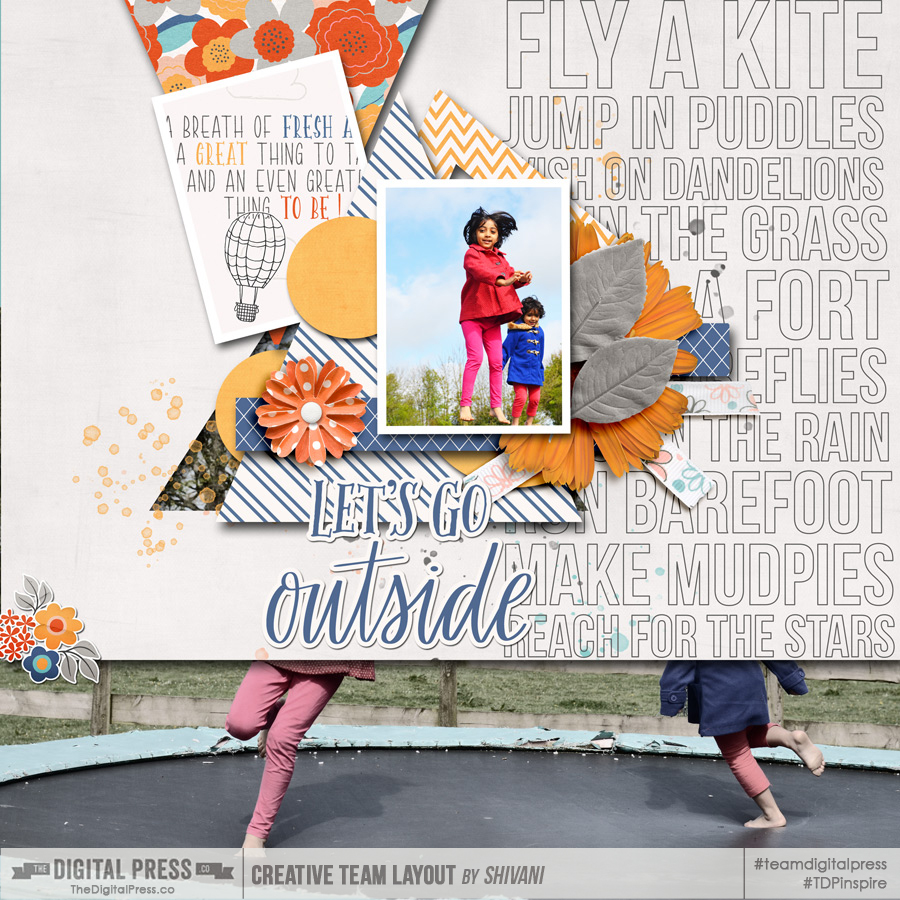
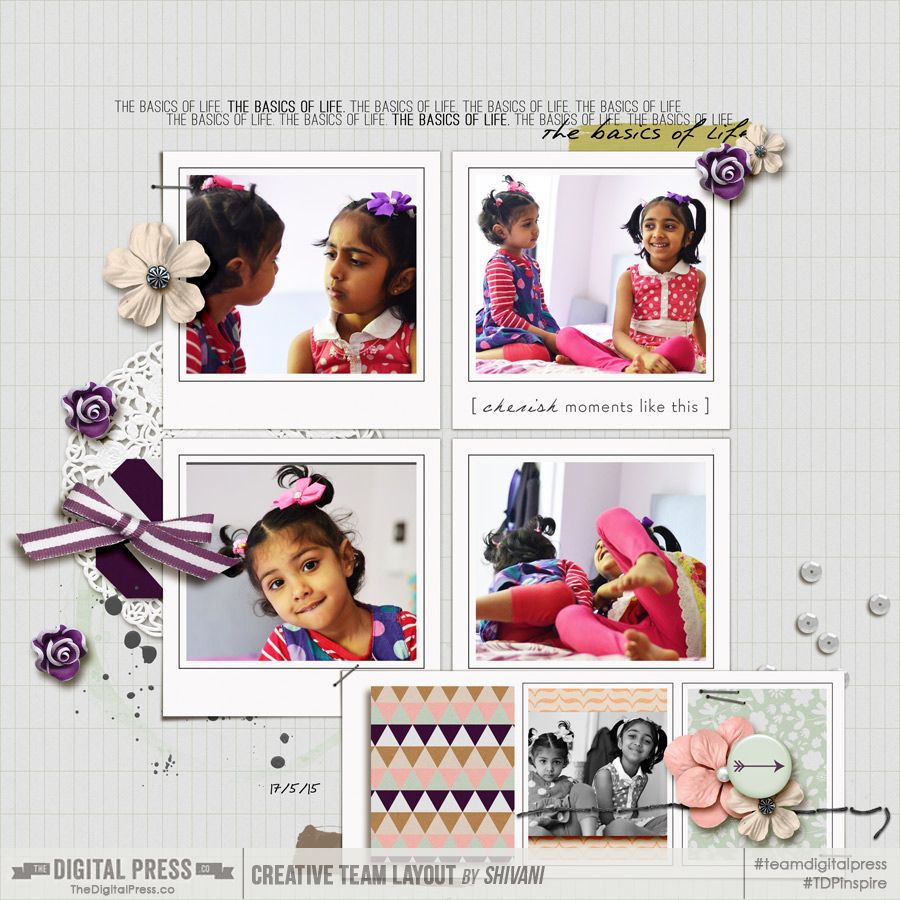
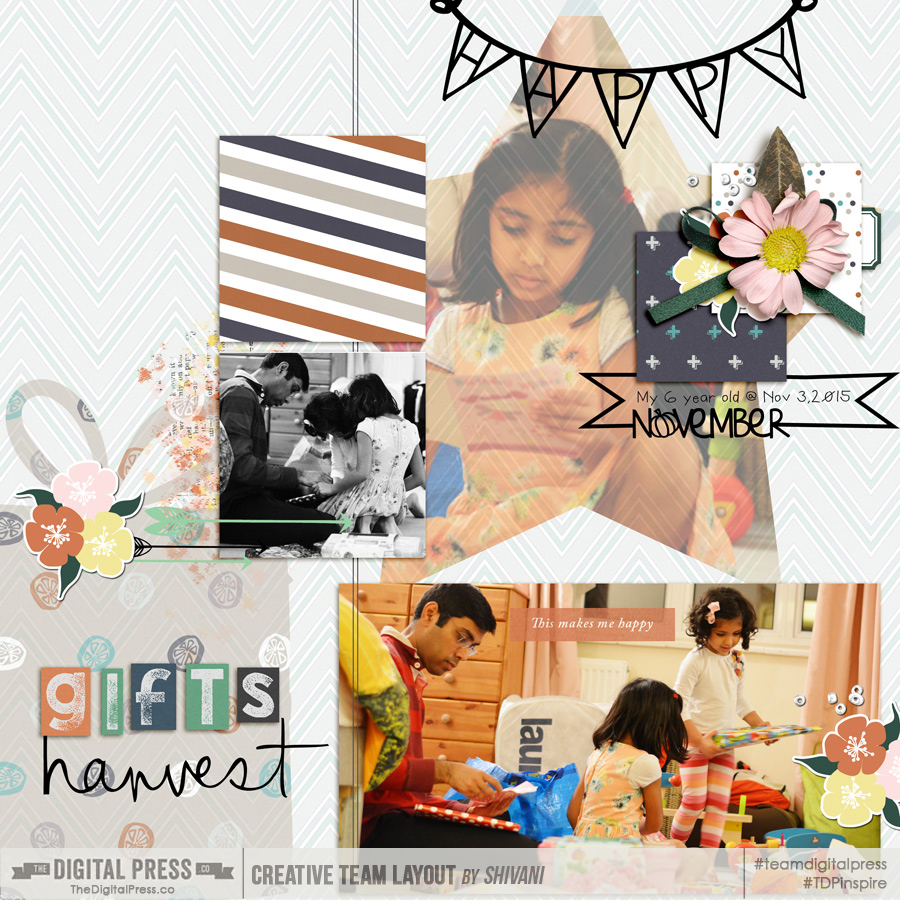
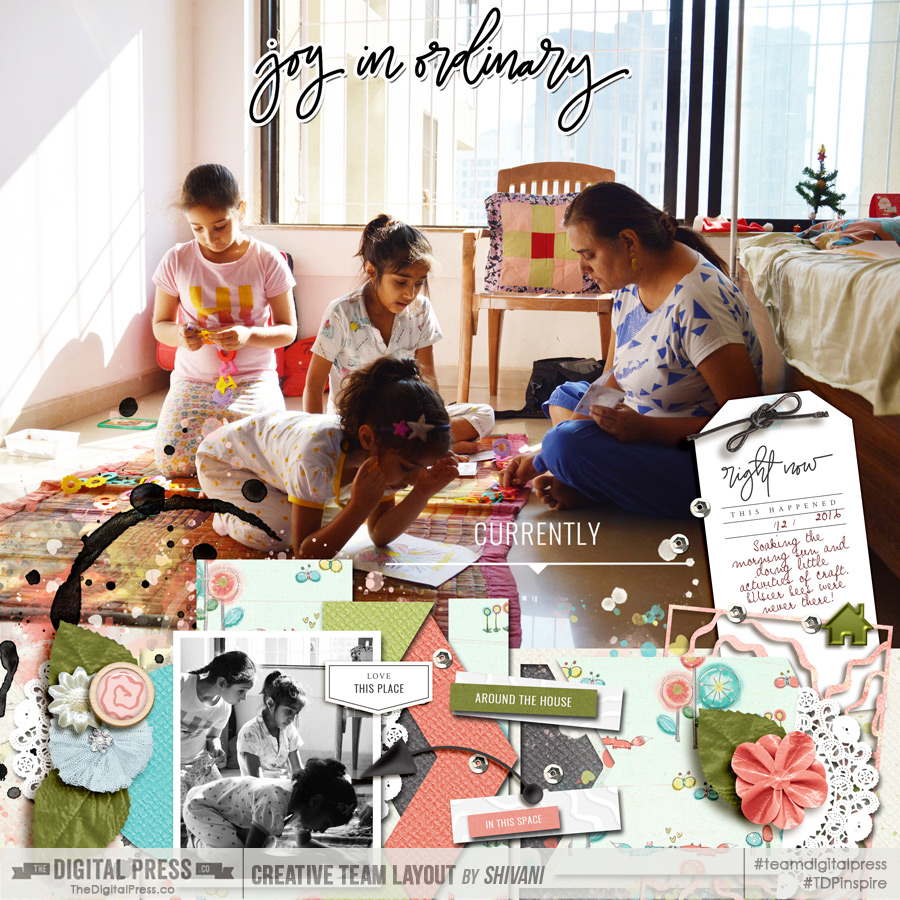
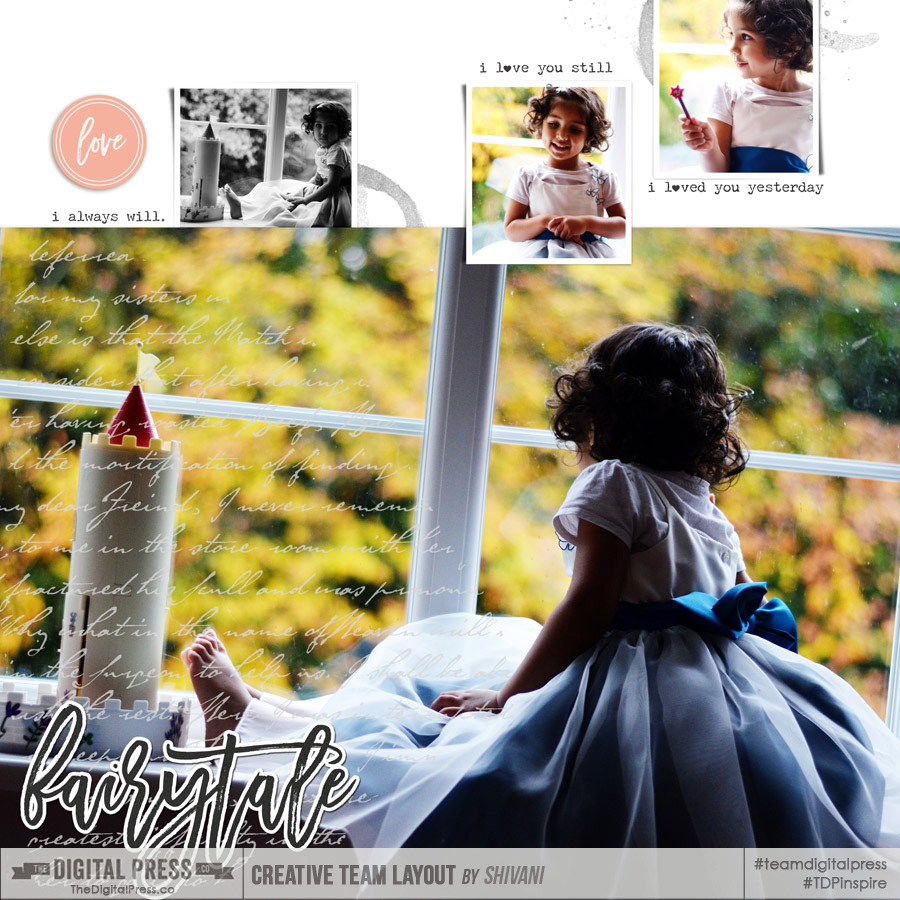
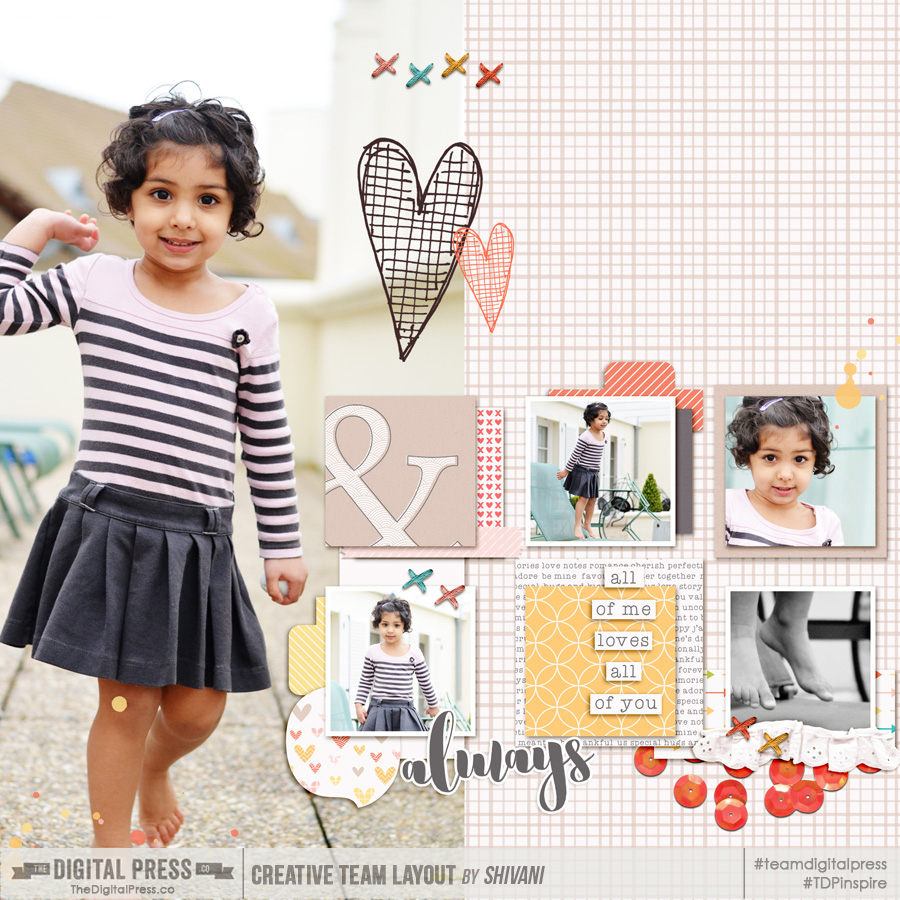
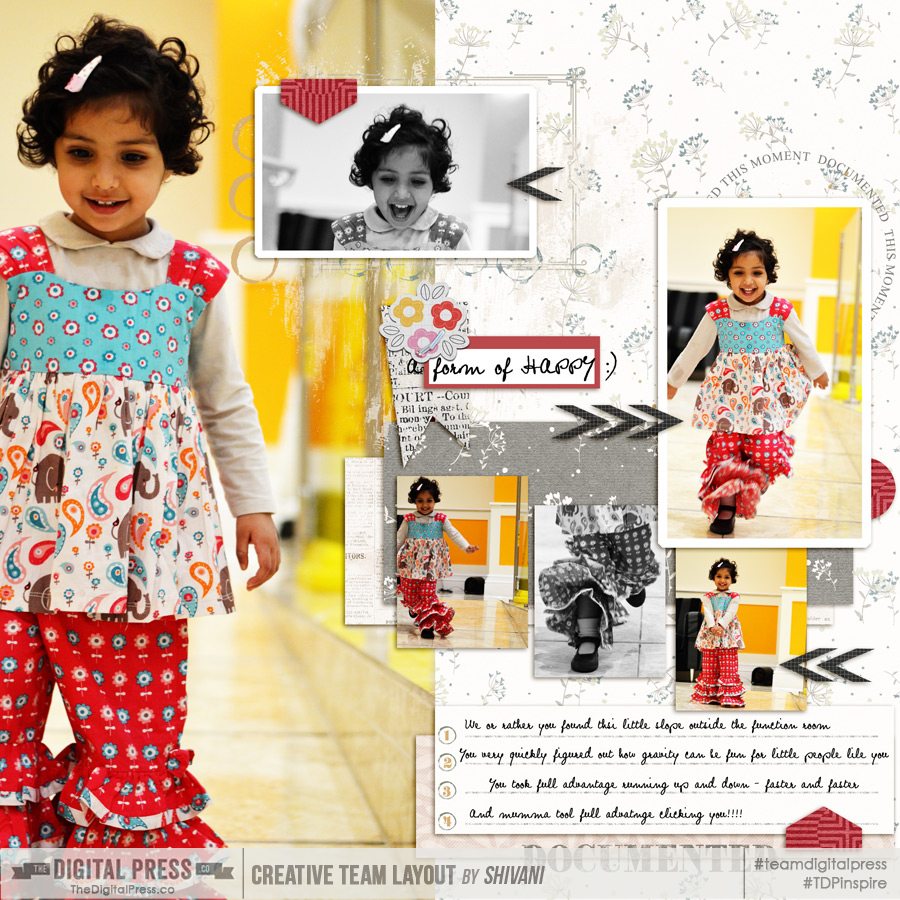
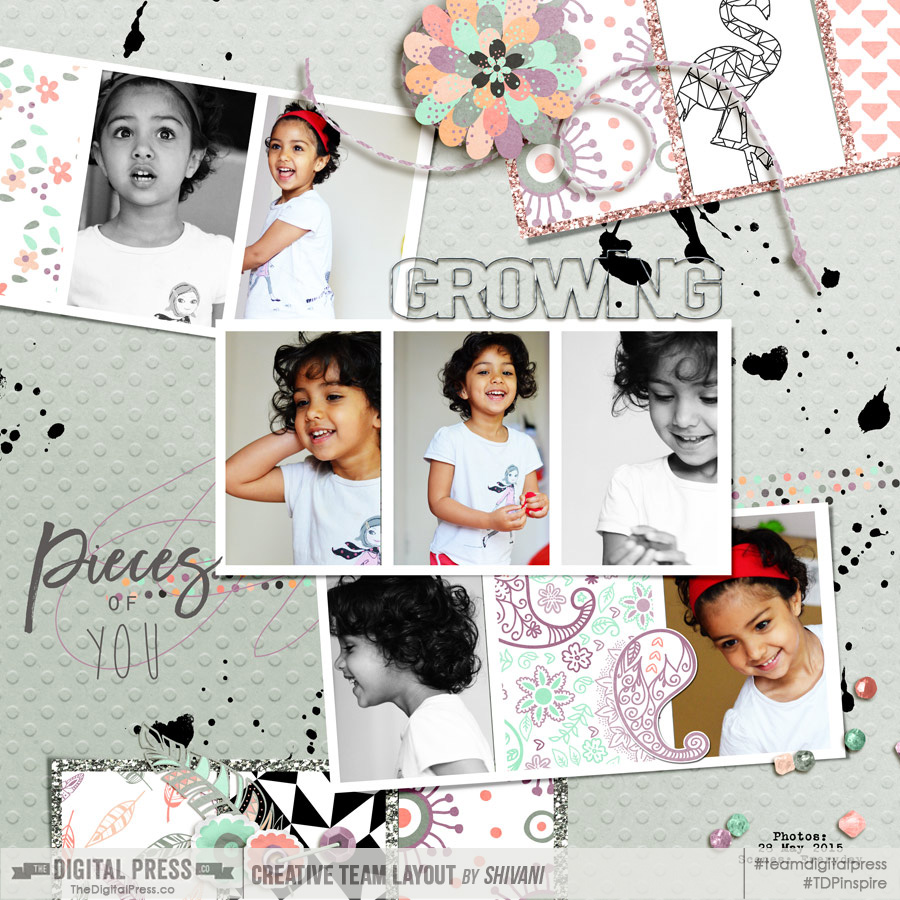
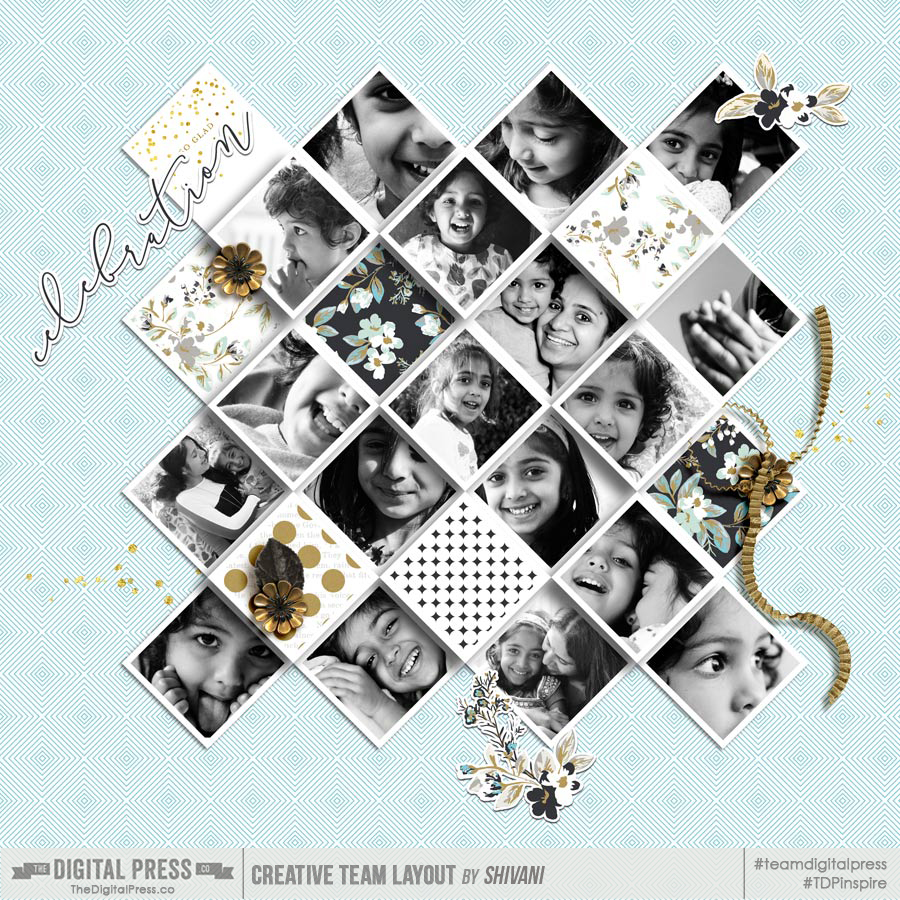
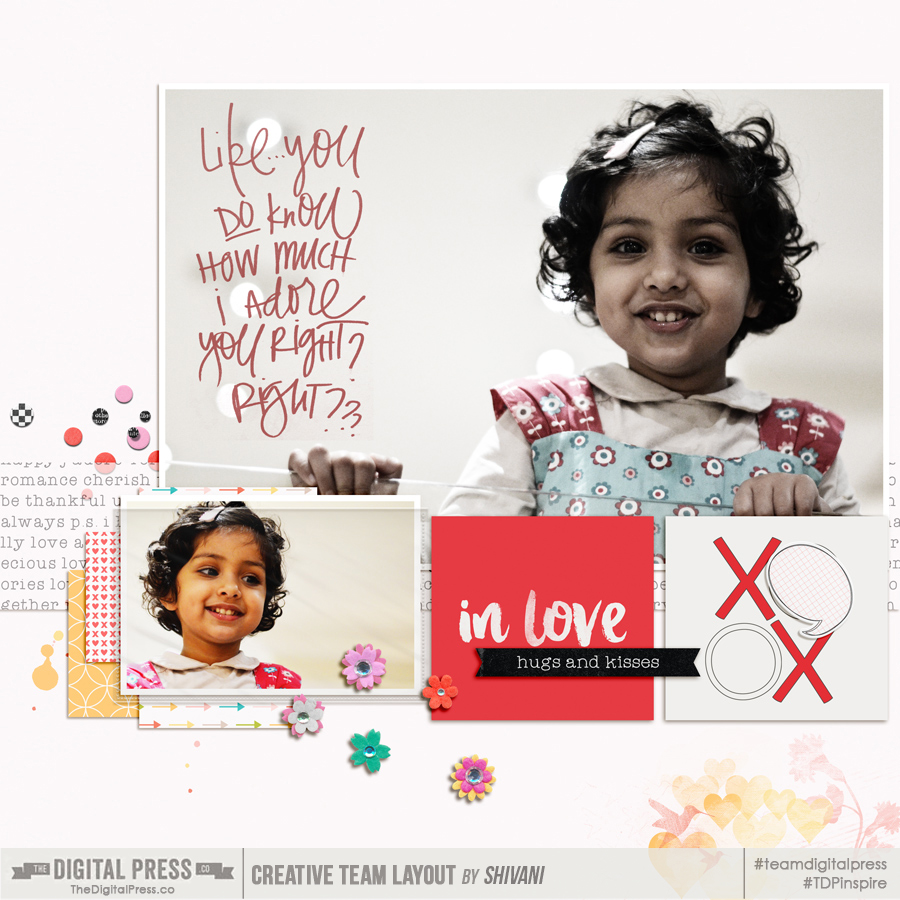
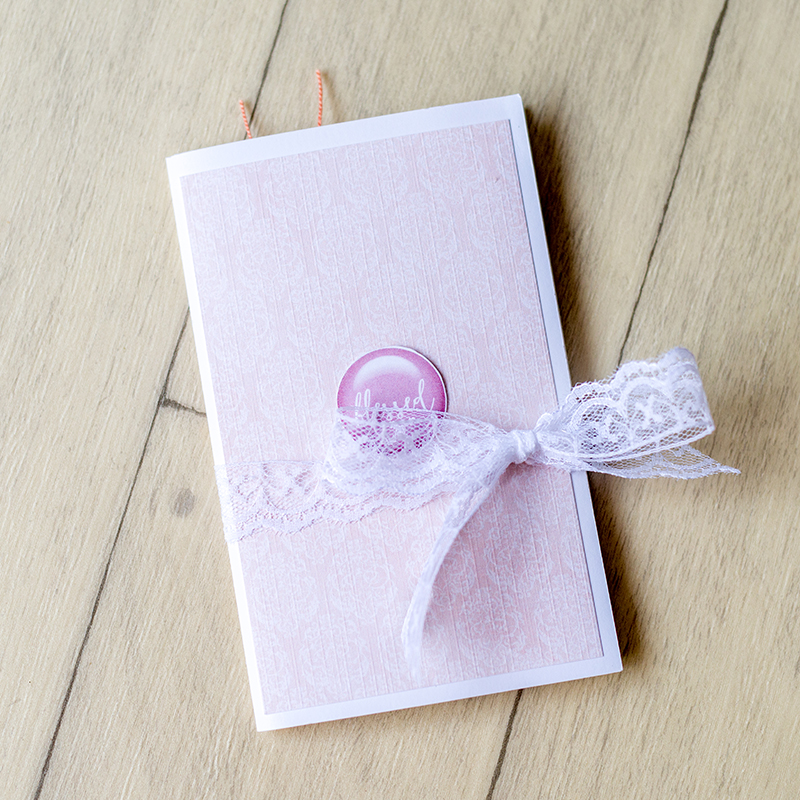
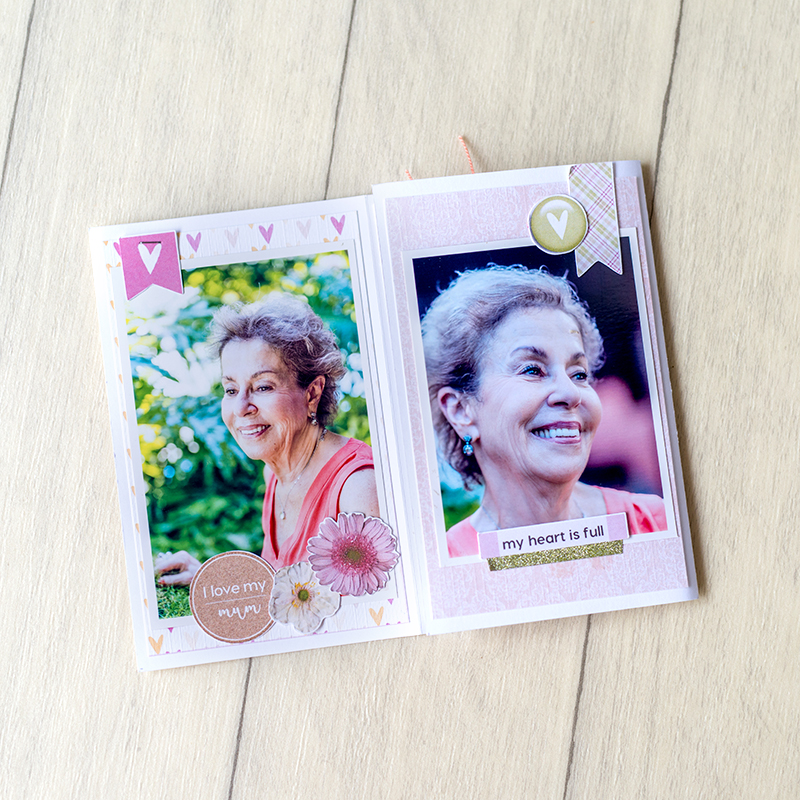
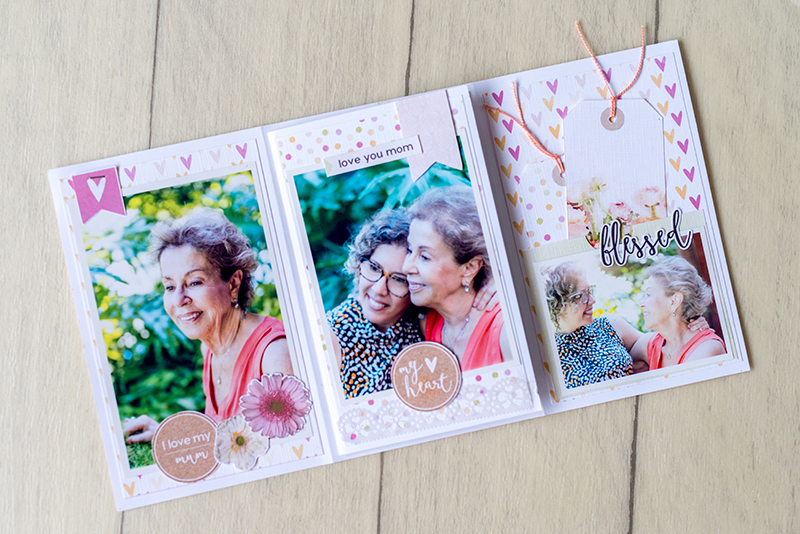
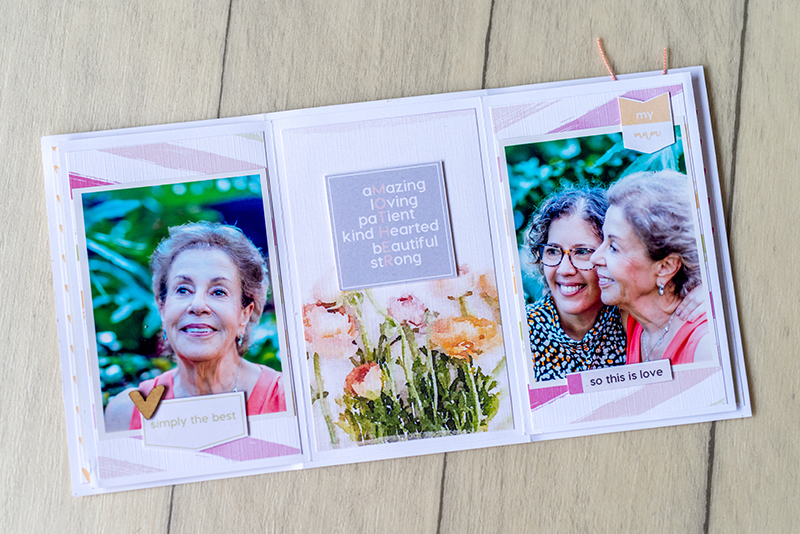
And here are some examples of the beautiful projects that have been made using Meta’s products from The Digital Press…
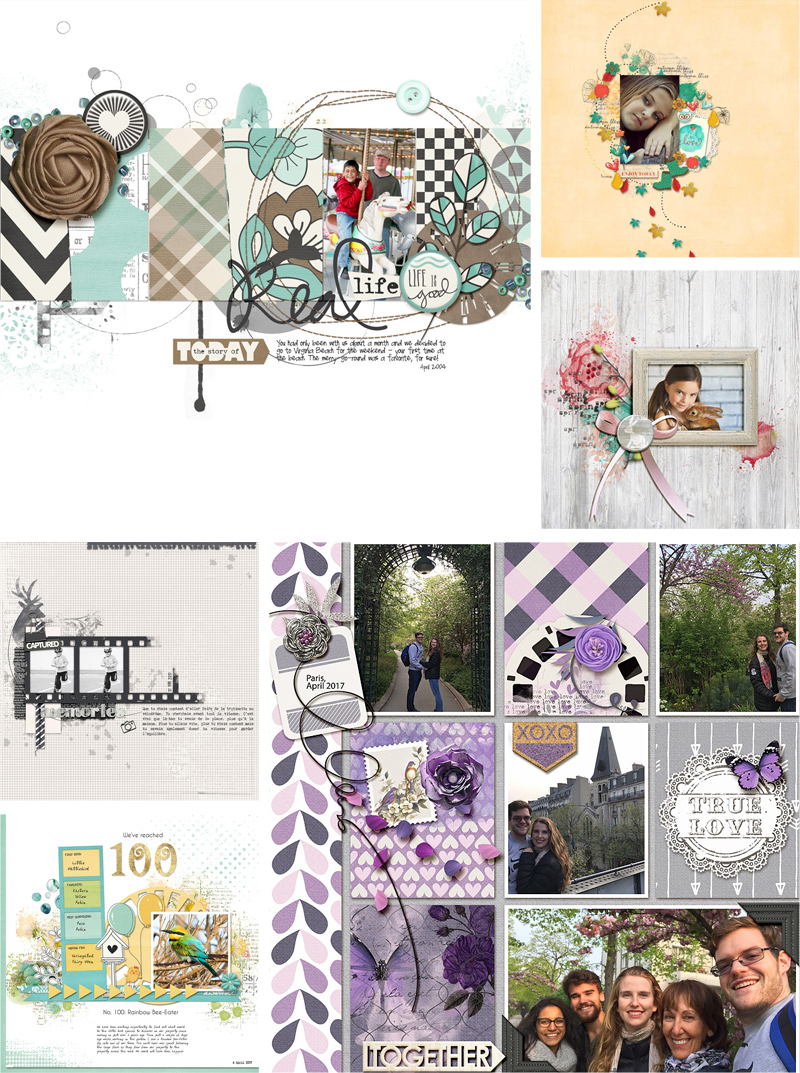
Aren’t those fun?

I hope you have enjoyed getting to know a little bit about Meta Wulandari of Calista’s Stuff today! To celebrate her upcoming week as our Featured Designer at The Digital Press, the entire Calista’s Stuff shop will be 30% OFF throughout the entire week (the sale will end at 11:59 EST on Thursday 5/18).

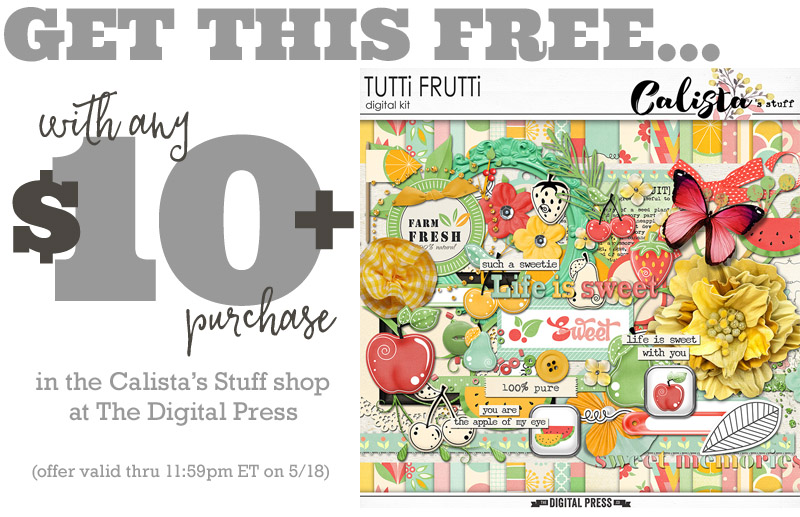
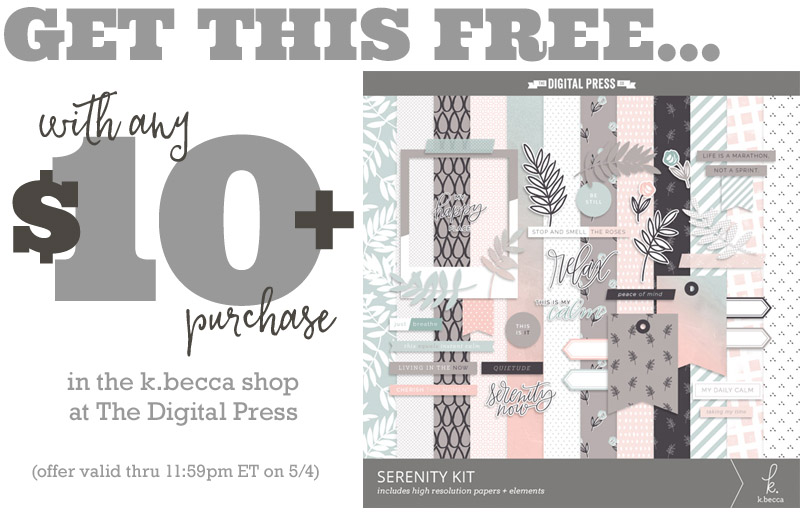
Additionally, Meta has a special Free-with-Purchase offer for everyone this coming week! Don’t miss out on this opportunity to stock up on your favorite products from Calista’s Stuff at the 30% OFF rate …and you can also snag her brand-new (just hit the store shelves today!) Tutti Frutti Kit for FREE with any $10+ purchase in her shop — this week only!


Amy

About the Author  Amy lives in Richmond, Virginia with her husband of  15 years and their 12 year old boy/girl twins. Their 21-year-old daughter will begin graduate school in the fall at Clemson! Amy has been scrapbooking since the early 1990s but discovered digital scrapbooking in 2005 when her twins were born and has primarily scrapped digitally since that time. She is passionate about telling her family’s stories and documenting their life together! Amy is a huge reader (mostly literary fiction), and is a pop culture junkie! She also LOVES all things beauty & makeup!

Tutorial Tuesday | The Spherize Technique

Do you ever want to jazz up a multi-photo layout, and you’re just not sure how to do that? There are so many ways to add a lot of photos to one layout, but using the ‘spherize’ technique in your layout can make it fun and unique! I’ve used this technique before, and now I just can’t stay away from it. So, without further ado…  I’d like to walk you through how to do this today.

STEP ONE

You will begin with a blank 7×7 canvas (2100×2100 pixels) at 300 dpi (want to use my grid template? you can DOWNLOAD IT HERE)…

Arrange your photos however you like, but make sure your favorites are in the center, because the photos in the corners and outer edges will be a bit distorted once you use ‘spherize’.

STEP TWO

Once you have your photos arranged to your liking, in the layers palette you will right-click on any layer, and click merge visible.

At this point, you will use the Elliptical Marquee Tool (see red text at the upper left of the following image; this is where you’ll find it. *NOTE* that you may need to right-click to find it, as it may be hidden under the Rectangle Marquee Tool) and drag your mouse from one corner of your canvas to the other to create a circle from edge to edge…

Once you have your circle drawn, Ctrl+Alt+I (all at once), OR use the “Select” drop-down, and select ‘Inverse’.  It may be a little hard to tell in the above image, but you will have marching ants in the shape of a circle and around the entire 7×7 image once you do this.

STEP 3

Next, you will press “Delete.” At that point, your image should look like this…

Now you will want to de-select your image by clicking on “Select” (top tool bar) and then selecting “Deselect” (or Ctrl+D). You should no longer have the marching ants on your image.

STEP 4

Now for the fun part!  You will click on “Filter” (top tool bar), then “Distort,” then “Spherize.” The Spherize window will come up at this point; I opted for using 100 as the amount (see below)… but you can play around with the setting for your own. You may find another setting that works well for you…

After applying “Spherize,” here’s what your image should look like…

At this point, you can save your image as a PNG (File>Save As or Shift+Ctrl+S). To use the image in a layout or project, you’ll simply need to open your image and drag and drop it into a blank canvas. The possibilities for use are limitless!

Here’s a look at a layout that I created using my ‘Spherized’ image…

*BONUS TIP* To make the reflection, I simply duplicated the image, and made the height -100, as shown in the next image…

Then, I decreased the opacity of the duplicated layer, as shown below…

And there you go! That’s all there is to it… and you’ve successfully used a fun, new technique!

The fun really starts now…  because you can use this technique to embellish to your heart’s content! It is such a fun way to display a collection or montage of photos that you love! It would also make the perfect front page for an album… or look fantastic printed on a canvas for your home… etc. So many fun possibilities!


Heidi NicoleAbout the Author  Heidi Nicole is happily married to an amazing man, a step mama to 2 wonderful kiddos, and mama to 3 sweet and sassy furbabies.  She’s a radiation therapist by day and creator of pretty things by night (she’s pretty confident that she’s hit super hero status, but refuses to wear a cape.)  She loves cats and huskies, coffee, audio books, FRIENDS reruns, St. Louis Blues hockey, cooking, baking, and traveling.  Oh, and wine… she really likes wine.  She lives a normal and happy life, and enjoys all the absolutely extraordinary people she gets to share it with on a daily basis!

Hybrid How-To | Gift Card Holder

Hello everyone, It’s Tanya here for this week’s Hybrid How-to.  I’m going to show you how to create this cute and easy recycled project.   It’s  one way to show your child’s teacher ” THANK YOU” for all they do.   I loved creating things for my kid’s teachers when they were in school.  There are many opportunities throughout the year….the first day of school, teacher appreciation day, the last day of school, their birthday….just to name a few.  Today we are creating this project for the last day of school.

SUPPLIES Needed:

  • digital kit of your choice ( I used School Rules by Mari Koegelenbern and Land of the learning by Anita Designs)
  • empty gum container
  • double sided tape
  • pop up dots
  • punches
  • scrap piece of cardstock
  • shredded paper
  • gift card

These are the two kits that I chose, but there are many more fun “school” kits at The Digital Press shop to choose from.

I created the tags and note cards using the Silhouette Studio Designer Edition software using the print and cut feature.   It can be done in any photo editing program, print and cut with a pair of scissors.

I love my Silhouette and even when things are probably easier just to cut out  Old School, I still use my Silhouette instead.  It’s kinda addicting!!

Use the big scallop to punch out the bottom piece.  Continue using the different punches for the layered tag.

Add pop dots to the apple for dimension.  I have tons of pop dots on hand because I love the layered look.

Use the tiny circle punch to punch a hole for the ribbon to go through.

Before adding the gift card, add some of the shredded tissue to the bottom.  There are so many different colors and you can find them for a $1.00 a bag at the Dollar Tree.

After adding the gift card, attach the tag with ribbon of your choice.   Isn’t this a super cute way to give your child’s teacher a gift card?

Oh and don’t forget the bus driver.  Because of them, the kiddos get to and from school safe and sound.

For this one, I created little note cards for the teacher to use next year.   Imagine them stapled to the top of your child’s work.   This simple gift even without a gift card would be very sweet.

I hope that you have enjoyed today’s Hybrid How-To here on The Digital Press’ Blog.  Now it’s your turn to create something fun!

I hope that you have enjoyed today’s Hybrid How-To here on The Digital Press’s blog. Now it’s your turn to create something fun (with or without a cutting machine)! If you would like to earn points toward TDP’s monthly challenge system, visit the corresponding monthly Hybrid Challenge in the forum’s CROSSWORD SECTION (you’ll find it stickied up near the top during May 2017). We’d love to see your creations!


Tanya

About the Author  Tanya is a part of the hybrid team here at The Digital Press. She has been hybrid crafting for at least 14 years now, and loves creating and sharing those creations with others. Her all-time favorite tool is her Silhouette Cameo. She has been married for 28 years to her high school sweetheart, Richard and has two sons: Chris, 25 and Chance, 20. She also enjoys crocheting, photography and woodworking

Feature Friday | k.becca

It’s Friday! That means it’s time for another edition of our Feature Friday series here on The Digital Press blog… and this week, we get to learn a little bit about one of our beloved TDP designers — Kristen of k.becca!

This is Kristen’s first feature here on the blog (she is one of our newest resident designers at The Digital Press, and I’ve fallen completely in love with her style since she arrived in March!)… and whereas last year we used our feature series to help you get to know some fun trivia about your favorite designers, this year we’ve been using our designer feature series to give you a little peek into our designers’ creative spaces and more insight into their creative processes.

With that in mind, we asked Kristen to show us her creative space — where she works to come up with all of her fantastic digital designs. We’re loving the bold colors she surrounds herself with as she works…

This is what Kristen had to say about her space… “After over a decade of apartment living in the city, my husband and I moved out to the country a few years ago and bought our first house — a 100-year old fixer-upper. This is the first time that I’ve had a dedicated space to design and craft in, which is awesome, but I have to admit that I’m still trying to get used to it. I move furniture and supplies around on a semi-regular basis, trying to find just the right setup. It’s definitely a work in progress! Right now, my computer desk is on one side of the room, and there’s a small alcove on the other side of the room with a desk where I draw, paint, and craft. I keep most of my coloring supplies and adhesives in two IKEA Raskog carts that sit right beside the “crafting desk” …and I love the little containers that hook onto the sides of the carts because I can just pick up a container or markers, colored pencils, etc. and sit it right beside me as I work. There are also a few multi-drawer pieces of furniture where I store inks, paper, and other supplies. I love color, but I actually like the space that I work in to be pretty neutral, so there’s a lot of grey and white going on in the room. Between the art and craft supplies around the room and the work that I do on the computer, I still get my color fix!”

Well I, for one, am so jealous of Kristen’s crafting space! Its sure is filled with oodles of awesome and colorful treasures! 🙂

We also asked Kristen to share with us a Top 5 list that is representative of herself at this point in her life, and this is what she came up with — her Top 5 Current Favorite Things

  1. Daffodils — The previous owner of our house was known in the neighborhood as the “Daffodil Lady,” and she planted hundreds of the flowers (if not a thousand or more!) around the property. They’ve had to deal with some pretty volatile weather the past couple of years, but they’re some tough little flowers and it makes me happy to see them bloom because I know that warmer weather is coming soon!
  2. White Chocolate Macadamia Nut Cookies — I’m not a big fan of white chocolate on its own, but when it’s paired with macadamia nuts something magical happens. Mmm… so delicious!
  3. All Things Foil — I’m on a mission to Foil All the Things, and the Minc has been one of my “can’t do without” crafting tools lately, along with lots and lots of reactive foil. Rose gold and  pewter are two of my current faves.
  4. Hand Lettering — I cannot get enough when it comes to hand lettering and modern calligraphy, and one of my goals over the past couple of years has been to improve my lettering skills. I still have a long way to go, but the journey has been a lot of fun.
  5. Stickers — Okay, so there’s never been a time where I haven’t been lovin’ stickers. My sticker book from back in the day is one of my prized possessions, and my love for 80’s scratch and sniff stickers knows no bounds. You can imagine how happy I was when I first discovered the print & cut feature on my die cutting machine. Woohoo, DIY stickers!


As for Kristen’s products… her shop is filled with lovely digital kits, elements, word art, and journal cards — and she has a knack for putting colors and patterns together with unique elements that work seamlessly with traditional ‘paper-style’ scrapbooking, as well as pocket scrapbooking. You are sure to find something that works for any photo and memory that you want to document and treasure! You will find a good array of products to suit just about any need. Her products gel very well with my personal style, and her journal cards tend to be my special favorites!

I’ve shared just a small sampling of my favorite products from the k.becca shop here…

Additionally, here are some of the projects that have made using k.becca’s designs…

I trust that you have enjoyed getting to know Kristen of k.becca a little better, including the chance to see a peek of her creative space and appreciate her creative process! Remember that the k.becca shop at The Digital Press Co will be on sale 30% OFF all week long (sale will end at 11:59pm ET on Thurs 5/4). Surely that’s all the excuse you’ll need to visit her shop and clear out your wish-list! 🙂

Additionally, this week only — you can snag the following FREE COLLECTION with any $10+ purchase in the k.becca shop at The Digital Press! Exciting stuff…


Pallavi

About the Author Pallavi resides in the United Kingdom with her husband and their son, Rajveer. She has previously lived in Calcutta, Pune, San Francisco, Chicago, London, and Mexico City. She reflects all these places in her pages as she captures her everyday stories. She is an alumnus of Northwestern University, and currently she is learning photography and working towards getting to a healthy weight. Her days are full and she loves it that way!


Tutorial Tuesday | Multiple Photo Layouts

TutorialTuesday-MultiplePhotoLayouts

Hello everyone, and welcome to yet another edition of our Tutorial Tuesday series here on The Digital Press blog! Today, I am going to share a few very simple (yet quite useful!) tips for fitting multiple photos onto a layout.

If you’re like me, one of the most difficult parts of scrapbooking is choosing photos with which to scrap. I suffer from ‘separation’ and ‘abandonment’ anxiety when it comes to discarding some of the photos that don’t make the ‘cut’. 🙂

Whilst good selection may be essential for effective storytelling, I often find that I am trying to fit more photos onto my pages — especially when there is a back-story to those photos. Therefore, I went back through my gallery to see how I’ve solved this issue in the past, and to compile a list of some useful tips and tricks I could share with you. And believe it or not, I found there actually is a method to my madness, when I scrap! LOL

So without further ado… the following are my thoughts on “how to work multiple photos into your layouts”…


1. Make pocket pages

The first obvious approach is to make a pocket style page. The beauty of this scrapping style is that the canvas is neatly divided into spots that you can then fill with your photos, journaling, papers, embellishments or a combination of all of these. Here is an example from one of my favourite pages.

In-your-own-world-copy-for-web

Credits:Beats Journalers by Creashens, Template is Duo 10 Go anywhere by LBVD Designs, Blue skies ahead alpha and papers by River Rose Designs

There is also an awesome tutorial about pocket scrapping and how to go about it if you are new to it :).

It becomes even more effortless if you can find pocket style templates that work for you. One doesn’t need to be a Project Life scrapper or even a Pocket scrapper to dabble in this style. The key is to have fun and adapt these to suit your own style and needs. Here at the Press we have an amazing selection of these. Check them out here.
2. Use unusual photo spots
Here are some examples to do this. In this first layout I have clipped photos to photo spots in the template but also layered with patterned papers. The various shapes were a good way to show different crops on multiple photos I had of my girls ‘rowing the boat’.
Really-Like-you-copy-for-web
 Credits:  Drawing blanks template by Sandy Pie Creations, A lot by Creashens

In the next one, whilst there was just one photo spot in the template, I wanted to show a long shot of where the kids were. I adjusted the template to insert a big photo in the background.

Lets-go-outside-copy-for-web
Credits: Everything from April shop collab – Fresh Air

In this final example I have literally added more photo spots. Simple and effective 🙂 Varying the photos between black and white and colour also adds a great deal of interest to the page.


Moments-like-thesecopy-for-web
 Credits: To remember album, This is everyday wordart, Time stood still all by Sabrina’s Creations
3. Clip photos to other shapes
Photos don’t always have to be rectangular or square in shape. It is great fun to use some different shapes to add a varied flavour to your style. In this example below, I have slipped one of the photos to a watermark star shape – probably not meant to be used as such but worked for me!
Geet-Birthday-Gifts-copy-for-web
 Credits: 31 days of December by Meg designs, Thanksgiving by Rachel Hodge,Plus Side by Sahin Designs
4. Create a background of photos
This is my favourite go to method. Especially when I have nice pictures to show off. Putting that pivotal picture in the background not only creates a great canvas for the layout but also sets the context and lets you be more creative and experimental with the other photos. Here are some examples.

Joy-in-the-ordinary-copy-for-web

Credits:Tranquil by Sahin Designs, Chinese Whispers template by Jimbo Jambo designs, Found papers by Creashens

LP-copy-for-web

  Credits:Forever by Little Lamm and Co, Family Love templates by Sabrina’s Creations
5.Change the crop to tell a different story (a.k.a. working with multiple similar shots)
So what happens when you have great photos but they look quite like one another? Fear not, there are a few ways to approach this, as well.

In the following examples, I have simply used different crops of similar shots – some in colour and some in black and white. I also used full length big photo on the left hand side.

All-of--me-loves-all-of-you-copy-for-web Credits: Hello February by Dunia Designs, Choices template by Meg Designs
Trisha-running-pg1copy-for-web Credits: Documented papers and templates by Anita Designs, Love is in the air elements by Mommyish and Mari K
something kinda wonderful
 Credits:Clean and Simple templates 24 by Sabrina’s Creations Also used by Meg Designs: Its the Little Things, Spring Song papers, Recharged JCs, Melliflous JCs
6. Use templates
As mentioned before templates are a great booster.Using the right template can get you to a great start! There are many interesting multi-photo templates available here at the Press. See some examples for yourself.
 Piece-of-you-copy-for-web
 Credits:Scraptime vol 9 templates and Awakening Bundle by France M Designs
layout 1
Credits: May 2016 Templates and Grad bundle by Sahin Designs
7. Use templates, but don’t be afraid to change them up
Whilst templates can be great for a great start, feel free to play around with them to accommodate your photos – e.g. creating more spots if required or altering their position, shape and sizes.

If you look at the following layout and the template I have used as a starter, it is only but a small proportion of my overall design. In other words the template is hardly recognisable but I still had a great start using it and take it further from there.

Trisha-love-you-copy-for-web
 Credits:XO Cards by Dunia Designs, Hey love stamp sheet by Karla Dudley, Love is in the air elements by Mari Koegelenberg, Hello February elements by Dunia Designs and Cynosure templates by Meg Designs


So that’s it! …seven (7) easy ways to approach scrapping when you have lots of photos you need to include on a single page. I hope you find these ideas to be useful! Meanwhile, if you have ideas of your own for solving the “fitting multiple photos onto one layout” issue… I would love to see your own hacks! I’m always looking for more ideas. Please feel free to share them in the comments below.

Until next time… stay creative! Ciao!


Profile pic avatar small

About the Author Shivani Sohal is a donner of many alter-egos. A finance professional by day in busy London, she morphs into a seemingly normal mum of two in the evenings and weekends. She is constantly found with her fingers in too many pies and juggling the metaphorical balls. That is living on the edge for her; aided by the two ankle biters and a darling hubby who define the warm and mushy for her. She is ferociously dedicated to memory keeping — almost immune to any nay-sayers (or equally-disruptive crying children or annoying house fires!); keeping her head down and forging ahead at all times.


Hybrid How-To | Mother’s Day Mini-Album

.

Hello everyone! It’s Saturday, and therefore time for another edition of our Hybrid How-To series here on The Digital Press blog! Today I’m going to show you how make a beautiful mini-album as a gift for Mother’s Day.

Supplies Needed:

  • digital kit of your choice (I used For Mom By Little Lamm & Co)
  • white cardstock paper
  • any physical supplies/embelishments from your stash (I used only wood veneers and washi tape)

Instructions:

First, you will need two pieces of white cardstock, sized/formatted like the images below…


Next, after cutting the papers, you will need to score and fold them as shown below (to ensure they look like the format of the images just above this)…

You’ll want to glue the middle section (shown above) of the top paper to the same area of the bottom paper. This will create a thicker center section, along with multiple pages on each side that fold inward.

Next, it’s time to assemble and decorate the album. I chose digital patterned papers that I wanted to use in my mini-album, printed them, and then cut them to look like the images below…

*NOTE* These patterned papers, when printed, are a little bit smaller than the white cardstock sections, to enable us to glue them down on each section, as shown in the following image (below).

Glue your patterned papers down as a base on each section, and then decorate with photos, printed digital embellishments, and physical supplies!


Decorating your album is the most fun part of the process. Enjoy it!

Here’s a look at my album as I added photos and embellishments and it took shape…

I think this is a beautiful way to honor our mothers, isn’t it? And a beautiful and delicate gift. 🙂

If you’d like to give this a try, too, don’t forget that you can earn challenge points at TDP! Come visit the CROSSWORD SECTION in The Digital Press forum, and you’ll find this month’s Hybrid Challenge thread (*NOTE* for each month’s Hybrid Challenge at TDP, you get to choose one of the two (2) “Hybrid How-To” tutorial posts from here on the blog for that month, and then you get to make your own version of that chosen project). If you choose to give today’s project a try… all you have to do is make a mini-album like mine using some digital elements and papers. Give it a shot, and share your final results with us! We can’t wait to see what you come up with.

Have a great weekend, you guys… and happy scrapping!


AndreaAbout the Author  Andrea Albuquerque is part of the Hybrid Creative Team here at Digital Press. Andrea has been a scrapper since 2010 and a photographer since 2012. Although she adores the flexibility and creativity of digital, she can’t resist playing with paper, paint, and embellishments… so hybrid scrapping is the perfect medium for her! She lives in Brazil with her hubby.