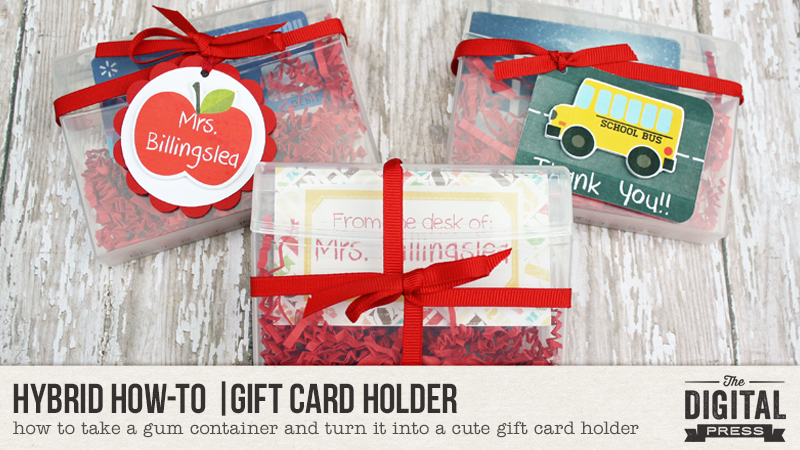
Hello everyone, It’s Tanya here for this week’s Hybrid How-to. I’m going to show you how to create this cute and easy recycled project. It’s one way to show your child’s teacher ” THANK YOU” for all they do. I loved creating things for my kid’s teachers when they were in school. There are many opportunities throughout the year….the first day of school, teacher appreciation day, the last day of school, their birthday….just to name a few. Today we are creating this project for the last day of school.
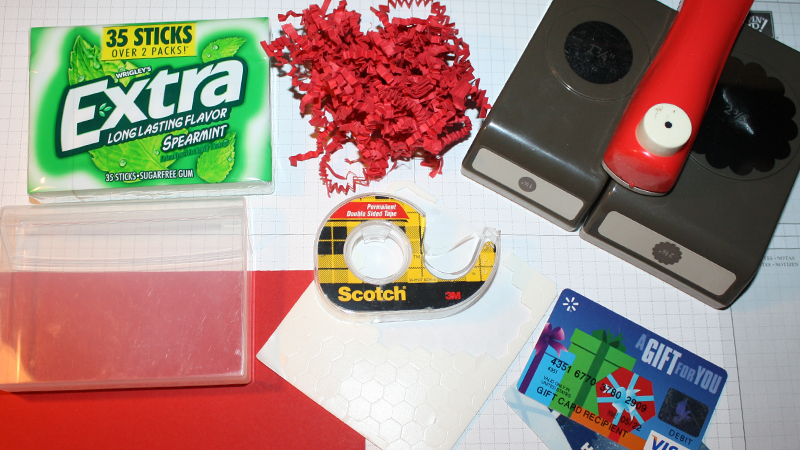
SUPPLIES Needed:
- digital kit of your choice ( I used School Rules by Mari Koegelenbern and Land of the learning by Anita Designs)
- empty gum container
- double sided tape
- pop up dots
- punches
- scrap piece of cardstock
- shredded paper
- gift card
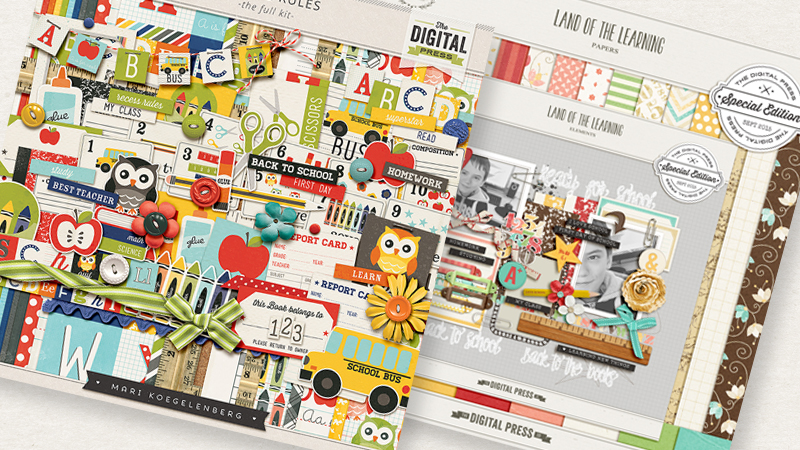
These are the two kits that I chose, but there are many more fun “school” kits at The Digital Press shop to choose from.
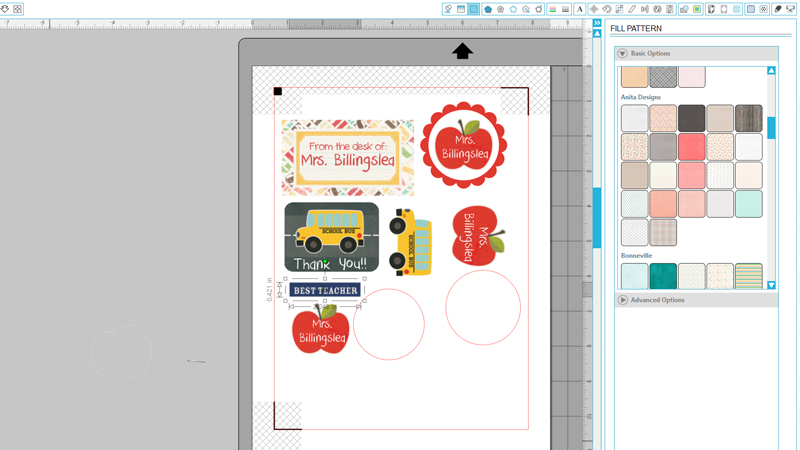
I created the tags and note cards using the Silhouette Studio Designer Edition software using the print and cut feature. It can be done in any photo editing program, print and cut with a pair of scissors.
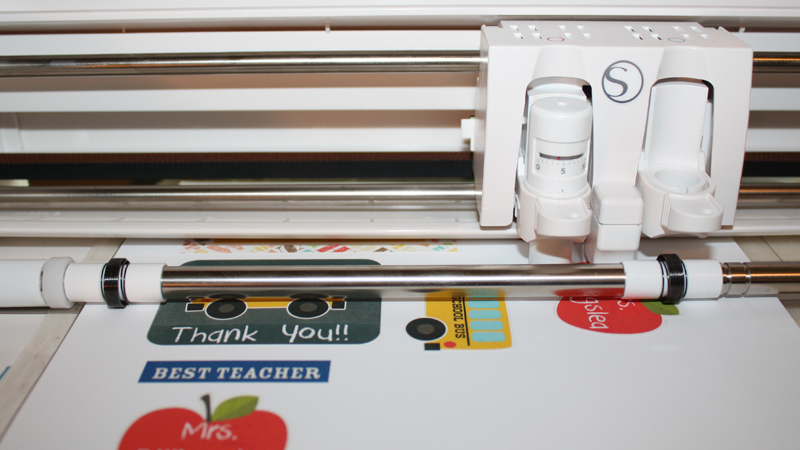
I love my Silhouette and even when things are probably easier just to cut out Old School, I still use my Silhouette instead. It’s kinda addicting!!
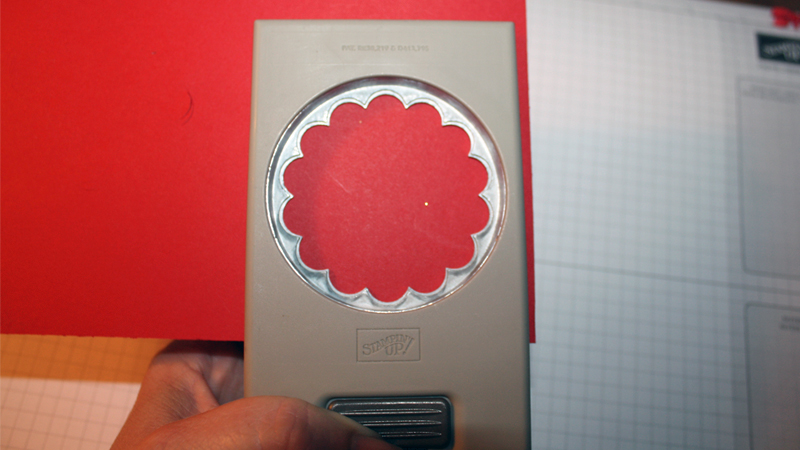
Use the big scallop to punch out the bottom piece. Continue using the different punches for the layered tag.
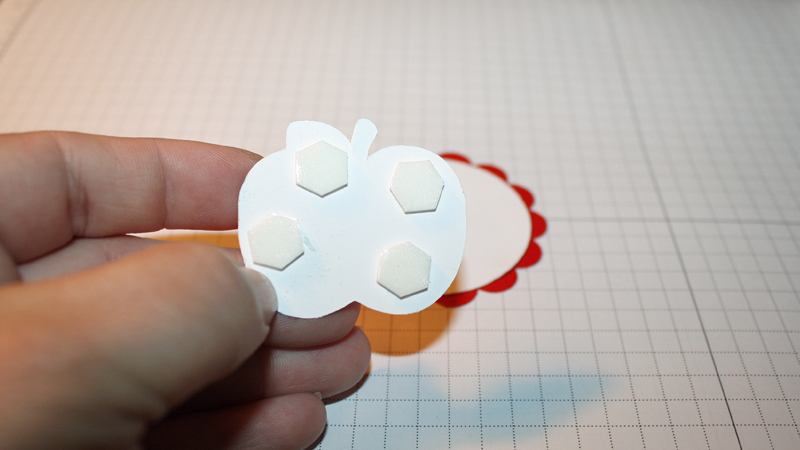
Add pop dots to the apple for dimension. I have tons of pop dots on hand because I love the layered look.
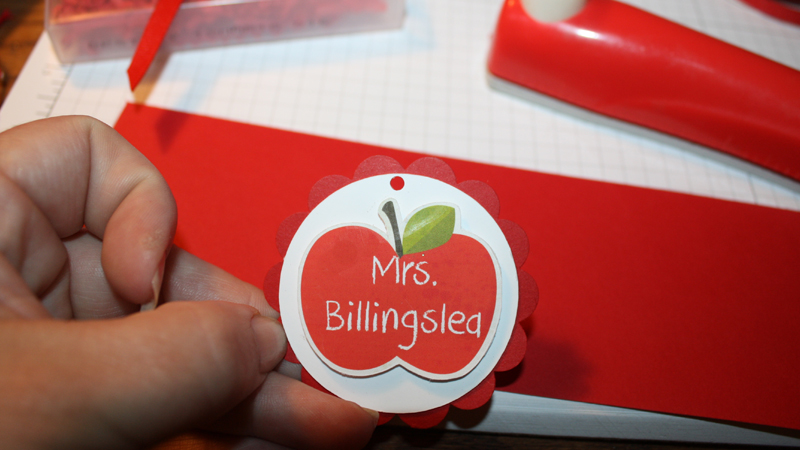
Use the tiny circle punch to punch a hole for the ribbon to go through.
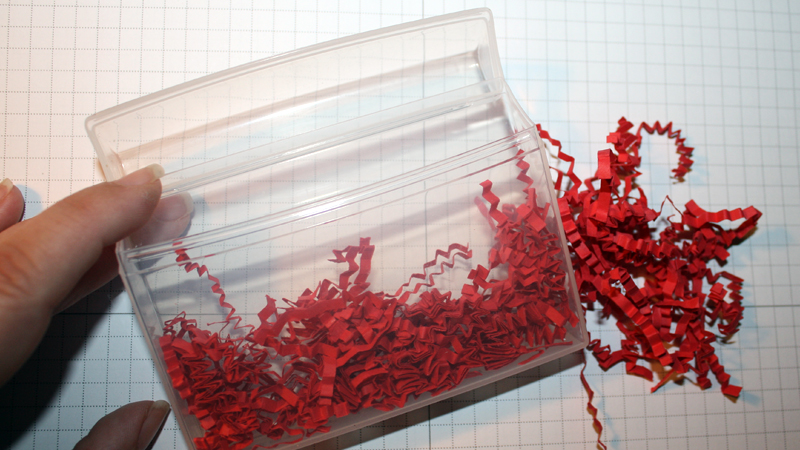
Before adding the gift card, add some of the shredded tissue to the bottom. There are so many different colors and you can find them for a $1.00 a bag at the Dollar Tree.
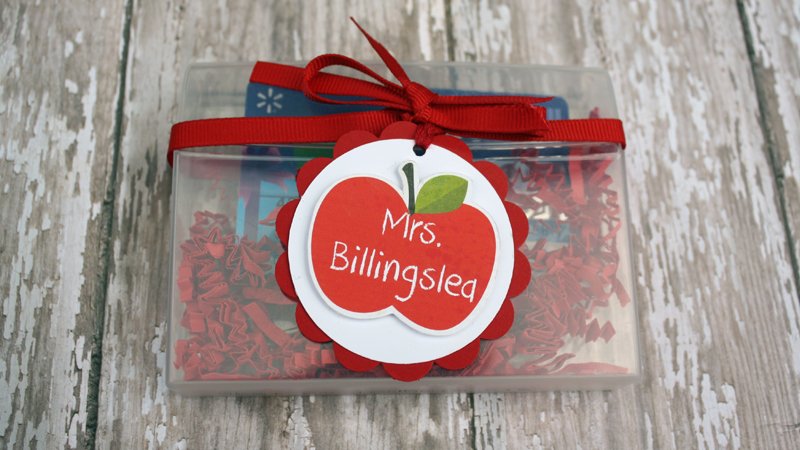
After adding the gift card, attach the tag with ribbon of your choice. Isn’t this a super cute way to give your child’s teacher a gift card?
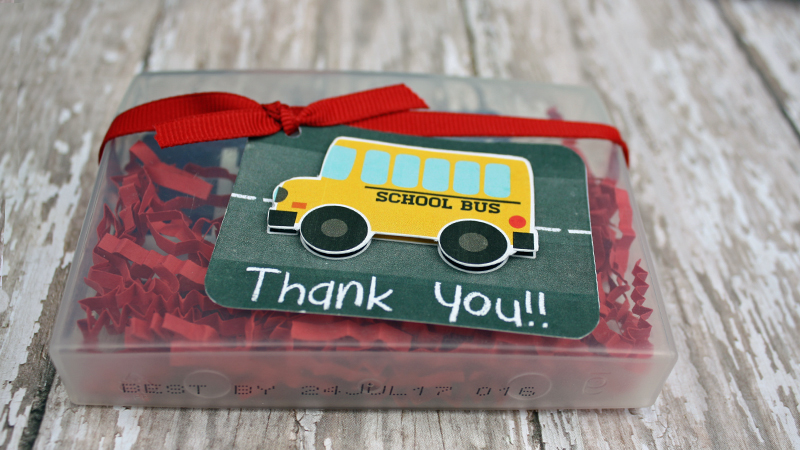
Oh and don’t forget the bus driver. Because of them, the kiddos get to and from school safe and sound.
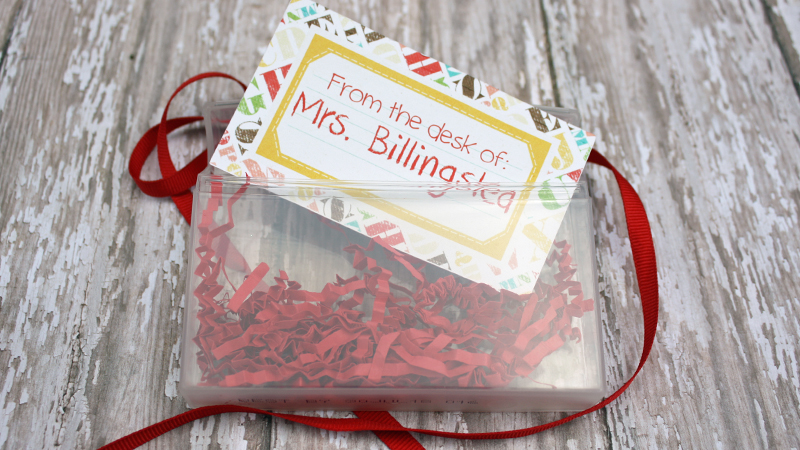
For this one, I created little note cards for the teacher to use next year. Imagine them stapled to the top of your child’s work. This simple gift even without a gift card would be very sweet.

I hope that you have enjoyed today’s Hybrid How-To here on The Digital Press’ Blog. Now it’s your turn to create something fun!
I hope that you have enjoyed today’s Hybrid How-To here on The Digital Press’s blog. Now it’s your turn to create something fun (with or without a cutting machine)! If you would like to earn points toward TDP’s monthly challenge system, visit the corresponding monthly Hybrid Challenge in the forum’s CROSSWORD SECTION (you’ll find it stickied up near the top during May 2017). We’d love to see your creations!

About the Author Tanya is a part of the hybrid team here at The Digital Press. She has been hybrid crafting for at least 14 years now, and loves creating and sharing those creations with others. Her all-time favorite tool is her Silhouette Cameo. She has been married for 28 years to her high school sweetheart, Richard and has two sons: Chris, 25 and Chance, 20. She also enjoys crocheting, photography and woodworking