Author: The Digital Press

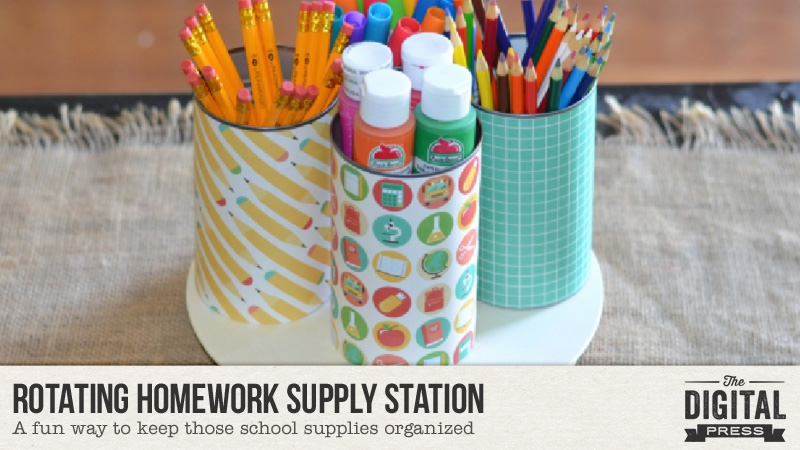
Tutorial Tuesday | Rotating Homework Supply Station


Today I’m here to help teach you how to make a super easy project — a rotating homework station. This is a great way to keep all those school supplies in one place! It’s a really easy project, too… as we’ll basically just turn a lazy susan into a turntable homework station, using our favorite school-themed digital scrapbook kit.

Supplies Needed:

  • turntable & wood top
  • 4 soup cans (or similar; I used 26oz soup cans)
  • ribbon (optional)
  • magnets
  • scissors
  • school supplies
  • printer
  • card stock
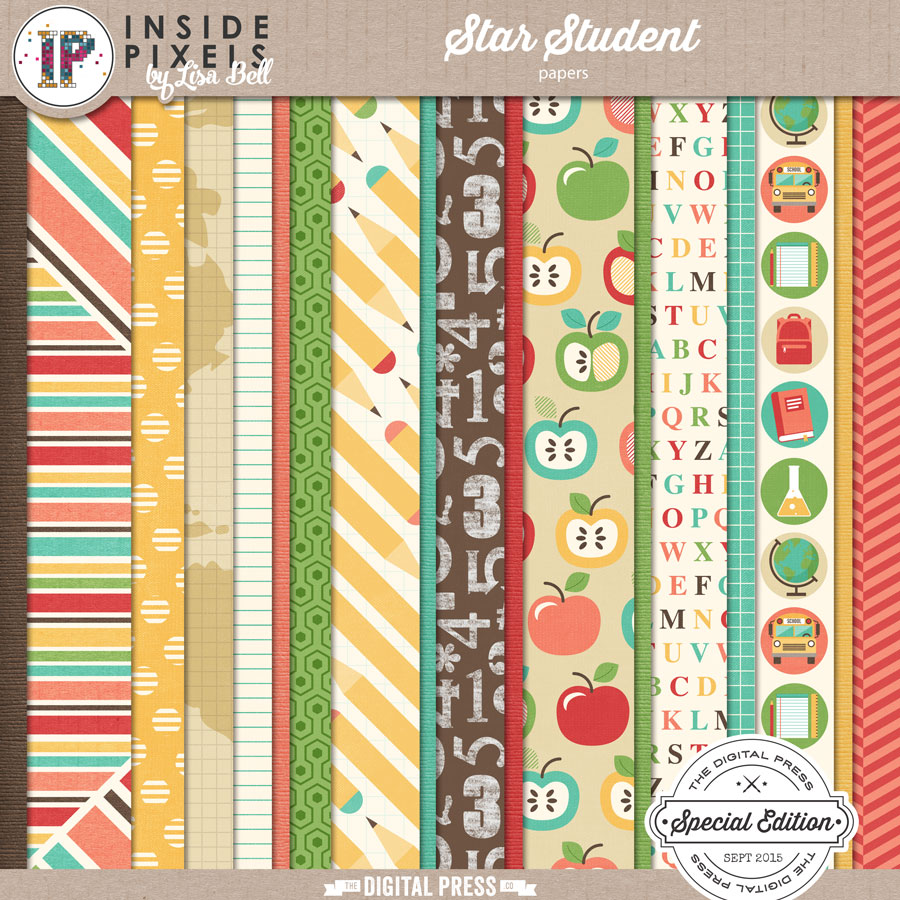
  • digital papers (I used the following school-themed papers —  Star Student papers by Inside Pixels by Lisa Bell)…


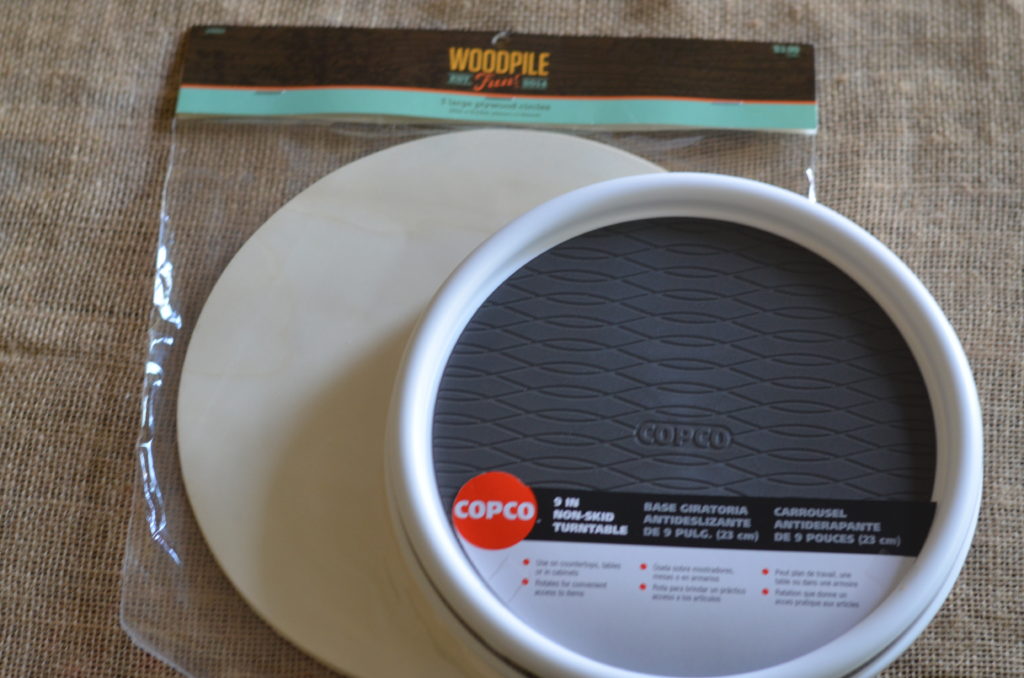
Here’s a look at my supplies for this project. I chose to use 4 – 26oz soup containers; you could choose smaller cans and use one or two more, or you could even choose 3 larger cans… it’s up to you!)…


I purchased my 9″ turntable from Amazon. You can also find them at most kitchen supply stores. I wanted my platform to be a bit larger than the turntable, itself, so I added a 10″ round wooden top to my turntable.


Once the platform was secured to the turntable, I glued magnets on the top in the places where my cans would be placed.

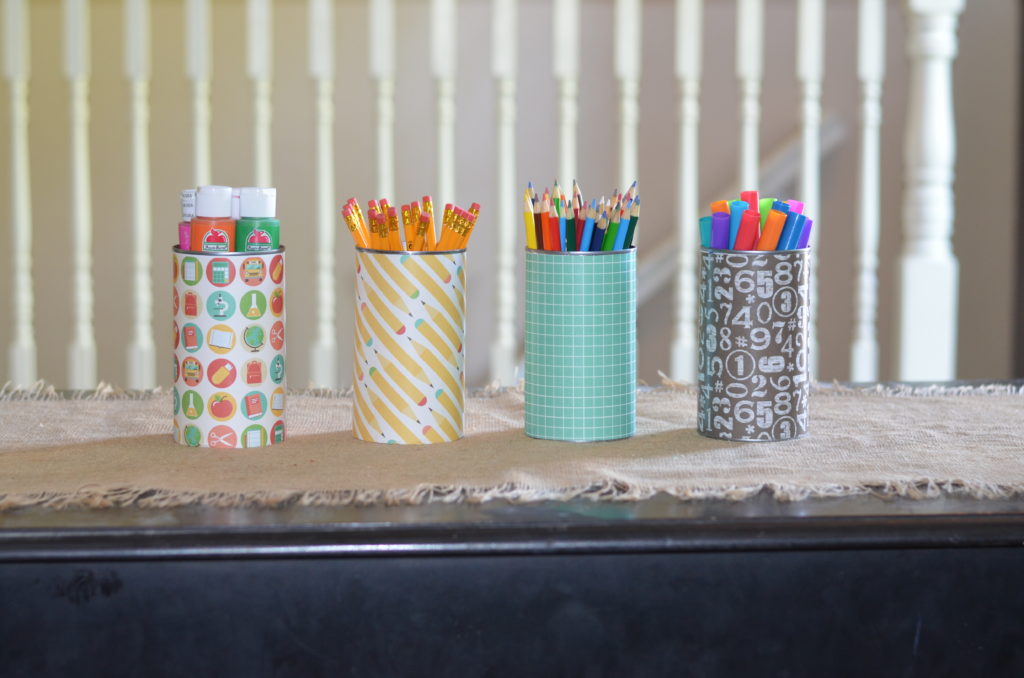
Next, I printed some of the fun Star Student papers onto my card stock, and then trimmed them to fit my cans.

*TIP* When attaching the papers to your cans, you can hot glue the seams… or even just use glue dots to adhere the papers straight to the cans. You can even add a ribbon around the top of the cans, if you wish, as decoration (I didn’t).


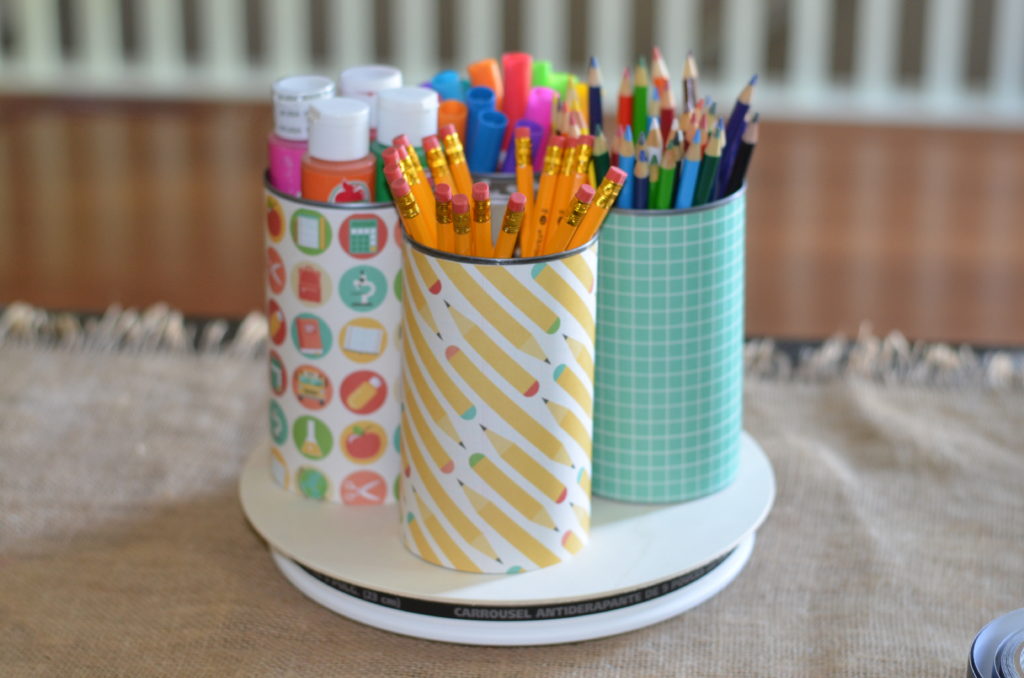
Once the paper was attached to my cans, I placed the cans on the top of the magnets to hold them in place — to keep them from tipping over when rotating the turntable.

After that, we’re finally ready to fill the cans with our school supplies…


You can fill this with supplies for a teacher gift, use for a homeschool organization, college desk, craft area or anything else you can imagine!

If you have a central location where supplies are kept neat and tidy, it will be much more simple to finish your homework efficiently. Let me know if you give this a try… I’d love to see your results!


Terresa

About the Author  Terresa is a mother to 5 beautiful children. She loves capturing memories with her digital camera and creating a visual family memory book to be enjoyed and treasured. She enjoys designing and creating personalized items for her home and children. Other interests are crafting and gardening, and you will often find her enjoying the outdoors and soaking in the beauty of nature.

Hybrid How-To | Make Your Own Washi Tape

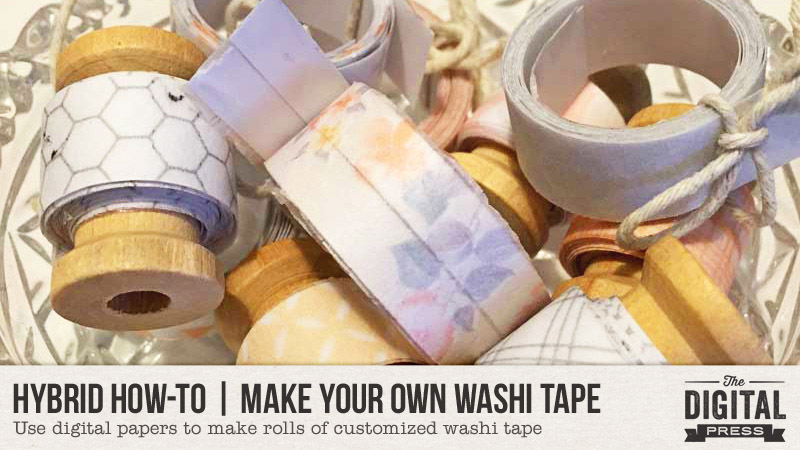
Washi tape has been a trend in scrapbooking for quite a while now, and I’ll admit to having quite a stash. I have about 3 favorites that I tend to use on every project, however… so I decided to make my own shorter versions using digital papers. I’m here today to teach you how to do the same!

STEP 1 — First, gather your supplies:

  • Tissue paper
  • Double-sided tape
  • Scissors
  • Digital papers (I used papers from Family Time by Meg Designs, and also from Count On Me by Anita Designs)…

STEP 2 — Next, in Photoshop you will open up a page as big as your printer will print. Pull a few of your favorite papers into Photoshop, and make strips down the page, as shown here…

*TIP* make the strips a little wider than the width of your tape, in order to leave some room in case you don’t lay the tape exactly straight in STEP 5

You may need to resize the papers, making them smaller and overlapping them, in order to create the right size pattern for the thin strip. If you look at the blue damask paper, above, you will see that the pattern really needed to be smaller to get the damask effect on the thin tape strip… so I shrunk the paper down, duplicated it, and overlapped it to get the repeating pattern correct.

Here’s a look at my final document in Photoshop, before I printed…

STEP 3 — Your next step will be to cut the tissue paper to the size of the paper that will go through your printer, and secure it to the end that feeds into your printer with double sided tape (I use thinner tape for this). This is because the tissue paper won’t usually feed through your printer on its own, without getting all jammed up (it’s just not thick enough). Adhering it to a thicker piece of plain copy paper ensures that it will make it through the printer without jamming up.

*TIP* I also iron my tissue paper slightly on a low setting (no steam), to ensure that it’s really flat — but this isn’t mandatory.

STEP 4 — Now you will print as many copies as you like, depending on how long you want your tape rolls to be.

STEP 5 — Attach your double-sided tape to the back of the printed tissue paper strips, joining the papers if you printed more than one sheet of the same pattern…

STEP 6 — After that, you will trim each of your new tape strips, cutting off the excess tissue that is wider than the double-sided tape. After that, you just need to roll up the strips…

STEP 7 — Have fun playing with your new tape! You can use your “limited edition” washi tape strips on everything from scrapbooking layouts… to hybrid cards… to planner pages… or anything else you can think of!  🙂


amandajane About the Author  Amanda found digital scrapbooking in 2006, as a paper scrapper who was frustrated with the limitations of paper scrapping products. She now loves to combine paper and digital products and techniques for her pages and projects. She is the wife of a Naval Officer and has two teenage children. She lives in Australia, and has also lived in the U.S and Malaysia and loves that she has had the opportunity to travel the world with her family.


Feature Friday | La Belle Vie Designs


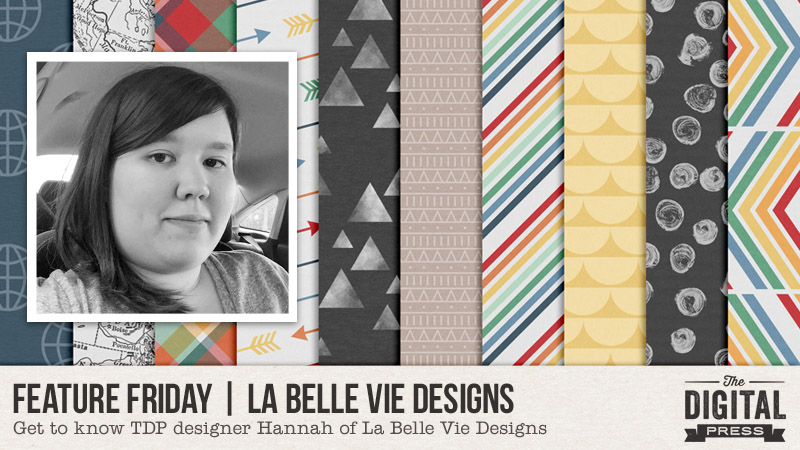
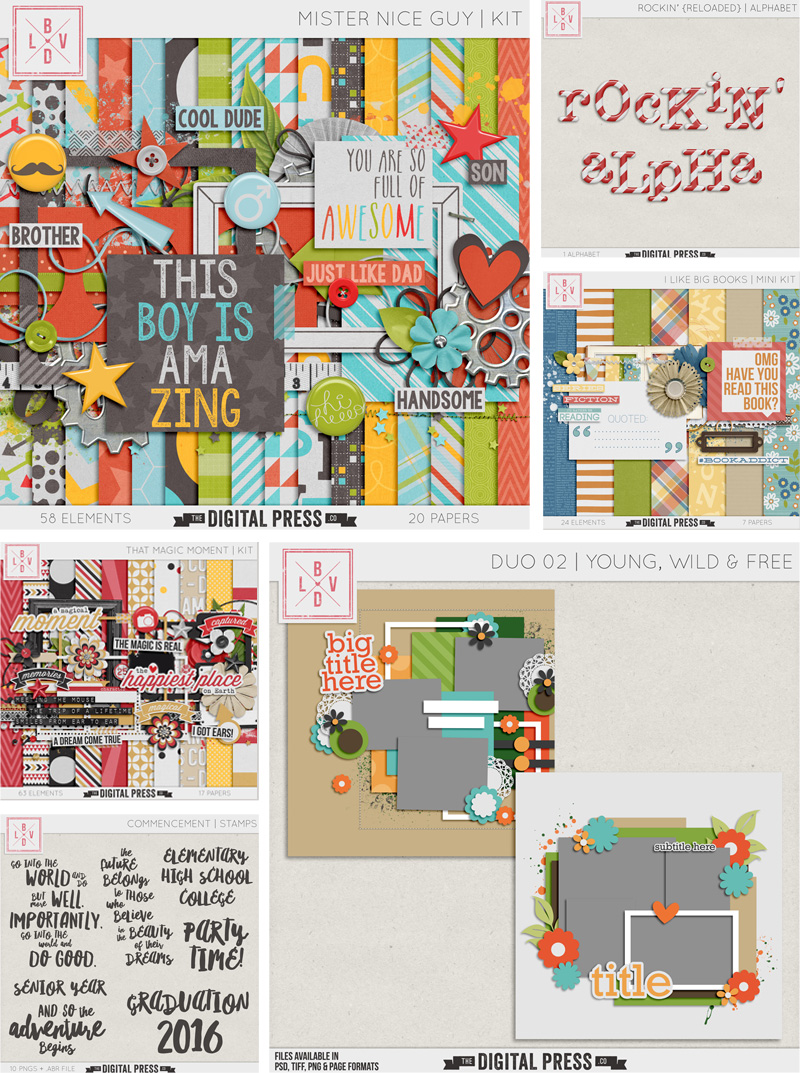
Welcome to another Feature Friday! This week, we’re excited introduce Hannah of La Belle Vie Designs. Hannah’s kits are always full of fun patterned papers, but she doesn’t stop there. Hannah also creates great alphas, wordart, stamps, and templates. You’ll find all sorts of scrapbooking components in her store at The Digital Press — it’s a one-stop shop! The color palettes are always full of fun, bright colors… with kits for both boys and girls.

Here are a few of my favorites from La Belle Vie Designs…

One of the things I really love about being a part of the digital scrapbooking world is getting to know the designers. They’re always so willing to share a little bit about themselves. I asked Hannah a few questions to get to know the designer behind the La Belle Vie label. Here’s what she had to say…

Where do you live?
Minnesota. I’m about a half hour outside of St. Paul and Minneapolis, so we’re far enough away to enjoy the peace and quiet (but not too far away for a football game or the Farmer’s Market!).

When you’re not designing, what do you do with your time?
I’m a SAHM to four awesome little monsters (three girls and one super-spoiled little boy), so my free time is really limited 🙂 LOL On the rare occasion that I do have some time to myself, I like to read, bake cupcakes, and binge watch all things on Netflix (right now I’m re-watching Gilmore Girls).

What are five tidbits of trivia that we might not know about you?
—I absolutely love coffee, but I couldn’t stand it while I was pregnant with Liam (my youngest). It was kind of horrible — ha ha!
—I hate wearing socks! Wintertime is torture for me!
—I met David (my fiancé / partner in crime / laundry-folder-extraordinaire) by accident …literally! I was teaching my younger sister how to drive, and she hit his car. No one was hurt and there wasn’t really that much damage to the car, so I figured I’d probably never see him again. Clearly, he had other ideas. 😉
—I’m a history nerd. It was always my favorite subject in school, and I’m almost always reading some sort of autobiography or historical non-fiction book (right now I’m reading Washington: A Life by Ron Chernow).
—I love grocery shopping. Seriously. Probably sounds weird, but there’s just something about it that I love. It probably helps that most of the time I go by myself, 😉

Which of your products is your favorite?
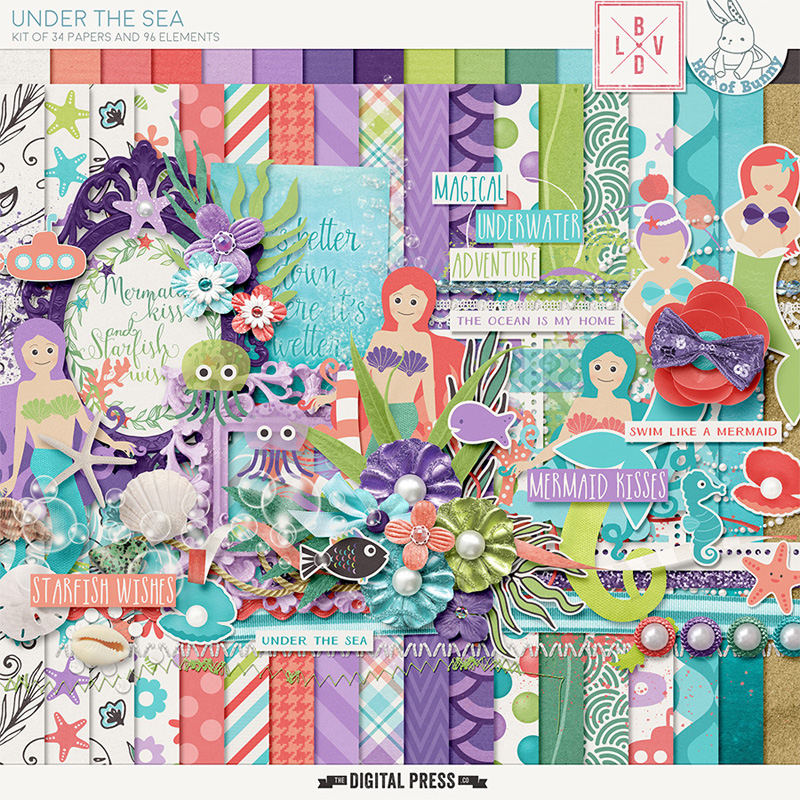
Grace (Hat of Bunny) and I recently worked together again, and I love our most recent collab kit Under the Sea! The Little Mermaid has always been my favorite Disney movie, so I was excited to add an Ariel-inspired kit to my Disney-themed collection…


Isn’t that a great kit? I don’t see purple too often, but this works so well with the theme.

While I was looking through her store for items to share, I also compiled a few of my favorite layouts so you could see what people have created when using her kits…


If you haven’t already browsed through the La Belle Vie Designs shop here at The Digital Press… definitely check it out this week, because her entire shop will be 30% OFF through the end of next Thursday night (sale will end at 11:59pm ET on Thurs 8/25)!


KatAbout the Author  Kat Hansen is a creative team member here at The Digital Press. A Director of Human Resources by day, she loves the opportunity to spend a few hours each day being creative. Vacation memories feature pretty heavily in Kat’s scrapbooking pages, as do her son and “daughter” (of the four-legged furry kind). Kat has quite the sense of humor (she “blames” her father for this), which she incorporates into her journaling and memory-keeping.

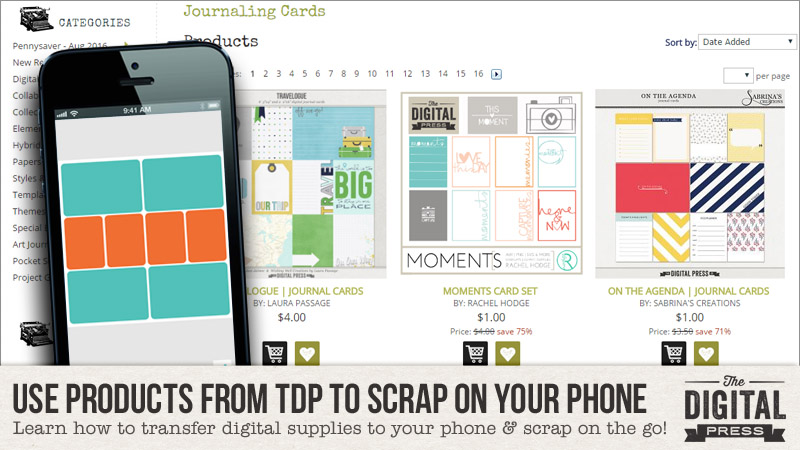
Tutorial Tuesday | Use Products from TDP to Scrap on Your Phone


Here at The Digital Press, we love memory-keeping. We know that if you’re a fan of The Digital Press and you’re reading this, that you likely love memory-keeping, too.

With that said… life is busy. Things are always crazy, and there are never enough hours in the day. Never ever. We get it.

As such, it’s soooo easy to fall off of the scrapbooking bandwagon… and so easy to start to feel “way, way, way behind” when it comes to scrapbooking your cherished photos and memories. We’ve all been there — and sometimes, the task starts to feel insurmountable. The feeling of “I will never get caught up again!” can simply overwhelm.

About two years ago, one of our colleagues in the memory-keeping and scrapbooking industry — Becky Higgins of the Project Life brand of products — launched a completely revolutionary mobile app that made it possible for all of us to use our mobile devices to create scrapbook pages. If you haven’t yet checked out this app, you should definitely take a peek.

We’ve known Becky and her team for years now, and have simply loved watching this app — and her brand — take the scrapbooking world by storm. She has a passion for making memory-keeping something that is simple, quick, and effortless for everyone… and we adore that. Here’s a look at bunch of our team members from here at The Digital Press, meeting with her at the Craft & Hobby Association convention back in January 2015, where she excitedly showed us features of the (at the time brand-new) app…
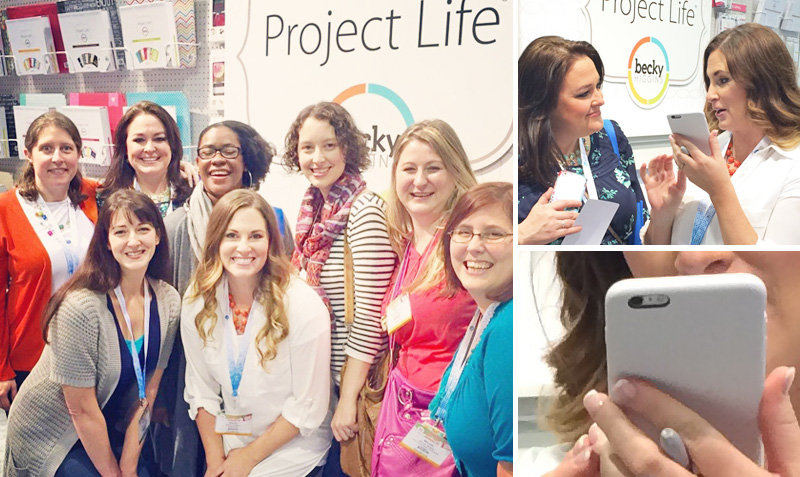
 

[ group photo: (top L-R) Laura Passage, Danielle Engebretson, Karla Dudley Noél, Shannon McNab, Mari Koegelenberg, Nicole Seitler;
(bottom L-R) Kelleigh Ratzlaff, Becky Higgins ]

For those of you who have used this app on your mobile device… you know how easy it is. And it’s definitely a game-changer, because it allows you to productively use all of those little chunks of time that would otherwise be wasted (think: waiting rooms at doctors’ offices… sitting in the car line at your kids’ school for 20 minutes at the end of the school day… etc.) — to instead accomplish something, such as scrapbooking your photos, using the device that’s in the palm of your hand! 🙂

But did you know that you can use any digital scrapbooking products you like (not just the cards/etc. that are available in the app itself)?

We’re here today to show you just how easy it is to transfer your favorite digital scrapbooking products to your mobile device… and then import/use them in the Project Life app. Today’s tutorial — written by Laura, Erin, and Jen — is PART 1 in a 3-part series that will be on The Digital Press blog in the coming weeks… a series devoted to helping you use products from The Digital Press to scrap on your phone.


PART 1 — TRANSFERRING YOUR DIGITAL STASH TO YOUR MOBILE DEVICE

If you’ve used the Project Life app, you know that there are already pocket cards available within the app. Some are included in the app itself, for free… and others are available as in-app purchases. While this is awesome, and convenient… it can also become costly when you’re constantly making $1 and $2 purchases every time you’re working on a themed page and need a card to match.

Most of us, however, already have lots of fun scrap goodies sitting on our computer’s hard drive — stuff we want to use, but simply haven’t ever had time to use.

The exciting news is that you can use most of your own scrap stash in the app! Uploading your own scrap stash for use in the Project Life app is so much easier than you think.

For the purpose of today’s tutorial, we’re going to focus on transferring pocket cards to your mobile device… and then importing and using them in the app (in the future editions of this tutorial series, which are coming soon, we’ll show you how to use other items, as well).

This month, there is a FREE pocket card set available at The Digital Press [download expired 8/31/2016]. We’ll be using it in this tutorial; if you’d like to follow along. 🙂
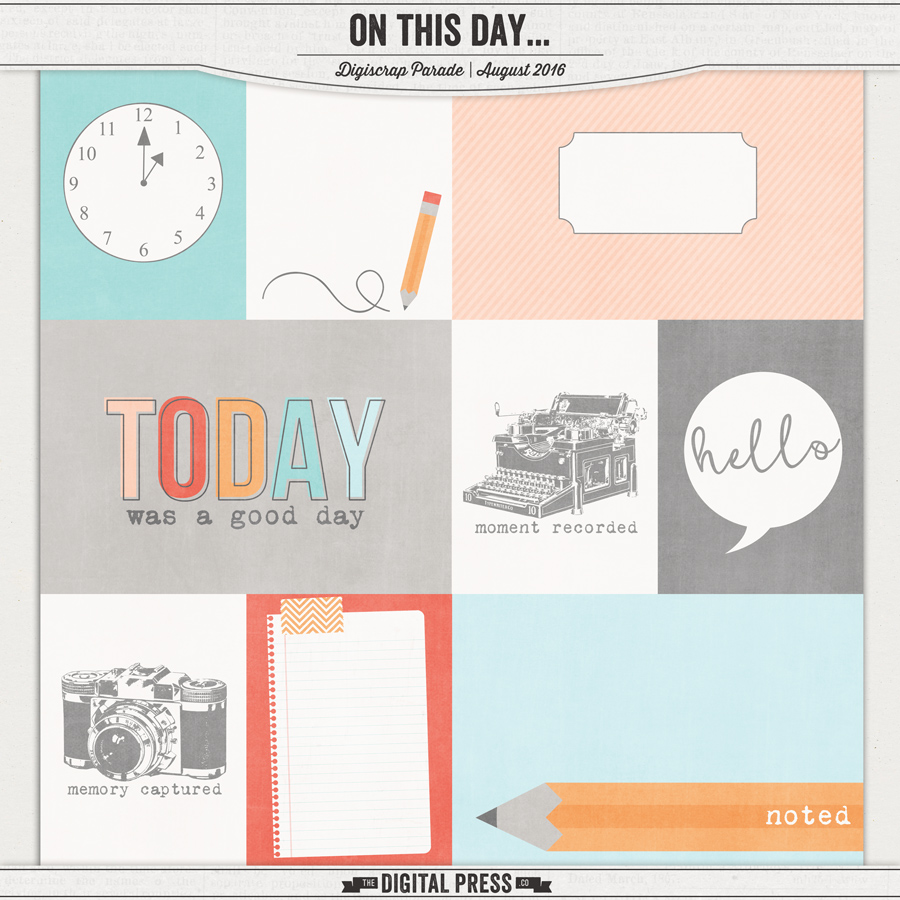


1.  First, download the cards to your computer’s hard drive. Then, unzip the file and organize the included images however you desire. This is what Erin’s cards looked like on her computer’s hard drive after she unzipped them…
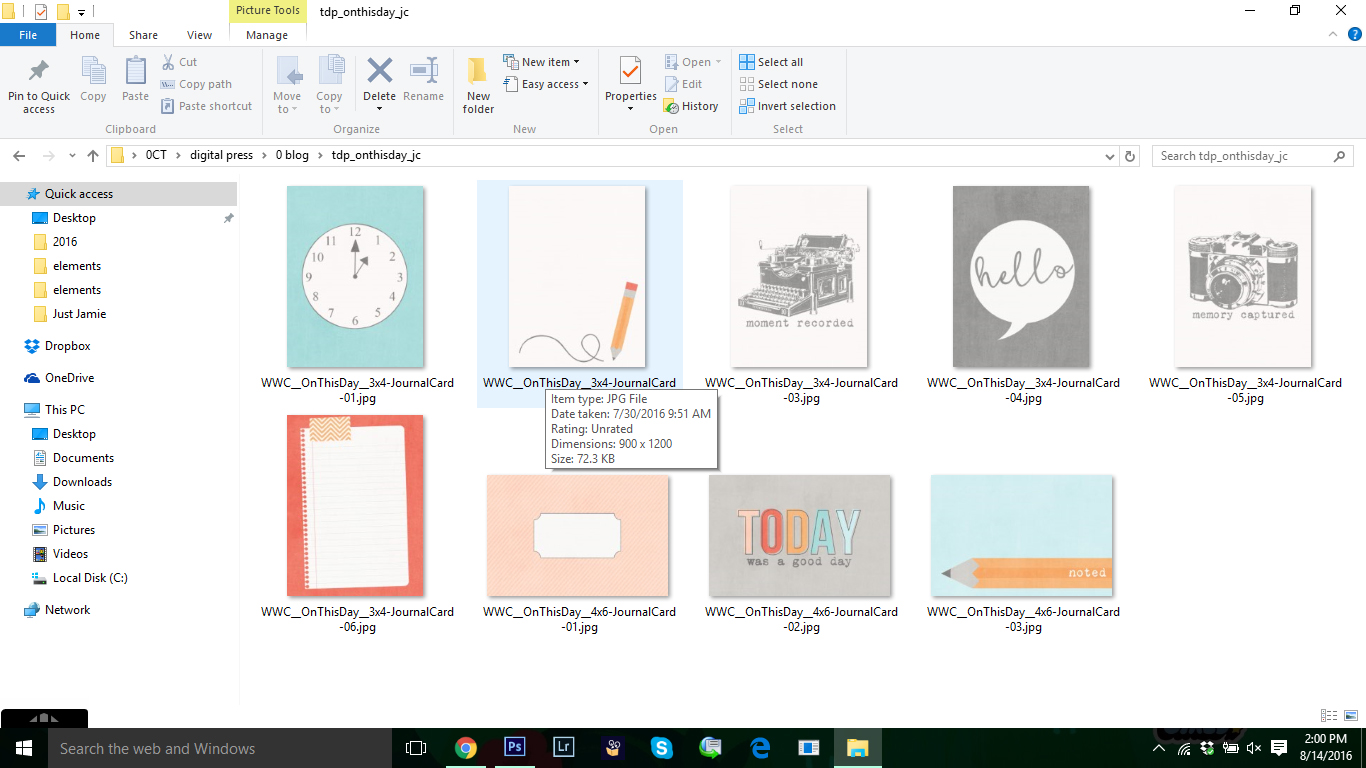


Erin likes to keep all of her TDP goodies together in one folder so that she can find them more easily. You could also create a folder full of all of the journal cards you wish to use for mobile scrapping… or you could organize in folders by designer name… or by theme… etc. It’s totally up to you!


2.  Next, you’ll transfer your files to your mobile device… using an online file sharing program. The three of us all prefer to use Dropbox, but there are a variety of file sharing services out there (*NOTE* Dropbox is handy because the Project Life app actually lists Dropbox as an option when you choose your photos/images… so it’s integrated right into the app). No matter what service you choose… make sure to use one that you can access from both your computer and your phone/mobile device.
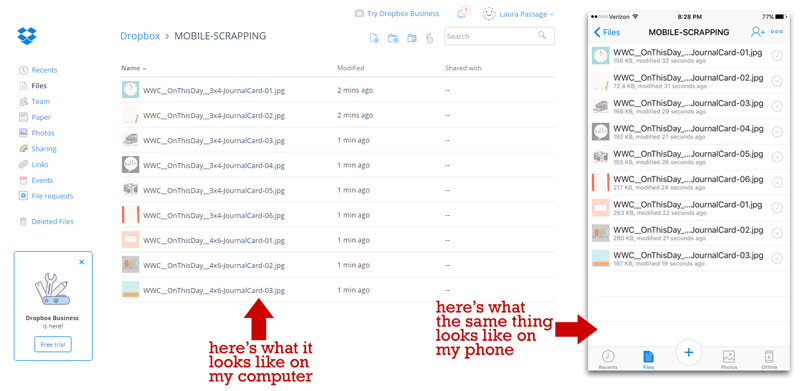


Shown above, Laura’s process for using Dropbox to transfer files from her computer to her phone is as follows: (a) she opens Dropbox on her computer, first, and creates a folder called “MOBILE-SCRAPPING” in her Dropbox account; (b) then she uploads the files from her computer’s hard drive to that same Dropbox folder; (c) next, she opens Dropbox on her phone and finds those same files in the “MOBILE-SCRAPPING” folder; (d) she saves each file to her phone by opening it in Dropbox and choosing “save image”.

**TIP** If you save your images onto your phone itself, we recommend creating an album (or albums) on your phone in which you can store your digital scrapbooking supplies. Depending on your phone’s operating system, you can do this manually; on an iPhone, you just click on “albums” within the photo app, and then click on the “+” sign in the top left corner and you can create a new album and name it anything you like.


3.  You can also leave your images in Dropbox (as opposed to actually storing them on your phone, as described in 2(d), above)… because the Project Life app actually gives you the option of opening images straight out of Dropbox. More on that in the next few steps…


4.  Now you’re ready to begin using your pocket card images in the Project Life app…
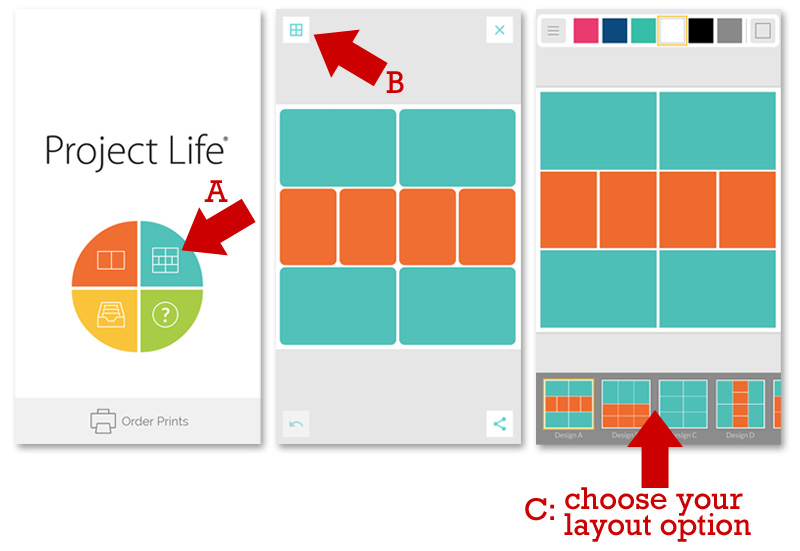


Open the app on your phone (or tablet)… click on the blue top-right layout creation option (A, on the above images)… and then use the button at the top-left (B, on the above images) to toggle open a layout selection menu (C, on the above images). Choose your layout design option.

Once you have your layout option selected… simply click on any of the blocks on the layout in order to “fill-in” that block. When you do, the app will zoom-in to that block and give you 2 options, as shown here (D, on the following image)…
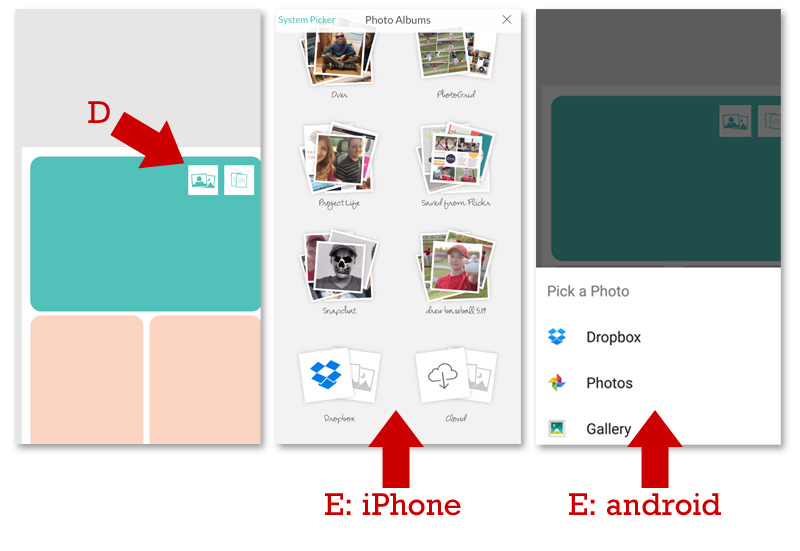


Shown above (D, on the far left image), the app gives you two options for filling any of the blocks in your layout design: photos (left) or cards (right). If you choose the cards option on the right, you are able to use any of the cards that are built-in to the Project Life app. For the purpose of this tutorial, however, you will be choosing the photo option on the left.

When you click on the photo option… your phone will open a menu to allow you to find and select the photo that you want to use (E, on the above images); note the difference in interface between the iPhone version of the app (center image) and the android version of the app (right image).

Here’s the trick — you’re not actually adding a photo. You’re adding a card… but because you’re importing the card from outside of the Project Life app, the app will view it as a “photo.” Therefore, you’ll use the photo option… and then you locate the image you want to use (which is one of the cards you’ve imported/saved in Dropbox and/or on your phone, itself).


5.  Fill the blocks on your layout with cards and photos…
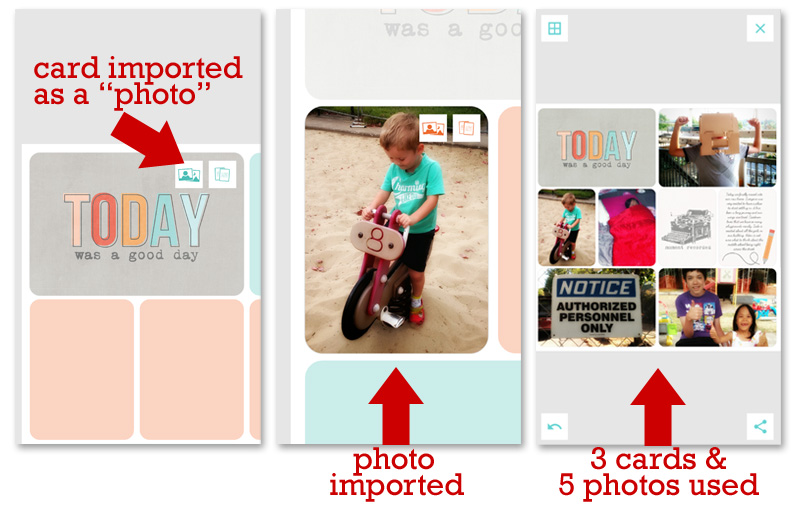


In the images above, you can see Erin’s step-by-step progression from “empty layout design” to “completed page” as she clicks on each block within the layout and fills it with either a card or a photo.

You’ll also notice that she added text to one of the cards (the pencil journaling card). Currently, this can’t be done directly in the Project Life app (you can only add text to the in-app cards… but not to photos). Thus, we’ll detail the process of adding text to cards from your own digital stash in the next installment of this series (coming September 6 to The Digital Press blog, so stay tuned!). For now, however, we’ll just mention a few of the other apps that we have used to quickly and easily add text to our cards from our phones: Over, Letterglow, Textgram, and the Rhonna Designs app.


6.  Once you have created a page you like… it’s time to save your layout and export it as a high-resolution image.
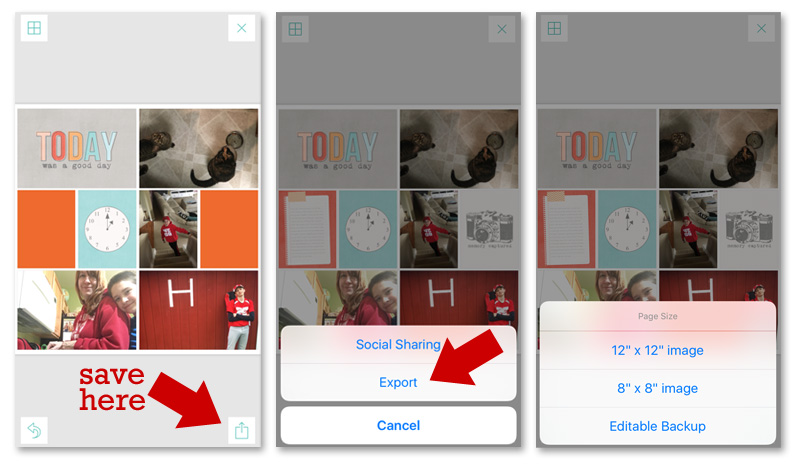


In the images shown just above, you can see Jen’s process for saving her completed page as a high-resolution image. First, she clicks on the button at the bottom-right corner of the app. Next, she chooses “Export” — and from there, she is able to choose an image size (12″ x 12″ or 8″ x 8″).

Once she chose a size, her phone prompted her to choose a location to save the final image. It is possible to save it to the user’s camera roll, or to Dropbox, or even to send the page off to be printed (yes, that’s right — you can order prints straight from the Project Life app, if you want to).

Here’s a look at 2 finished pages — one by Jen, and one by Erin — both created using the Project Life app, as well as the card set shown in this post…
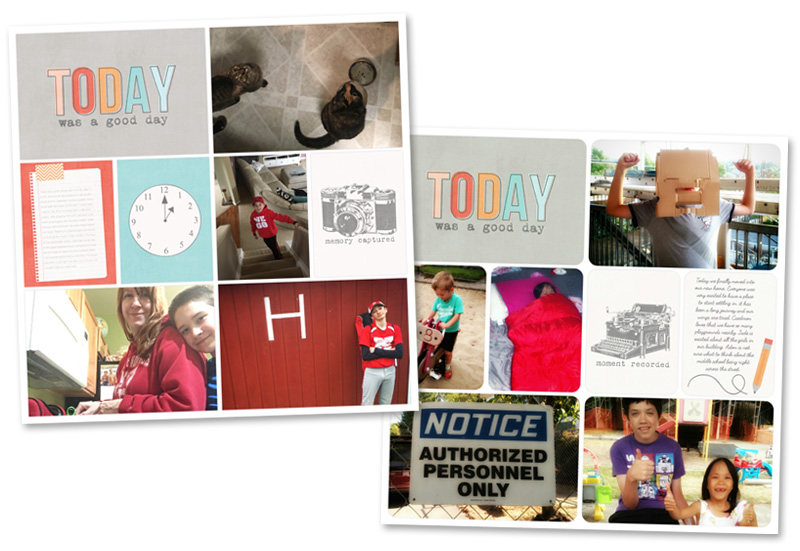


This final step of saving a high-resolution copy of your image will also come in handy when we get to the 3rd and final installment of this series (coming in late-September to The Digital Press blog, so stay tuned!) — in which we will teach you how to use this app, along with your TDP scrap goodies, to create non-pocket style pages, as well.  🙂

Sounds exciting, right? IT IS! The idea of creating non-pocket style pages in this app is something that expands the possibilities of this app in a way that is just awesome. Freeing. Liberating, even. The flexibility to scrap in numerous styles from the palm of your hand is just way too cool. We can’t wait to continue this series!

For now, however, today’s PART 1 post should ensure that you are all set to make some basic pocket pages on your phone using all of your favorite scrap goodies from The Digital Press! Enjoy, and happy scrapping!


Laura PassageAbout the Authors

Laura Passage is the owner of The Digital Press, and also the designer behind Wishing Well Creations by Laura Passage (WWC). She works now as a graphic designer in both the digital and paper scrapbooking industries, but previously spent over a decade working as a college soccer coach. She lives in the Pacific Northwest with her husband and two young sons (affectionately referred to as The Tiny Terrorists), and will rationalize eating coffee ice cream for breakfast to anyone who questions it.

Erin


Erin is a work from home mom of three living in Thailand. She loves playing with her kids and anything artsy. She can often be found knee deep in toys with paint on her face. She is slowly learning the meaning of living an authentic life, and enjoying every minute of the adventure.


Jennifer Hignite


Jennifer Hignite is a mom of three boys and new homeowner with her fiance in the mitten state of Michigan. When she is not scrapbooking, she enjoys photography, decorating, and shopping at Target.
Feature Friday | Wildheart Designs


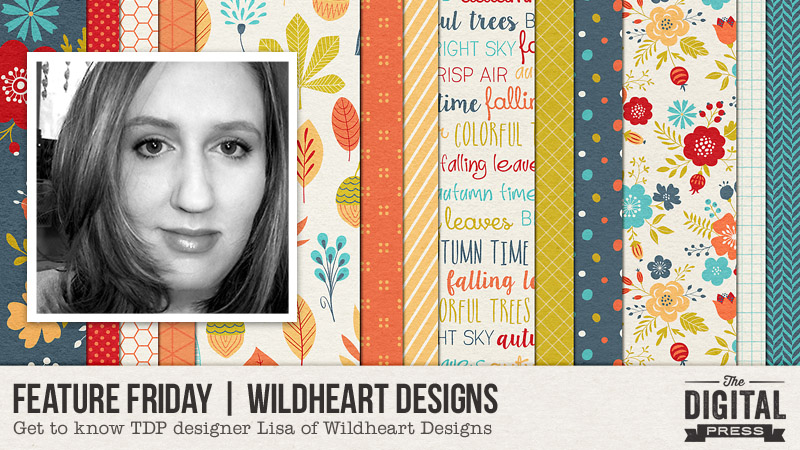
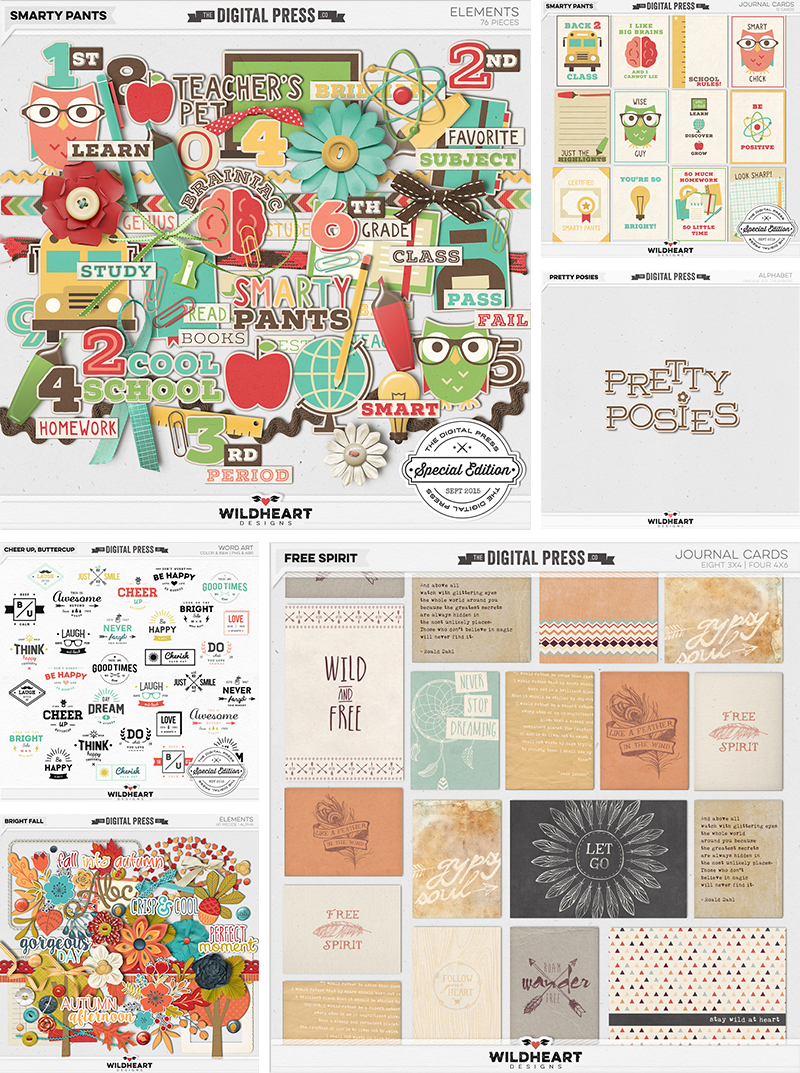
Happy Feature Friday! This week, we’re excited to introduce you to Lisa of Wildheart Designs. Lisa creates digital products that have a traditional paper-realistic style, with lots of textured elements that can be layered on top of each other in Photoshop, as well as fun themes and bright colors. Her kits are almost always bright and colorful and fun to work with.

This is just a small sampling of the inspiring product offerings you’ll find in her store here at The Digital Press…


And now, let’s get to know Lisa a little better! We asked her to answer a few questions so we could learn more about her…

Where do you live?
I recently moved back to my hometown in Florida, after 15 years in Utah. 🙂 Talk about a climate change!

When you’re not designing, what do you do with your time?
I hang out with my family… binge-watching Netflix, reading conspiracy theory books, working on my epic ghost romance novel series, or plotting ways to make my 4-pound chihuahua and Chiweenie dogs instafamous.

What are 5 tidbits of trivia we might not know about you?
I’m afraid of birds. Not so much pretty birds like parrots or parakeets in nice cages that don’t fly around… but wild birds, like seagulls, pigeons, etc. If we go to the beach or the park and there are a ton of birds hanging out, I freak out. The sound of flapping wings, uuuggghh. It makes my skin crawl.
I recently discovered coffee. I’m almost 40 and never been a coffee drinker until recently. I was like, “where have you been all my life?” I’m in luuurvvveee!
I have ADHD. While controversial to admit these days, since opinions about it vary greatly, I was just recently diagnosed at 39 and it has changed my life and how I look at it. I have a lot more self-compassion and I better understand the struggles I’ve had over the years. It also runs in my family, and it’s really helped us all grow closer, understand our challenges and develop strategies to compensate. I’ve learned to accept and even love my ADHD tendencies! Although it makes it tough to design on a regular basis and my releases can be sporadic, I try to embrace inspiration whenever it strikes.
I don’t know how to ride a bike. We grew up in a scary part of town when I was kid, so I never learned. By the time we moved, I was a teenager and wasn’t interested in learning. I do, however, have some mad scooter skills and still have my purple Razor from back in the early 2000s when scooters were cool. 🙂
I own over 20 pairs of Crocs. I ordered my first pair of Croc flip flops 8 years ago and fell IN LOVE. It’s like walking on marshmallows! I am a flip-flop girl and I cannot stand closed-toe shoes if I can help it, so I only own two of the “ugly” clog styles — the fur-lined slippers, and a pair of hot pink ones (because HOT PINK!). The rest are all sandals or flip-flops and they are awesome!

Which of your products is your favorite?
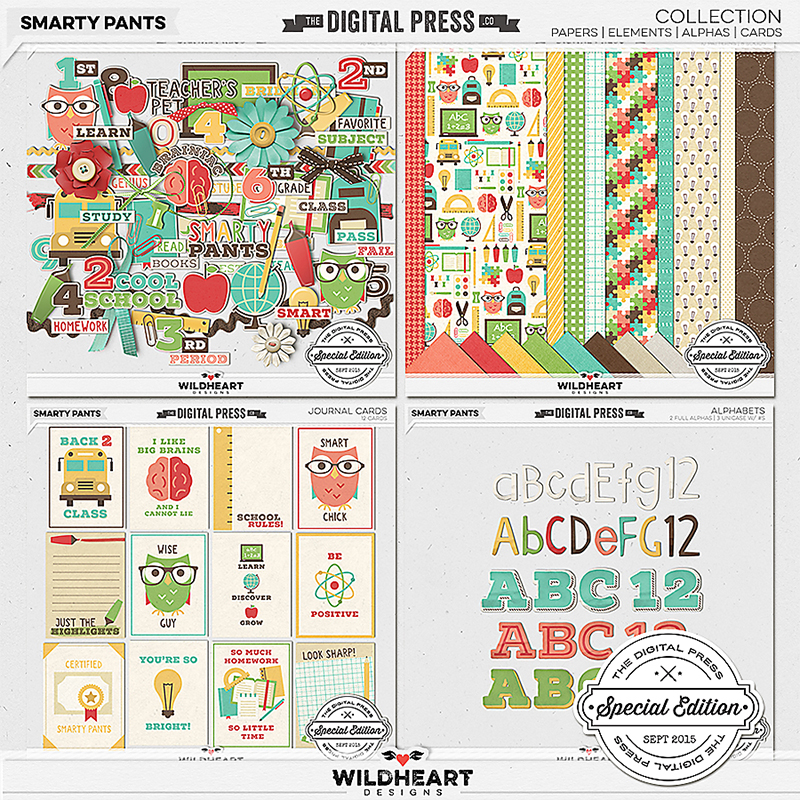
I would have to say my Smarty Pants collection, since the colors were from a Special Edition palette and I suck at color selection. The journal cards, especially, are my favorite!


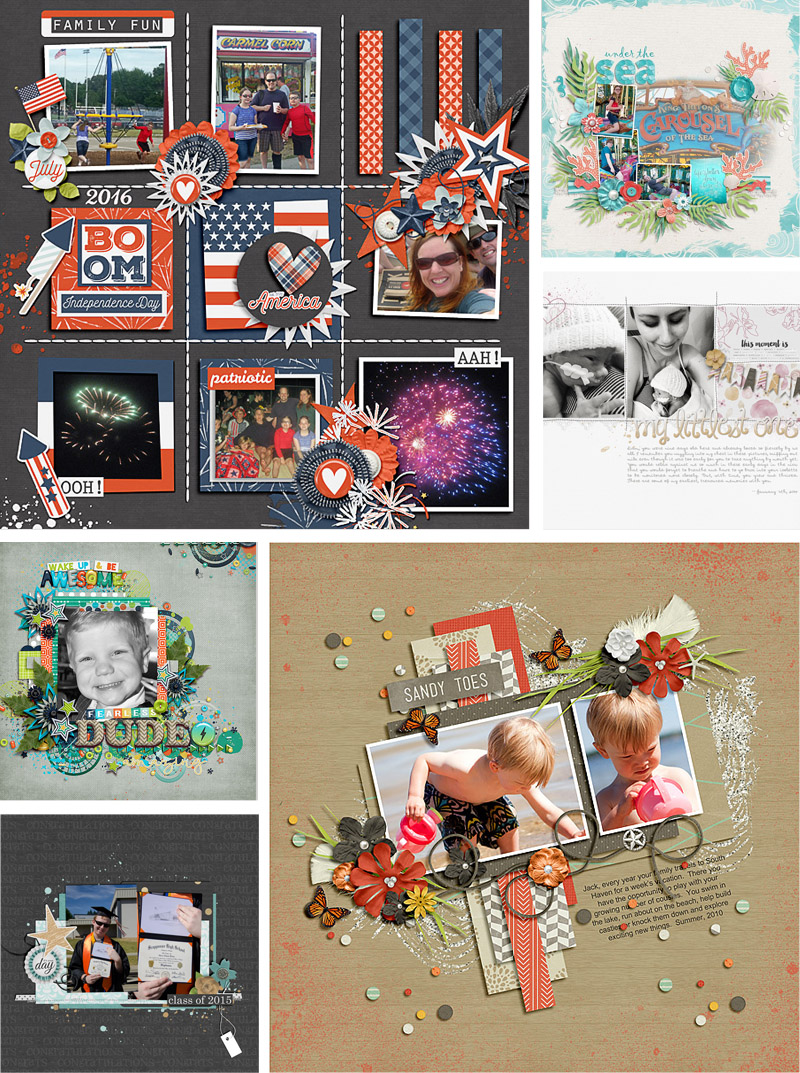
Here is a sampling of some of my favorite projects using Lisa’s designs…


If you haven’t already browsed through Lisa’s shop here at The Digital Press… definitely check it out HERE! You will want to take a peek this week, for sure, because her entire shop will be 30% OFF through the end of next Thursday (sale will end at 11:59pm ET on Thurs 8/18)!


LindyKrickbaum

About the Author  Lindy Krickbaum is a member of the creative team at the Digital Press. She is a happily-married wife, and best friend to her twin sister. She currently lives in Johnson City, Tennessee in the United States. Lindy is a self-admitted scrap-a-holic, rarely missing a day to scrap. She also enjoys designing jewelry, reading, and traveling every chance she gets.

Tuesday Tuesday | Masking With Gradient Tool

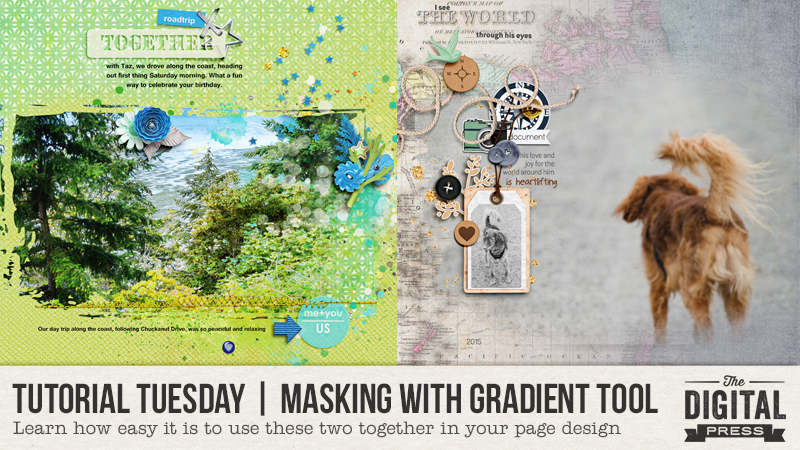
The next time you use a mask for your paper or image, try using the gradient tool to blend it into your background layer. Trust me, it’s fun and easy to do. Let me show you how!

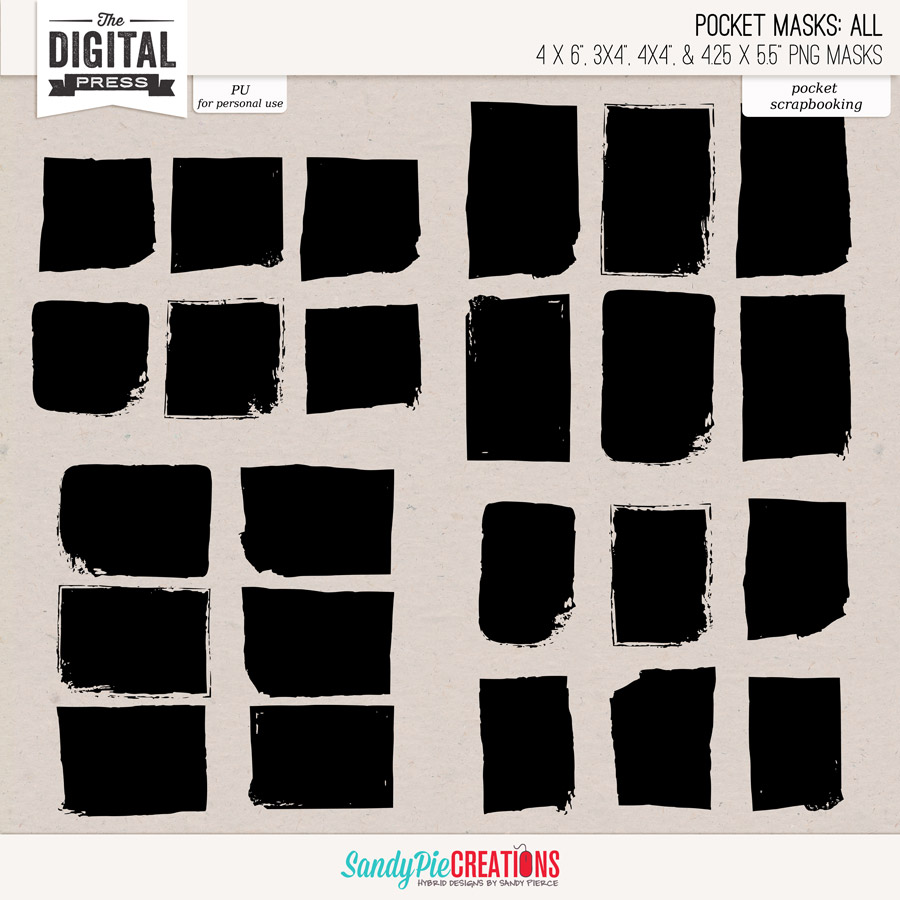
I have used Photoshop CC for my tutorial. I also used a mask from Pocket Masks by SandyPie Creations, shown here…

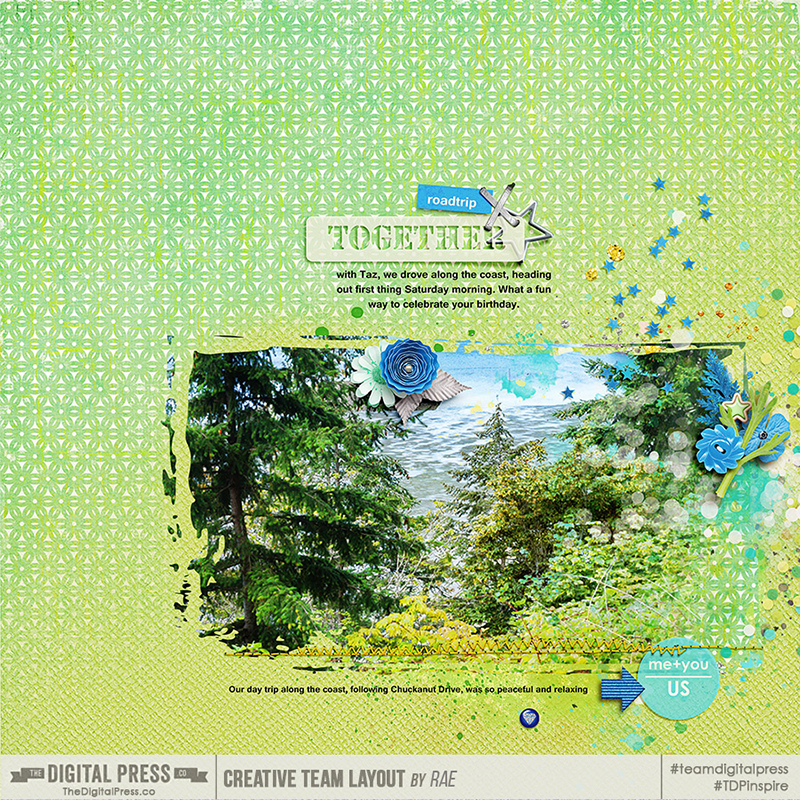
In my first sample, below, I started with a solid paper background, then a patterned paper on top of that. Next came the mask, on top of the papers.

I used the gradient tool to blend some of the top background paper layer into the photo mask (see the bottom right corner of the mask)… and then I used the gradient tool to blend the two background papers together (patterned paper on top layer, with a solid paper on layer below).


How do you do this?

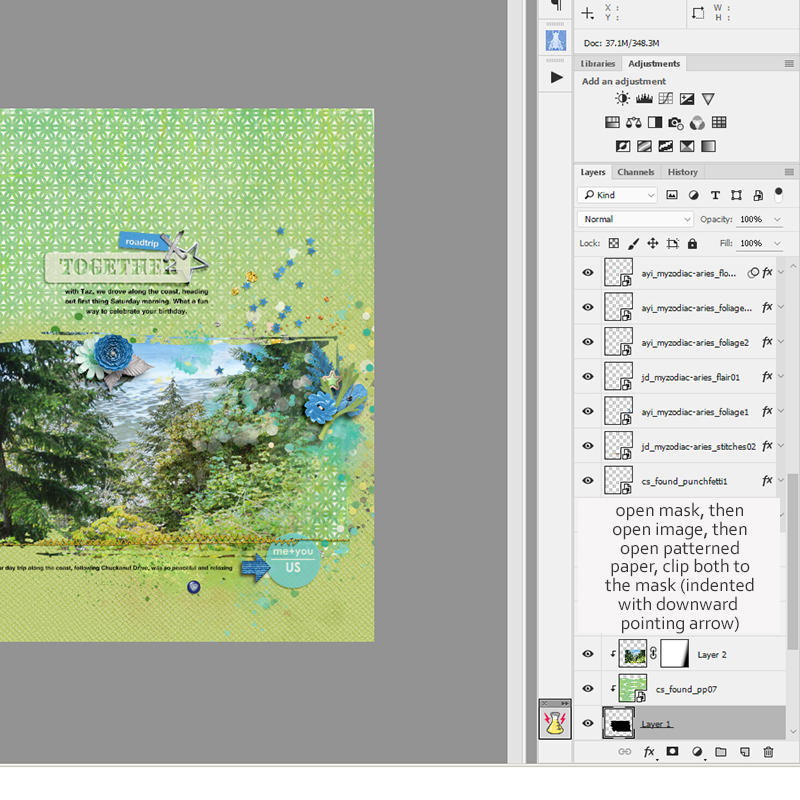
  1. I opened my image into Photoshop, on the layer above the mask… and then I clipped the image to the mask (you can do this more than one way — CTRL-ALT-G is the most common, but I prefer to press the ALT key, and then hover cursor between the two layers in the palette and click; you will see the cursor turn into a downward pointer to indicate that the layers are clipped together).
  2. Next, I duplicated and dragged the patterned paper layer into the mask (press ALT key and drag the paper layer upward into the mask), placing it between the clipped mask and image layers, clipping that also to the mask.
  3. Highlighting the image layer, I selected the “add layer mask” icon (below the right-sided layers palette), and then clicked inside the white box.
  4. To access the gradient tool, use the shortcut key “G”, in the options menu above, click onto the drop-down arrow to open the gradient editor, and select the 2nd box from the left …which is the foreground to transparent gradient.
  5. Next, select the linear gradient (five boxes showing different gradient, linear is the first on the left). By dragging from the bottom right of the image towards the middle, I erased part of the image to allow the clipped patterned paper to show through.

What I like about using the gradient tool — rather than brushing away parts of a layer (which is also fun, and simply achieves a different look) — is that it creates a gradient, or a gradual blending of one layer into another. The gradient of the blending is determined by the type of gradient chosen, and also by the placement and length of the gradient that you draw.
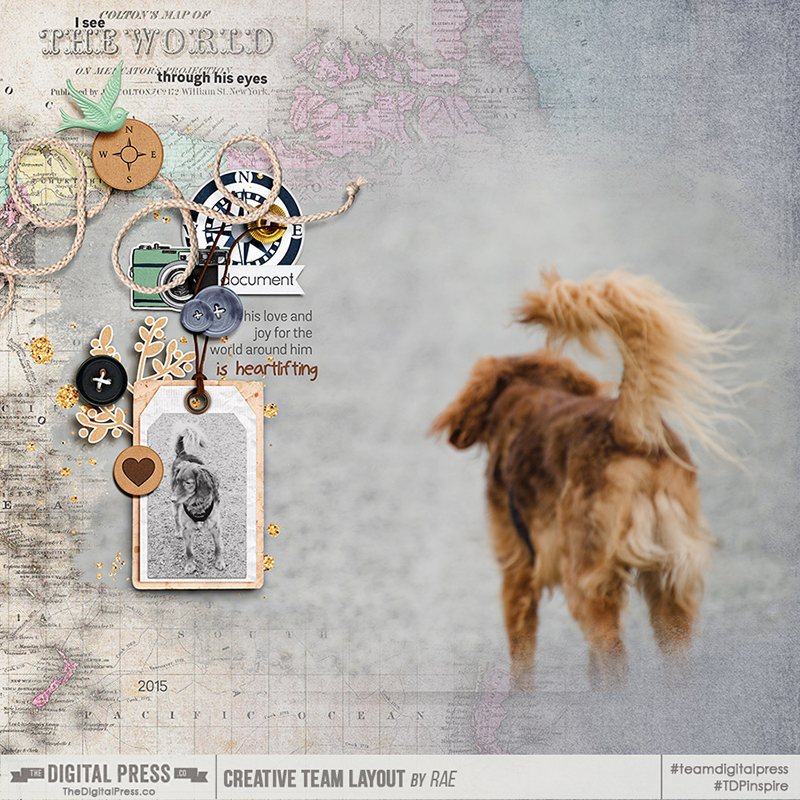
To allow some of the solid paper to show through the bottom right side of the page, I highlighted the patterned paper layer (just above the solid paper layer) and clicked on the “add layer mask” icon, I pressed “G” to select the gradient tool, and dragged from the bottom right corner up towards the upper left. I repeated this a few times until I had achieved the gradient I wanted.

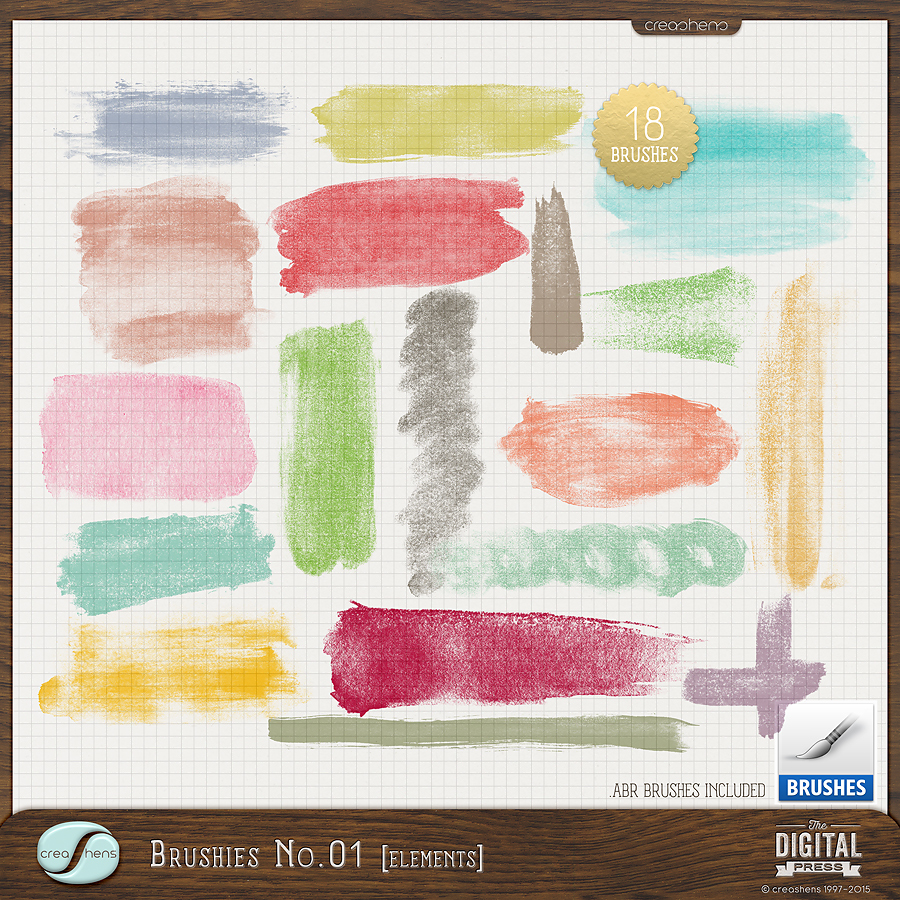
I created a second sample page, as well… this time, using Brushies No.1 by creashens, shown here…

I selected a few brushes and merged them together (to create my own mask shape), and then enlarged it before clipped my image to it. I chose a patterned pattern and solid paper that closely matched the grey road in my image…

After highlighting the patterned paper layer, I selected the “add layer mask” icon and pressed the “G” key to select the gradient tool. By dragging from right to left, more of the underlying gray solid paper was visible with the patterned paper more faded on the right side.

The gradient tool is one of my favorite photoshop tools, and I bet it’ll become one of yours too, after you give this tutorial a try and begin playing around with different gradient options!


RaeAbout the Author  Rae is part of the creative team here at The Digital Press, and has been a scrapbooker and photographer for many years. She lives on the west coast with her hubby and labradoodle, Taz. She’s addicted to chocolate, TV shows, and books!