Welcome another edition of our Tutorial Tuesday series here on The Digital Press blog! This is Part 4 of our 4-part photography series all about the exposure triangle. If you’ve happened to have missed this series throughout the past few weeks and you need a recap, you can find the other parts of this series HERE –> PART 1 — PART 2 — PART 3. To refresh your memory, in the first post we introduced the idea that photography exposure depends on three settings: ISO, aperture, and shutter speed… and then we’ve been exploring each of those in the subsequent editions of the series (ISO in PART 2, and aperture in PART 3).
That means that today we’ll be focusing on the final setting of the exposure triangle — shutter speed.
Shutter speed is the time when the “hole” that lets the light come into the camera and hit the sensor remains open. The longer it remains open, the more light gets in, the shorter it remains open, the less light gets in.
As I mentioned in PART 1 of this series, every setting of the exposure triangle has a “side effect.” In other words, each setting has consequences for the exposure… but also on something else in the photo, as well. The shutter speed impacts the way movement will be captured in the camera. Shutter speed indicates how long the action of taking the picture will last. If you photograph a car going from point A to point B with a fast shutter speed, you will freeze the movement because you will take the image instantly. If you use a slow shutter speed, the car will be blurred because the image will be taken while it’s starting on point A, and while it’s 5 feet away from point A, and another 5 feet away, etc.
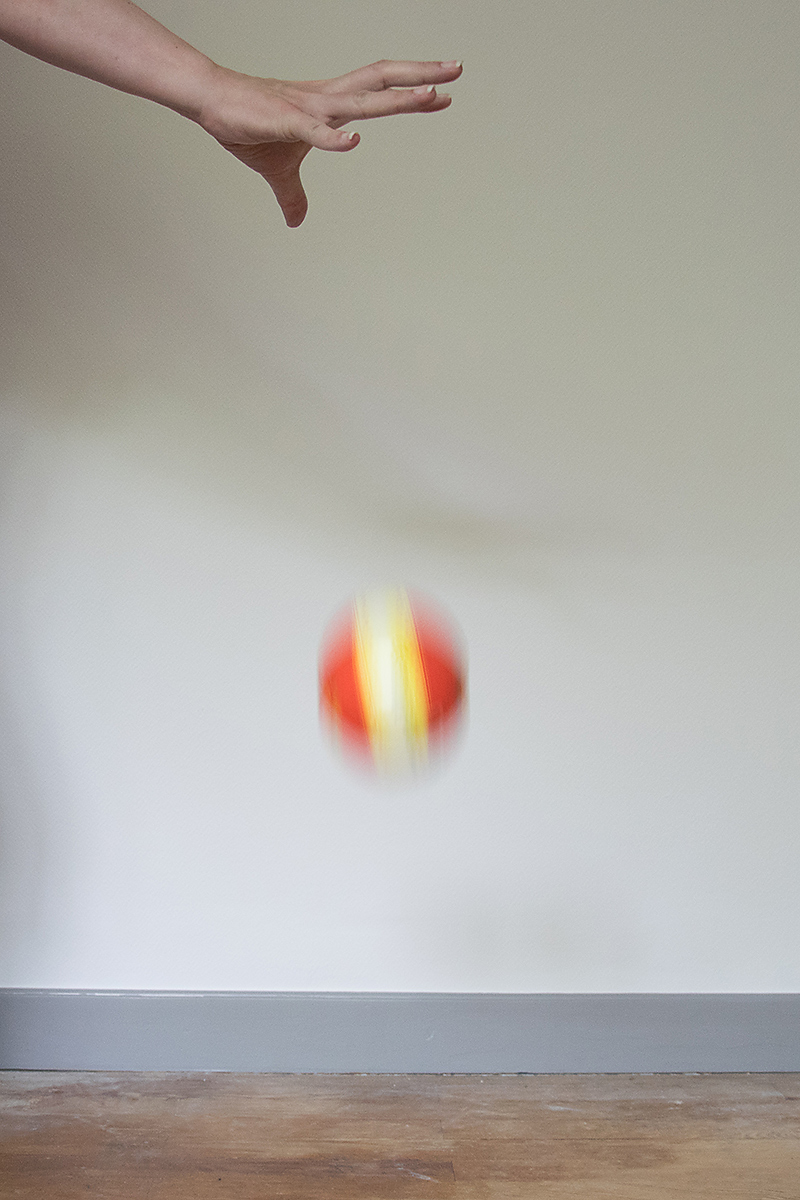
In this first photo I used a fast shutter speed (1/500th of a second) to freeze the movement. The ball looks like it’s floating in the air. You may have noticed that my ISO was pretty high because I had very little light in the room… thus causing some noise (as we saw in PART 1).

In this second image, I chose a medium shutter speed (1/50th of a second) to show some movement, but the ball is still recognizable.
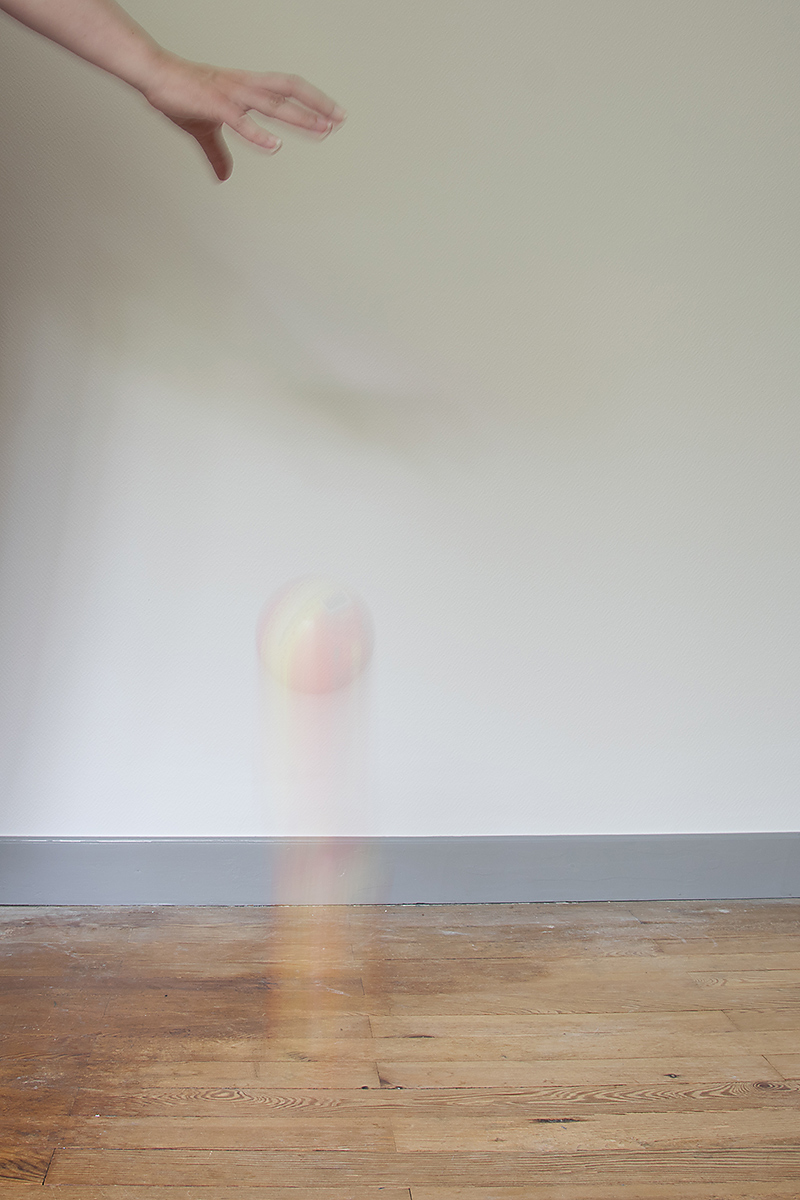
In this last image, I chose a slow shutter speed (0.6 second) and the ball is so blurry it’s not as recognizable anymore. My hand is blurry as well, even though the only movement I did was to open it to release the ball.
As you can see, one second may seem like a very short time in our regular life, but for our camera it’s considered to be a very slow shutter speed. Whether a shutter speed is slow and will create blur… or fast enough to freeze the movement… will also widely depend on your subject. For instance, you will need a much faster shutter speed to capture a sharp photo of a moving car than of someone walking.
In PART 2 and PART 3 of this series I said that ISO is a setting you can set on “auto” if you are just starting to shoot manually, because ISO doesn’t have much impact on the “creative” part of taking a photograph, but that it’s best if you decide on the aperture. Shutter speed is another setting that can drastically change the outcome so it’s important that YOU decide what it will be.
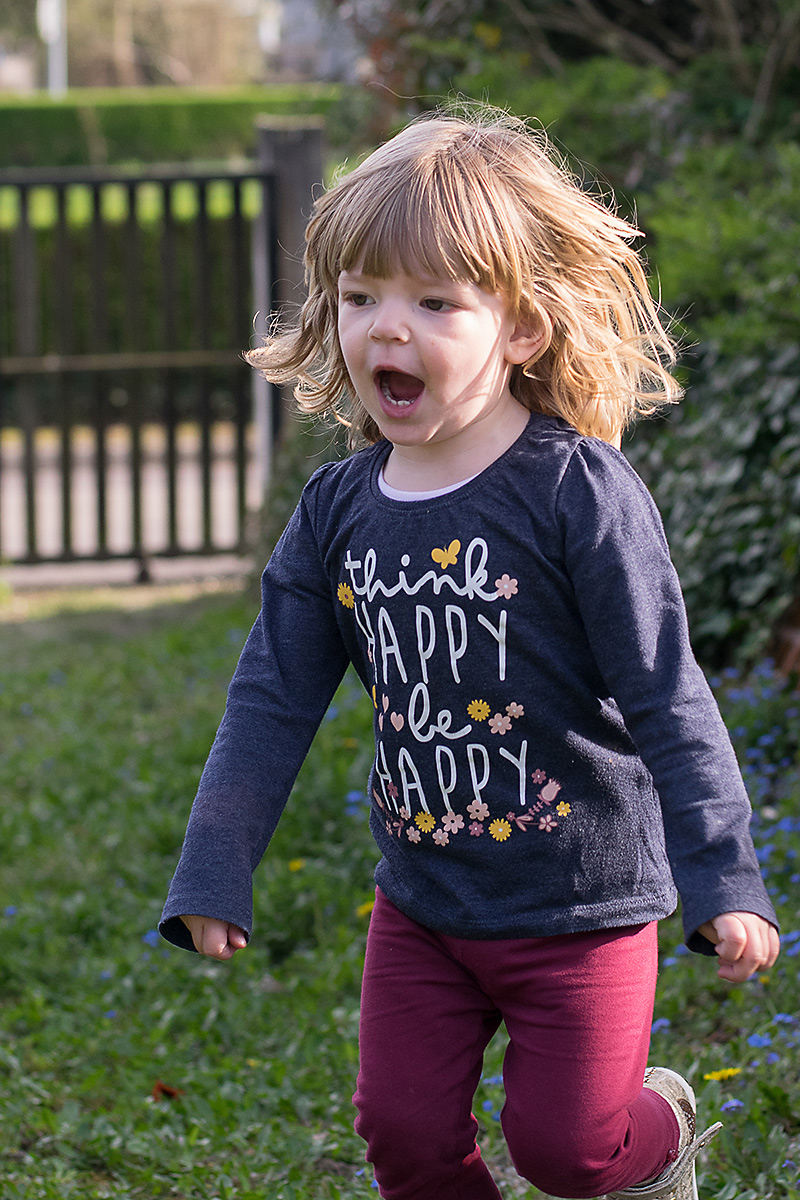
For example, you might want to freeze the movement and hence use a fast shutter speed.
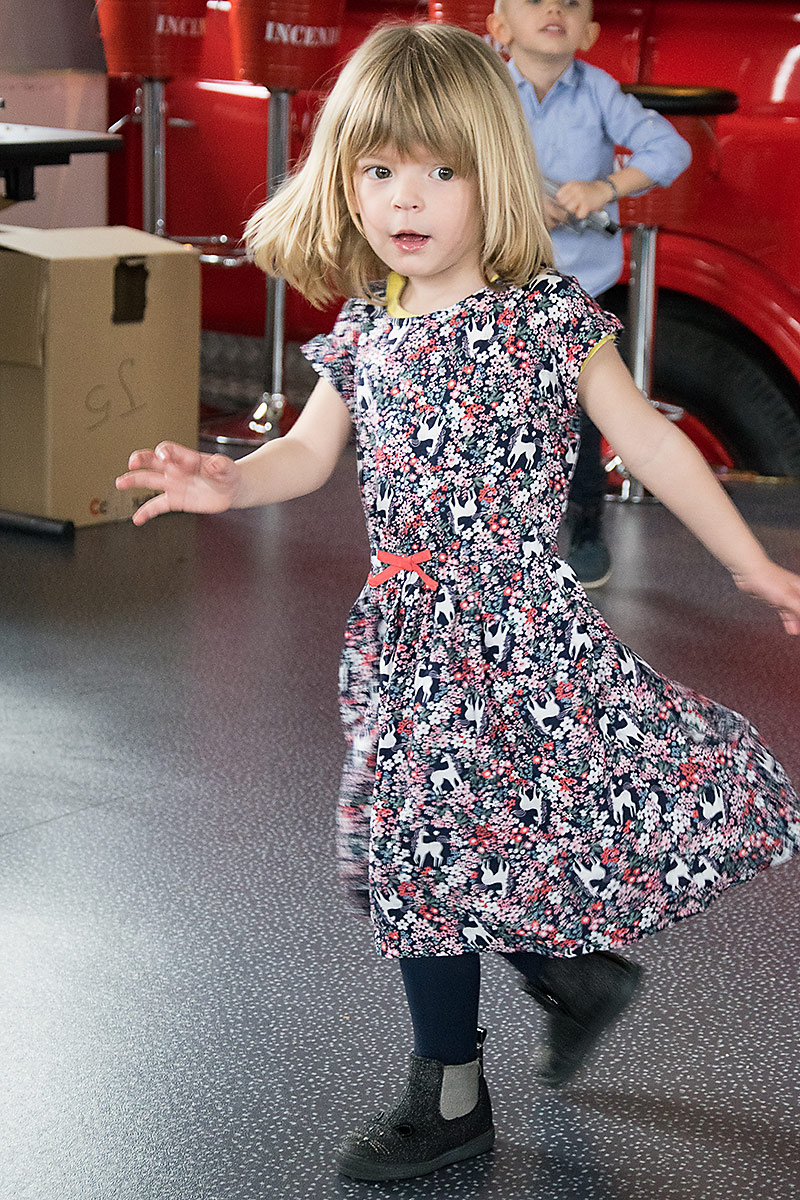
Having a tiny bit of blur gives a sense of movement, like here with the foot, the dress and the hair:
On the contrary, you might want to purposefully create some blur to show movement, like I did here on those bikes from the Tour de France:
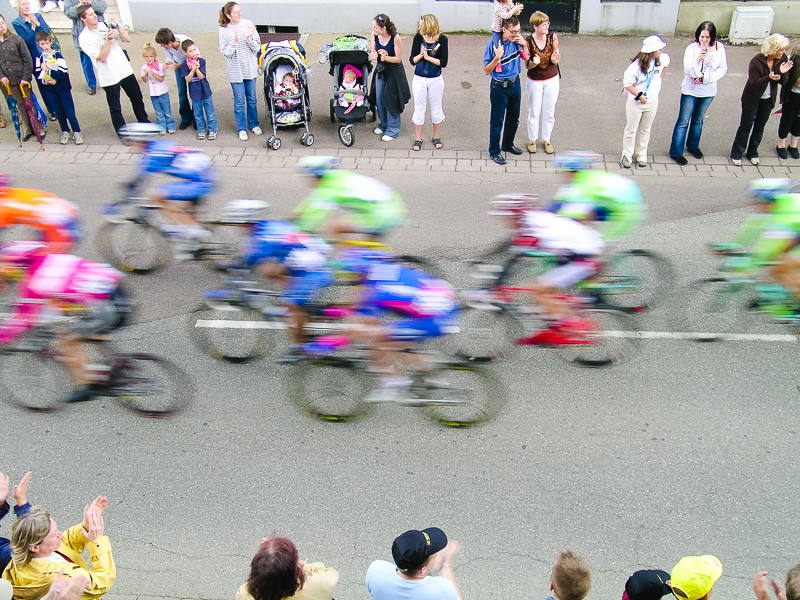
As you can notice, the shutter speed I chose was fast enough to freeze the people standing on the side of the road but too slow for the fast moving riders. I could have done the “opposite” effect called panning: by following the riders with my camera, they would be sharp while the environment would be blurry. Both options give a sense of movement for a dynamic image.
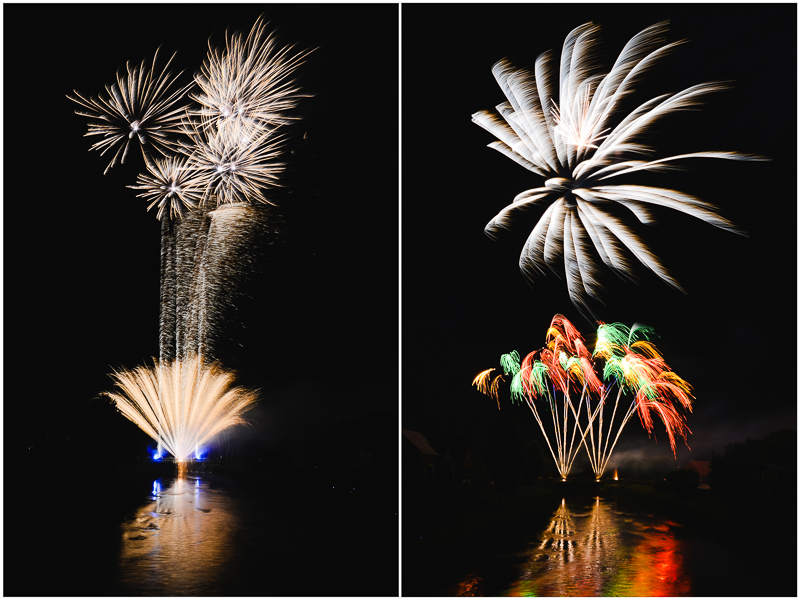
Slow shutter speed is also amazing to photograph moving lights, like fair attractions at night or those fireworks:
Be careful with slow shutter speed, though, as you can create unwanted blur. It can be caused by your subject moving too fast for your shutter speed (but in an unintentional way, unlike the examples above) or by your own movements while holding the camera. To avoid “camera shake”, the rule of thumb is to never go below 1/Xth of a second, X being the focal length of your lens. For example if you have an 18-105 zoom, never go below 1/100th of a second. With a 50 mm lens, you can go to 1/50th of a second. Below that, you will have to be very careful and ideally use something sturdy to support your camera (a tripod, a fence, a car) or for you to lean on (a wall).
Now, how do you change shutter speed? If you’re not comfortable using the manual mode of your camera (where you choose all the settings), you can use the speed priority mode: you decide on the shutter speed and the camera picks the other settings in order to have a correct exposure. This “semi-automatic” mode is often represented by the letter S (Nikon) or Tv (Canon) and it gives good results in most situations. It is a good way to experiment with shutter speed without having multiple settings to worry about and it is a great way to start learning about shooting manual.
This is the last post in this series about the exposure triangle! I hope you learned a few things about this very important concept of photography… and that you will also have fun experimenting with the settings! I cannot wait to see the photos you capture (scrapped beautifully and posted in The Digital Press gallery)!
 About the author Chloé is in charge of PR and communication for her small town by day, a digiscrapper “by night,” and a photographer whenever the light is beautiful. She recently became a very happy mom to an adorable little boy.