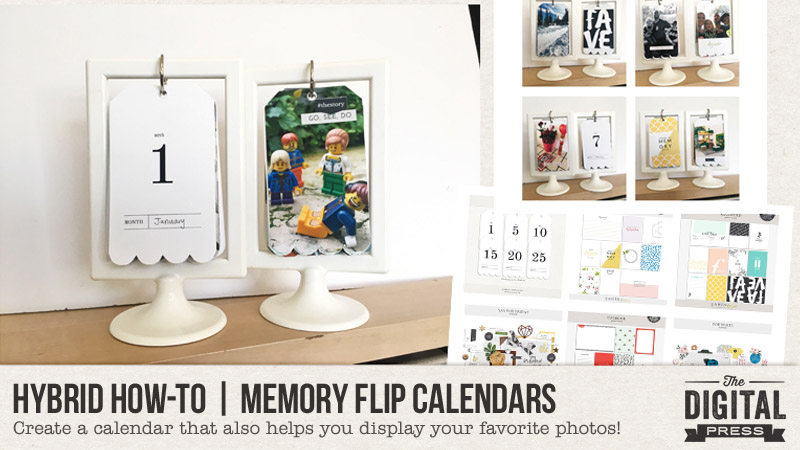
Hi everyone! This is Sabrina from the hybrid creative team at The Digital Press, and I’m here on the blog with you today to share a really fun and easy hybrid project that you can create in order to showcase some of your favorite photos — a memory flip calendar!
I think you’ll really love this project. Let’s get started!
To begin this project, I first gathered my favorite photos from 2017. I went with “weekly favorites” in order to correspond with the numbers on each of my date tags.
Once I had my digital photos collected and ready… I selected some digital products to use. Here’s a look at just a few of the products I chose to use (all of them came from the Sahin Designs shop at TDP)…
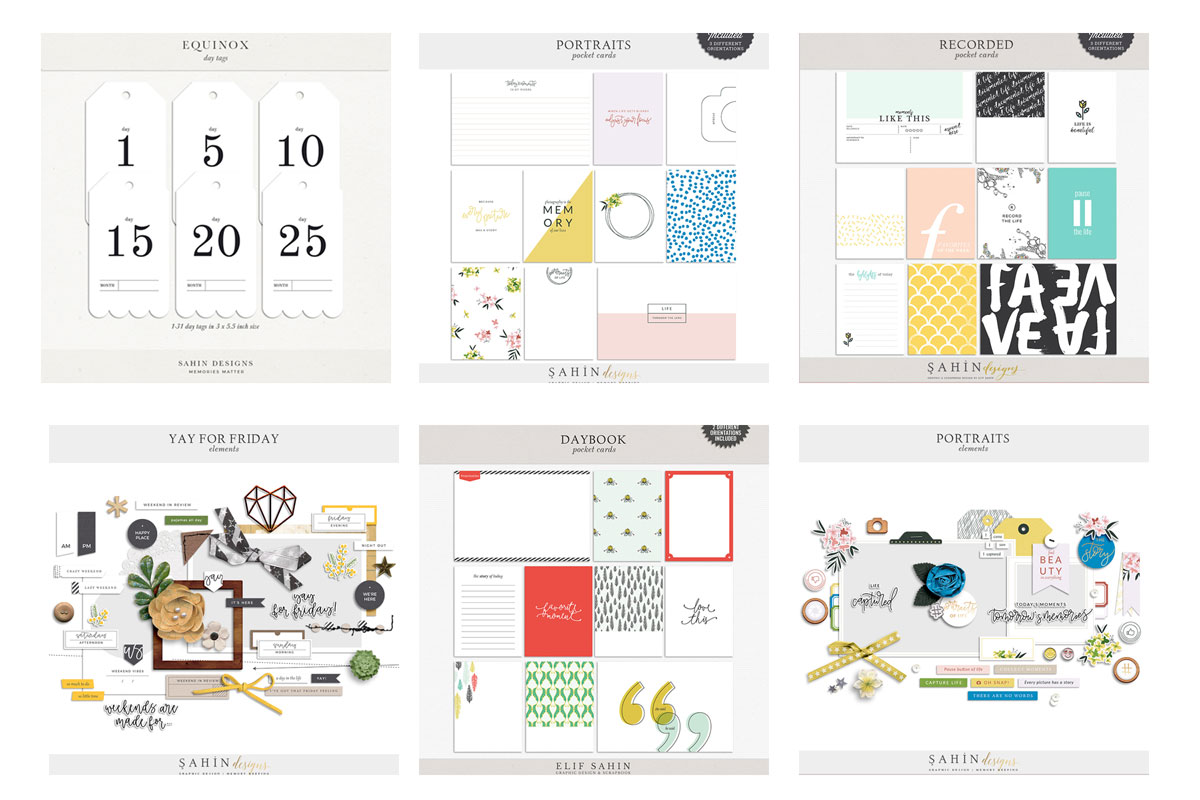
The main product I used, which became the foundation for my entire project, was the Equinox Tags (see above, upper left image).
After compiling my photos and digital products, I was ready to begin! The first step was to open the Equinox Tags in my photo-editing software; I use Photoshop Elements (PSE).
I decided to change the text on the tag from “day” to “week” (because my calendar was going to be a weekly calendar, instead of a daily calendar). I did this by covering the word “day” with a white piece of the tag to cover it up and then typing in the word “week” above it.
Here’s a look at the “before” tag (with the word “day” …and I’m in the process of getting ready to cover it with a rectangle of white tag)…
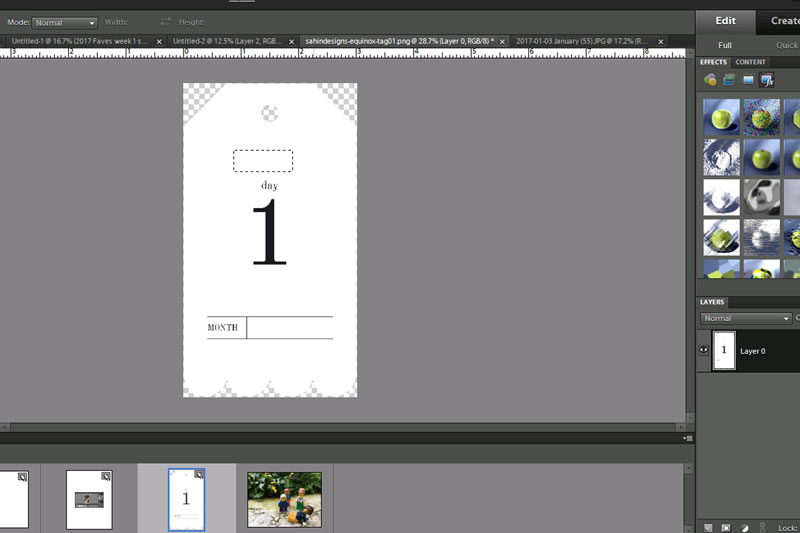
…and here’s where I covered it with the new word, “week”…

After getting the calendar date tags ready, as shown above… I began using the same tag shape as a clipping mask to shape my photos (in PSE, you place the photo in the layer above the tag… and use Ctrl-G to clip it; in Photoshop (PS) you do the same thing but the keystroke command is Ctrl-Alt-G).
As you see in this screenshot, my photo took on the same shape as the tag I clipped it to… 
Next came the fun part! …printing and putting everything together. 🙂
You can either use the print-&-cut feature of a paper cutting machine like a Silhouette… or… you can print and then fussy-cut by hand with scissors or a paper trimmer. Whatever works best for you!
Once I had everything printed & cut out, I attached my tags to single binder rings hanging from empty frames, as shown here…
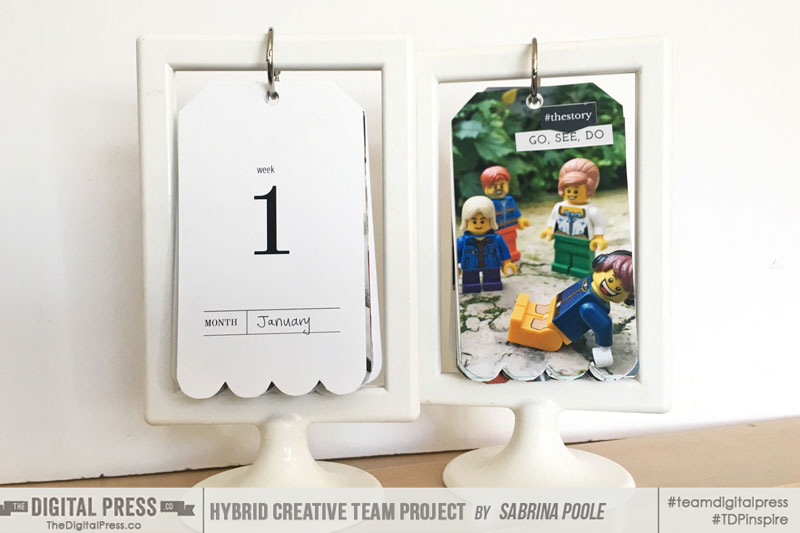
Once I had it assembled, I found that it actually worked better if I trimmed off an additional 1/4-inch from each tag — to make the flipping of the pages easier once they were on the frame.
Here are a few more shots of the calendar and its different pages…
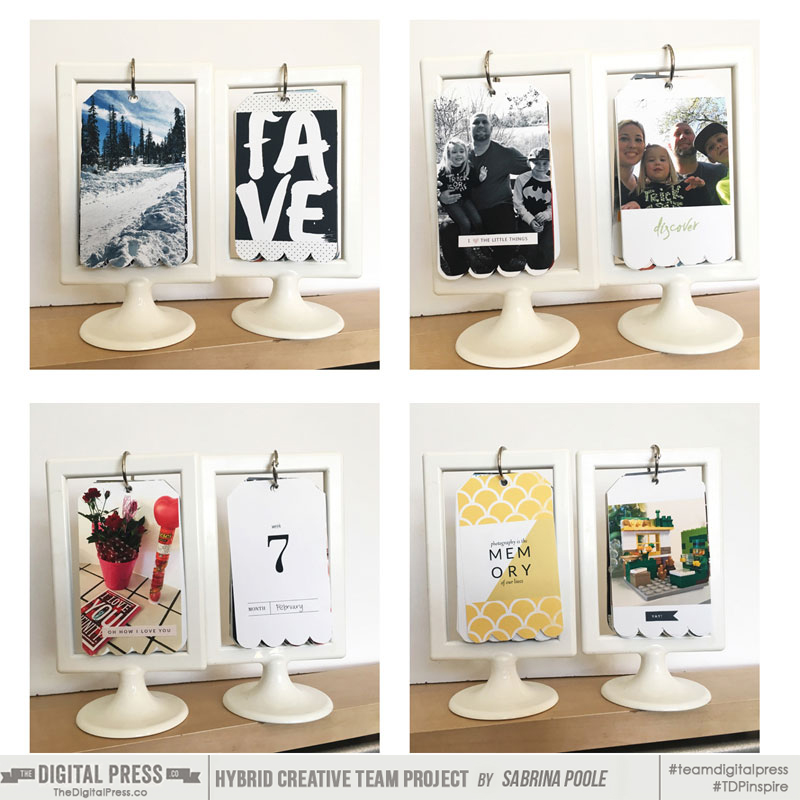
Isn’t that fun? A flip calendar to remember the best moments of the year!
I loved how this project came out… and I hope you’ll try making a fun memory flip calendar of your own, using your digital supplies! If you do… please share your projects with me — I’d love to see what you come up with! If you’re participating in The Digital Press’s challenge system for April 2018, don’t forget to visit the CROSSWORD SECTION in TDP’s forum to get the details about this month’s Hybrid Challenge — because you can earn challenge points if you give this project a try (earning you points toward discounts & FREEBIES)!
 About the Author Sabrina is an avid documenter of life — herself, her children, her hubby, and her everyday life. There is beauty in the ordinary moments, and they are what she loves to scrap. She is also always on the hunt for a quiet, peaceful moment… and she usually spends it reading or playing at her crafty desk.