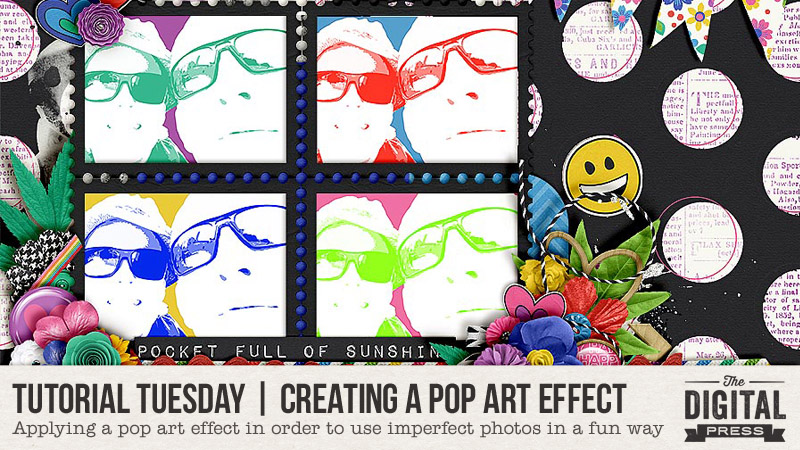
Hi everyone, and welcome to another edition of our Tutorial Tuesday series here on The Digital Press blog! Today I’m going to show you how to create a pop art effect with your photos — either for fun, or as a way of using your imperfect photos in a creative way.
We all know that life sometimes gets in the way of the perfect photo. Sometimes that one blurry photo is the only one you have of a wonderful event, and the memory deserves to be scrapped even if the photo is less-than-perfect! I have found that applying a pop art effect is a great way to use those imperfect photos in a fun way.
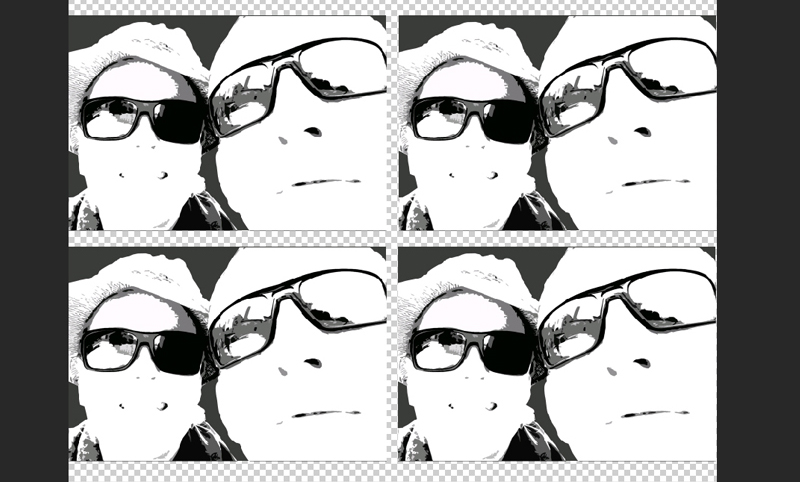
For instance, here’s a photo that I want to use from our recent trip to Rome…
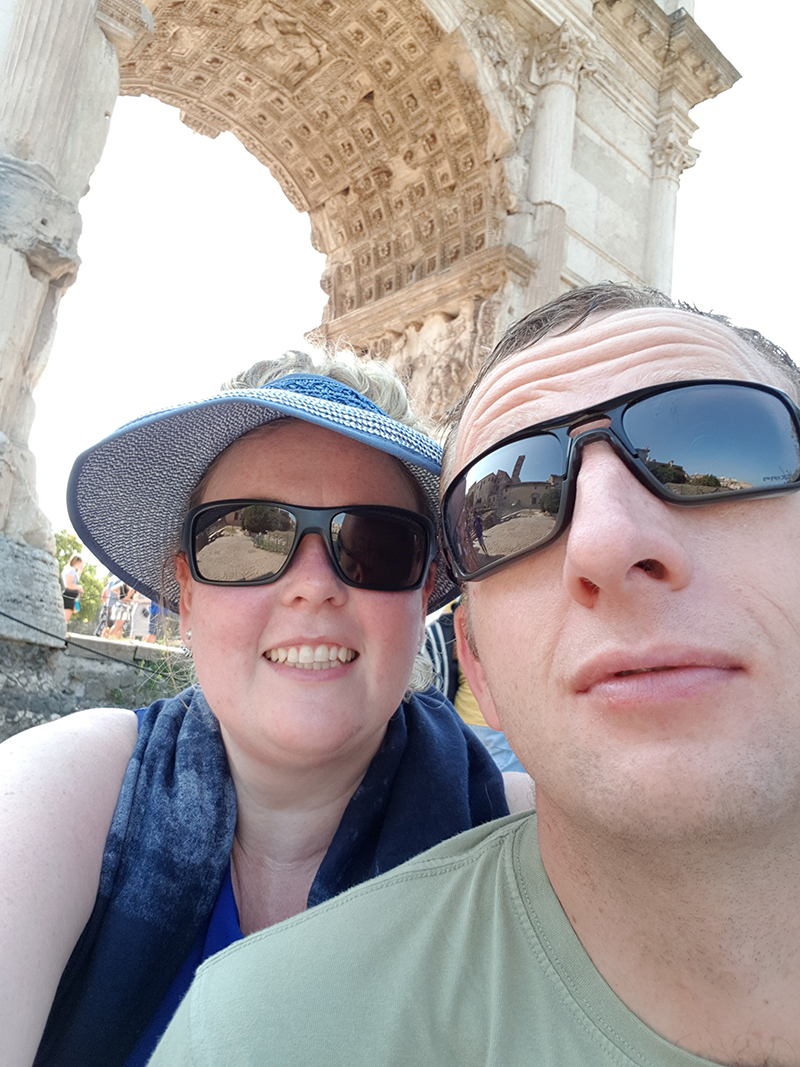
You’ll see that I’m all hot and bothered in this photo, and that’s not exactly the type of photo I want to record forever in the pages of my album! So… I decided to give the photo the pop art treatment, instead.
The process might seem a little complicated, but trust me, it’s worth the trouble! Let’s get started.
Step 1: Select your photo and open it in your photo editing software. I use Photoshop CS5, so depending on your own software, it might look a bit different for you (hopefully similar enough, though!). In the Layers Palette, double click on the “Background” layer to unlock it… and rename it to “Photo” or something suitable.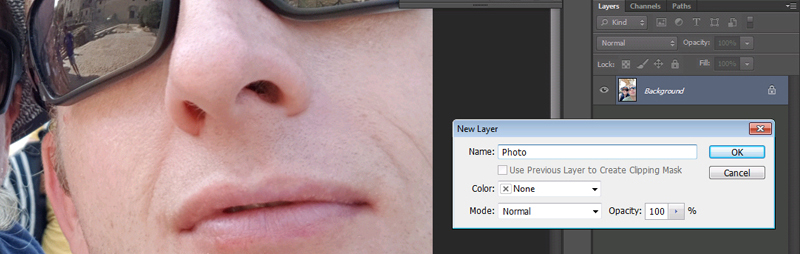
Step 2: Create a new layer underneath your Photo and rename that layer “Background”.

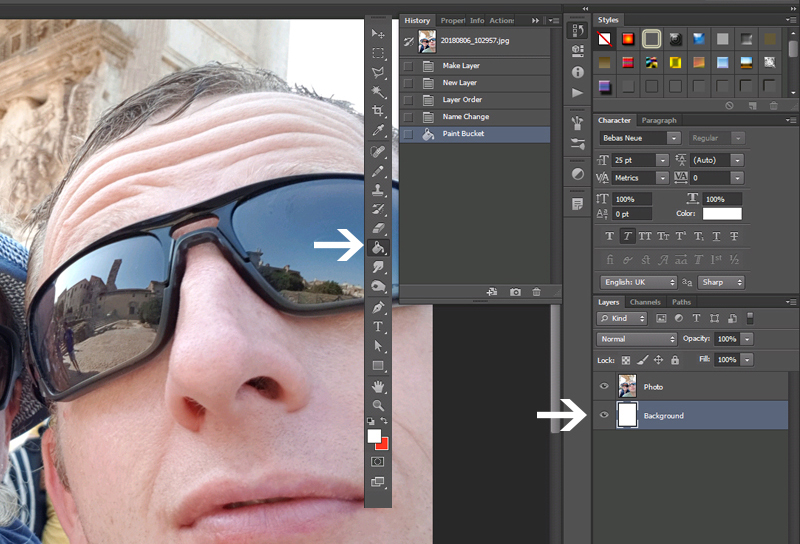
Step 3: Select the Paint bucket tool (G) and fill your Background layer with white.
Step 4: Now we want to remove the unwanted parts of the photo. Select the Pen tool (P), making sure that it’s set to “Path”. Continue to create a selection around the part of your photo that you do want to use.
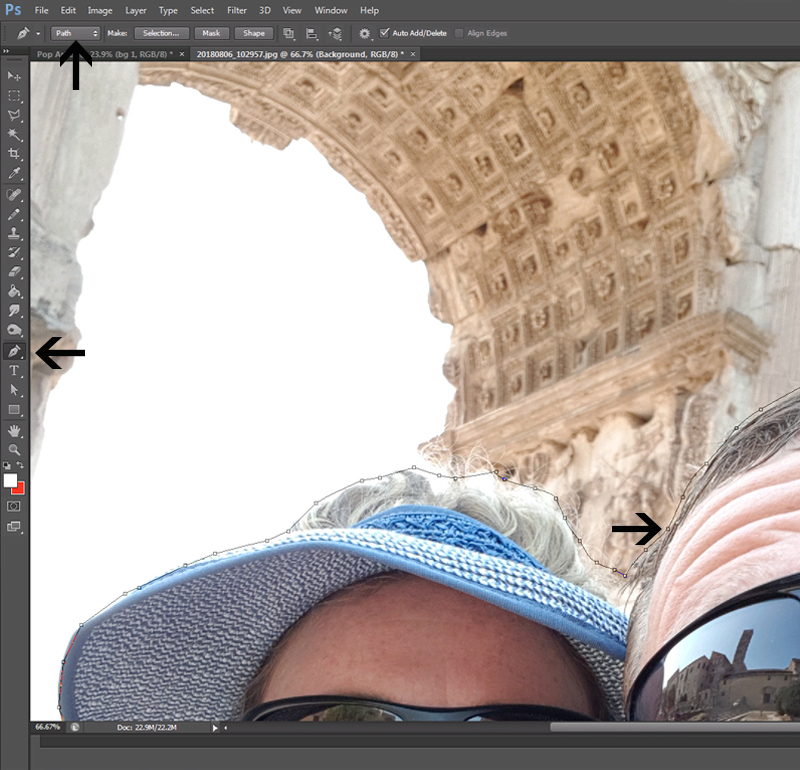
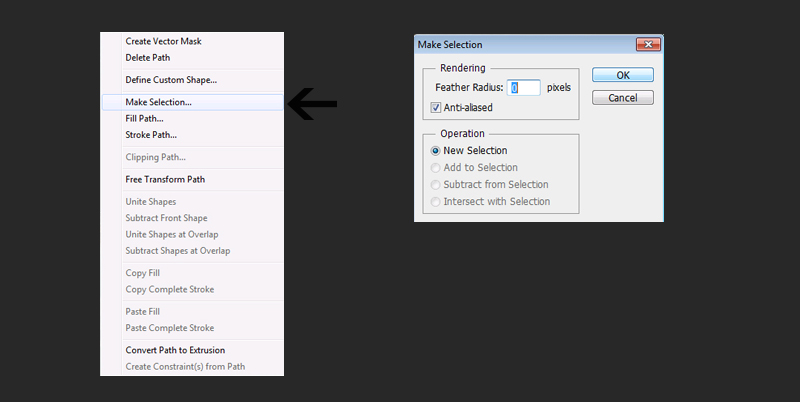
Step 5: After creating a closed path, right click on the photo and select “Make Selection” from the pop-up menu. Enter “0” as Feather Radius on the next menu.
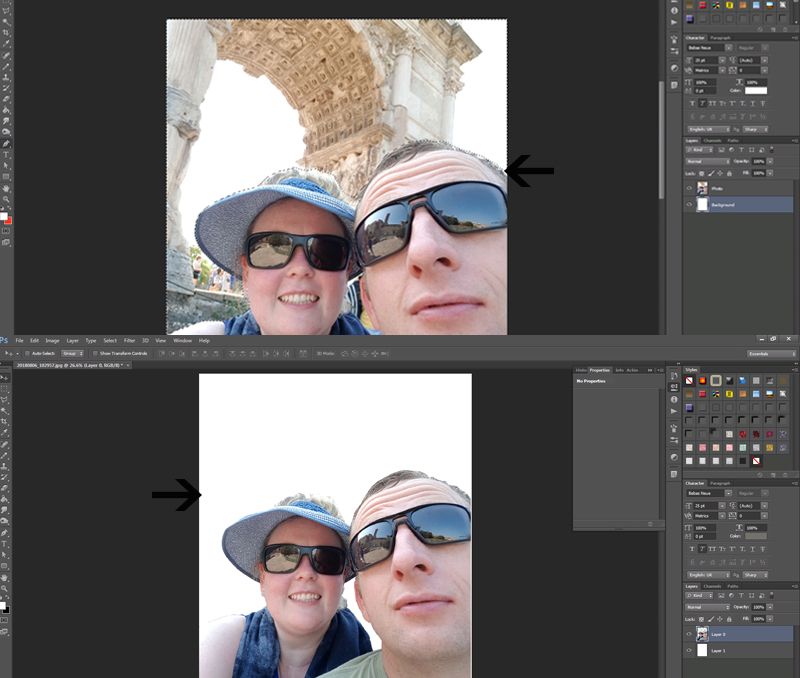
Step 6: Invert the selection (Shift-Ctrl-I) and press Delete. You now have your photo subject on a white background.
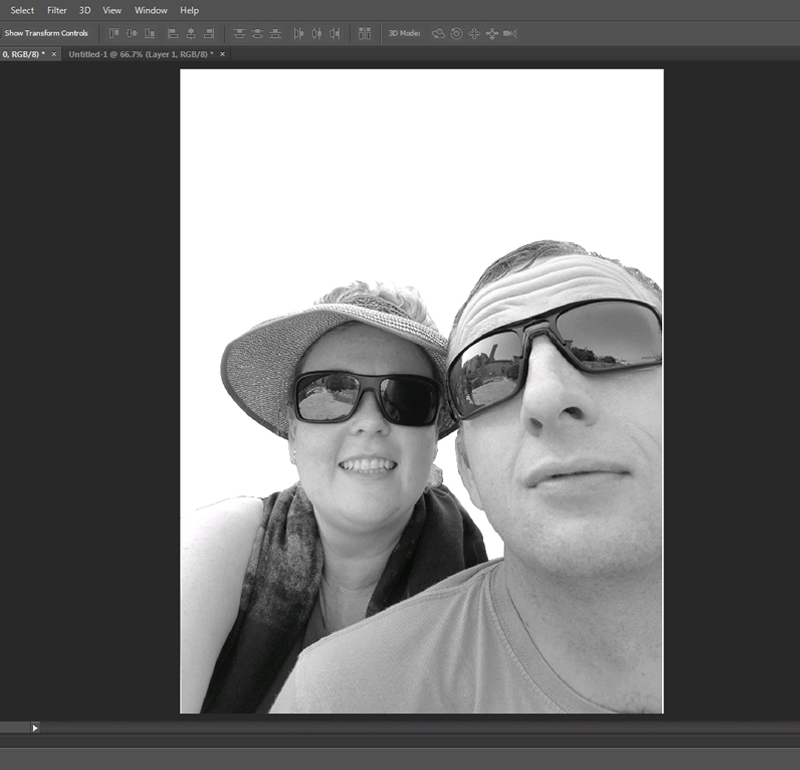
Step 7: Desaturate your photo (Shift-Ctrl-U).
Step 8: Select the Crop tool (C) and crop your photo to make it visually appealing.

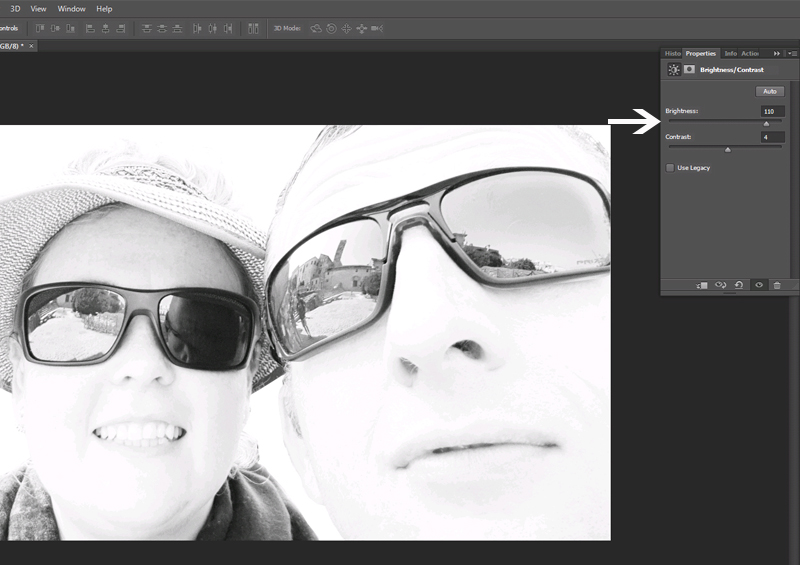
Step 9: Go to Image > Adjustments > Brightness/Contrast and adjust the sliders until your photo has pronounced lines (and the imperfections are balanced out!). Merge the adjustment layer with your Photo layer.
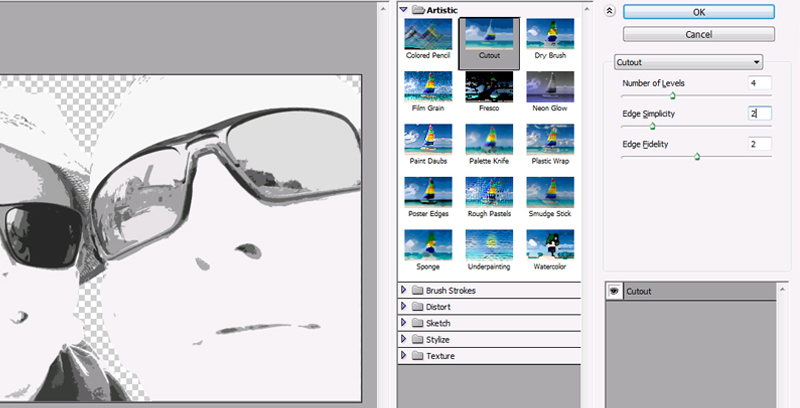
Step 10: Go to Filter > Artistic > Cut-out and apply the filter to your Photo, with settings more or less like mine in the image. If your Artistic filters aren’t showing up in Photoshop, a quick Google search will yield a video that explains how to enable these filters.
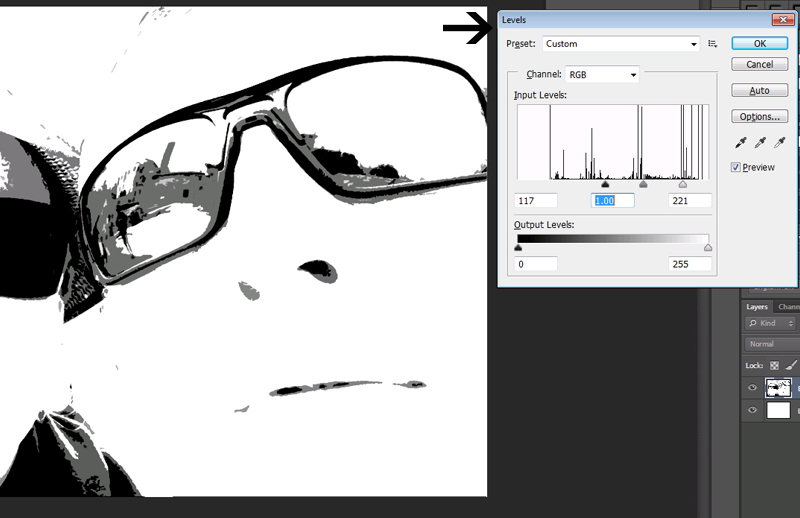
Step 11: Go to Layer > New Adjustment Layer > Levels and adjust the sliders until you are left with only black, white and 2 or 3 shades of grey in your photo layer.
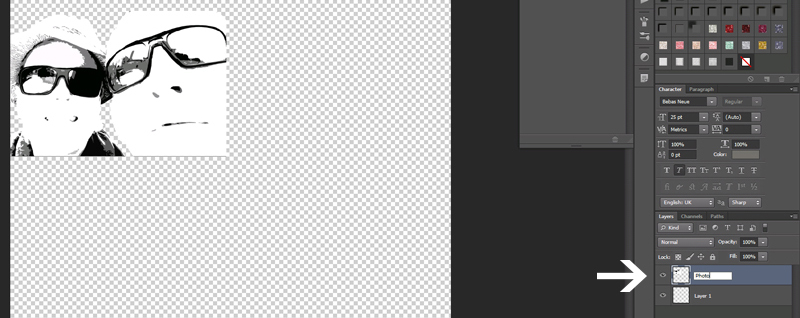
Step 12: Apply a Cut-out filter again (see step 10), this time changing only the “Edge Simplicity” setting to 4.
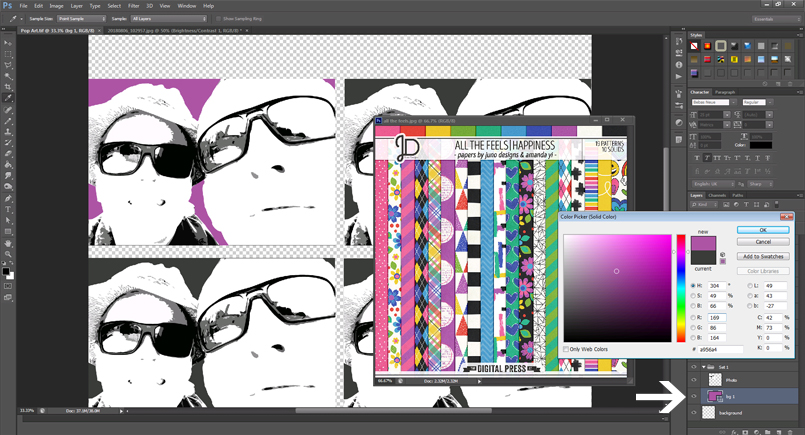
Step 13: Now is a good time to save this project! Then open a new project – I used a 12 x 12 inch canvas to get a feel for the size of the photo on a scrapbook layout. I named the new canvas Pop Art – this is where the magic is going to happen!
Step 14: Drag only your Photo layer to the new canvas, and rename the layer “Photo”.
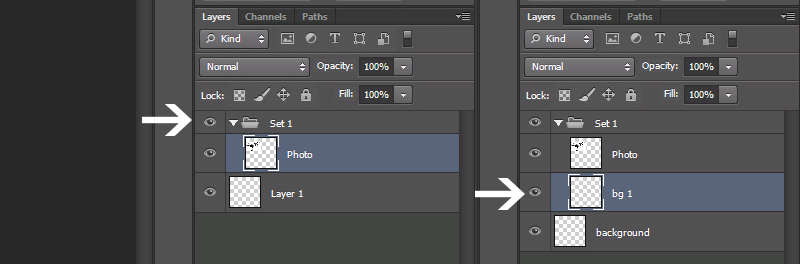
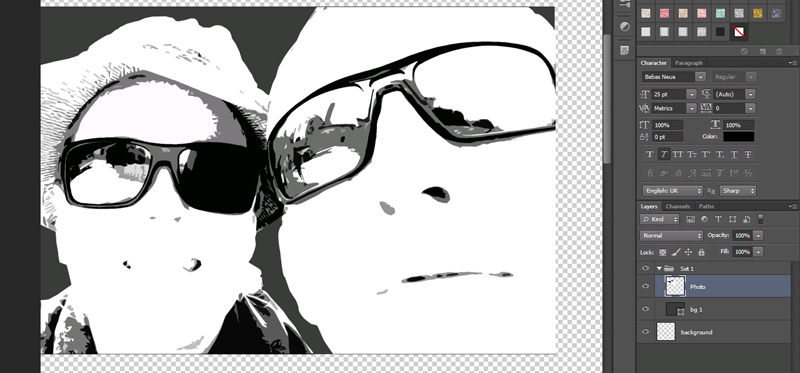
Step 15: Put the Photo layer into a Group (Ctrl-G) in the layers palette, and rename the group “Set 1”.
Step 16: Create a new layer in the group, underneath your Photo layer, and rename to bg 1 (this will be your photo’s background).
Step 17: Select the Shape tool (U), making sure the rectangle shape is active.
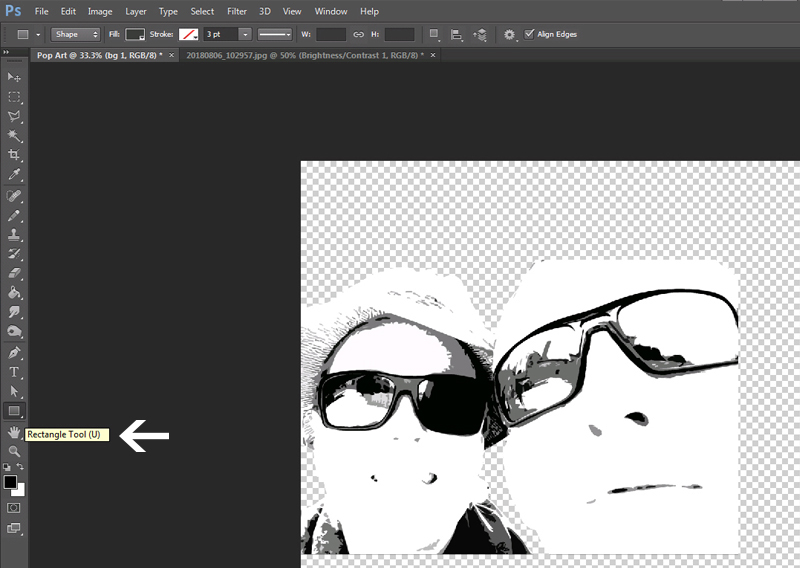
Step 18: With the “bg 1” layer selected, create a rectangle underneath your photo, with the same size as your photo.
Step 19: Now duplicate your Set 1 group 3 times, so that you have 4 groups.
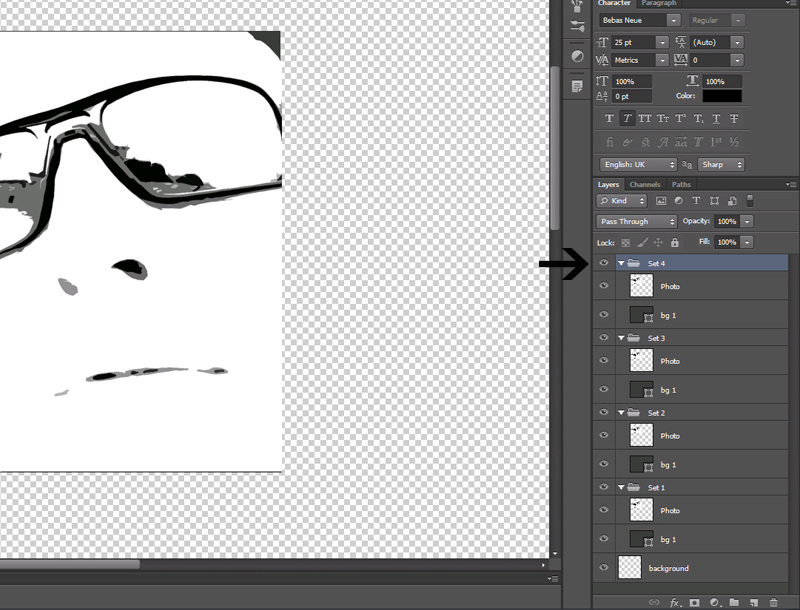
Step 20: Spread the groups evenly on your canvas.
Step 21: Open your inspiration colour scheme – I wanted to use the kit All the Feels | Happiness by Juno Designs and Amanda Yi for my layout, so I decided to use those colours in my photos too.
Double click on the thumbnail of the background layer in Set 1 to open the Colour picker and fill the rectangle with your chosen colour.
Step 22: Create a new layer between the Photo layer and the background layer, and rename the layer to “Photo Colour”.
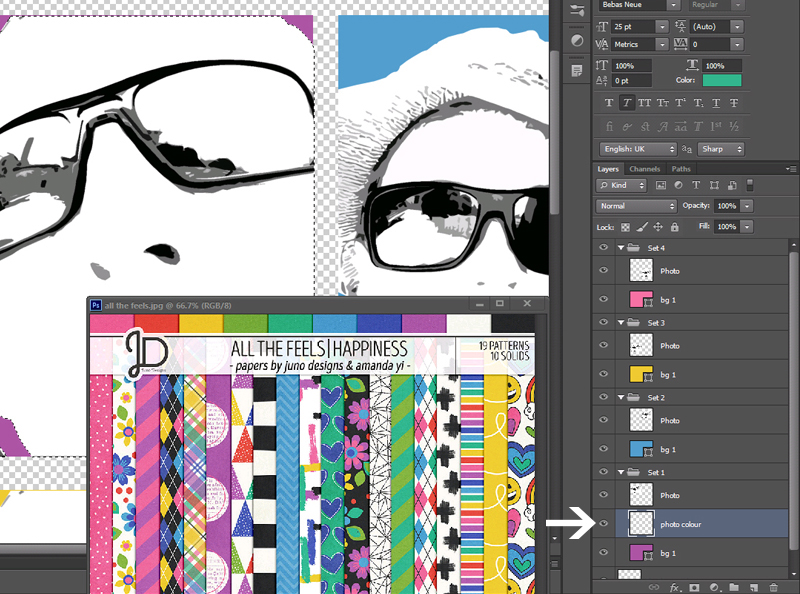
Step 23: Choose a colour for your photo by using the Eyedropper tool (I).
Hold Ctrl and click on the thumbnail image of your Photo layer (in the layers palette) to select the area in your photo. Make sure the Photo Colour layer is selected, and fill the selection with your chosen photo colour using the Paint bucket tool (G).
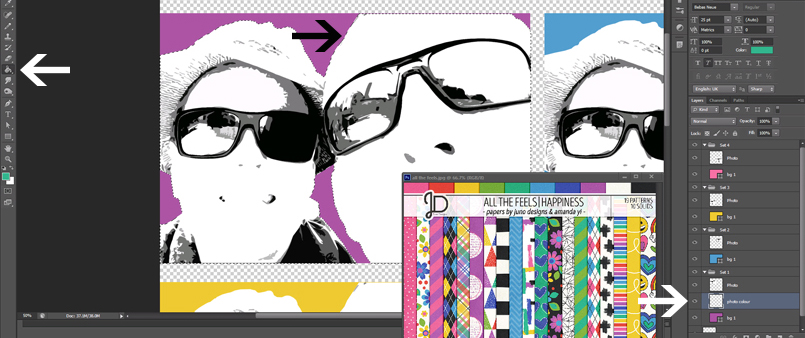
Step 24: Select the Photo layer, and change the blending mode to “Screen”.
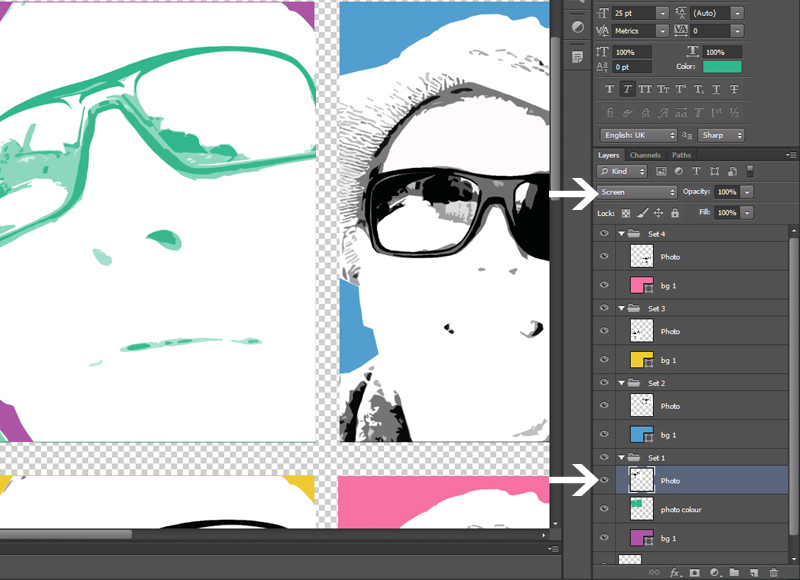
Step 25: Repeat steps 21 to 24 for the other 3 sets too.
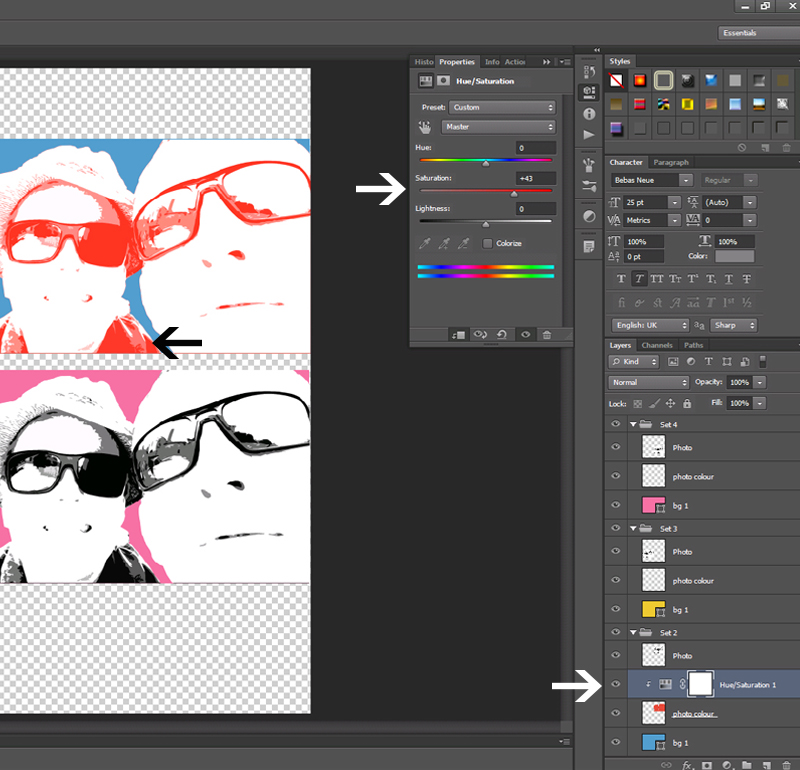
Step 26: You can increase the Saturation on your Photo Colour layer if you want to. Do this by going to Layer > New Adjustment Layer > Hue / Saturation and adjusting the sliders.
Step 27: You can now drag the Photo groups to any layout you want to make, and enjoy your fun pop art photos!
Here is the layout I created with my improved photos:
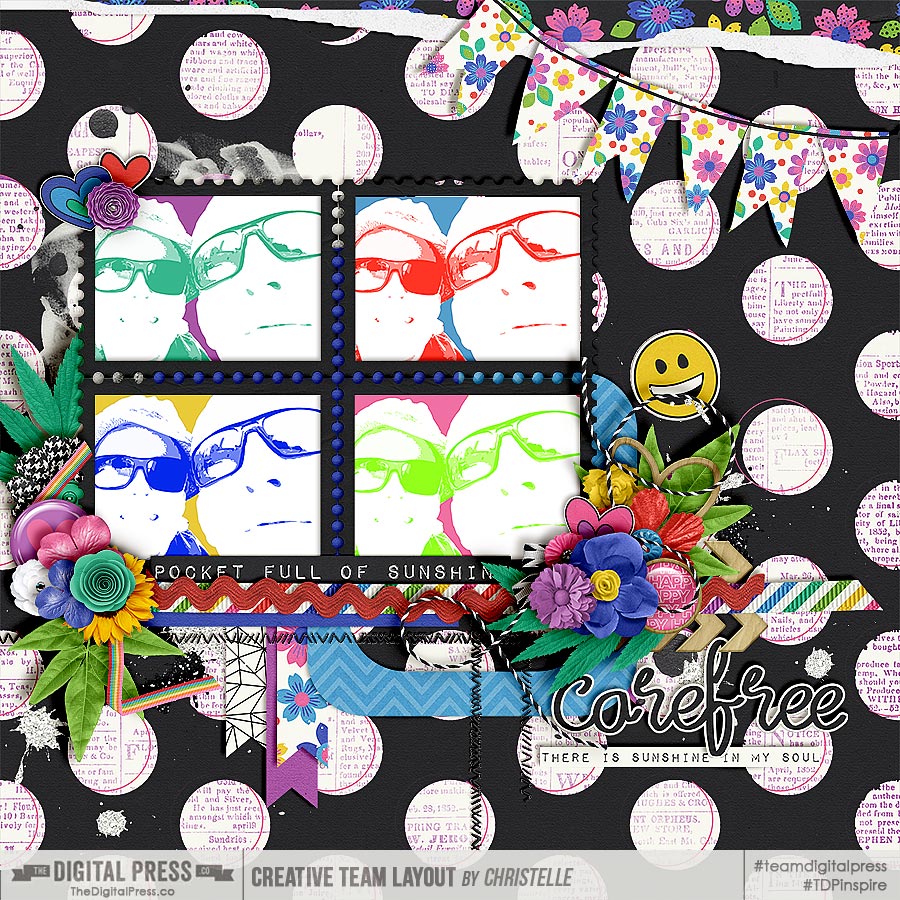
As you can see, the pop art effect really adds a fun element to the page, and I don’t have to feel embarrassed about scrapping with such a bad photo! 🙂
I hope you all enjoy creating the pop art effect… and please don’t be scared to use bright colours!
![]()
ABOUT THE AUTHOR Christelle is a creative team member at The Digital Press, happily creating for all of the talented designers. She’s originally from South Africa, and has recently relocated to the UK with her husband. She loves scrapping her 3 lovely step-children and 4 beautiful nieces and all of their (mis)adventures. If she could, she’d travel all the time, but for now she makes do with traveling as often as possible. Her other hobbies include machine embroidery and sewing, as well as reading soppy romance!