
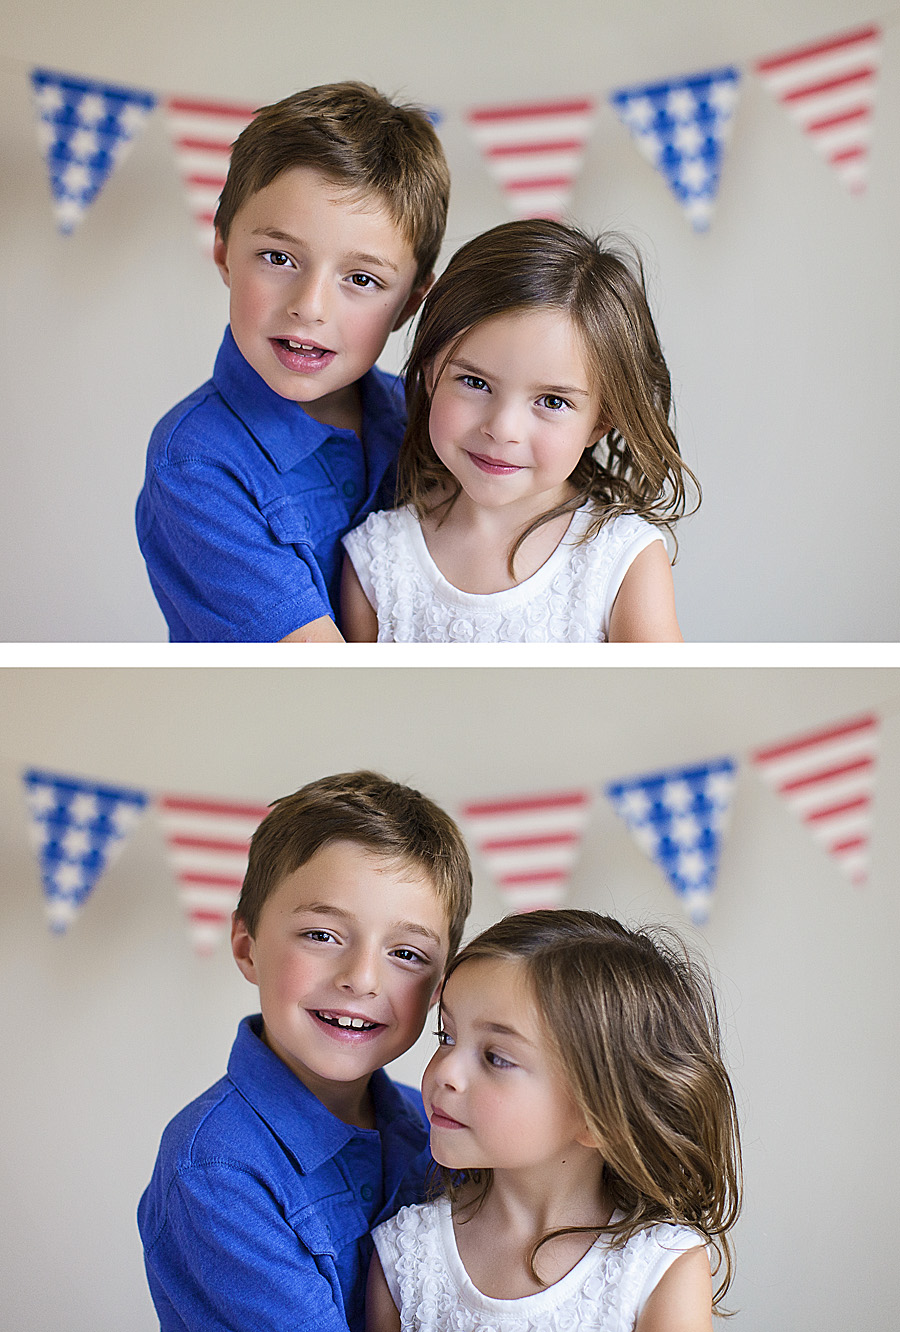
My kids are complete goofballs, especially when it’s picture time. I’ve gotten in the habit of taking multiple shots of them instead of trying to make them cooperate. The result is that I’ve become a expert at swapping heads! Here are two shots- in one, my daughter looks great, but my son’s expression isn’t quite what I was hoping for. In the second shot, my son has a nice smile, but my daughter is looking away. The obvious solution is to combine the shots. Here are some easy tricks to making sure that everything lines up:
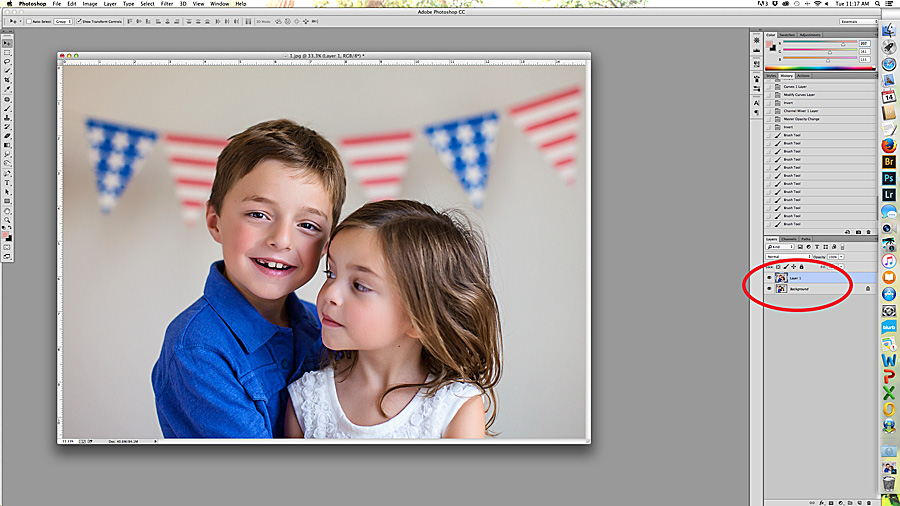
- Using unedited photos, drag the 2nd shot over onto the first shot. ***note: I usually do any head swapping first before editing the final image. ***
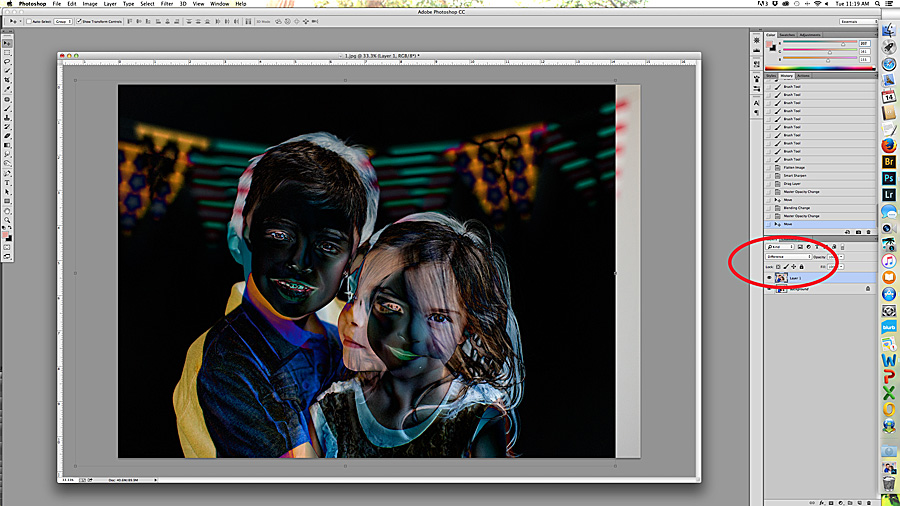
- Change the layer style to DIFFERENCE. Line up the photos so that the head is mostly black. Black means that there’s no difference. Of course, the parts that you’re trying to change will not be black, but it’s important to make sure that as much as possible is lined up.
- Change the layer style back to normal and add a layer mask. Use a white brush to mask the head that you’re swapping, paying close attention to the borders. Once you’re happy with the swap, flatten the image and edit as you would normally.
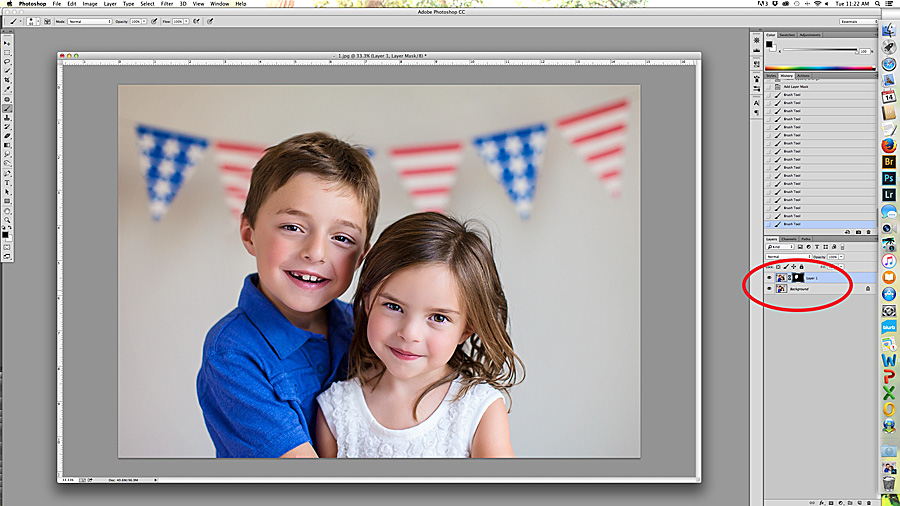
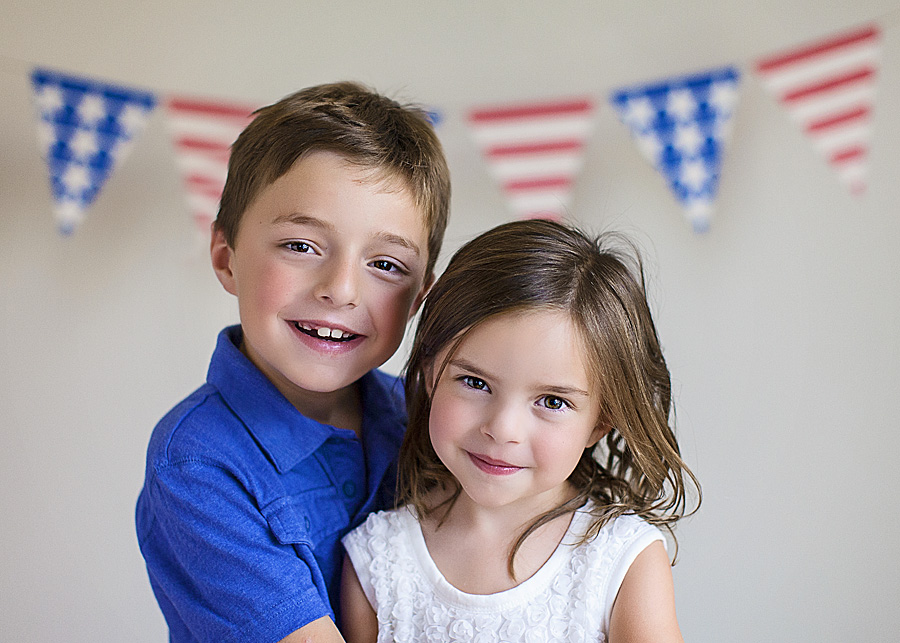
- Voila. YES…it is that easy. Here is my final image.
 About the Author: Farrah Jobling is a member of the Creative Team here at The Digital Press. She lives in Denver with her amazing family, Mike, Nicholas (8), Claire (5) and Hope (1 yr old puppy). She works from home as a photographer and enjoys scrapping her personal photos.
This is a great tut Farrah. Havign two girls and capturing them togethere i face almost the same problems despite taking multiple shots!!! So this is a very handy trick. I guesd the only thing we need to think about if the shadows on the subject whilst swapping but if the shots are close together then it should be fairly easy to do. Can’t wait to try it 🙂 Thanks for sharing!!!
What a great idea! I love the Photomerge/Group Shot tool in PSE for this kind of thing, but sometimes it doesn’t line things up quite right, so it’s really awesome to know how to do this kind of thing manually. Thanks so much!
I was just going to jump in and mention the PhotoMerge tools in PSE too. But I’ll admit sometimes I just turn down the opacity and mask the layers in a similar way to your tutorial.
🙂 Thanks for sharing!