It’s Saturday… and time for another edition of our Hybrid How-To series here on The Digital Press’s blog! Today, I’m here to help you all see how easy (and fun!) it is to use digital embellishments in your physical projects (like mini albums, and more)!
For those of us who can’t resist pretty paper and embellishments — digital kits are a fantastic way to stretch your crafty budget. For me, patterned papers and adorable die-cuts are probably the best thing about crafting. I am always a little reluctant, however, to use pretty items from my stash because they’re just so cute. For me, the real beauty of digital products is that I can print and cut as many times as I like. Buy a digital kit once, and you can use the items contained within it again and again and again!
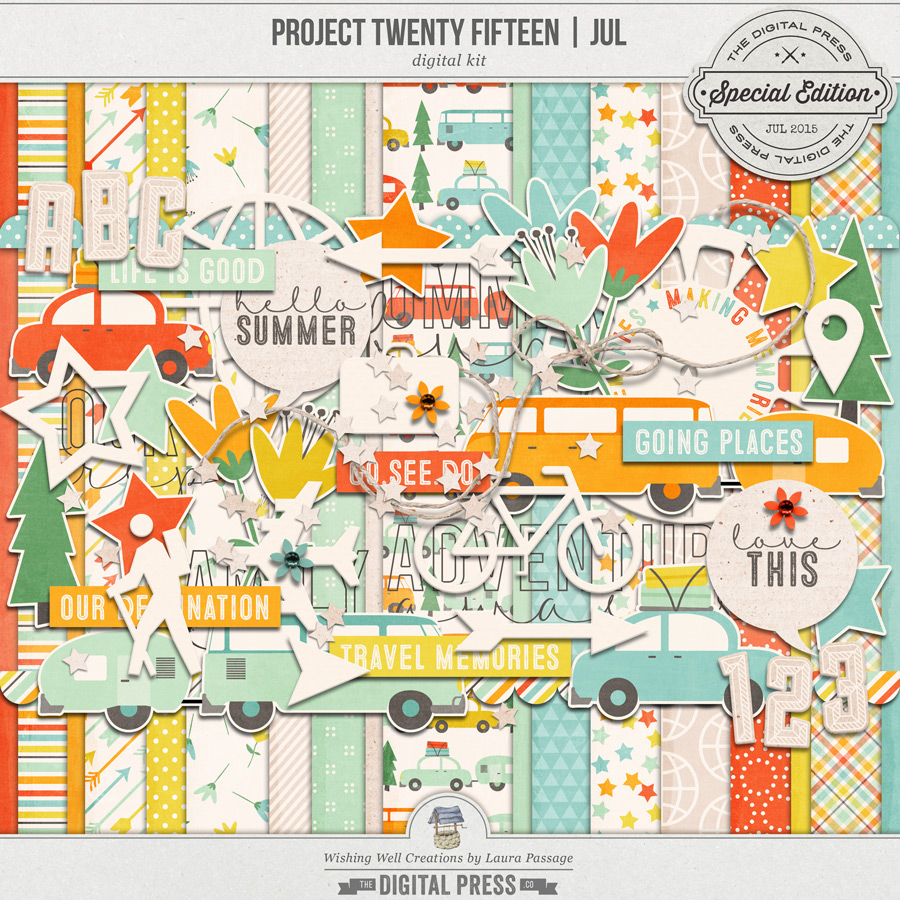
For the mini album project I am going to show you today, I chose two kits from The Digital Press — the Go.See.Do collection by Mari Koegelenberg, and also Laura Passage’s Project Twenty Fifteen | July kit, both shown here…
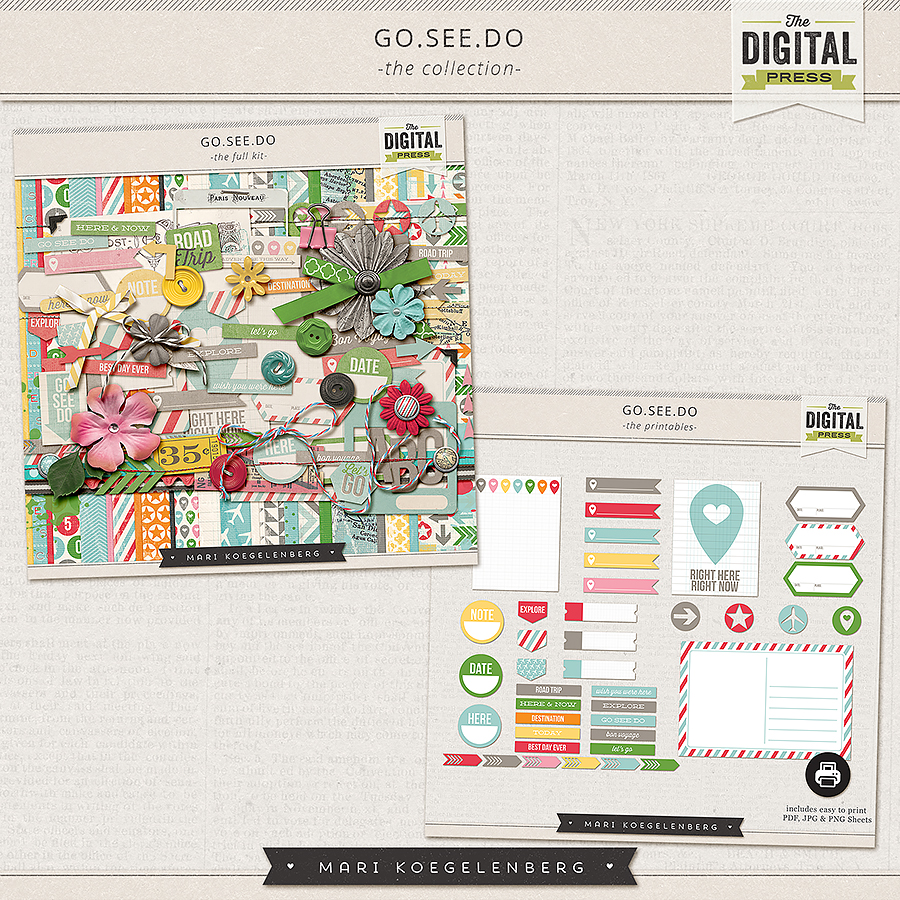
I like to choose kits that are versatile and can be used for lots of different topics or occasions. Although each of these two kits are travel-themed, there are also plenty of generic elements and papers that I know I can use for so many different purposes (and also, for other projects in the future, as well!). For instance, see those tags and labels above? Or the word art stamps, flowers, stars, etc. in this next kit…
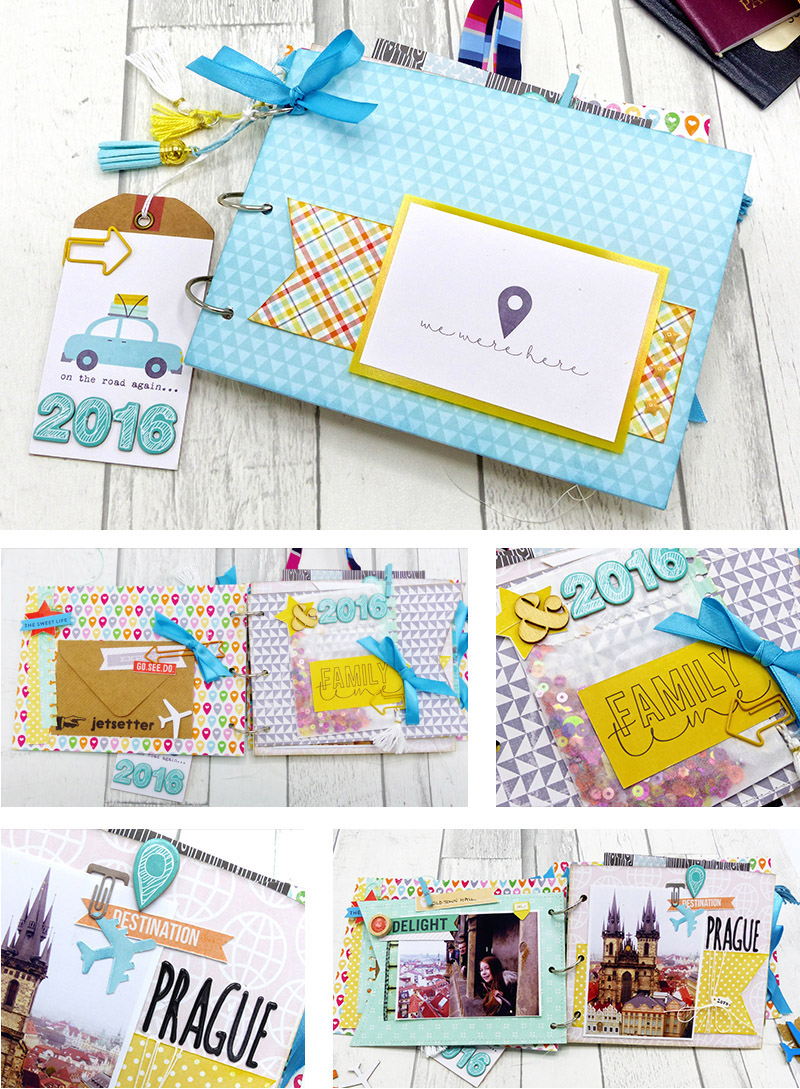
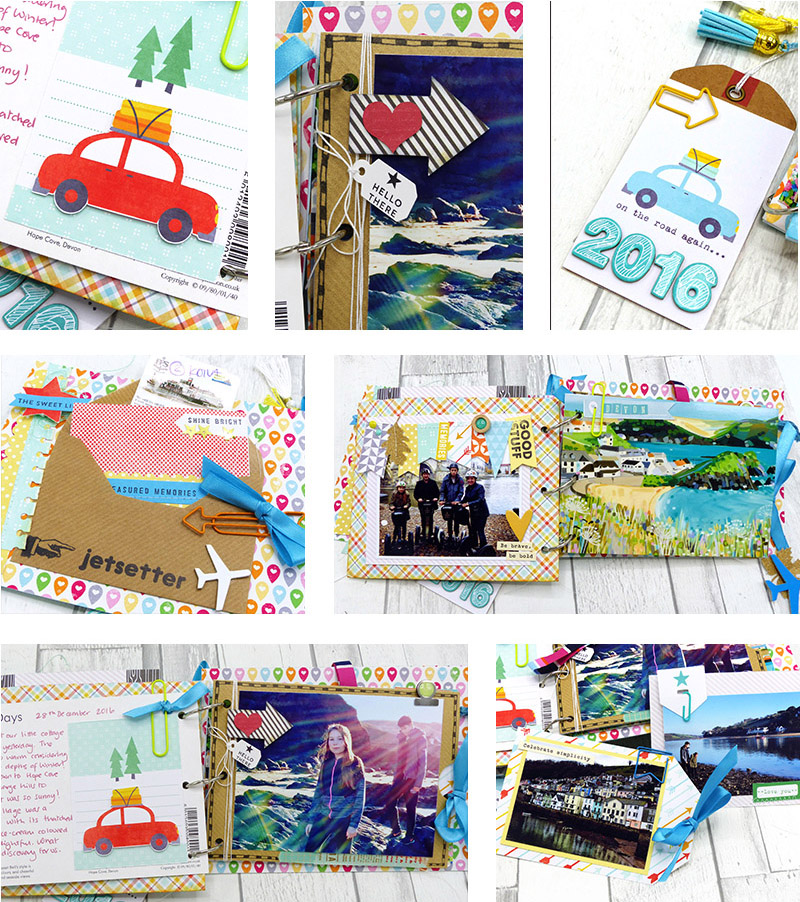
For my project, I documented some of our family travels from 2016 in a handmade mini-album.
I used a variety of methods to create the pages. For instance, as shown in the photos below, I created pages by printing out some of the digital papers as foundations for each page; some I made rectangular, and others I notched so that they were flag/pennant-shaped.
Once I had the foundation pages, I came up with some interesting things to attach to each of them (in addition to the photos). For example, I upcycled some old clothing tags to add a bit of interest… creating a title tag with date (top photo, left). I also upcycled some old envelopes that I saved from Christmas, and turned them into pockets (middle row, left). I filled a plastic page protector with sequins and sewed it shut (middle row, right). I also used various fasteners (paper clips, mini clothespins, string, etc.) to add dimension and decoration to each page. So easy!
But the main embellishments on my pages came from the digital kits. Not only did I print out the papers to create pages, I also printed out some of the flat elements and added them to my pages after cutting them out.
I’m lucky enough to own a Silhouette, and the best feature of a cutting machine is the ability to quickly print and cut the adorable elements found in digital kits. The Silhouette makes it a cinch to create my own die-cuts. Today, I’ll take you through the basic steps to trace an element and ready it for cutting.
Step 1:
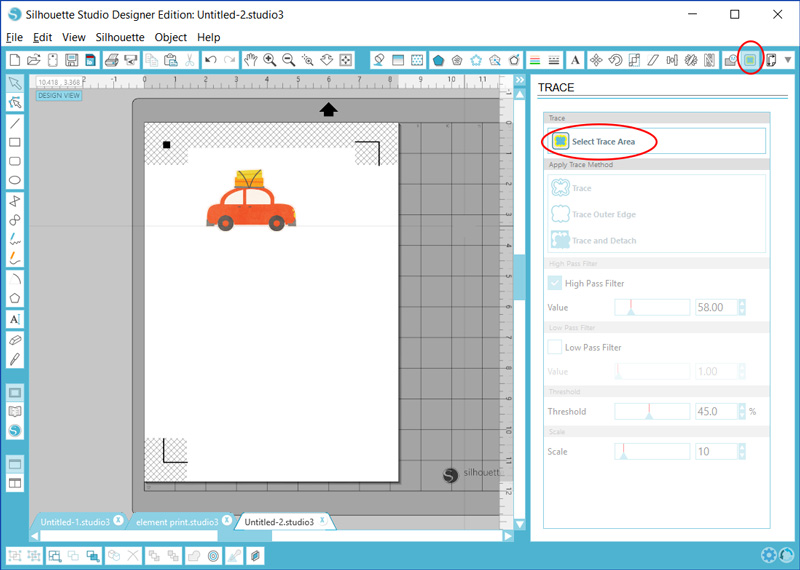
First, you will need to set up your page to the correct size and add registration marks. These are printed on your page and used to align the cut later (see the marks in the corner of the page in the image below). Then you will drag and drop your digital element onto the page (that car is cute right?!). Anything in the cross-hatched area shown in the picture below won’t be cut… so make sure you position your element in the main body area. In order to cut around the outside of the element, click the Trace button. Then click Select Trace Area.
Step 2:
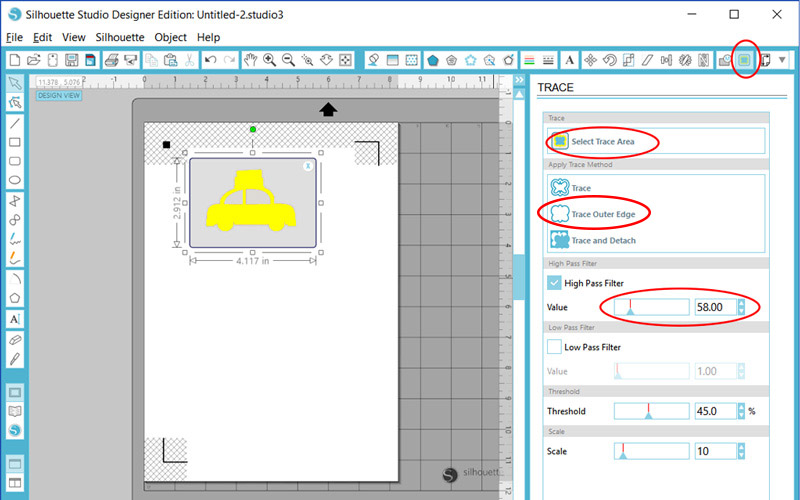
Now you will drag the box around the shape. The software analyzes the shape (yellow means that it won’t cut in that area). Depending on the shape and color, you may need to drag the sliders for High Pass and Low Pass filters (the more contrast in the image, the better the results). Note that in my example image, below, the car windows are not highlighted in yellow — so the Silhouette can cut the window detail if I want. I just want to go around the outside of the car, however, so I chose Trace Outer Edge.
Step 3:
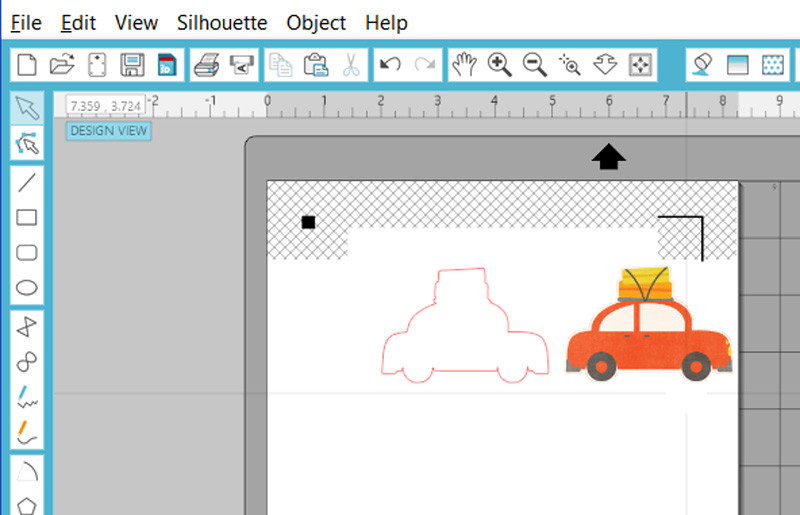
Voila! In the next image, I moved the car so that you can see the cutting outline that has been created. I group the object and the outline together so that they can be moved around the page easily.
Now that we’ve dealt with how to trace an element… give it a try! Go wild and look at all of those fabulous elements in your digital kits in a completely new light. Think of the things you can do!
As shown in the next image, I added a couple more elements to my project. The trace function did an amazing job on the bicycle shape…
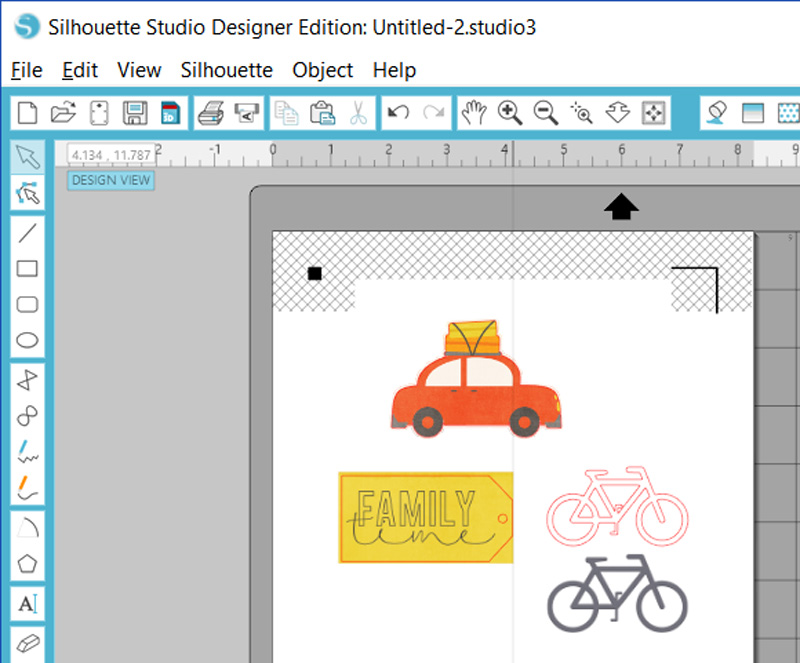
Another way to make the most of those great digital elements is to combine them to create your own elements. Above, you’ll see the yellow tag with “Family Time” written on it. To create that, I dropped the “Family Time” word art from the Project Twenty Fifteen | July kit onto a block of yellow paper… and then I inserted a tag shape over the top. Now I have my own custom-made tag element!
Of course, if you don’t have a cutting machine, you can also do all of this by hand. Fussy cutting is very therapeutic! I often find myself cutting out shapes by hand just because it’s relaxing and a lot quieter! 🙂
Here are a few more photos of my finished project… so you can see a few more examples of the fun things you can create when you print and cut digital elements…
Are you up for a challenge? If you come to the CROSSWORD SECTION in The Digital Press forum, you’ll find this month’s Hybrid Challenge thread… and if you try one of the two hybrid projects we’ve featured on the blog this month, you can earn challenge points for January! For today’s project, all you have to do is print and cut some digital embellishments and include them on a hybrid project of some kind. It doesn’t have to be a travel album — it can be anything, really (a card, a physical scrapbook page, a mini-album like mine, etc.) — as long as you can decorate it with some cut-out digital elements, any project goes! Give it a shot, and share your final results with us! We can’t wait to see what you come up with…

About the Author Morag Cutts is part of the Hybrid Creative Team here at Digital Press. Morag has been an avid scrapper and photographer for ten years. Although she adores the flexibility and creativity of digital, Morag can’t resist playing with paper and embellishments – so hybrid scrapping is the perfect medium for her! Morag lives in the UK with her hubby, two kids and recently adopted puppy.
This little travel album is so cute! You did an awesome job with it!
An amazing job!!