Today we are going to talk about the crop tool in Lightroom. I absolutely love this tool, and I think you will, too!
Mainly, I love this tool when I am sorting through pictures that I would like to print and put into frames. How many times have you struggled to make the photo you want to print the right size to fit in a particular frame? If you are like me, this happens a lot! That’s where this crop tool comes in really handy.
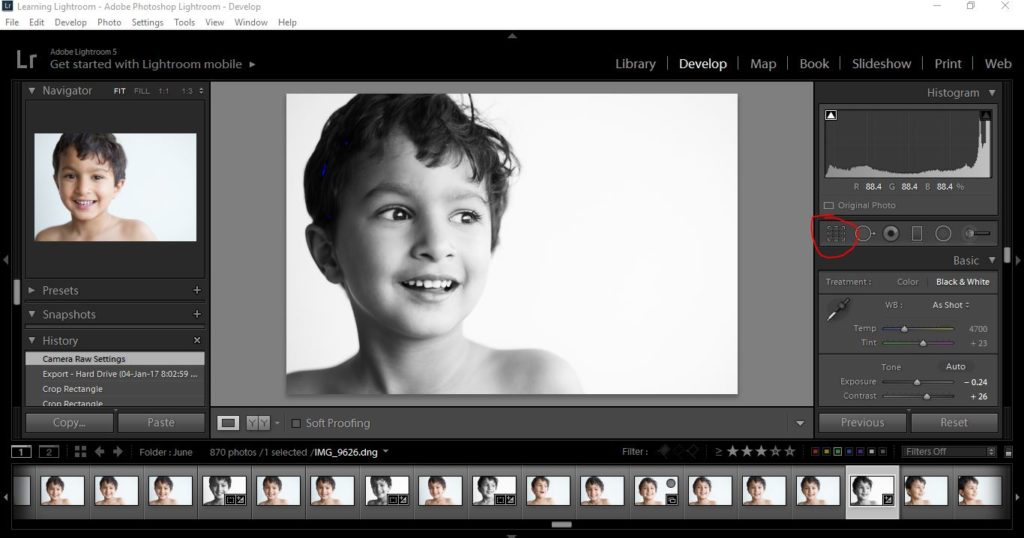
If you are a Lightroom user, you can find the crop tool in the Develop module within the software program. First, select the picture you want to crop… and then click on “Develop” near the top right. The crop tool is a small rectangle box found just under the histogram. I have highlighted it in the picture below…
When you click on that crop button, you will see a few different options. Click on the one that says ”original” and then, in that drop-down menu, you will see various size options.
The size options are the typical photo sizes: 4×6, 5×7, etc. (basically, the most common frame sizes). There is also a custom option in case you have a frame that does not match the given sizes.
When you select a particular size, a hand icon will appear on your image. You will be able to move your image with this hand and decide what section of your image you want printed and what section you want outside the printed area.
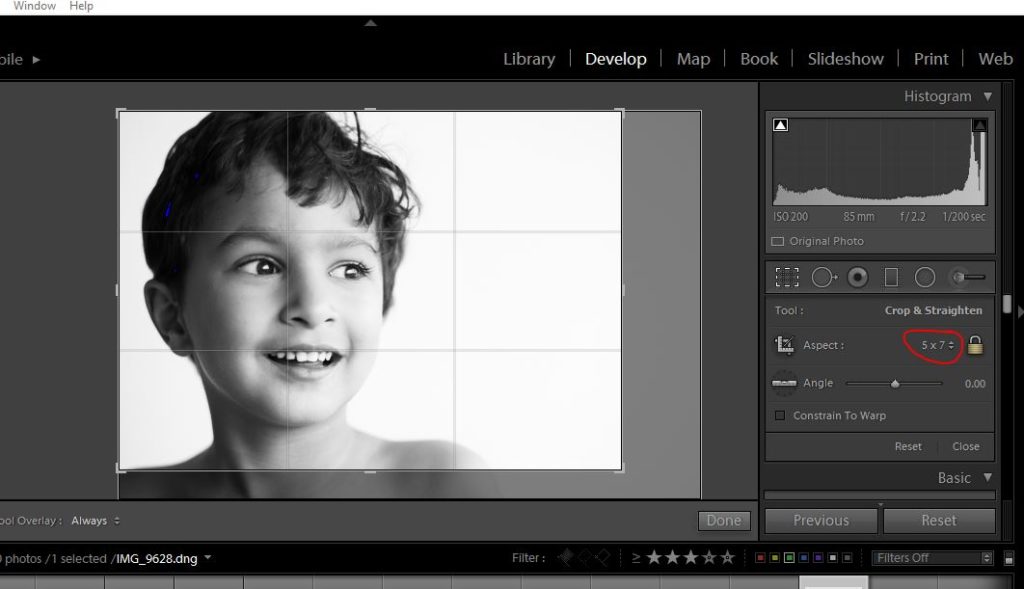
In my image below, you can see that I have chosen the 5×7 size. Once I selected that size… I could then move the highlighted part of my image (shown below with the 9 rectangular boxes) to select the area of my image that I want included when I crop the original…
This next part is what I like the best, however… the option to easily switch between a vertical and a horizontal orientation (portrait or landscape) with a simple keystroke.
See, the thing I struggle with most when framing photos is trying to use a horizontal picture and make it fit in a vertical frame (or vice versa). It is almost like putting a square peg in a round hole, and I have wasted quite a few photo prints trying to do just that! Lightroom has a very easy fix for this, however.
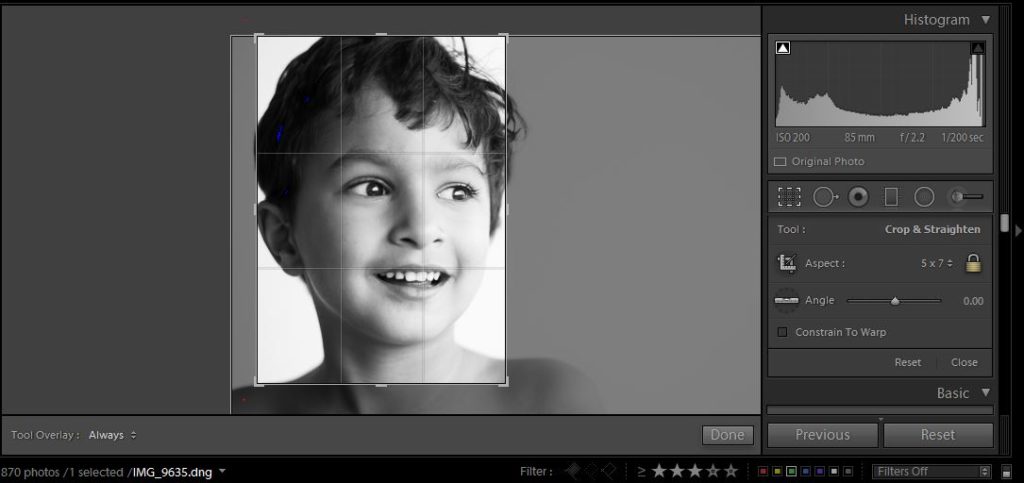
Once you have selected the photo/frame size in your drop-down menu, you can simply press ”x” on your keyboard. The crop orientation will then change from horizontal to vertical and you can go about the business of moving the active area of the photo to crop it down to just the portion you would like to print. Yes, it’s that easy! I use this technique a lot! You can see the vertical crop in the picture below. You can toggle between vertical and horizontal by pressing “x” multiple times.
I hope these simple Lightroom tips and tricks will help you more quickly process and prepare your photos — whether for printing and framing, or for exporting to Photoshop in order to scrapbook them, etc.
If you have any questions… definitely feel free to reach out to me using the comments on this post, and ask away!

About the Author Pallavi resides in the United Kingdom with her husband and their son, Rajveer. She has previously lived in Calcutta, Pune, San Francisco, Chicago, London, and Mexico City. She reflects all these places in her pages as she captures her everyday stories. She is an alumnus of Northwestern University, and currently she is learning photography and working towards getting to a healthy weight. Her days are full and she loves it that way!