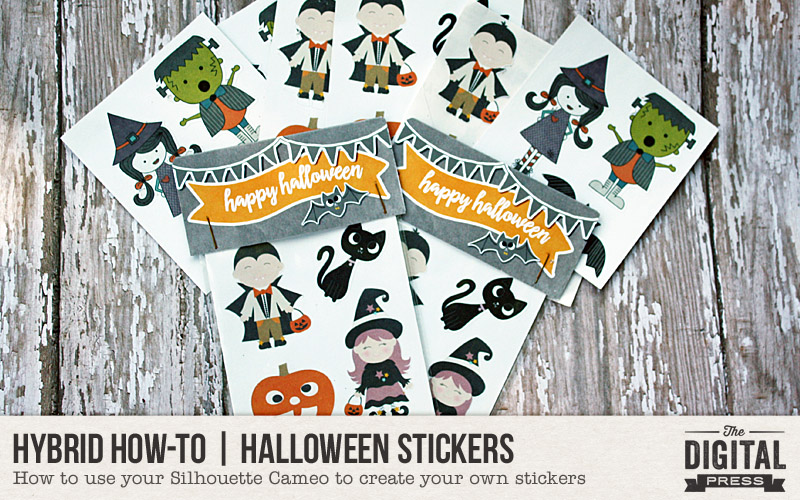
Hello everyone, It’s Tanya here to show you step-by-step how to create your own (really cute) Halloween stickers!
I thought that stickers like these would make the perfect Halloween treat for school parties. You just never know when one of your child’s classmates might have a food allergy… and with all of the sugar they will be getting already, these will surely be a big hit! My boys are way to old for this, but I am excited to create a bunch and give them out on Halloween night!
Supplies Needed:
- Your favorite Halloween-themed digital kit (I used FREAKIN ADORABLE 1.0 and FREAKIN ADORABLE 2.0 by Mari Koegelenberg and Danielle Engebretson, shown below)
- Cutting machine (I use a Silhouette Cameo)
- Printer
- White shipping labels
- 3 x 4 treat bags
- Stapler (I use a mini stapler that came with colored staples)
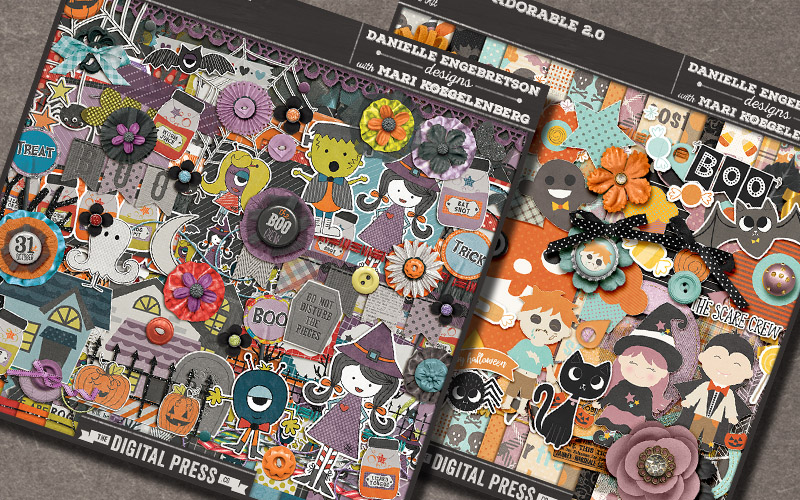
The reason I chose these kits — there are just soooooo many fun elements to choose from! I chose 4 different elements from each kit and believe me, that was really hard to do because I wanted to use them all!
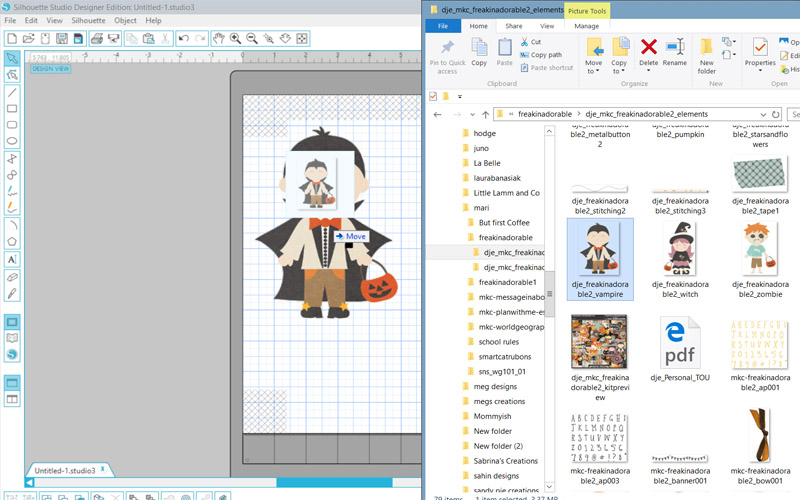
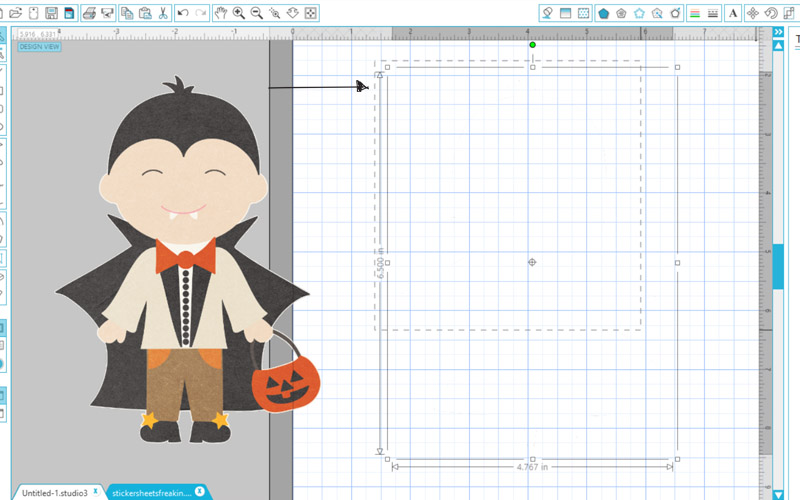
The first thing you need to do is to open the images/elements you are going to use in your cutting machine software (I’m using Silhouette Studio Designer Edition). Open your elements and simply drag them over to a new drawing area, as shown here…
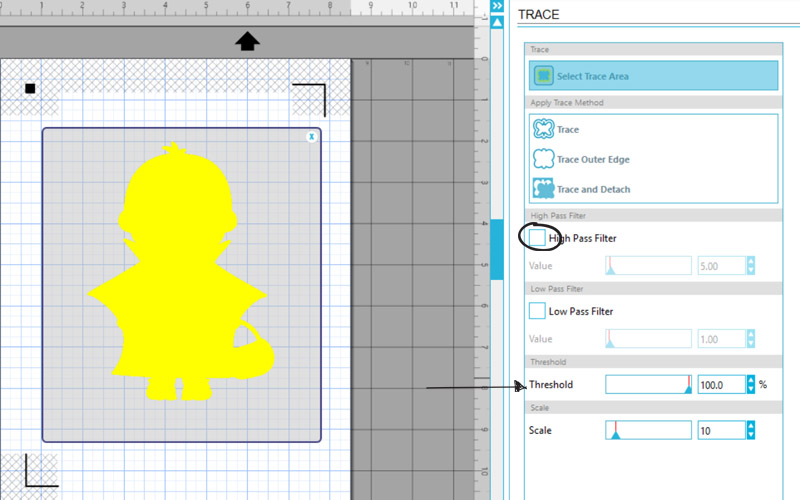
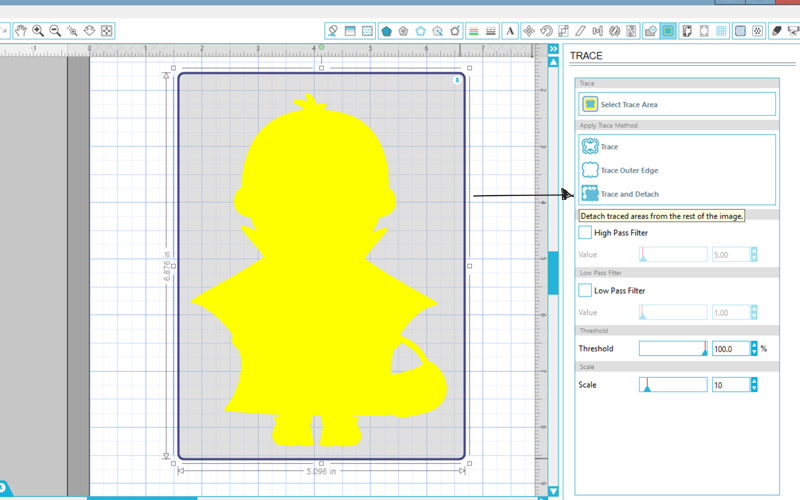
Once you have decided on the images you will use, you will have to do a “trace” on each one in your software. This will tell the machine where to cut. This is also referred to as a Print and Cut. Open the Trace menu and select the trace area (see the small black circle I drew near the upper right)…

Now uncheck the “High Pass Filter” and move the “Threshold” all the way to the right. You can see that the image is perfectly highlighted (see the circle and the arrow I drew to show the boxes you will click/change)…
At this stage, there are a few ways to let the machine know the cut area. The one I will be showing you is the Trace and Detach. To do this, simple click on “Trace and Detach” as shown here (see the small black arrow I drew near the right)…
Now you will click on the image and drag it off to the side. It is hard to see, but there will part of the image left behind (you can see this below; when I click and drag over where the image was, the dashed lines show up. This is the part to get rid of). After dragging a box over the leftover part, hit “delete.”
Continue to do this for all elements used…
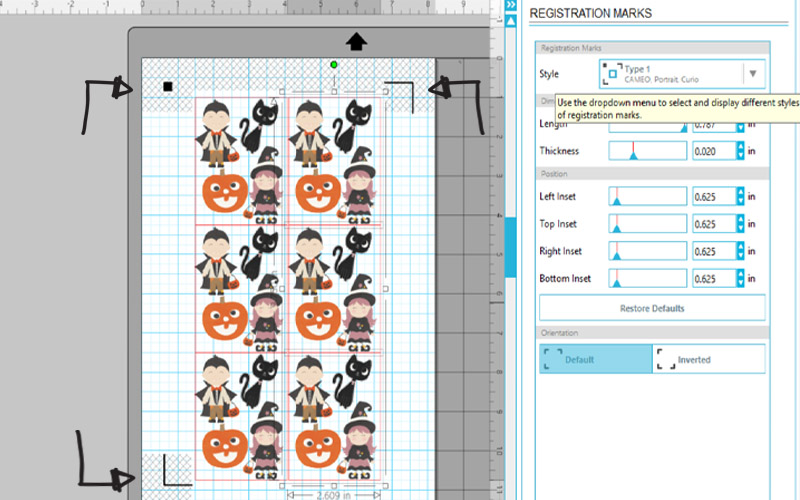
Next, draw out a box. The dimensions of my box were 3.250 x 2.563. I was able to get six to a page. Resize the elements to fit inside your area. The size of your box and images will depend on the size of your treat bags.
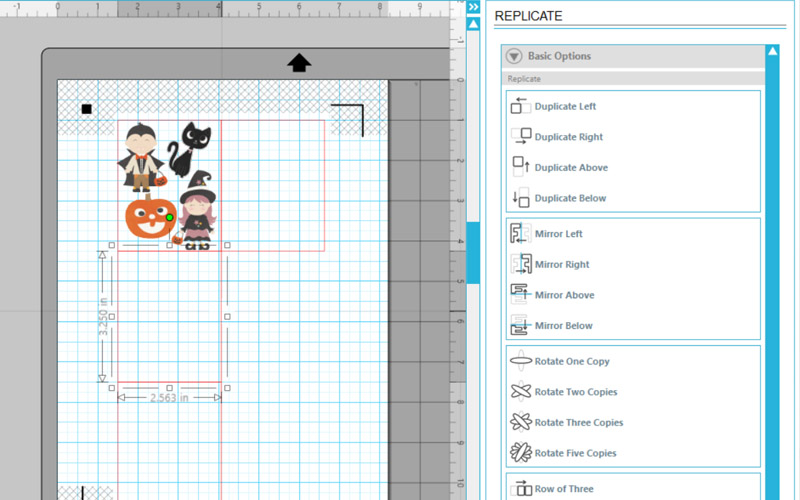
Now, you will copy and paste into all spaces, as shown here…
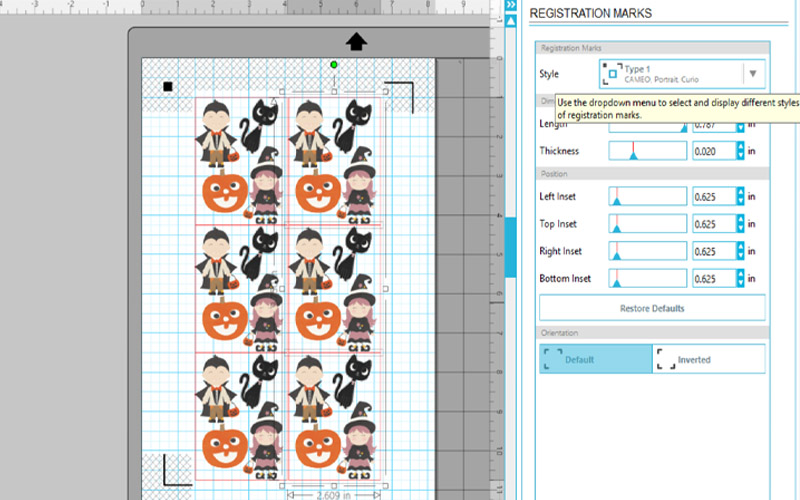
Now it cutting time. First, you have to print the stickers onto the label sheet. To do this, make sure that your “registration marks” are on… and then send through your printer. It is important to have the registration marks on before you print. These marks tell the machine where to cut.
Next step is to go to the “Cut Settings.” Here, you will tell the machine where to cut and what type of materials you will be using. For this project we will need to send the sticker sheet through twice. The first time will be just a kiss cut; this will not cut the paper all the way through.
First cut: Only turn on the cut settings on the images. To do this, go through and click on each image and chose “Cut Edge.” You can double check to see if the box around the images is off — simply click on one and it should show “No Cut.”

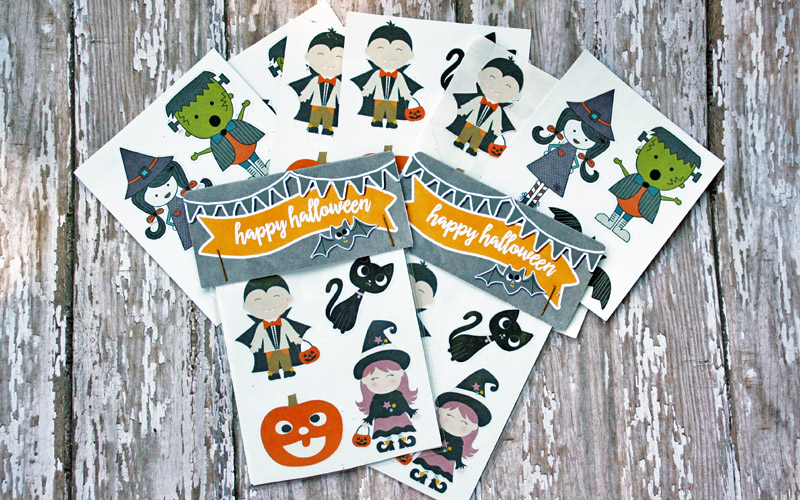
Second cut: Now do the opposite. Go through and turn the cut marks OFF on the images and turn the box cutting lines ON. You will also choose “cardstock” for your material. This will cut all the way through, giving you little individual sticker sheets…
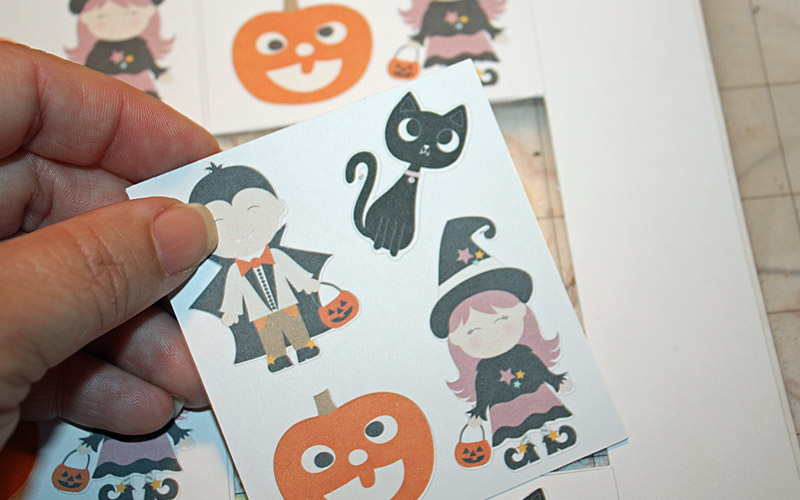
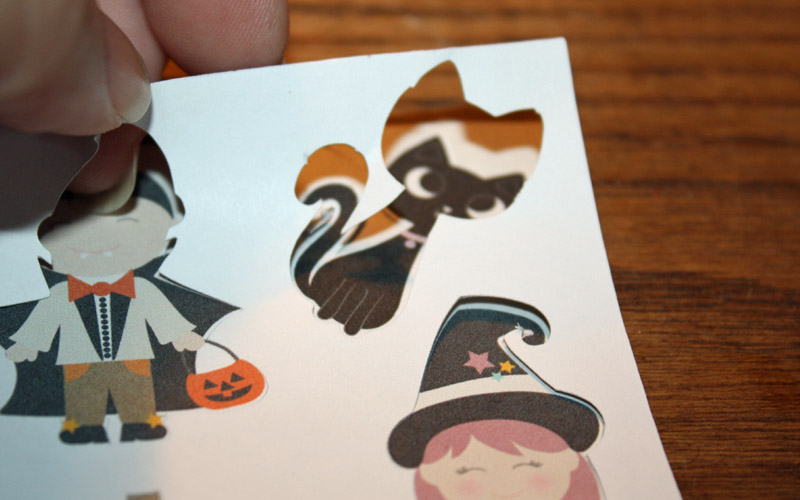
Now you can either peel the white area around your sticker off… or leave it on. I left it on because these particular labels have a “cut” through the back and doesn’t look quite right.
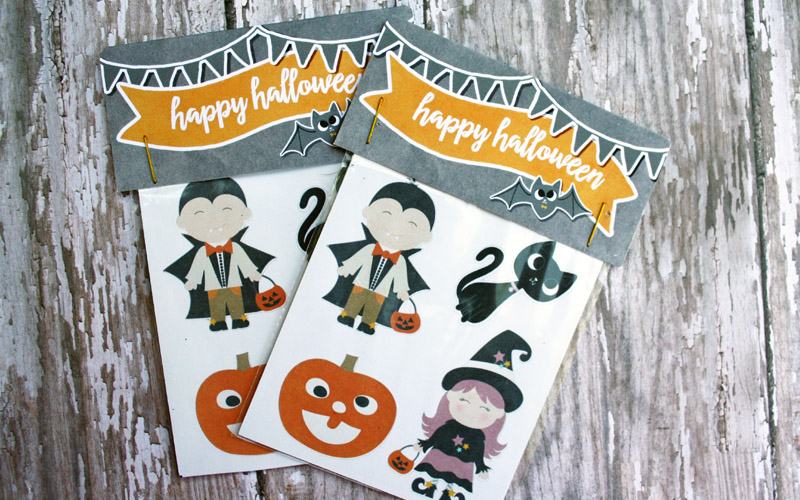
Now add your sticker sheets to the treat bags…
I created a cute topper (in Silhouette Studio Designer Edition) and stapled it to the top of each treat bag. You can even add your child’s name to the back of the treat for a nice finished touch…
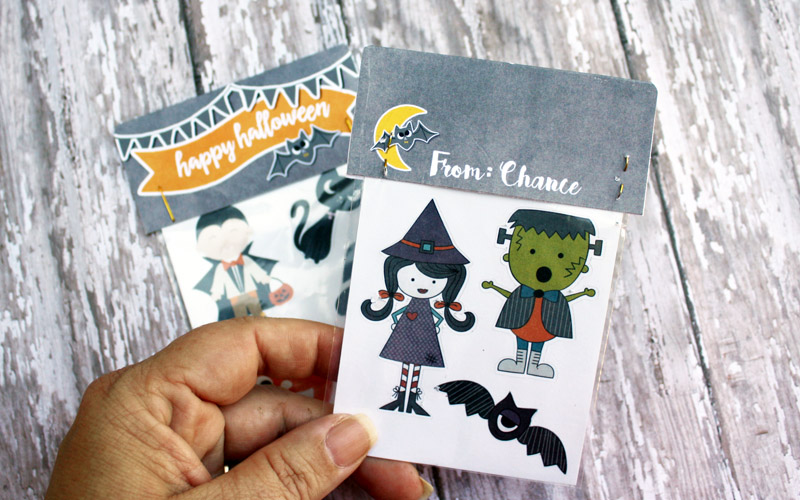
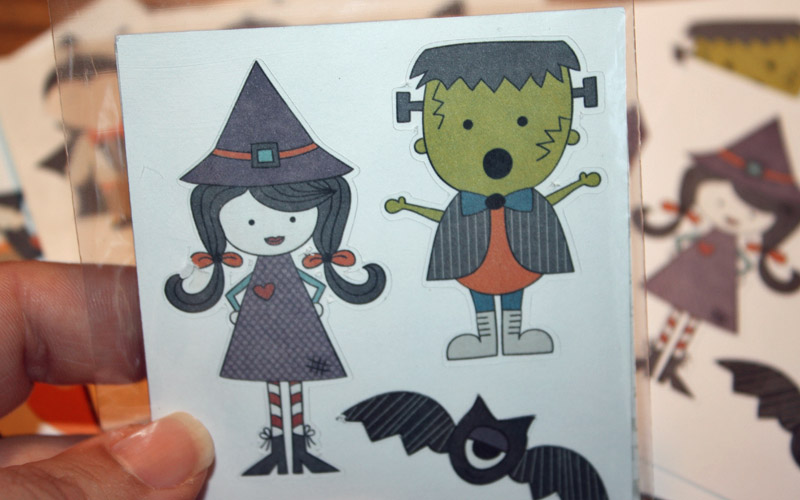
Here’s a look at the finished product from the front of the sticker packages…
I hope that you have enjoyed this tutorial! Get your creative juices flowing and create some stickers for Halloween (or even for some other fun occasion… you could use any theme/kit you like!). If you give it a try, come share your creation in the September Hybrid Challenge thread in the forum. 🙂
 About the Author Tanya is a part of the hybrid team here at The Digital Press. She has been hybrid crafting for at least 14 years now, and loves creating and sharing those creations with others. Her all-time favorite tool is her Silhouette Cameo. She has been married for 28 years to her high school sweetheart, Richard and has two sons: Chris, 25 and Chance, 20. She also enjoys crocheting, photography and woodworking.
Tanya, these are really adorable! What a great tutorial and great alternative to giving candy for Halloween!
Thanks Sheila….so glad you like them.
Tanya I love all your designs u can tell u put a lot of time and thought into them: ) u have inspired me to start up my love for scrapbooking again😀 Thank u so much I am looking forward to seeing more of your work
Awww Jennifer, You are way too sweet. I’m so happy that you are going to get started again!! If you ever have any questions, please ask away.