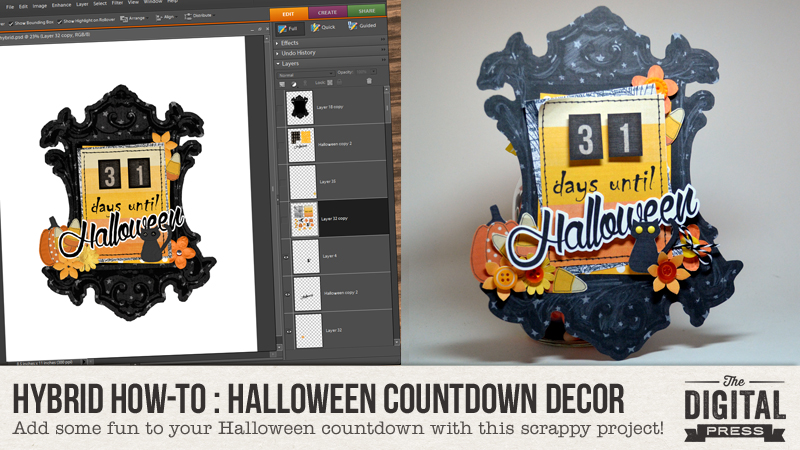
Hello and HaPpY OcToBeR!!! And Happy Digital Scrapbook Day! Arielle here and I’m so glad you stopped by today! I have a great project that will get you all scrappy this weekend – snipping and gluing and layering – oh my! I’m going to show you how I designed this little Halloween Countdown decor, and give you some tips on creating your own Halloween decor!
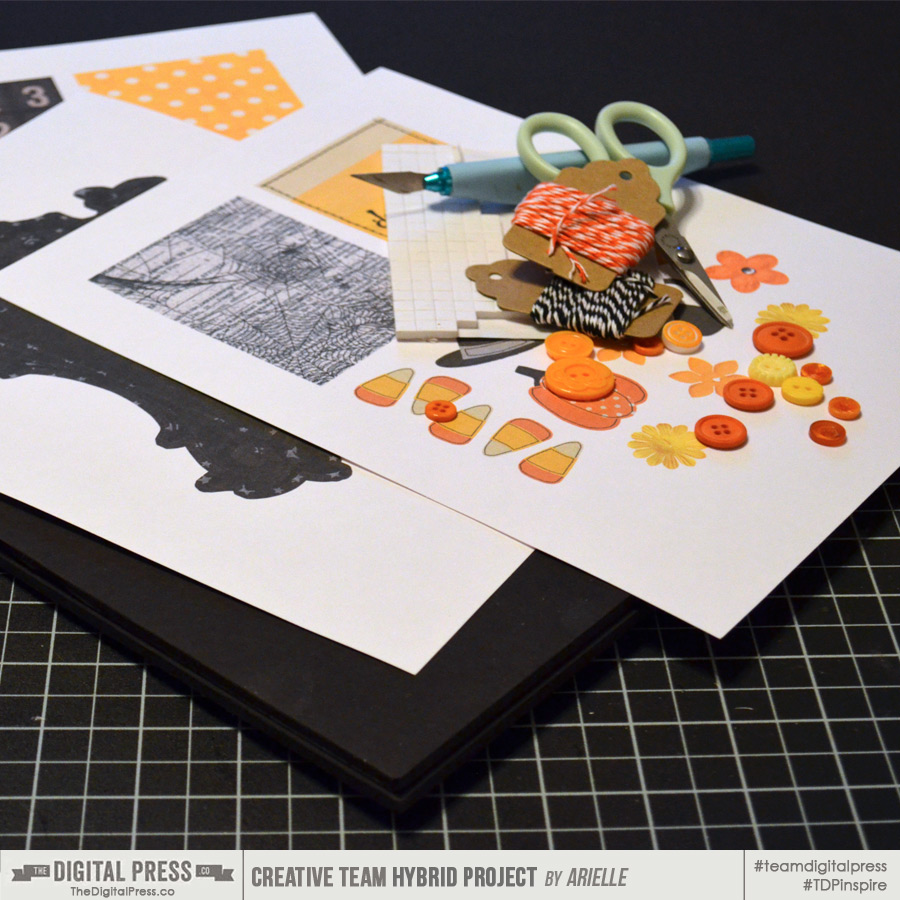
Here are the supplies I used:
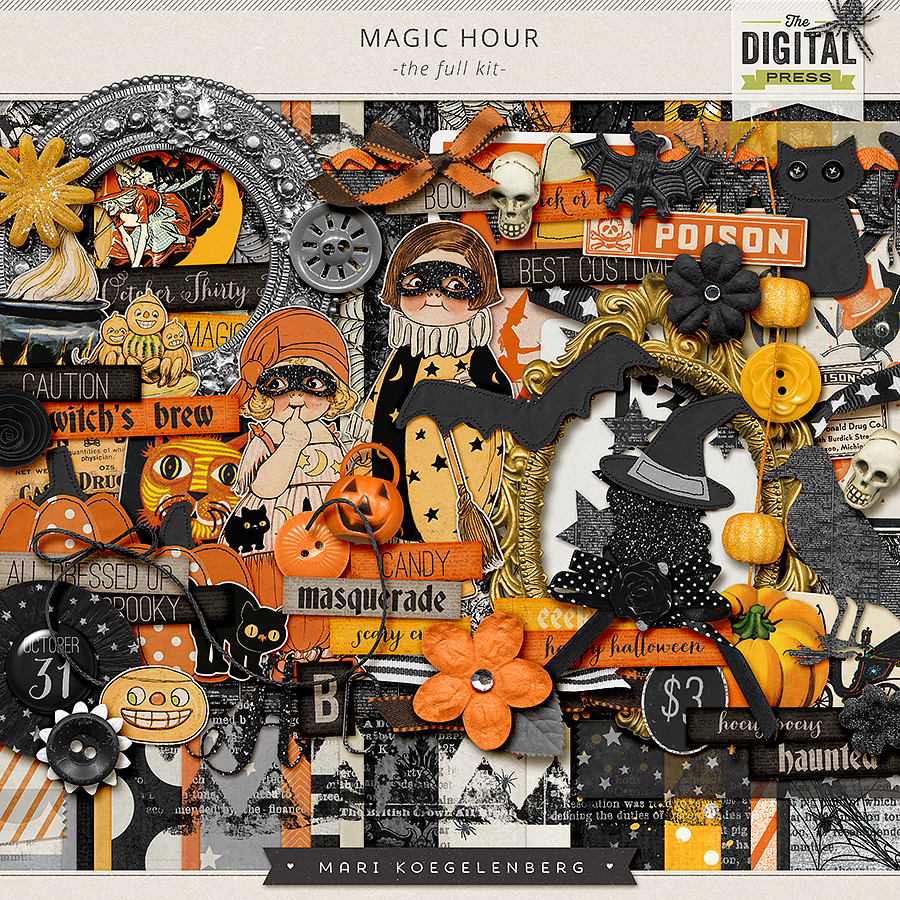
- Digital Kit – Magic Hour by Mari Koegelenberg
- Thin cardstock
- Adhesives (I used an ATG gun & dimensionals)
- Scissors and paper trimmer
- Other embellishments such as buttons and twine.
- Base material – you can adhere your decor to an adhesive magnet sheet to use on your fridge or a filing cabinet or you could mount it to black foam core.
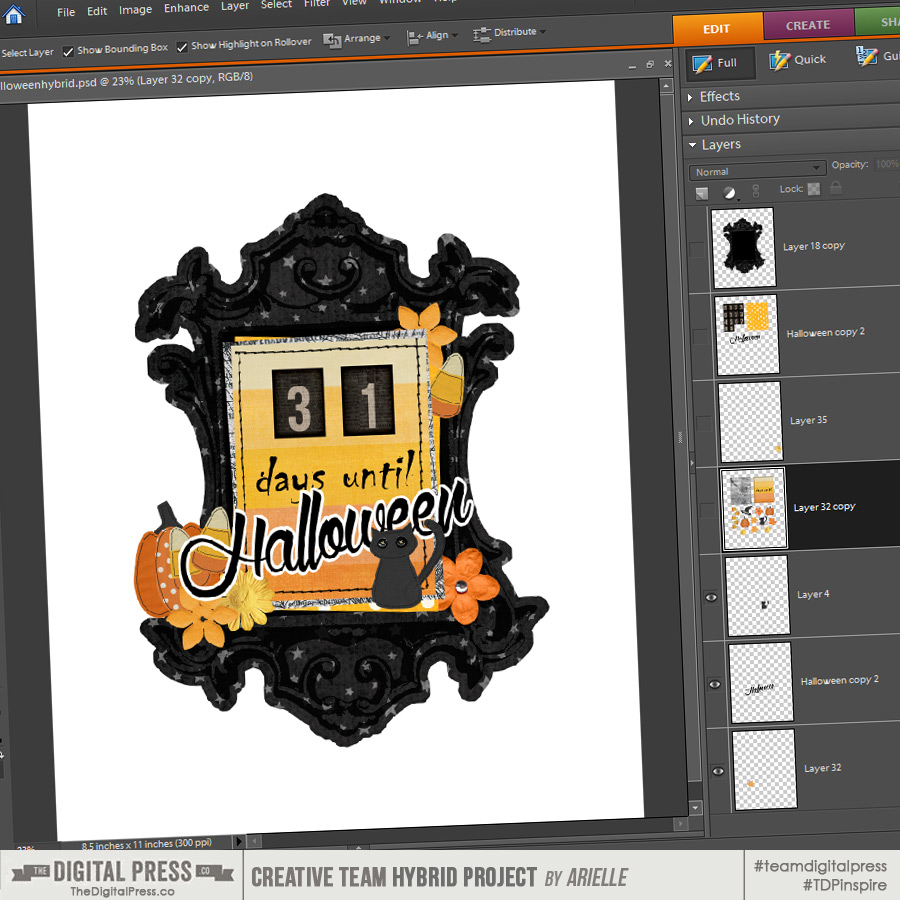
Step One – Design your project! I like to pick my kit and completely design my project In Photoshop before I print out the elements. That way I know everything will work together and I will only print what I need for the project.
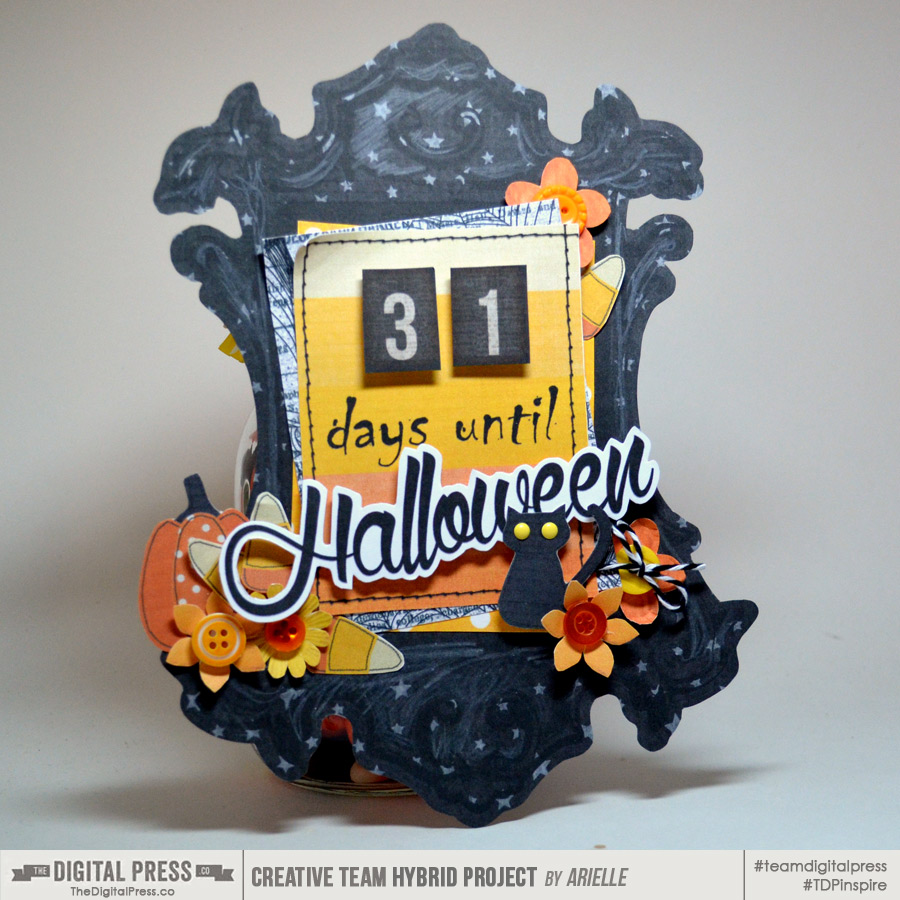
I found this antique~y frame in another kit and blew it up, adjusted the threshhold settings and superimposed it over the star paper. I used some free spooky fonts, as well.
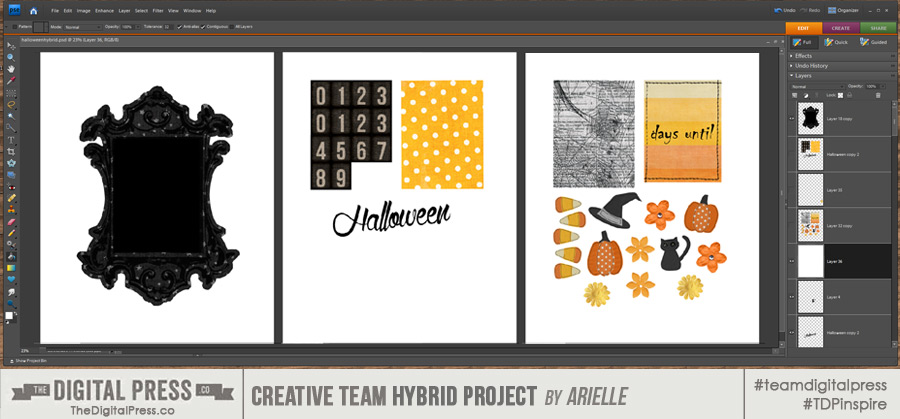
(Once my design is complete, I divide all the elements onto separate sheets for printing. I usually throw in some extra elements in case I mis-cut something or I decide it needs a little something extra!)
Step Two – Print your elements and gather your supplies! It’s always a great idea to add some buttons, gems, ribbon, twine… you get the idea – mix in some real stuff. It will be fun & you can’t get it wrong. I promise.
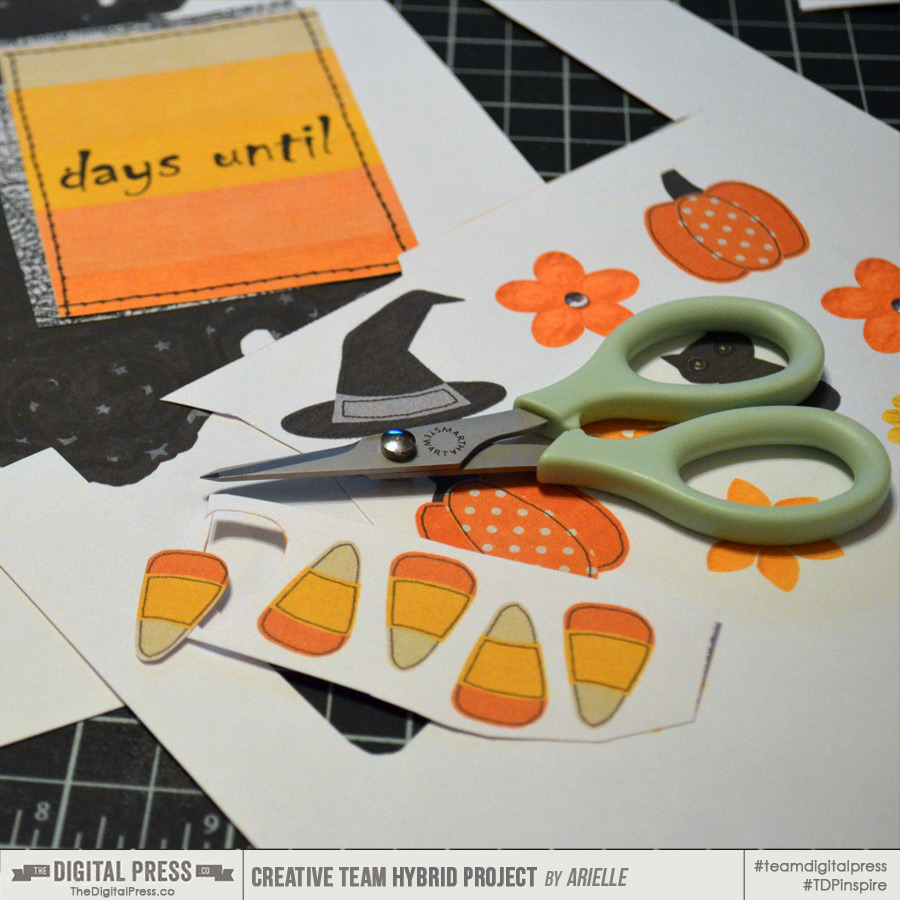
Step Three – Trim out your elements. Yes, you could think of this as tedious… or you can realize it’s really therapeutic! I just love cutting out cute little things!
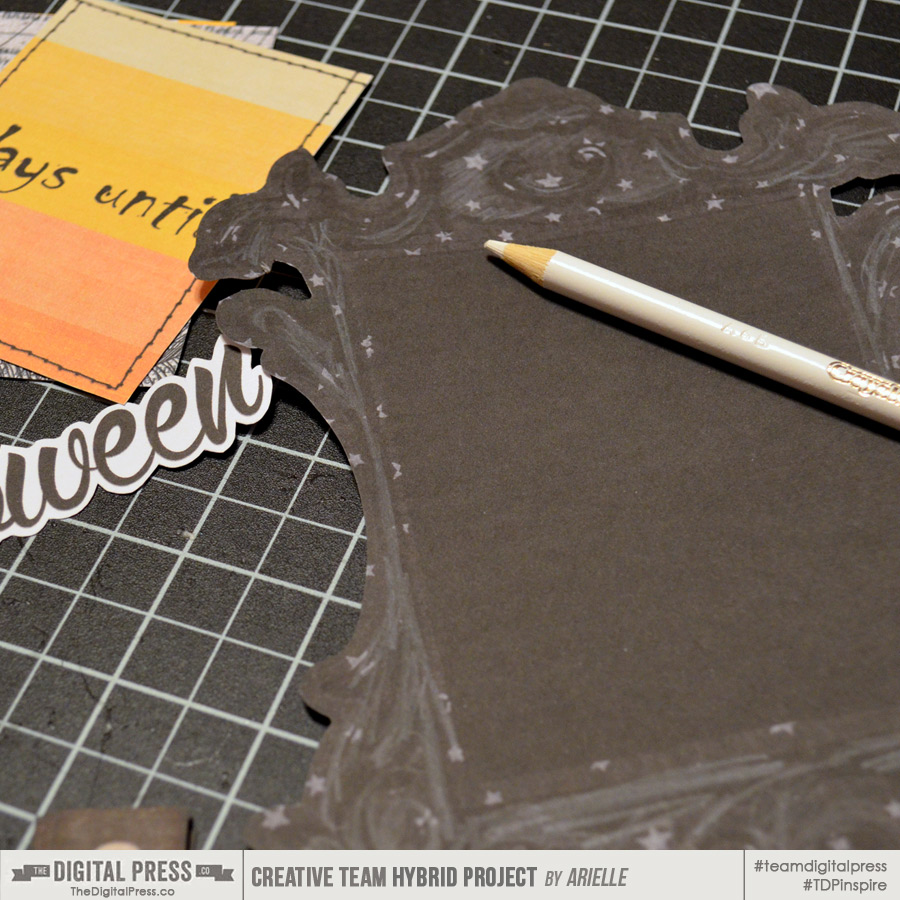
Step Four – My frame paper printed really dark, so I went back in with a white pencil to add a little definition. Don’t be afraid to grab paint, glitter or other media to layer onto your project! It adds another dimension to your hybrid work!
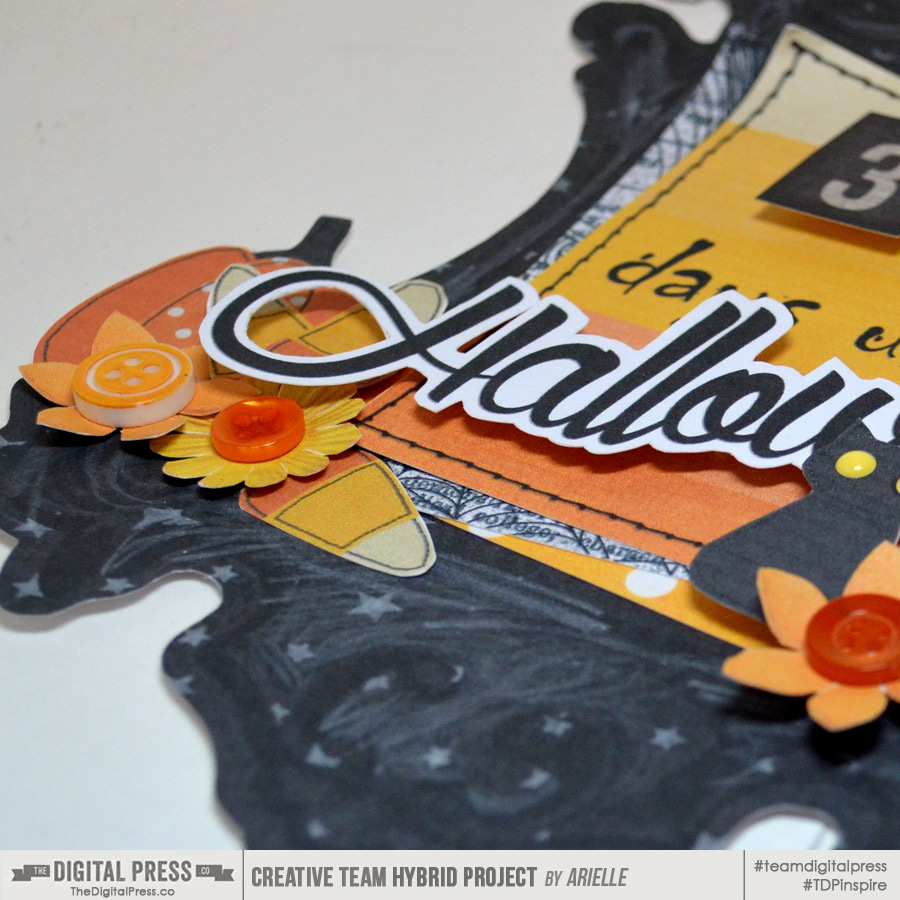
Step Five – Start layering! Pop up different layers with dimensional adhesives. It’s great when you can find them at different heights. Add some different textures, I used buttons and twine. (I added a couple enamel dots to the cat’s eyes, too!)
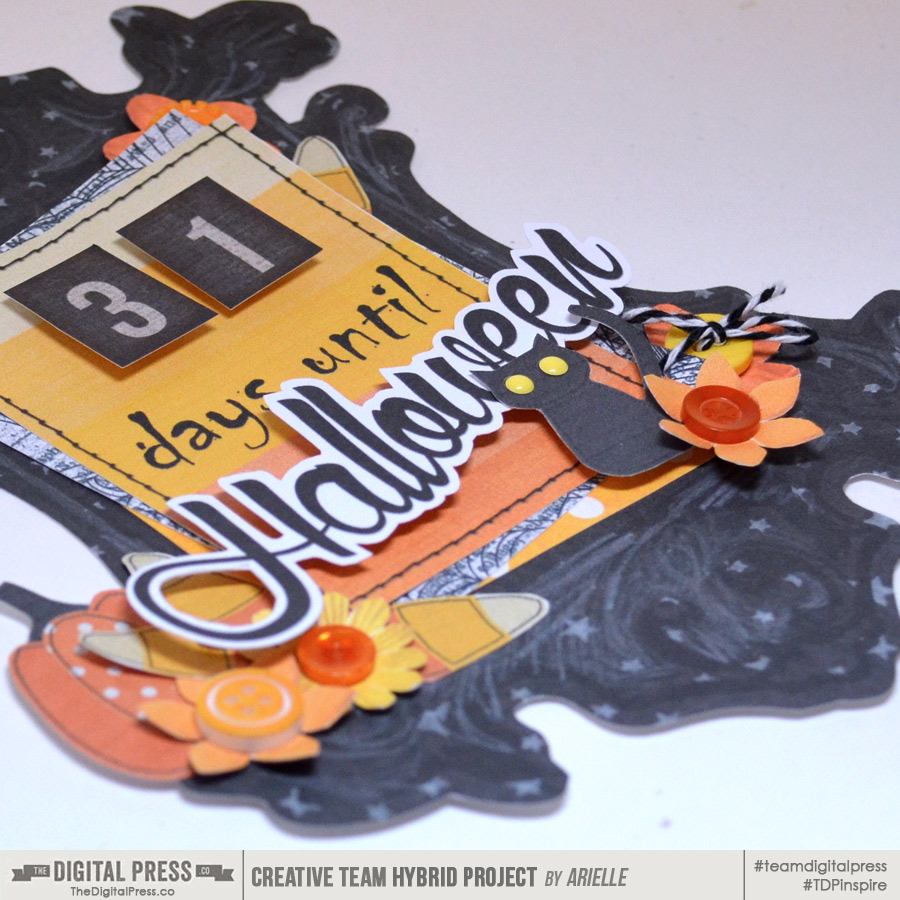
(I made my own Halloween “sticker” by just leaving a white border as I trimmed around the word. I used a craft knife to cut out the space in the “H”. I added some depth to my paper flowers by pressing them into my palm to push the petals up!)
Here’s the finished project! I still can’t decide if I want mine on my fridge or my wall, but I have both magnetic sheets and black foam core when I do! I’ll just trace around my frame, and trim the backing to size.
Craft stores also sell all kinds of blank signs you could use as a base – canvas, chalkboard, wood, burlap. You could also make a hybrid Halloween banner or bunting, on paper or fabric. hey, you could even print out a bunch of these and let your kids decorate a tin can pencil holder or a cute garland!
Now it’s your turn! Want to try your hand at some hybrid Halloween decor? It can be as easy and as simple as you want it to be! Please come join us in The Digital Press’s forum for a fun challenge related to this tutorial! You can create an amazing item for yourself or someone you love AND earn points doing it! Points can later be cashed-in for discount coupons to the shop at the end of the month if you participate in the challenge system at The Digital Press!
I looooove this project!!! Such a cute idea!