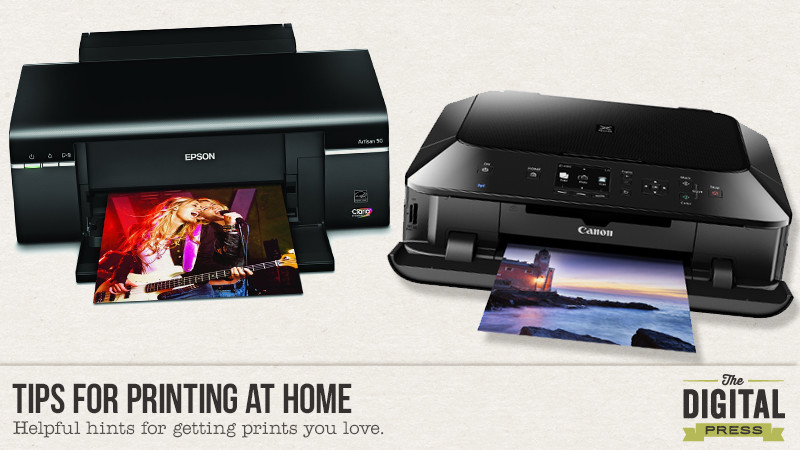
It’s often that people, and scrapbookers specifically, say that they cannot get good prints at home. I’ve been printing at home for a long time with great success, so I always wonder what is causing all this trouble. Today I’m going to be sharing the knowledge I’ve accumulated over the years that helps me achieve great quality prints at home!
Printer Types
Generally speaking there are 2 types of printers. One type is targeted towards offices and businesses. These types of printers are great for printing text and simple graphics such as graphs or clip art, and they tend to focus on speed rather than image quality. They also tend to have fewer single color ink cartridges, or one ink cartridge that contains 3 colors in one unit.
The second type of printer is a photo printer. It is made with photo printing in mind and will do a much better job at making prints because it’s focus is on print quality – not speed. Part of the reason it makes better prints is because it has a specialized print head, and generally speaking will lay down the ink in much finer drops which creates less striping and better gradients. Photo printers also tend to have more ink tanks, and some of the more advanced printers these days will have 8 to 10 separate colors of ink!
Ink
As with most things you can buy brand name or a knock off/generic. This holds true for ink. Each printer manufacturer produces ink that is formulated to work in their printers, and will give you the best prints with no fuss & little to no problems.
However, I’ve recently begun to experiment with generic ink in one of my printers and I’m finding it to not be that bad. Years ago refilling ink cartridges was a messy endeavor; bottles of ink, syringes, and filling up empty cartridges without spills was a pain. Now you can just buy the cartridges all filled and ready to go; I buy mine on Amazon. The manufacturer of your printer doesn’t want you to use generic ink, because that is where they make most of their profits. In recent years they’ve begun installing little micro-chips that let the printer detect one or all of the following: if the cartridge is authentic, if it’s been installed before, and/or the last known level of ink it contained. It’s designed to prevent the use of “unauthorized” ink, but there are workarounds. The downsides to generic ink are that it’s not available for every printer or cartridge number, there’s a greater chance that you may get a defective or non-functioning cartridge, and that the ink may not produce as good a print as manufacturer made ink.
Paper
I suspect the leading cause of “bad prints” is because of the wrong choice in paper. Regular printer/copy paper and cardstock soaks up ink which leads to dull results. Paper that is intended for making photo quality prints has a coating and also comes in various finishes such as glossy, semi-gloss or lustre, and matte. The coating and finishes are what allow you to achieve prints that are vibrant and colorful. Just as with ink, the printer manufacturers make their own paper and you can also get generic paper. Generic photo paper is made without a specific printer in mind and as such will more often that not give you a print with “wonky colors”. Paper that is made by the same manufacturer as the printer has been tested to work and produce good results simply by selecting the type in the printer settings dialog box. So it’s very important to make sure that you are telling your printer what you are using!
There is also a third category. Paper with corresponding printer profiles. What that means is that an independent paper mill has had their paper profiled for different printers which ensures that you get accurrate colors in your prints that match with what you see on screen. One such company that does this is Red River Paper. I am not affiliated with Red River, but am a happy customer so I like to spread the word in regards to their quality product. Check their ICC Profile Page to see if your printer is one that they offer profiles for that works with their paper. They have many helpful resources on that page that will help you install & use their ICC Profiles. One thing to note is that you need to print through software that handles “color management”. The only software that I’m aware of that does this is Photoshop.
I’m often asked what printer I use. Currently I have 2 Canon brand printers. One is the Pixma Pro-100, which is a wide-format photo printer that uses an 8 ink system, and the other is the Pixma MG7120. It’s also a photo printer but it only uses 6 colors of ink and prints standard letter paper width. You may wonder why I have two printers, and that’s a good question! I use Canon brand ink in the wide-format printer and only use that when I need to print photos & hybrid projects larger than letter size paper or I want the absolute best print. The other printer is filled with generic ink (but still makes a very good print) and is used for my family’s everyday printing which includes everything from text documents to coupons to smaller hybrid projects. Epson is another highly regarded printer manufacturer.
Printers are just like any other machine – they only do what you tell them to do. By making wise choices about ink, paper, and settings you too can have prints that you are proud of!
 About the author: Amber Funk enjoys a vast assortment of interests such as scrapbooking, photography, getting crafty with her Silhouette Cameo, reading, and playing video games. She is a Wife and Mother of 2 living in Northern California and blogs her crafty adventures at http://perfectly-fabulous.com/
 Another idea that has a lot of possibilities is to take random photos around your neighborhood, when you are out running errands, going shopping, travelling there and back and, again, you don’t need to bring a big DSLR if you don’t want to, just bring a little point and shoot or use your phone camera. I have a small mirrorless Sony camera that easily stores in my purse and I carry that with me often so I can grab quick shots with a bit better quality than my iphone (although I’m not knocking that camera by any means, it does a pretty good job). My hubby and I were driving down the highway in Bellingham, heading back from an afternoon at the casino. I snapped a pic through the windshield as we were driving.
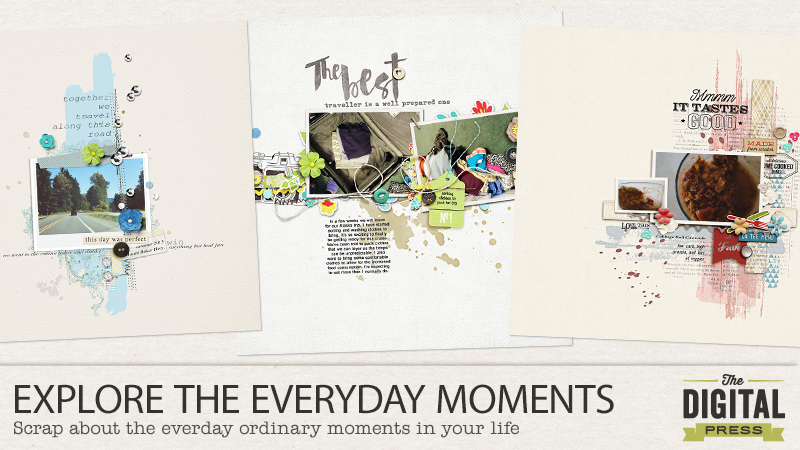
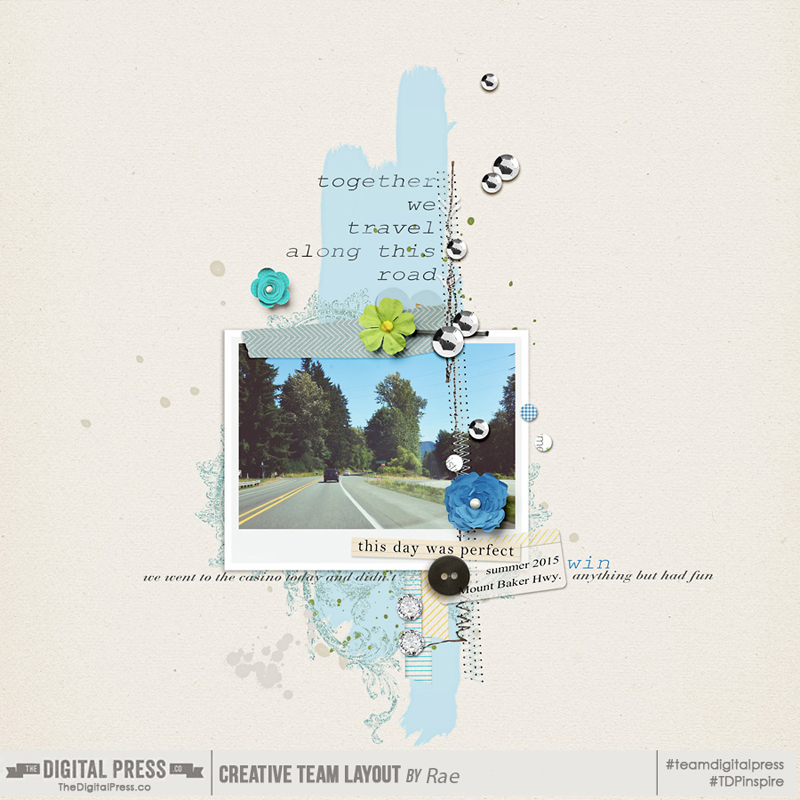 Take photos of things that have an impact on you, positive or negative. Maybe your favorite sweater shrunk in the wash; take a pic of it and scrap about it. I love to scrap about my personal items. I took photos when we went to the store to buy a new big screen TV; also when we went to buy a new fake Xmas tree last winter. I took an iphone pic of my pile of clothes that I will wash and fold to put in the luggage for our trip in a few weeks. Here’s the page I created with those pics. I journaled about the preparation for the trip and the excitement I’m starting to feel.
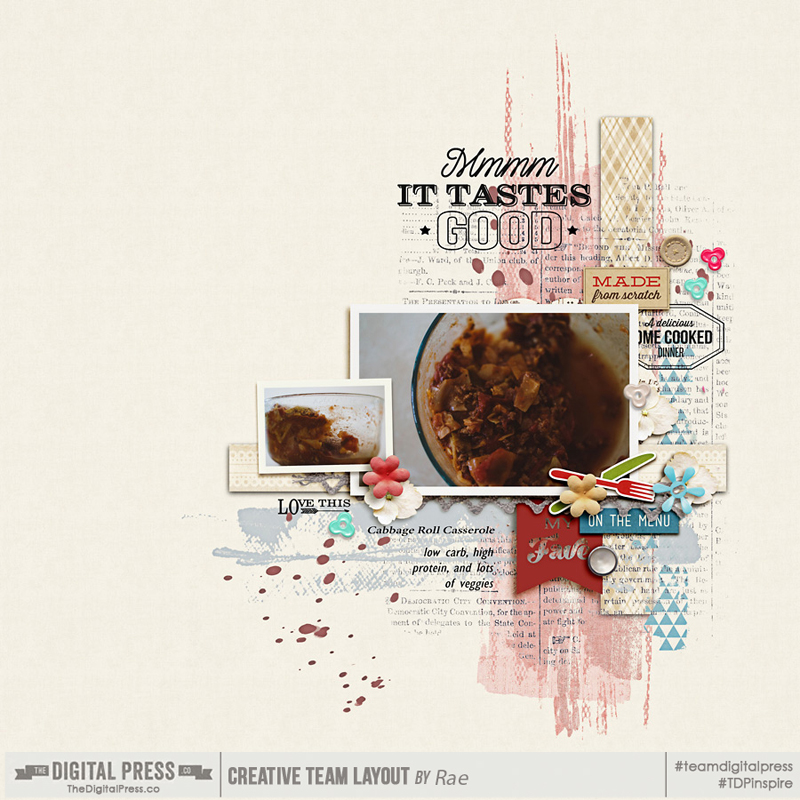
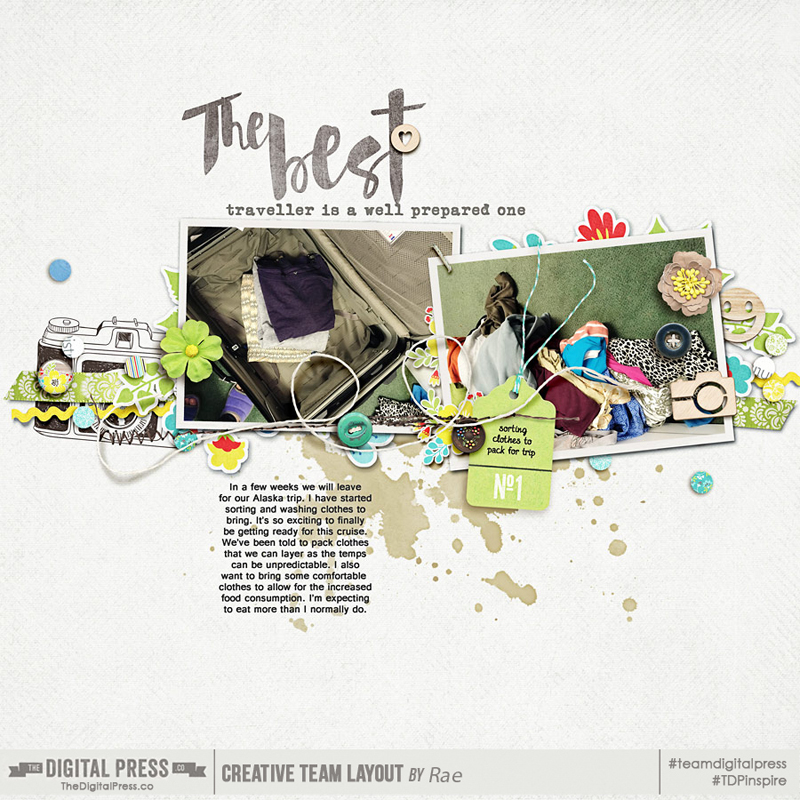
 Rae is part of the creative team at The Digital Press. She’s a photographer on the west coast of BC, Canada. Passions include chocolate, reading thrillers, watching Netflix and Hulu, scrapping and hanging out with her family and Taz, her Labradoodle.