Author: The Digital Press

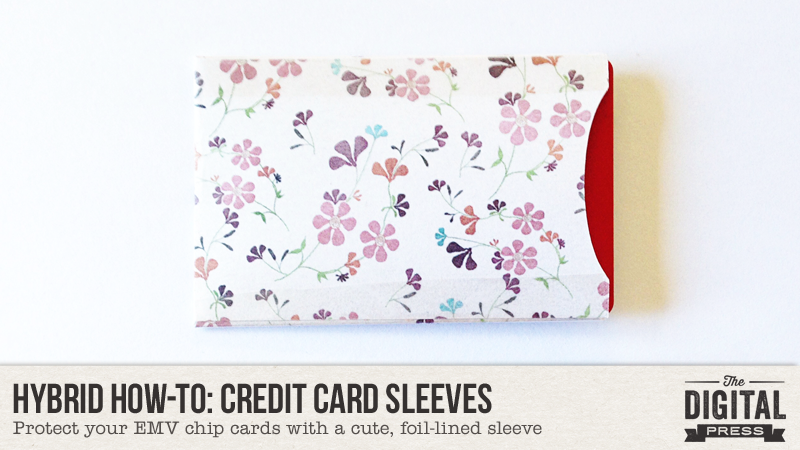
Hybrid How-To | Credit Card Sleeves

For the first time in 16 years, my credit card information was stolen. It was actually stolen twice. Both cards use the new EMV chip technology. The Thieving Scum used the information to generate a new, physical card, and they were having all kinds of super duper fun times in New York City. Not cool, Thieving Scum.

I was told by one of the Fraud Departments that the best way to prevent Thieving Scum from taking what isn’t theirs is to buy a foil-lined sleeve for each EMV-chipped card.

Well, I thought I could cute-ify this project a bit with some pretty scrapbooking paper.

Supplies

  • Card Sleeve Template (download my template HERE)
  • Digital Scrapbook Paper of your choice (I used Gratitude by Anita Designs)
  • White Cardstock
  • Tinfoil
  • Double-sided tape
  • Boxing tape (The cheaper, the better! You want it to be thin.)
  • Scissors

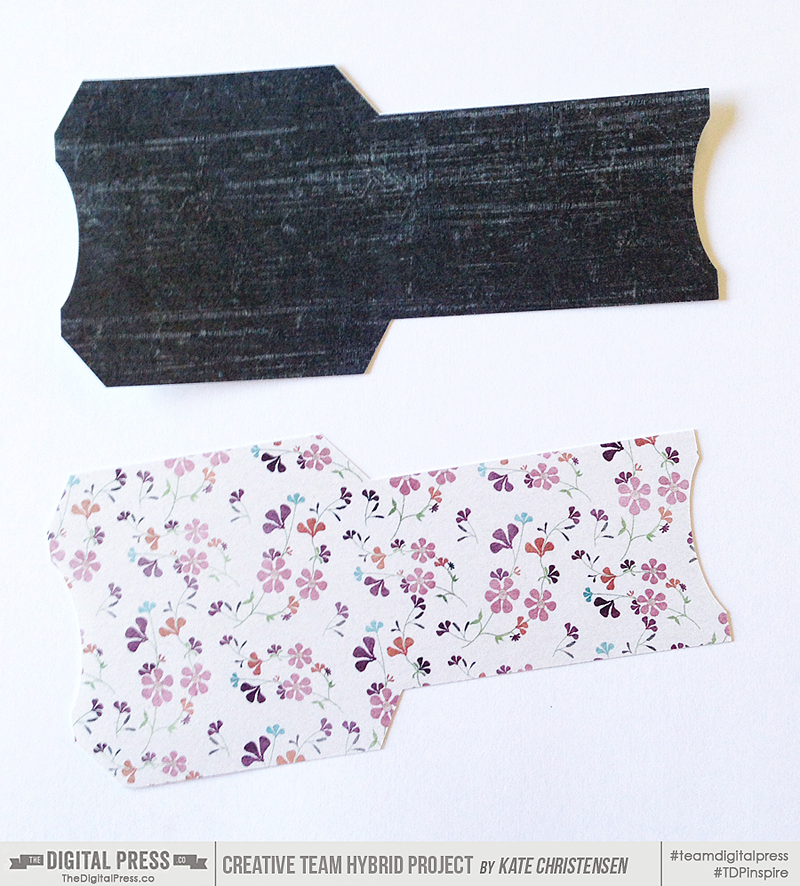
To start, clip your paper of choice to the template. Print and cut. I used my Silhouette for this, but the design is also simple enough to cut by hand.

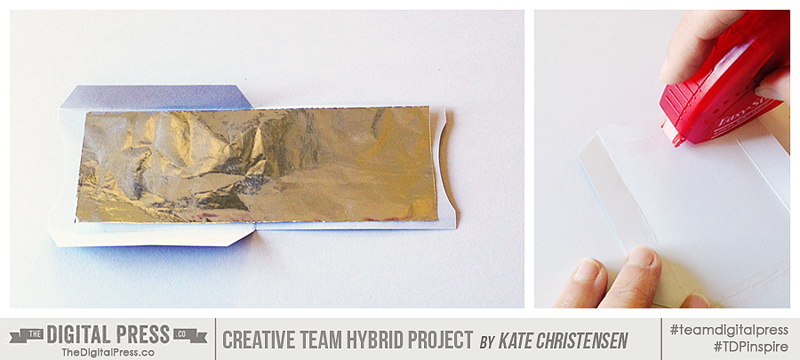
Smooth out the foil and cut it to 2” x 6”. Adhere to the back of the card sleeve with double-sided tape…

2016_11_2_cardsleeves

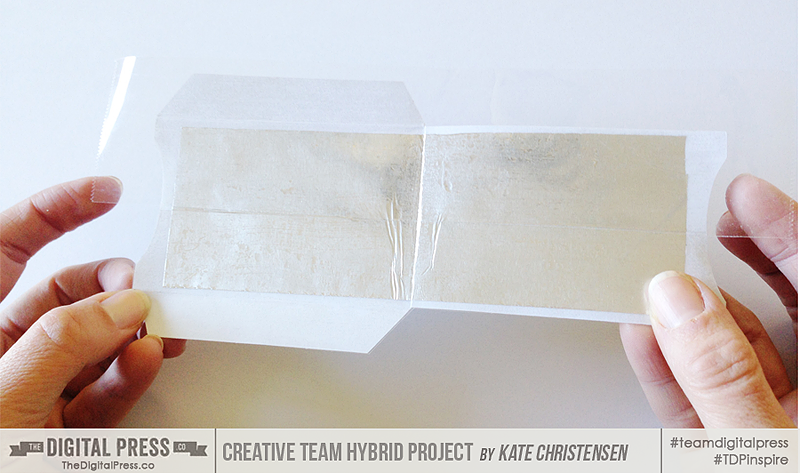
Next we need to reinforce the foil so it doesn’t rip every time you slide the card in. I used two pieces of boxing tape, overlapping each edge a little. I used my scissors to cut away the excess around the edges.

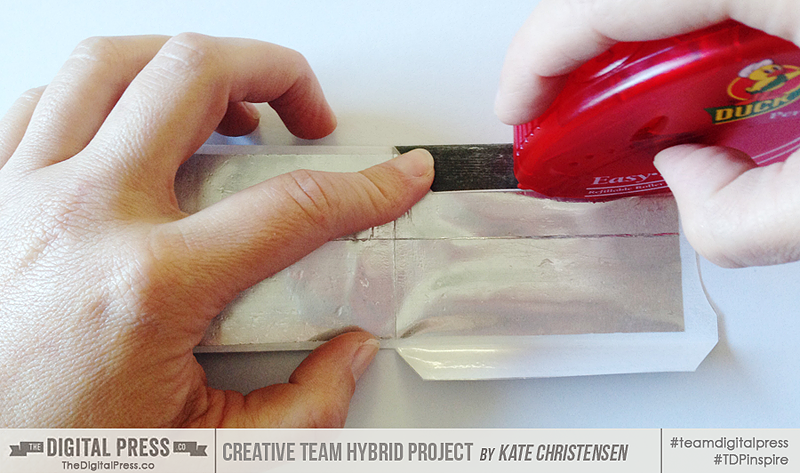
Using the double-sided tape, adhere the flaps to the inside of the sleeve. This actually works better if you lay your card in the sleeve before taping. You don’t want the folds to be too tight. I reinforced the outside edges with more boxing tape

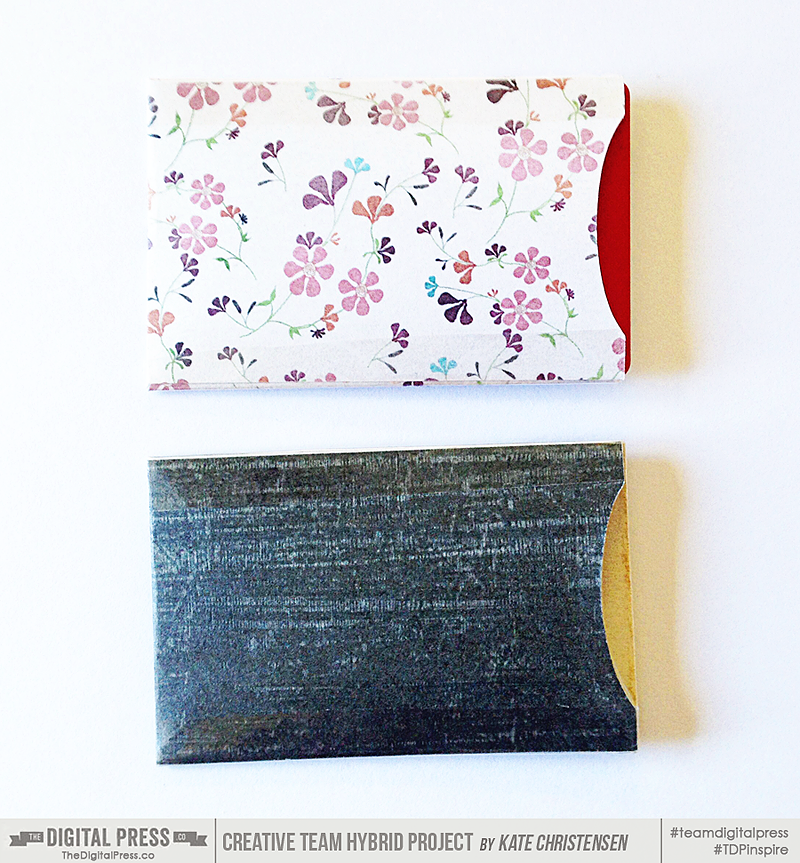
And there you have it! Here’s a look at two different sleeves I created…

If you give this project a try… come show us your final product in the gallery here at TDP! We’d love to see what you come up with. You can also join the monthly challenges for November (as you can earn points by creating this hybrid project!). Come check it out HERE.


Kate About the Author  Kate is on the hybrid team here at The Digital Press. She lives on the Utah/Colorado border with her husband, 5 kids, 10 chickens, and a dog named Gracie. She’s a city-born girl who found she’s really a country girl at heart. She can be found outside, barefoot, and probably in her garden.

Feature Friday | Anita Designs

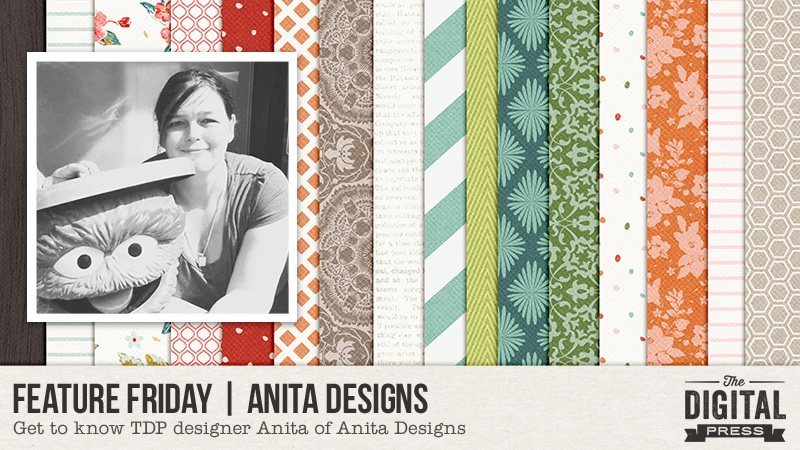
Happy Friday everybody! You know what happens on Friday at The Digital Press… time for a new Featured Designer! Today I am excited to feature a “fellow Dutchie” (we both live in The Netherlands) — the sweet Anita of Anita Designs — as our newest focus in the Feature Friday series. Personally, I love her designs and I am thrilled to help you get to know her better… while also showcasing my favorites from her store at The Digital Press with you.

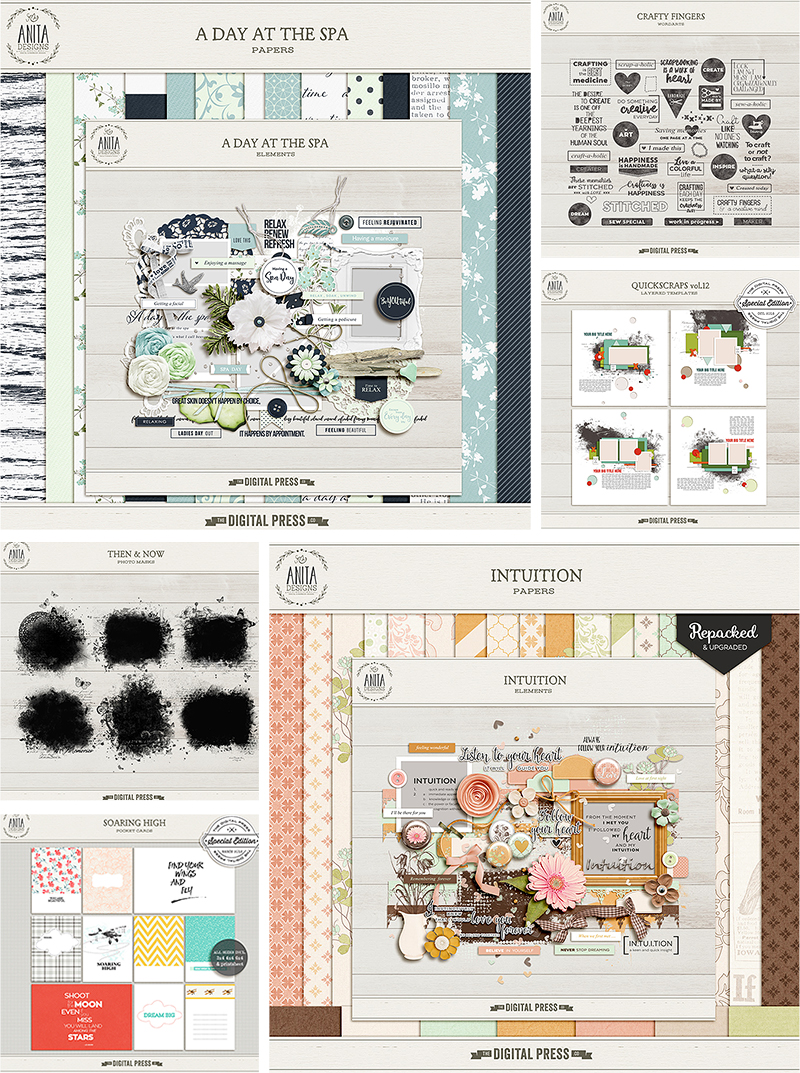
Anita creates digital products that have a clean and simple style, and are very versatile and easy to work with when you’re scrapping your memories. She doesn’t only create kits; she is also an amazing template designer, and I love her extra add-on packs like masks, washi tape sets, & pocket cards. All of her designs are easy to mix & match, which I love.

Here are a few of my favorite designs from the Anita Designs shop at The Digital Press

To get to know Anita a little bit better, I asked her a few questions… and here’s what she had to say…

Where do you live?
The Netherlands

When you’re not designing, what do you do with your time?
I love spending time with my family, and I love to go out and just enjoy nature.

What are 5 tidbits of trivia we might not know about you?
— I am addicted to coffee.
— My favorite series on TV are Greys Anatomy, Little House On the Prairie, and Kitchen Nightmares.
— I don’t get enough sleep.
— I am a family person.
— My favorite scented candle is patchouli.

Which of your products is your favorite?
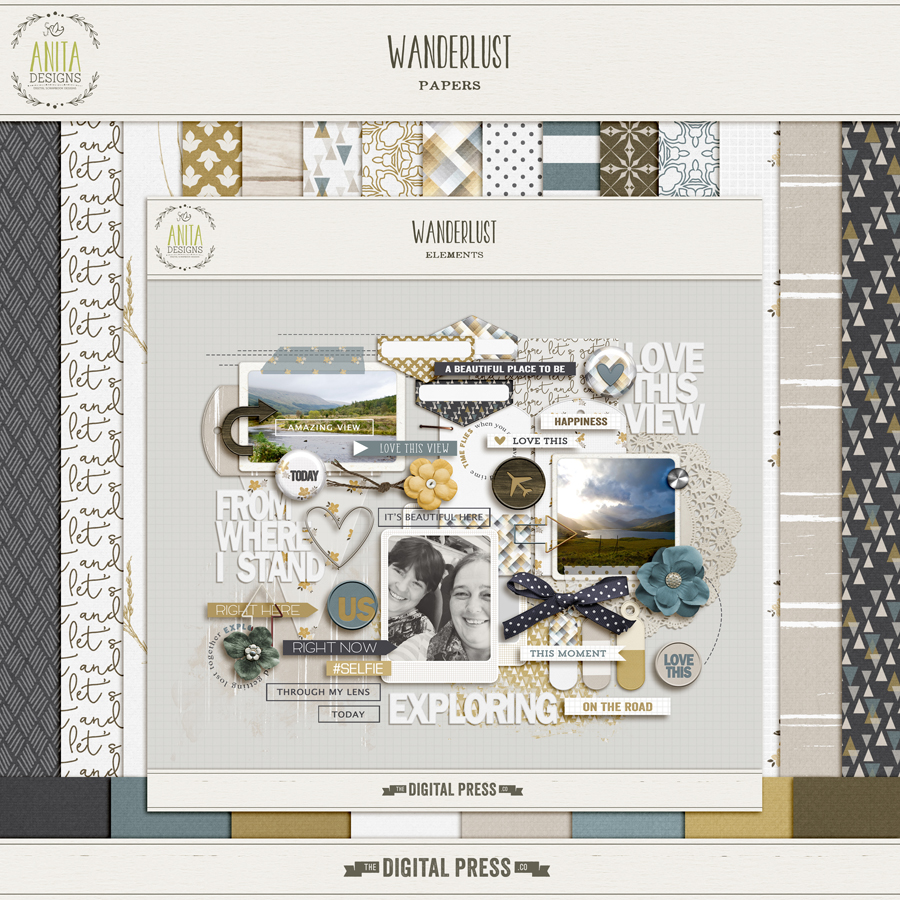
I actually have two. One is Wanderlust

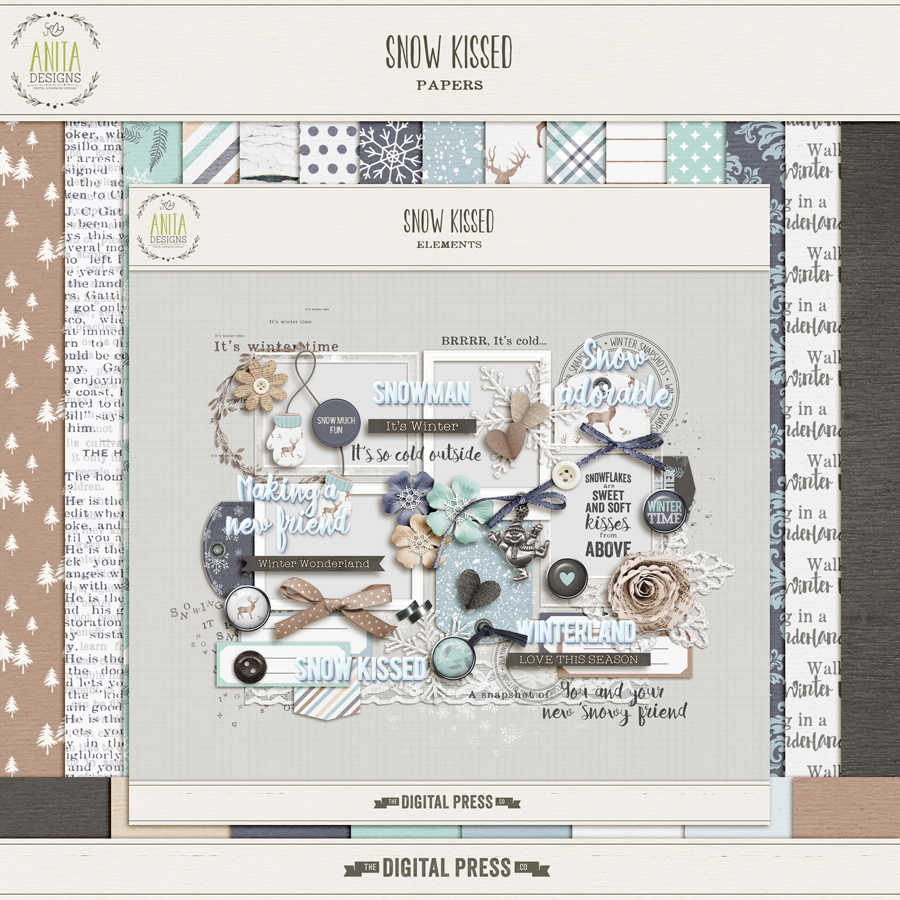
…and the other is Snowkissed

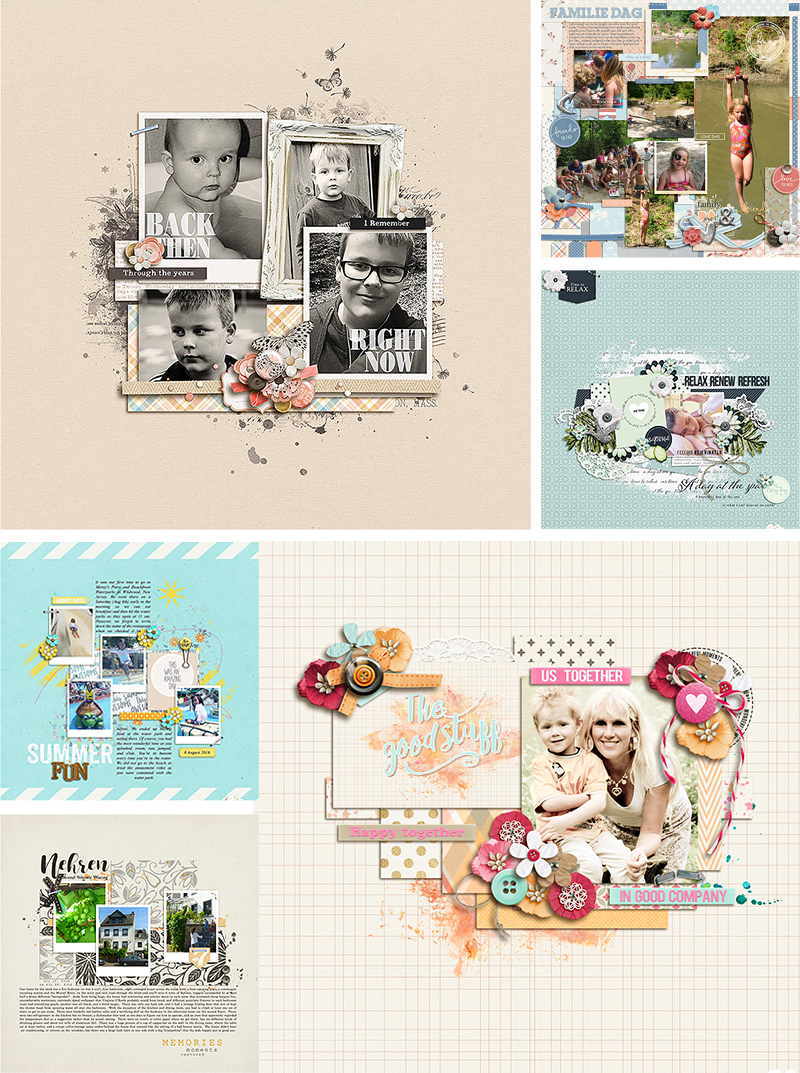
While writing this blog post, I spent some time looking through the Anita Designs gallery here at The Digital Press… and here are some of my favorite layouts and projects that use products from her shop…

Thank you so much for joining me here today on the blog, and getting to know Anita a little bit better! Now that you’re surely coveting her gorgeous products, I have good news! This coming week, you can take advantage of a 30% OFF SALE in her store (the sale will end at 11:59 pm ET on Thurs 11/10).

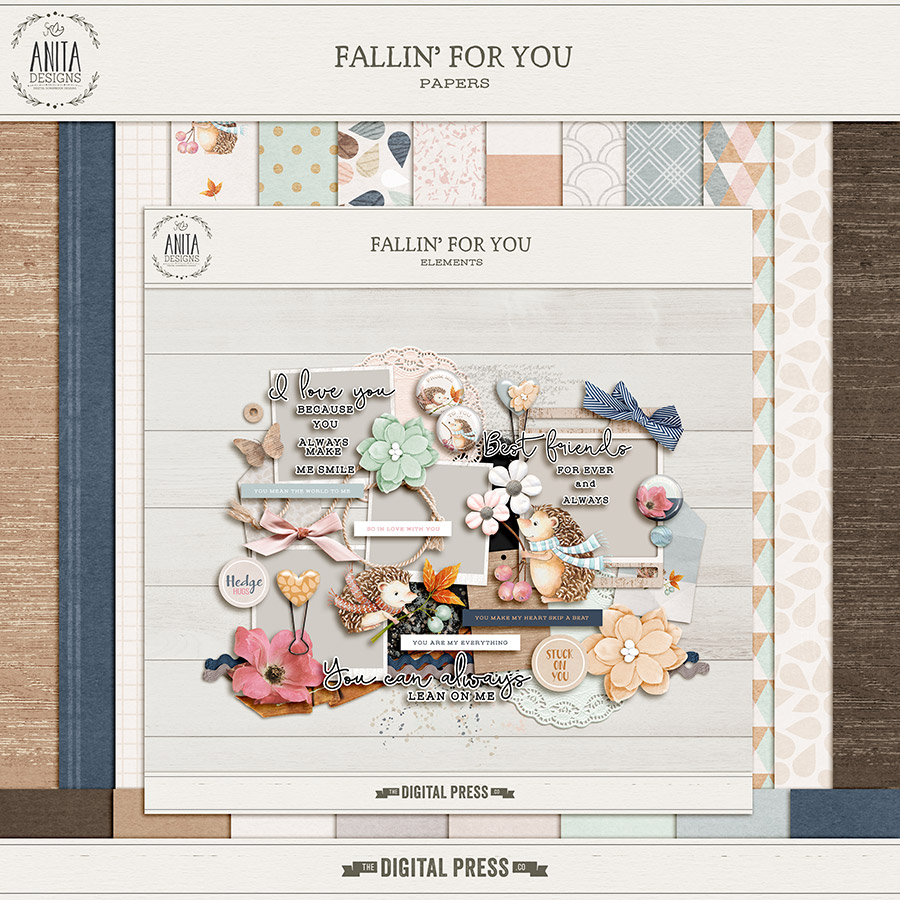
Even better news… I have another fantastic surprise for you! Anita has created a full kit this week that is brand-new and will be FREE with any $10+ purchase in her shop (FWP). The kit is called Fallin’ For You (I think those little hedgehogs are just the cutest!). This fantastic deal will be available throughout her entire feature week (11/4 -thru- 11/10)… and again, you will get this awesome kit for FREE with a $10+ purchase in her shop.


Enjoy this week’s sale, and happy scrapping! 🙂


bianckaAbout the Author: Biancka loves scrapping and has been doing so since 2007 but also enjoys reading books (thrillers being her favorite genre), baking (cupcakes are the best!!), photography, looking for recipes on Pinterest and browsing the world wide web for gorgeous fonts (yes, she is a fontaholic!!). She lives in The Netherlands together with her husband and 12yr old son.

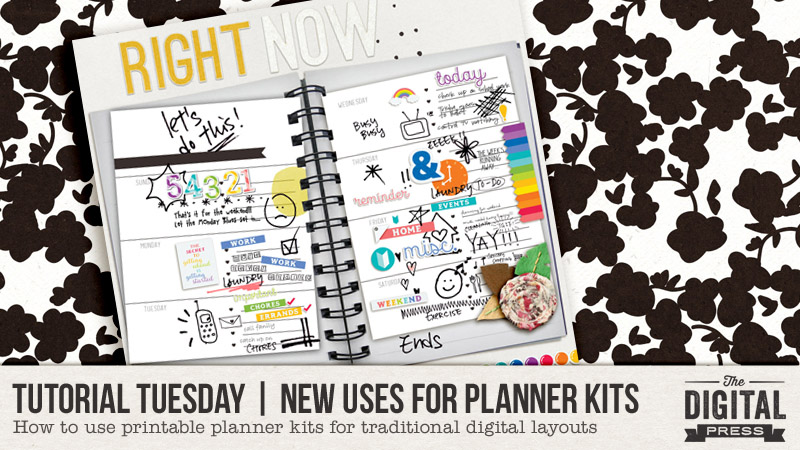
Tutorial Tuesday | New Uses For Planner Kits

Hey everyone! I hope you are enjoying the various shades of Autumn wherever you are. I certainly am waiting for the leaves to turn a rich autumnal colour and take some leaf jumping pics of the kids. 🙂

Today I am here to share some ideas about ways to use all of the lovely planner kits you can find in The Digital Press’s shop — but for traditional digital layouts. Not everyone has jumped aboard the planner craze this past year, but there are so many cute products. Why not use them in other ways? Today I am here to show you how.

I have always wondered about all these gorgeous planner stuff in the shop. Because I don’t do hybrid or paper scrapping, I have always sort of believed that these items are just not for me. But then curiosity got the cat (or rather, me!), and I looked into the idea of using these items on my digital layouts. At first glance, you may think there is not much one can do with planners except, yes, make a planner/record-keeping kind of page. But the many possibilities may just surprise you, yet!

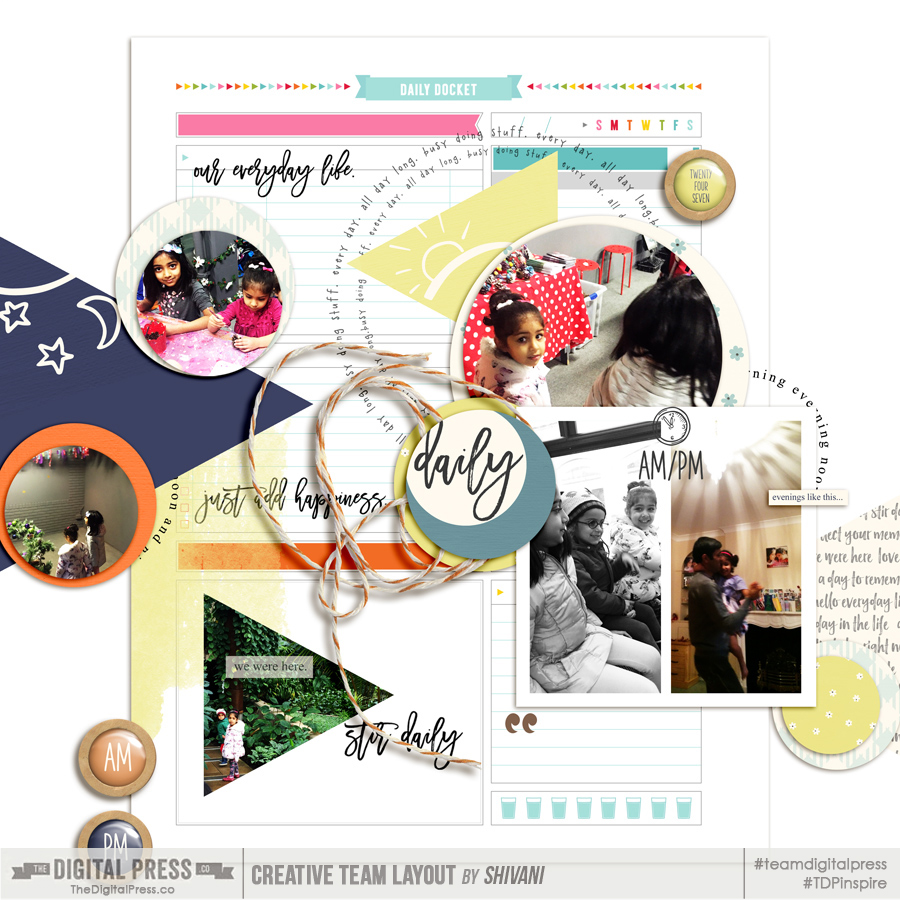
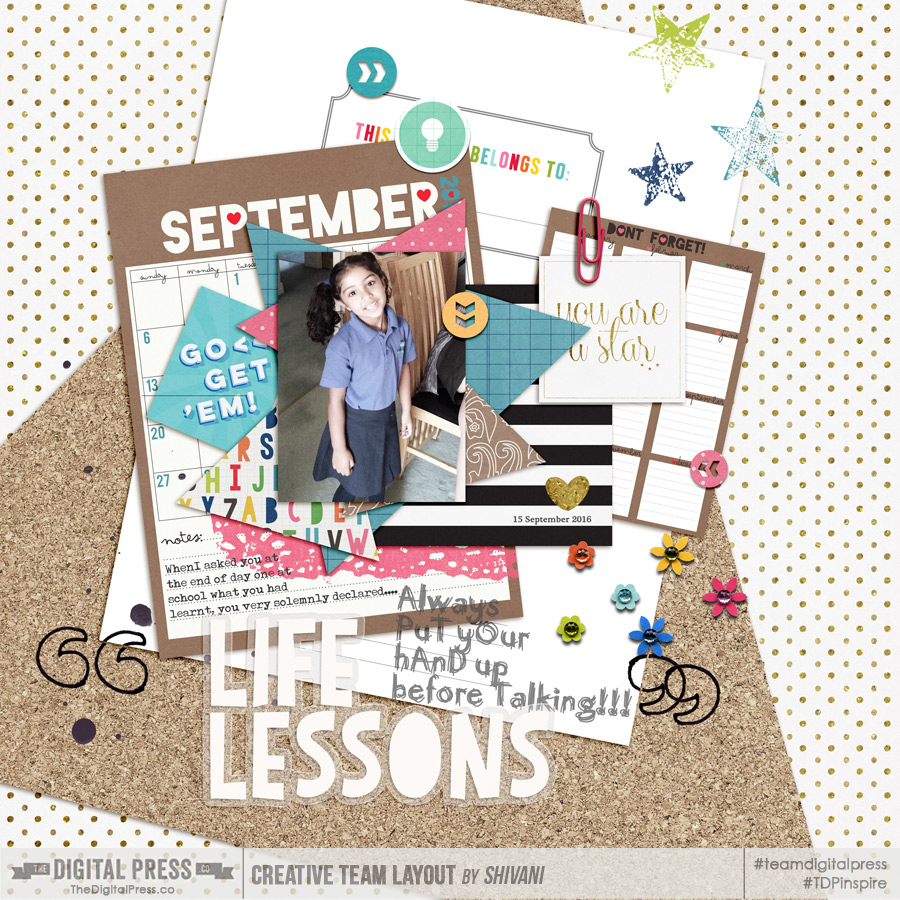
My first attempt involved using planners and printables in my usual way — I treated these as I would any other digital element. I clipped them to shapes and used them as paper pieces in their own right. I found that I really liked the end result; they add to the look of the layout, which is about a snapshot of a fun day…

[see link here for credits]

In my second attempt, however, I used multiple planner pages and layered them to create a focal point of paper mats. Not only do I think that it enhances the interest of the page… but it also adds a depth that looks almost real! This one’s definitely a keeper for me…


[see link here for credits]

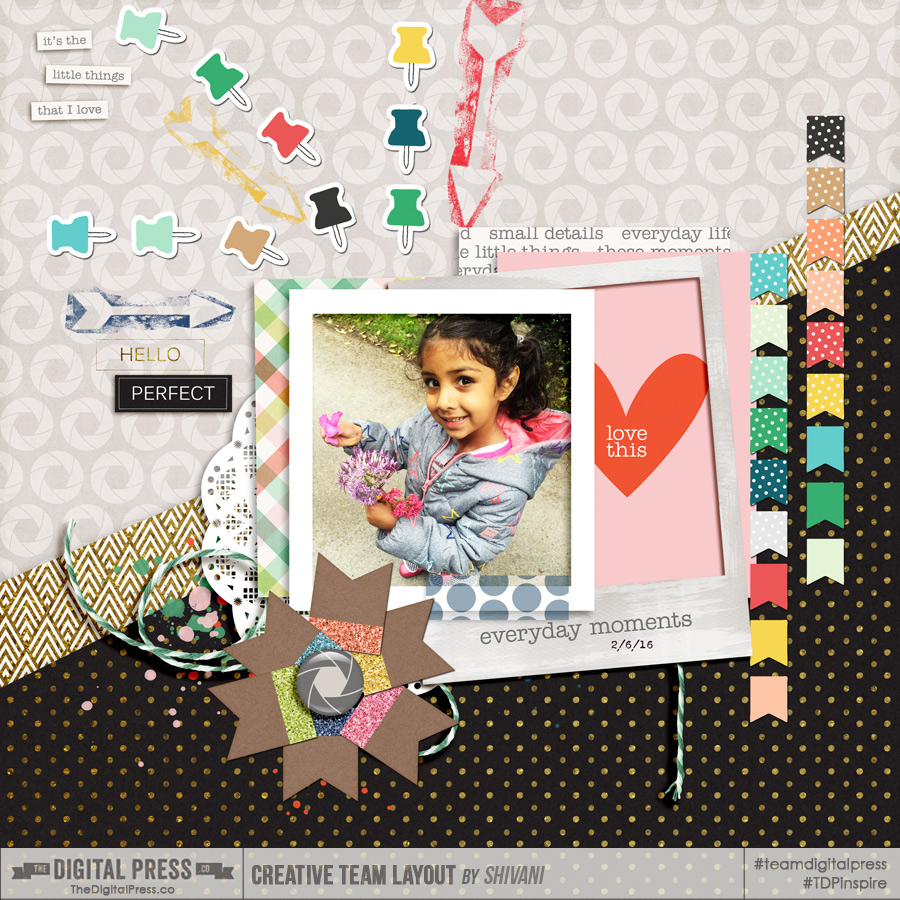
But planner kits contain more than just papers. What about those cute little stickers, tags and other embellishments? You could use them individually, of course, but here I wanted to showcase how to use them purely as design elements. So I have used them to form leading lines on the page… arranging them in a flower or any other interesting shape. The possibilities, again, are endless…


[see link here for credits]

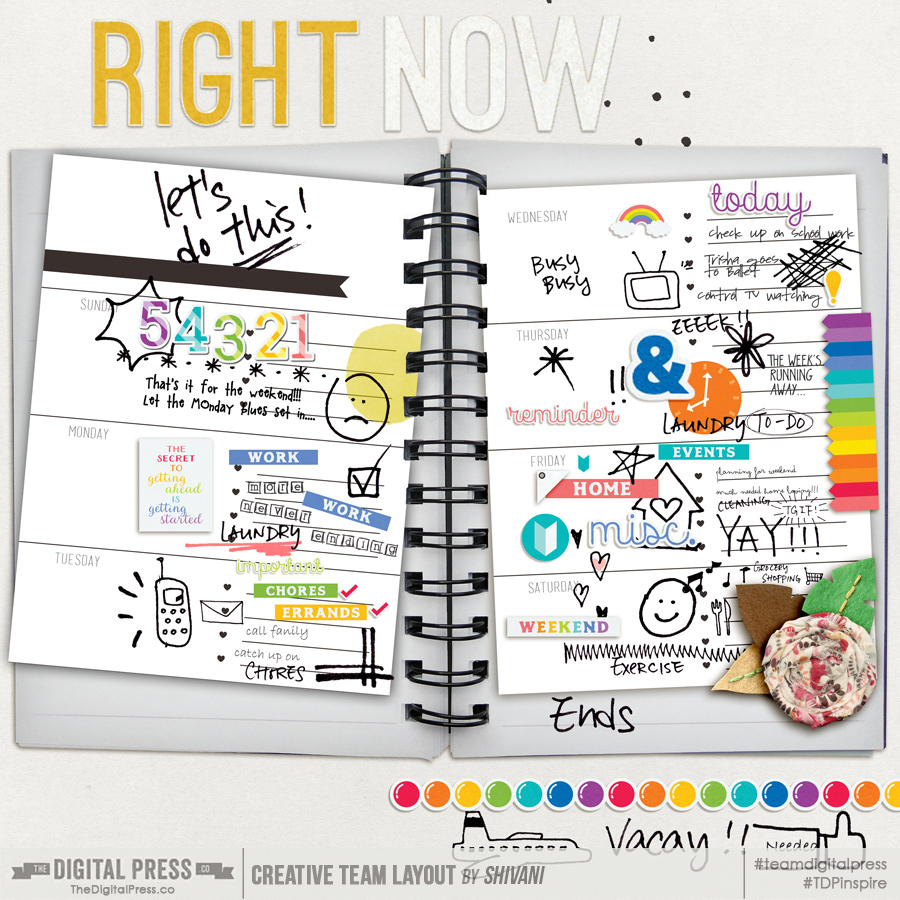
And how could I not also create a traditional planner page?! As you can see, this is messy, colourful, and random… but that’s the beauty of it. To mimic my own physical daily planner/journal, I tried couple of things here. I have focused on the shadowing a bit more, again to give that realistic look. For example, when I was placing those planner pages as though they were attached to the journal, I used clipping masks to reveal the binder holes beneath selectively and then added a large shadow. I won’t lie — that took some time, but I like the end result!


[see link here for credits]

So there it is… my little venture into the world of planners, and using these great digital planner products for other purposes! As you can see, there are no rules here or right/wrong ways of using them; you can experiment and find a style that works for you. Hope this post has given you some ideas and more importantly piqued your curiosity! If you do try some of the above styles or come up with your own, please share with us in the gallery. I would love to see them!


Profile pic avatar small

About the Author Shivani Sohal is a donner of many alter-egos. A finance professional by day in busy London, she morphs into a seemingly normal mum of two in the evenings and weekends. She is constantly found with her fingers in too many pies and juggling the metaphorical balls. That is living on the edge for her; aided by the two ankle biters and a darling hubby who define the warm and mushy for her. She is ferociously dedicated to memory keeping — almost immune to any nay-sayers (or equally-disruptive crying children or annoying house fires!); keeping her head down and forging ahead at all times.

Feature Friday | Jimbo Jambo Designs

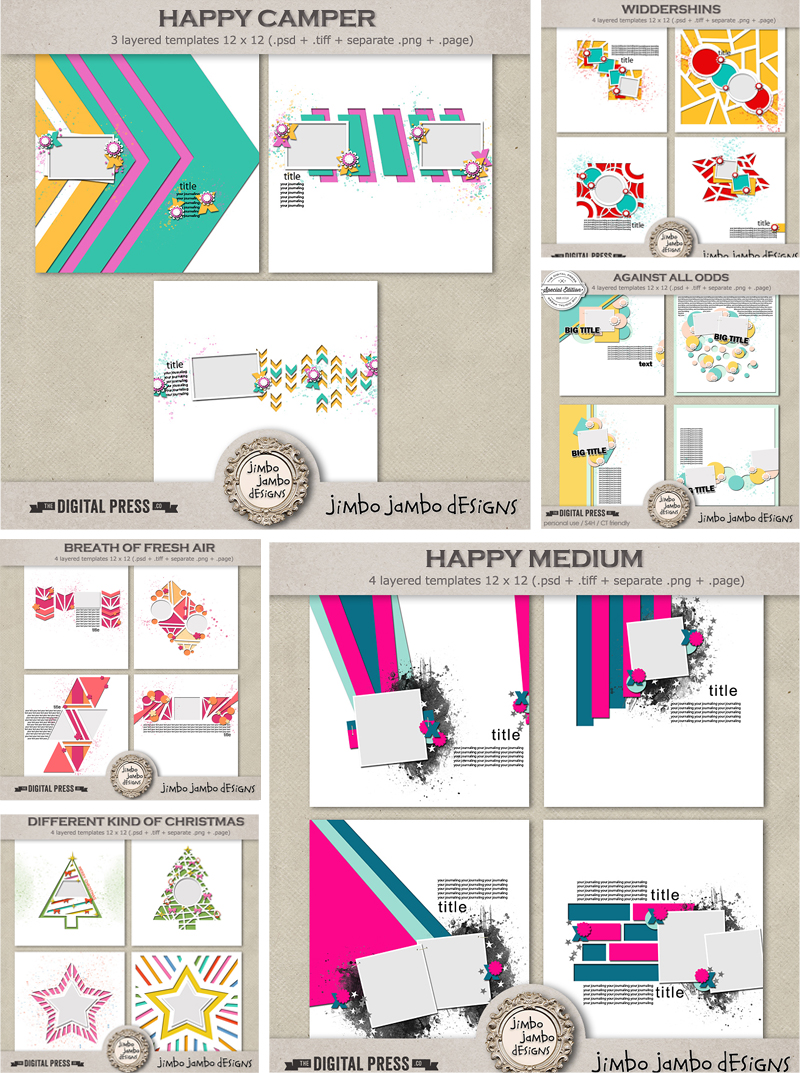
Once again, it’s Feature Friday… and this week, we are super excited to introduce you to Jimbo Jambo Designs! The designer behind Jimbo Jambo Designs is my dear Aga, whom I’ve known for the past few years. When I first saw her designs, I was blown away! Her templates are so unique and they have always stood out; I can always recognize her work, no matter which gallery I am viewing. After falling in love with her work, I reached out to her to declare my digi crush on her designs(!)… and sweet as she is, she took pity on me 😉 and offered me a role on her creative team. We’ve been friends ever since, and I couldn’t be more thankful for that!

I’m proud to showcase just a few of my favorite products from the Jimbo Jambo Designs product catalog —

To get to know Aga a little better, I asked her a few questions. Here is what she had to say…

Where do you live?
I live in Spain but I’m leaving it next month to travel around. I will not be staying in one place for too long!

When you’re not designing, what do you do with your time?
Designing is not my full-time job, so actually I design in my free time. I’m also fond of photography, reading books, and sports.

What are 5 tidbits of trivia we might not know about you?
— I come from Poland.
— I love traveling and I’m always planning new trips.
— I haven’t studied anything connected with art but economy.
— I love action movies — the ones that usually men love.
— I can’t stand pastel colours (now you know why I normally use the strong colours in my templates)! 🙂

Which of your products is your favorite?
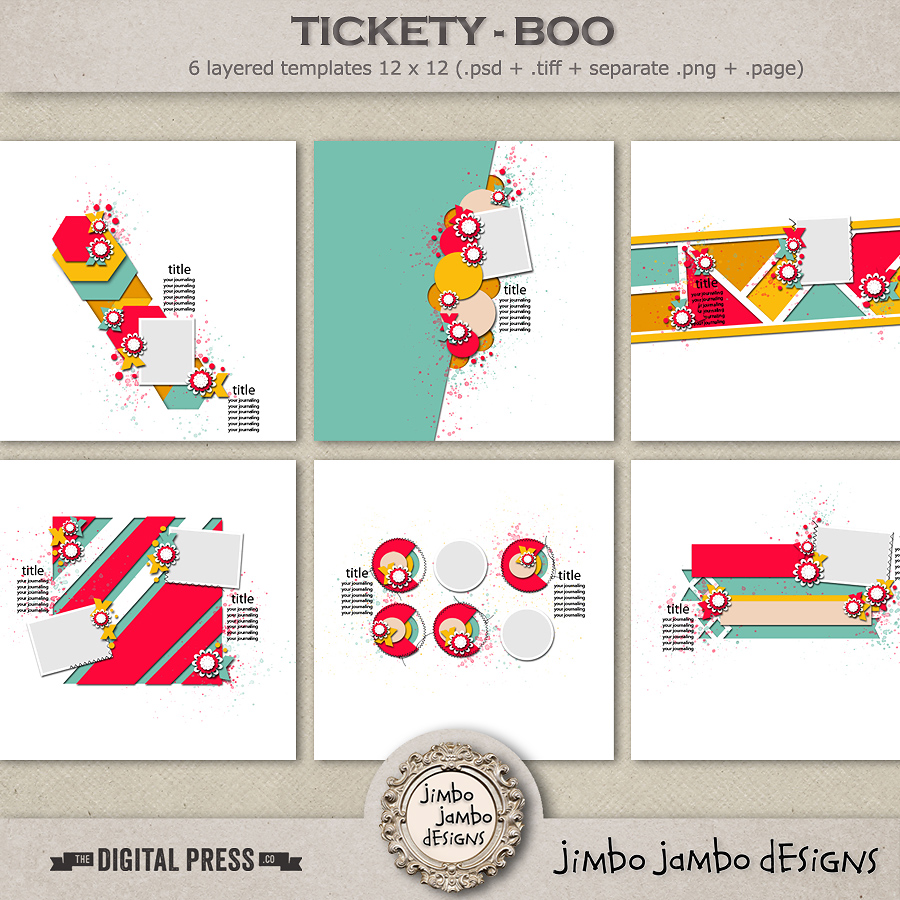
I think my favorite one at this point is Tickety Boo

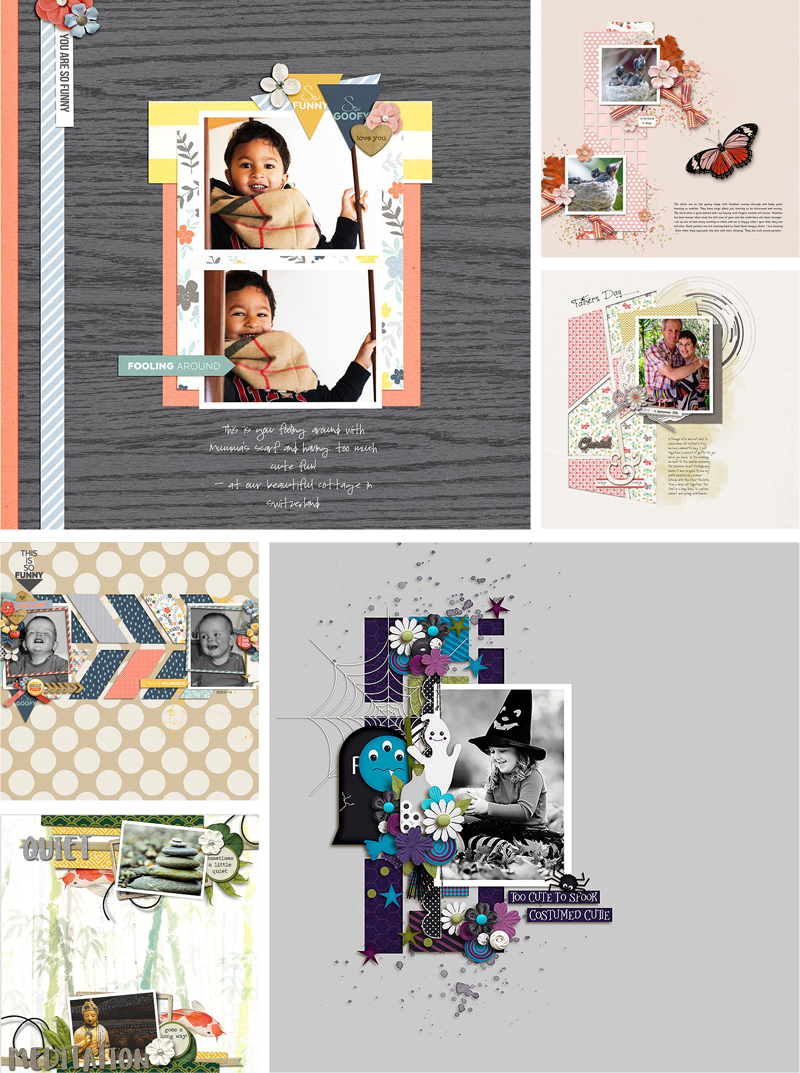
And now, here are a selection of gorgeous pages made with Aga’s unique and versatile templates…

I am so glad to have had the opportunity to help you get to know Jimbo Jambo Designs a little better today! Now that I have you drooling over all of the digi loveliness she creates… your next step will be to go check out her shop here at The Digital Press and take advantage of the 30% OFF SALE IN HER STORE throughout this entire week (the sale will end at 11:59pm ET on Thurs 10/27). Enjoy, and happy scrapping!


Pallavi

About the Author  Pallavi resides in Mexico City with her husband and her ever-growing little son, Rajveer. She has previously lived in Calcutta, Pune, San Francisco, Chicago, and London. She reflects all these places in her pages as she captures her everyday stories. She is an alumnus of Northwestern University. Currently, she is learning photography and working towards getting to a healthy weight. Her days are full and she loves it that way!

Tutorial Tuesday | Easy Font Management


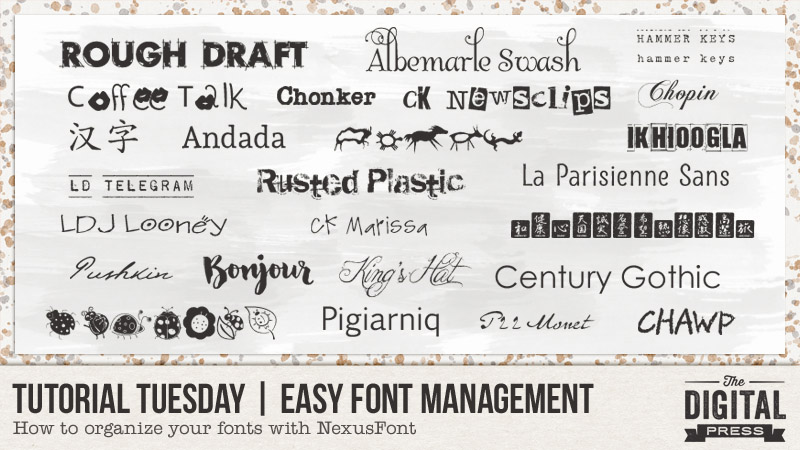
I have to admit it – I am a font addict!

Until just recently, my fonts were a mess on my computer… and believe it or not, all 1600 were installed in the Windows font folder. This slowed down my machine when using text in any program. Oops! In the past, I had used “The Font Thing” to organize my fonts — but when it stopped operating with this newer computer, I was lost. Good news — I have found a fantastic little freeware program called NexusFont, which has proved to be a perfect replacement for me.

This program catalogs all of the fonts on your computer and then allows you to sort fonts into categories that you, yourself, can set up. For me, the best thing is that I can access any of my fonts… no matter where they are stored on my computer (and from any program, even though they are not actually installed). Fantastic!

To start out, you can download the NexusFont program HERE*.
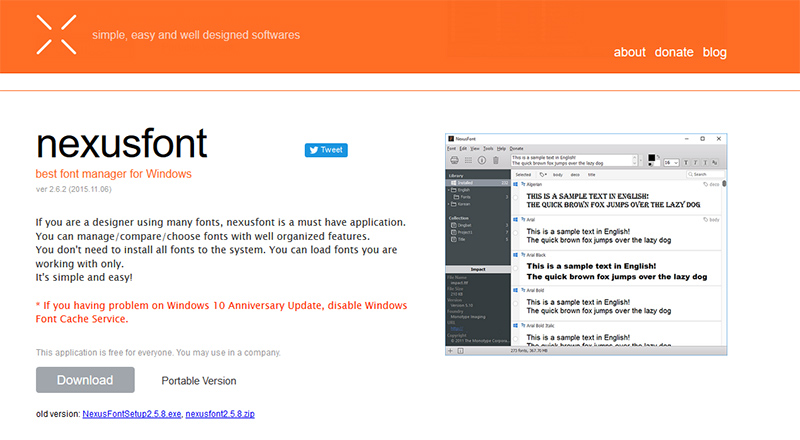
*NOTE: this is a program that is only available for those who are using Windows as their operating system


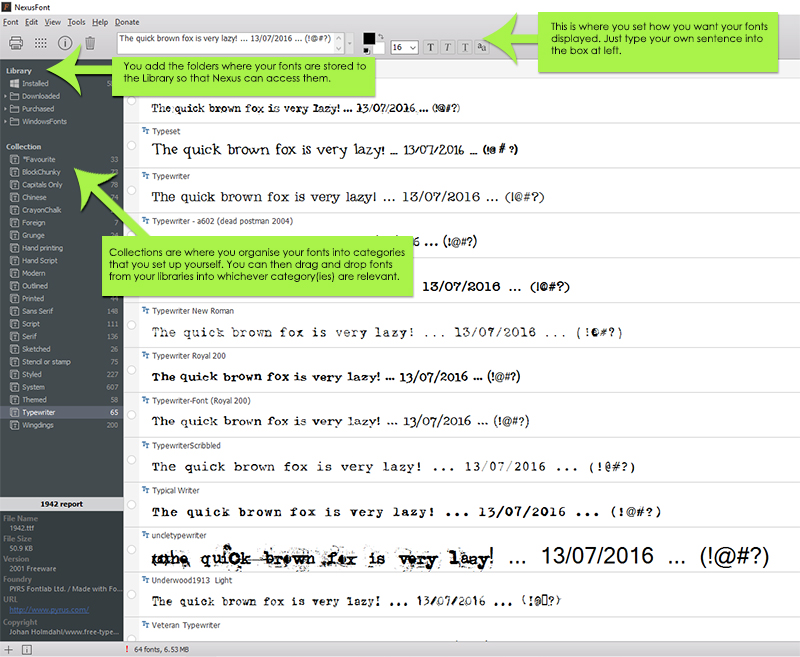
Once you install the program, you will see under Library (left panel) that there is a folder called Installed. This folder contains all the fonts currently installed on your computer and located in the windows/font folder. Under this there will be a heading Collection but until you set up collections (ie categories for your fonts) this will be empty.

After organizing all my fonts, this is what my main screen looks like when I have one of my Collections (Typewriter fonts) highlighted.
 

So what do you do after you have installed the program?

  1. First, add any font folders you have (of fonts not installed and located in your windows font folder) to the Library by right clicking on Library and selecting New Folder Group. I have created 2 folder groups – one for purchased fonts and one for free downloaded fonts. You can then right click on this new folder group and select Add Folder.  This will allow you to navigate to the relevant font storage folder on your computer so that you can add this to your Library.
  2. Set up your Collections by right clicking on Collection and selecting New Collection. My collections include Serif, Sans Serif, Hand Printing, Hand Script, Typewriter, Wingdings, Grunge, Stencil or Stamp etc.
  3. Type in a sentence into the display panel so that you can preview the fonts.
  4. You can add fonts to Collections either using drag and drop to drag fonts from any folder in your Library to one or more of the collections or right clicking on a font and selecting the category (see following screenshot). And one of the best things is that you can put a font into more than one Collection! Note that if you have a large number of fonts as I did, this will take you a few days to complete.
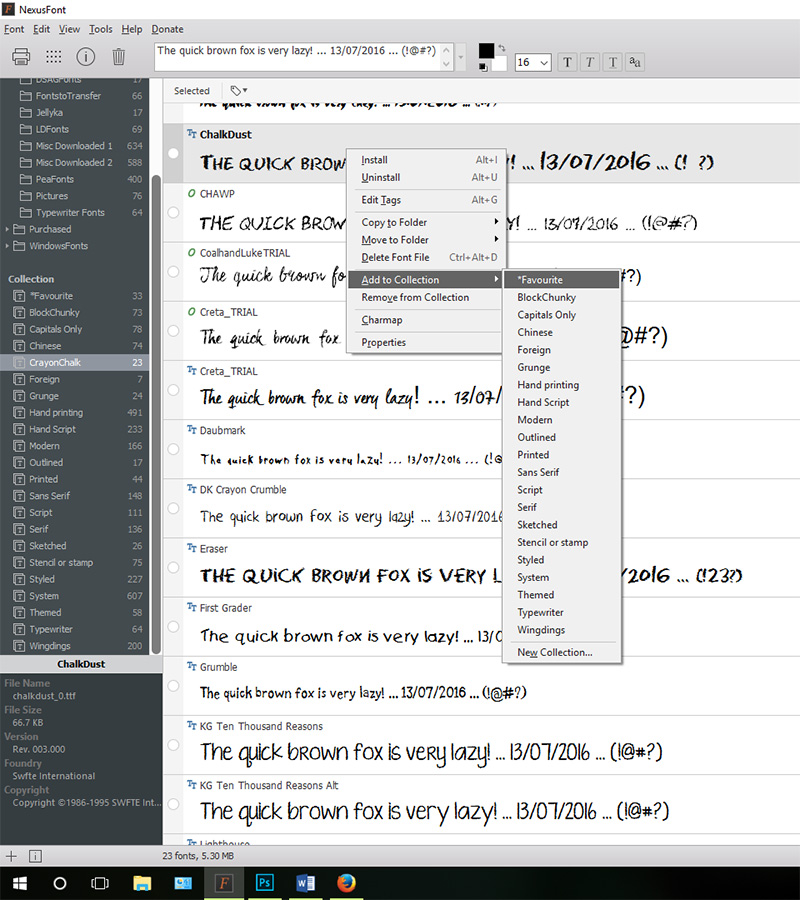


Once everything is set up, it is much easier to search for types of fonts just by clicking on one of your Collections. It certainly saves time. On a recent page I was looking for a particular chalk font, so clicked on the CrayonChalk collection above and only had to search through 23 fonts rather than 1600. And best of all it so easy to compare fonts.

One of the other features of this program which I love are that it is easy to find duplicate fonts even though they may be named differently. Just go to Tools and select Find Duplicate Fonts. Easy! The program found over 50 in my folders which I then just deleted.
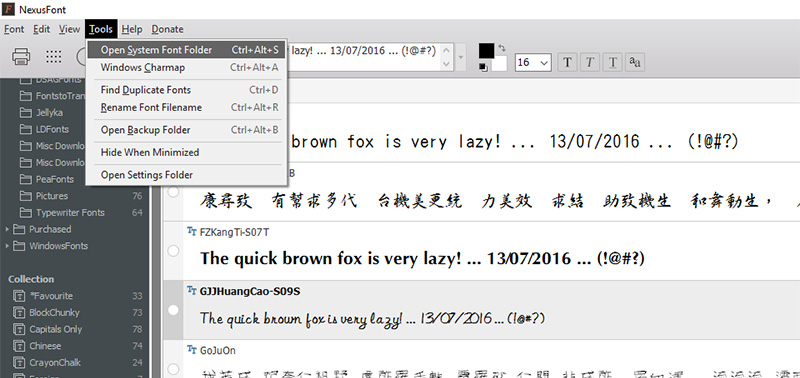
 

And a handy fact — remember earlier that I said that you do not have to install the fonts to be able to use them. All you have to do is open NexusFont before using the text tool in Photoshop and all fonts within the NexusFont Library will be available to you. This is so handy! You can install and uninstall fonts straight from the NexusFont program itself.

NexusFont would have to be one of the best programs for those of us who love fonts and who use Windows as our operating system. Why not download it and start rediscovering some of your lost fonts? 🙂

Postscript: In the latest Windows update, there were changes to font management and this slowed down the loading of fonts in NexusFont. The workaround, if this occurs for you, is to disable Windows Font Cache Service. I did this and NexusFont is now running as quickly as it was before the update.


AvatarAbout the author  Carolyn lives with her partner, eldest daughter, and 3 rescue dogs on 5 acres of paradise in the hinterland of the Sunshine Coast, Australia. Her camera, along with an assortment of lenses, is never out of sight. When not taking photos, she loves cooking and gardening and, of course, scrapbooking.


Hybrid How-To | Halloween Decor


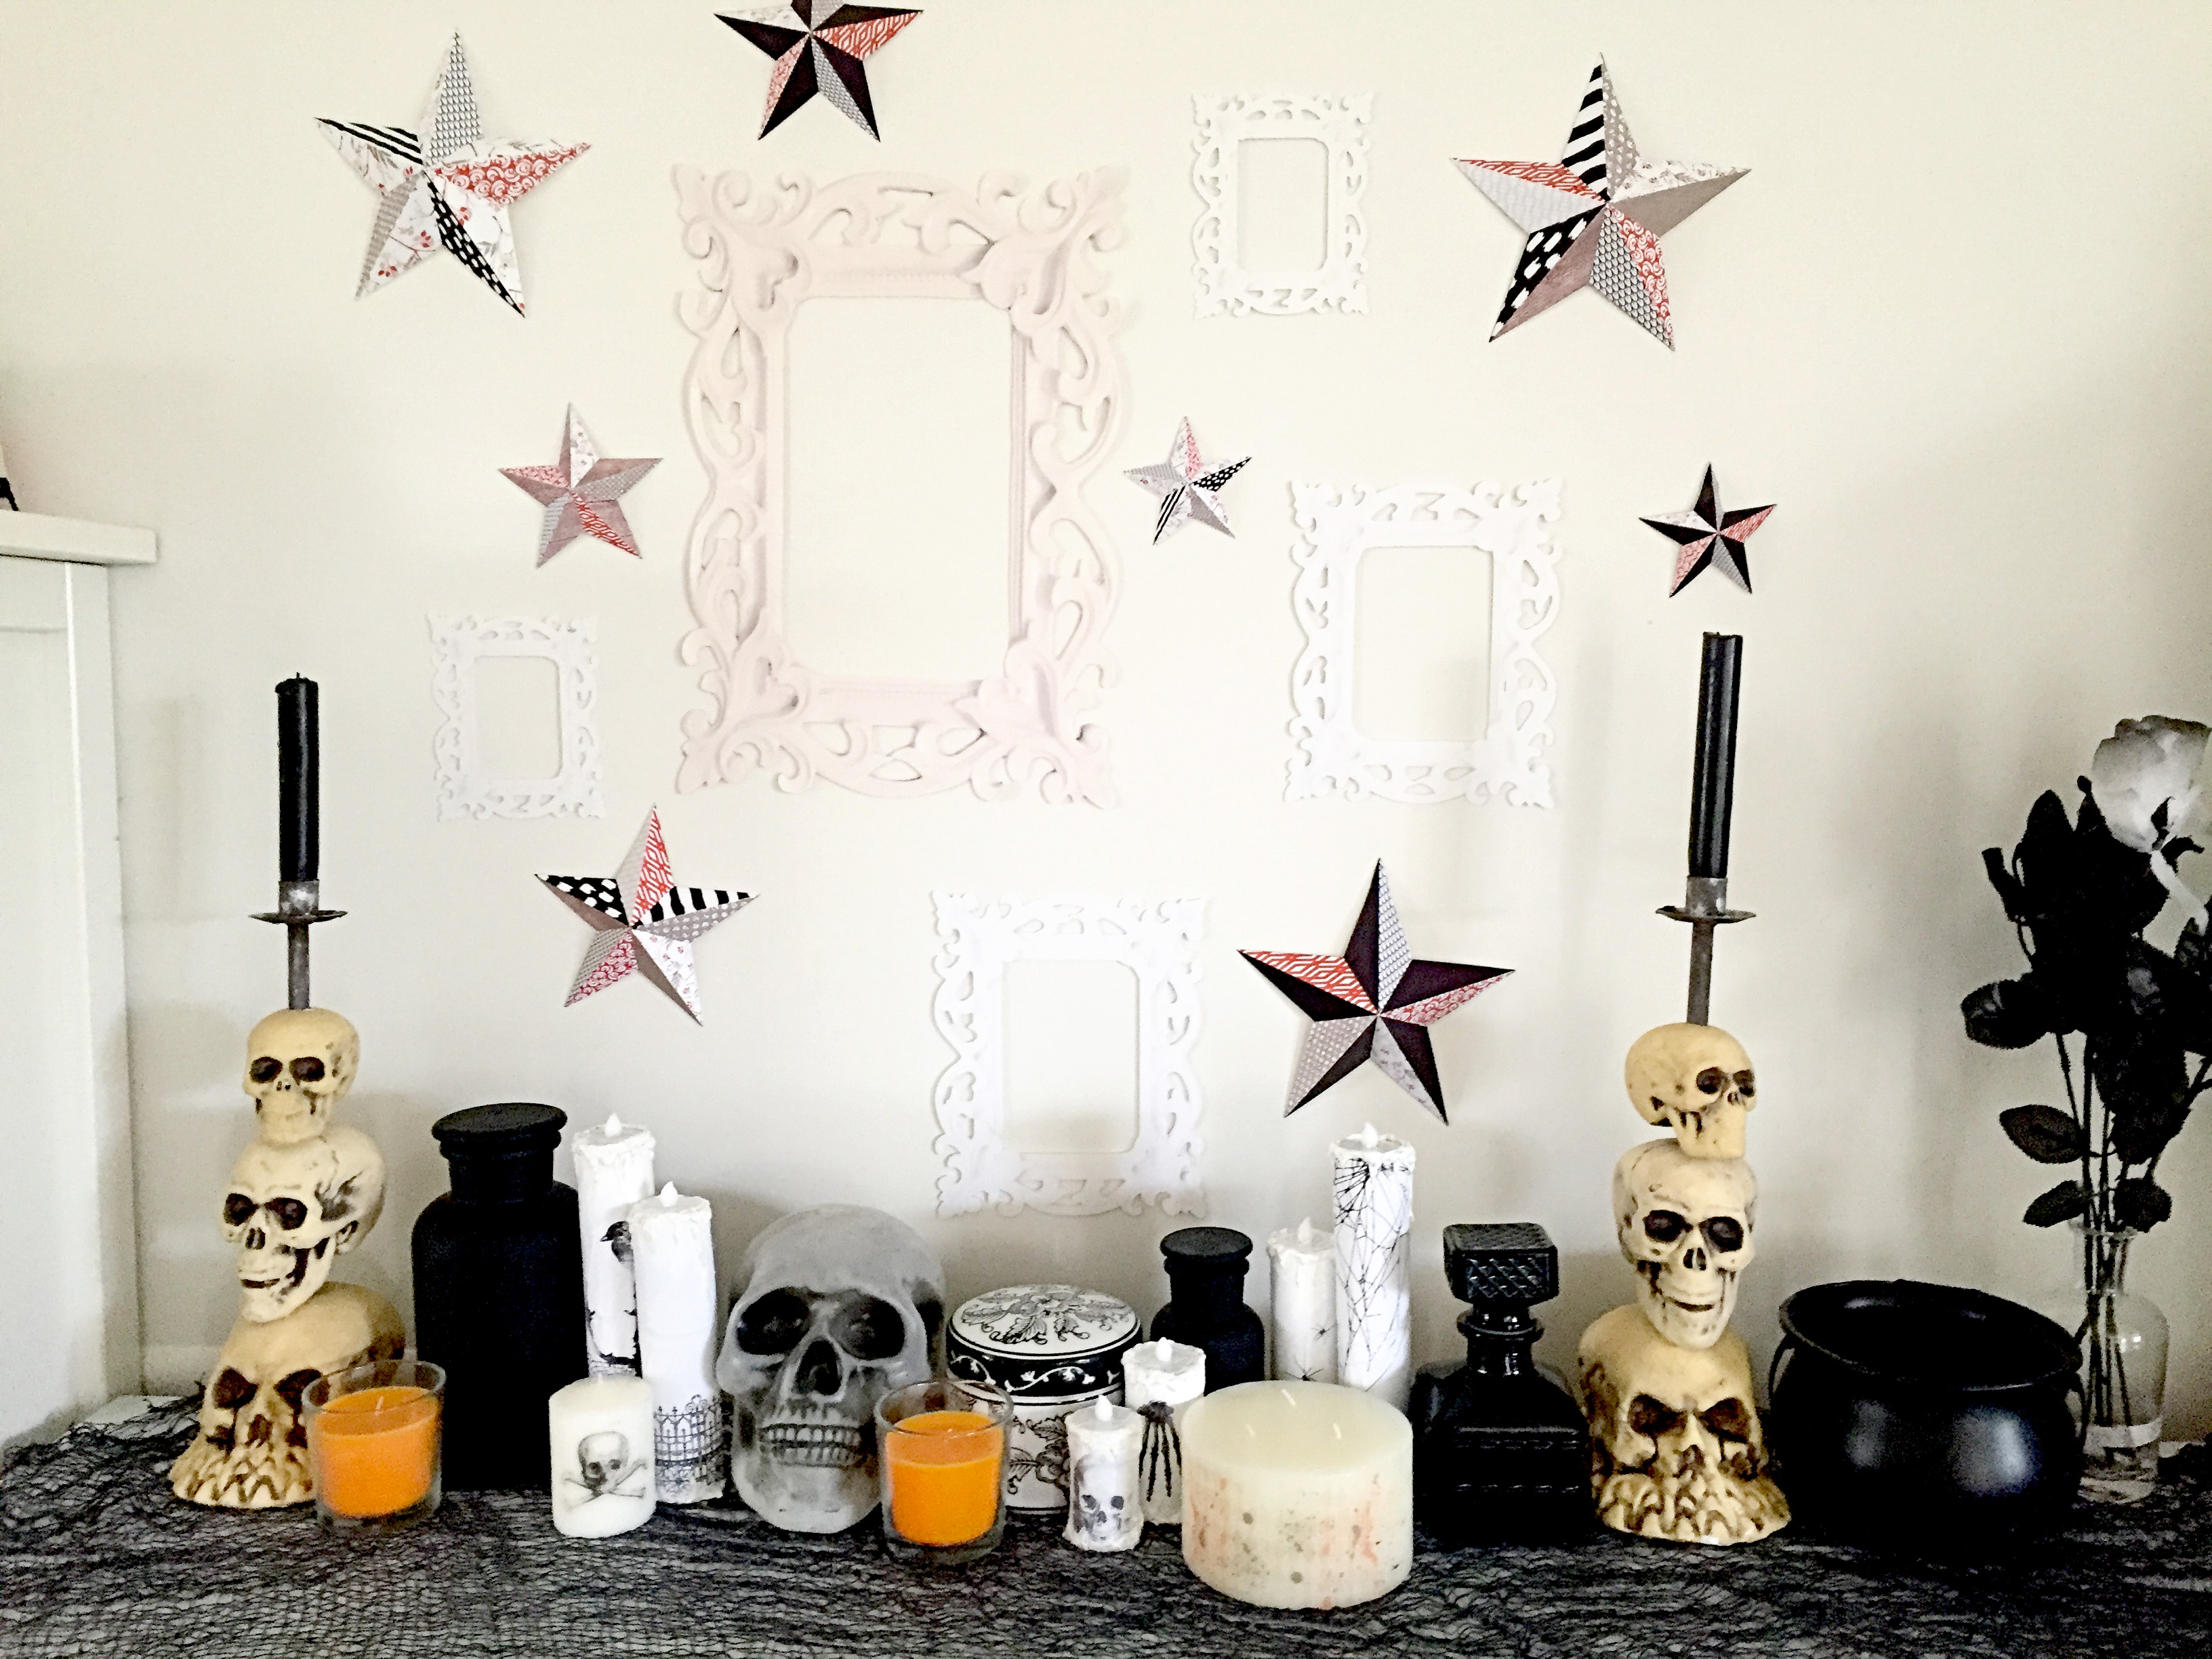
I love decorating for different seasons and holidays and my absolute favourite is to decorate for halloween. I love everything about Halloween …and today I am going to show you how to make a few fun decor items — Halloween candles and 3D stars.

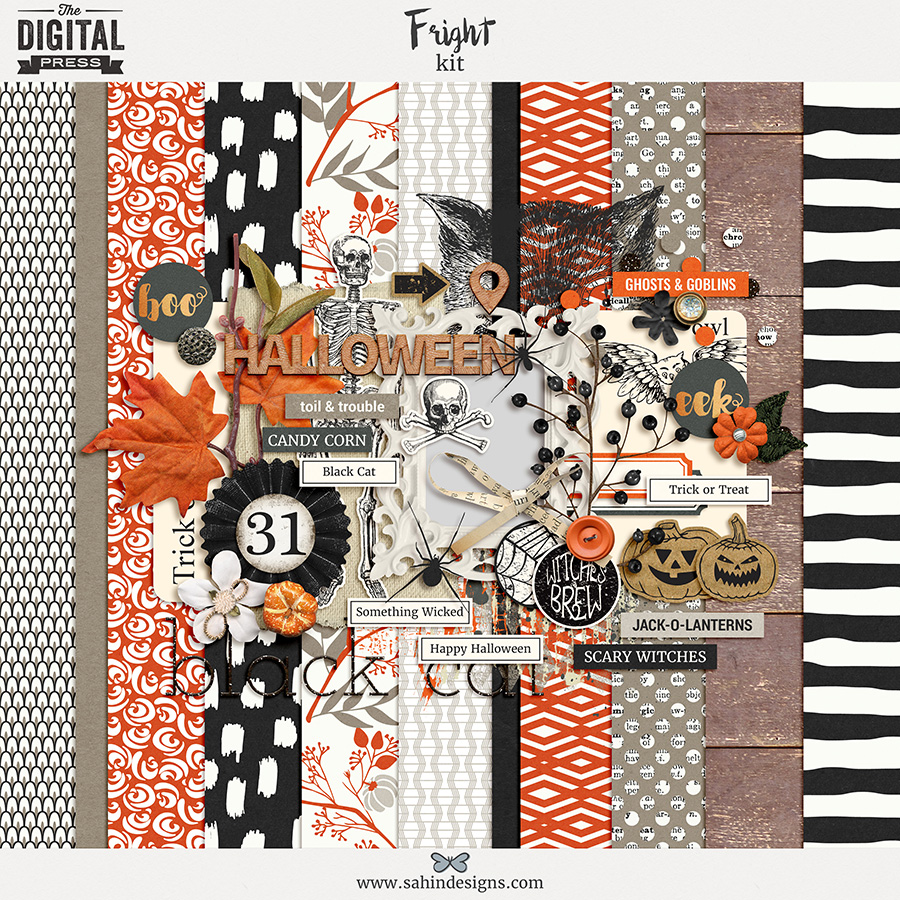
All digital items I used for these projects can be found in the Fright | Kit by Sahin Designs here at The Digital Press.


First, we’ll do the stars.

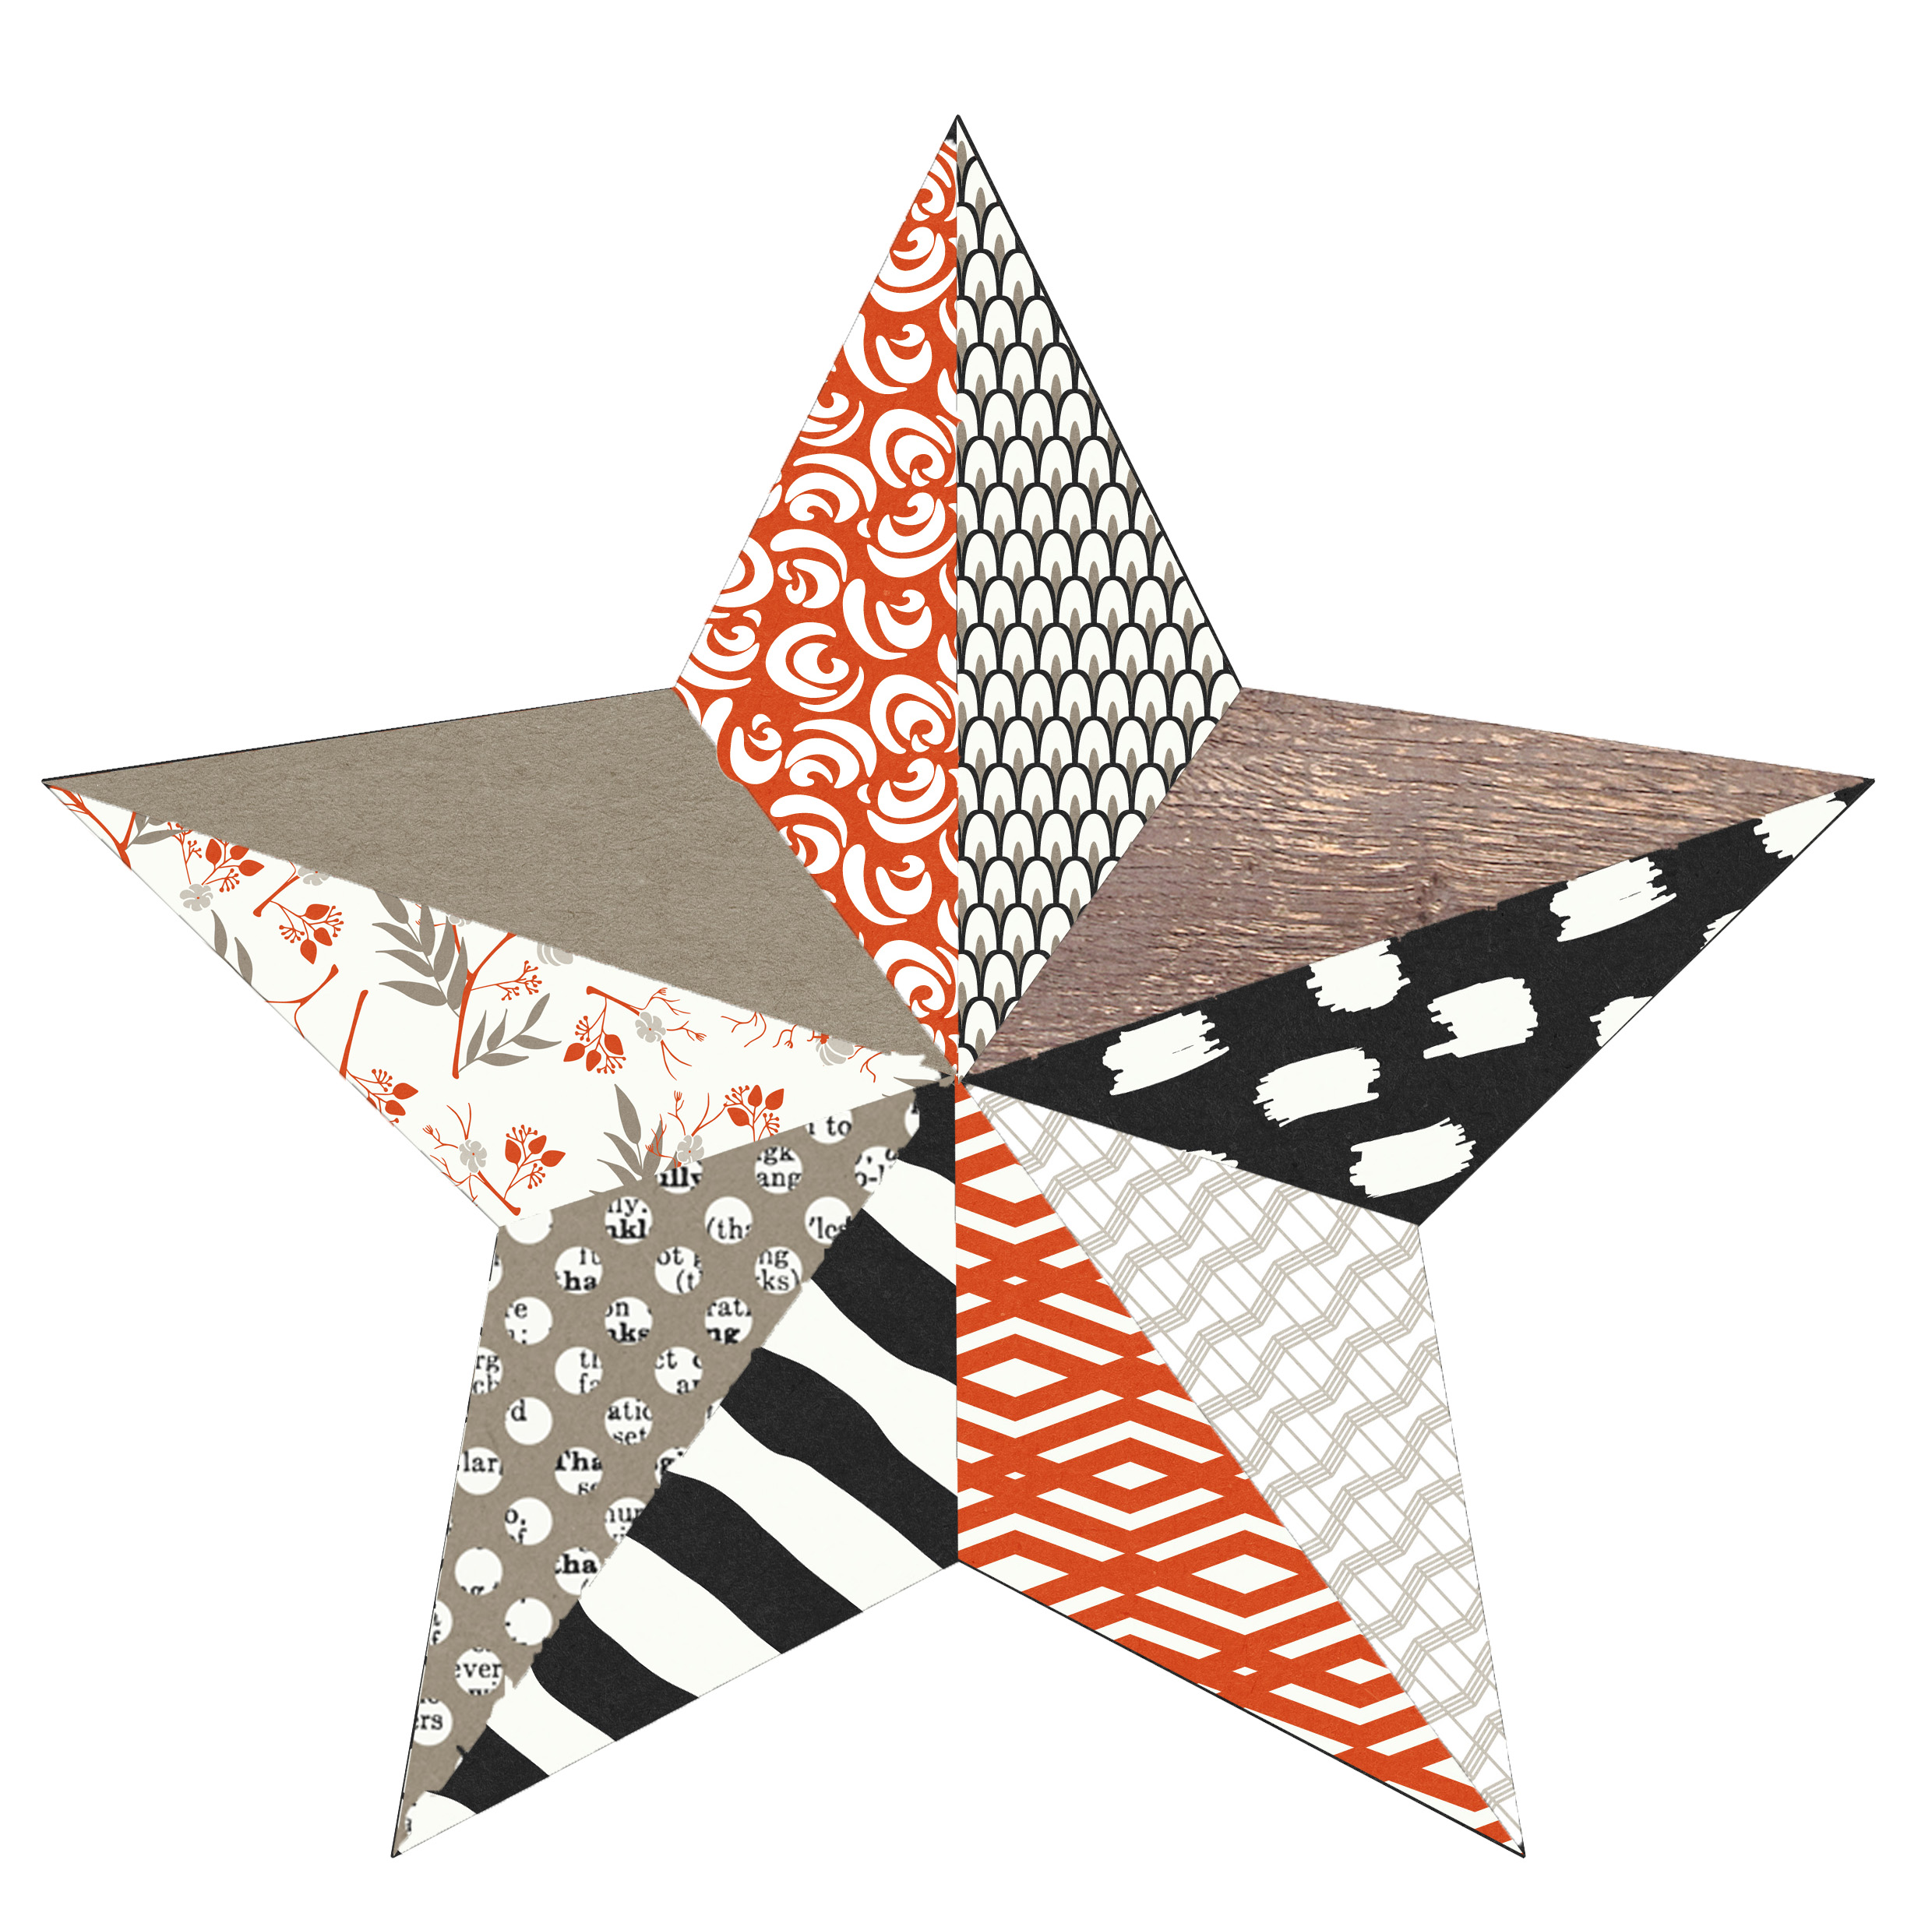
I found a PDF template online for the star shape, but the lines were dotted, so I used it to make a PSD template that I could clip each of the papers to. I printed out different sizes using different combinations of papers. You can cut out your stars by hand, or using a digital cutter. Here’s an example of one of my stars before printing…


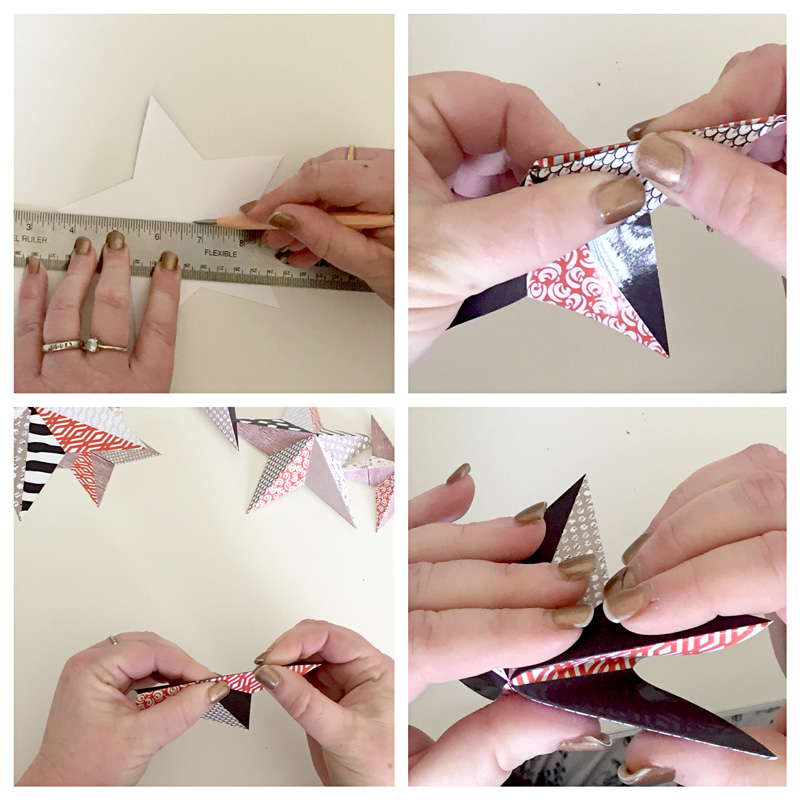
Once all my stars were cut out, I scored the fold lines. This is done on the back of the star from each tip, through the center to the other side.

Turn your stars over and fold each tip, aligning the other tips with other to get a precise fold. You only crease from the center to the tip, not the other side. Then fold in between the tips with valley folds, as shown here…

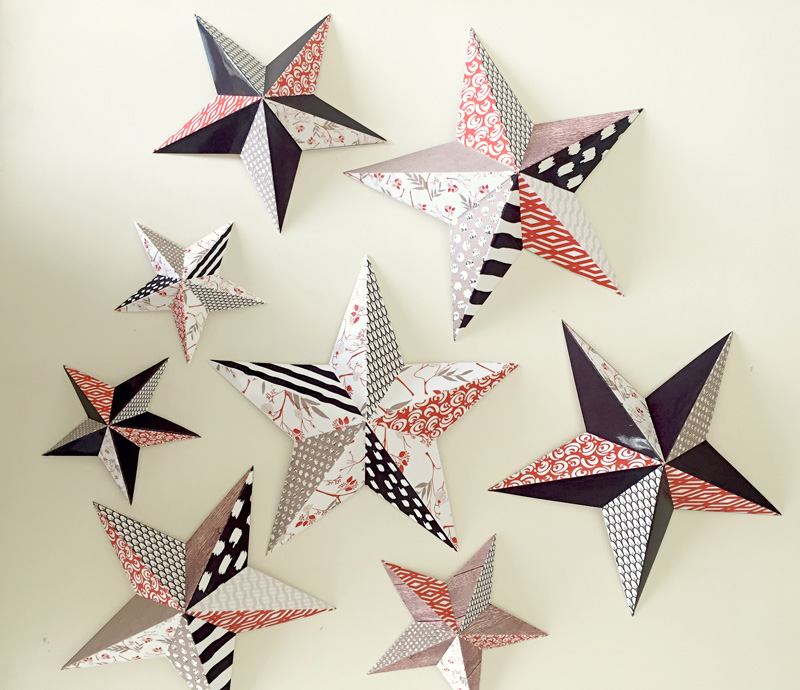
Here’s a look at the finished products… stars of all sizes!

Now for the candles.

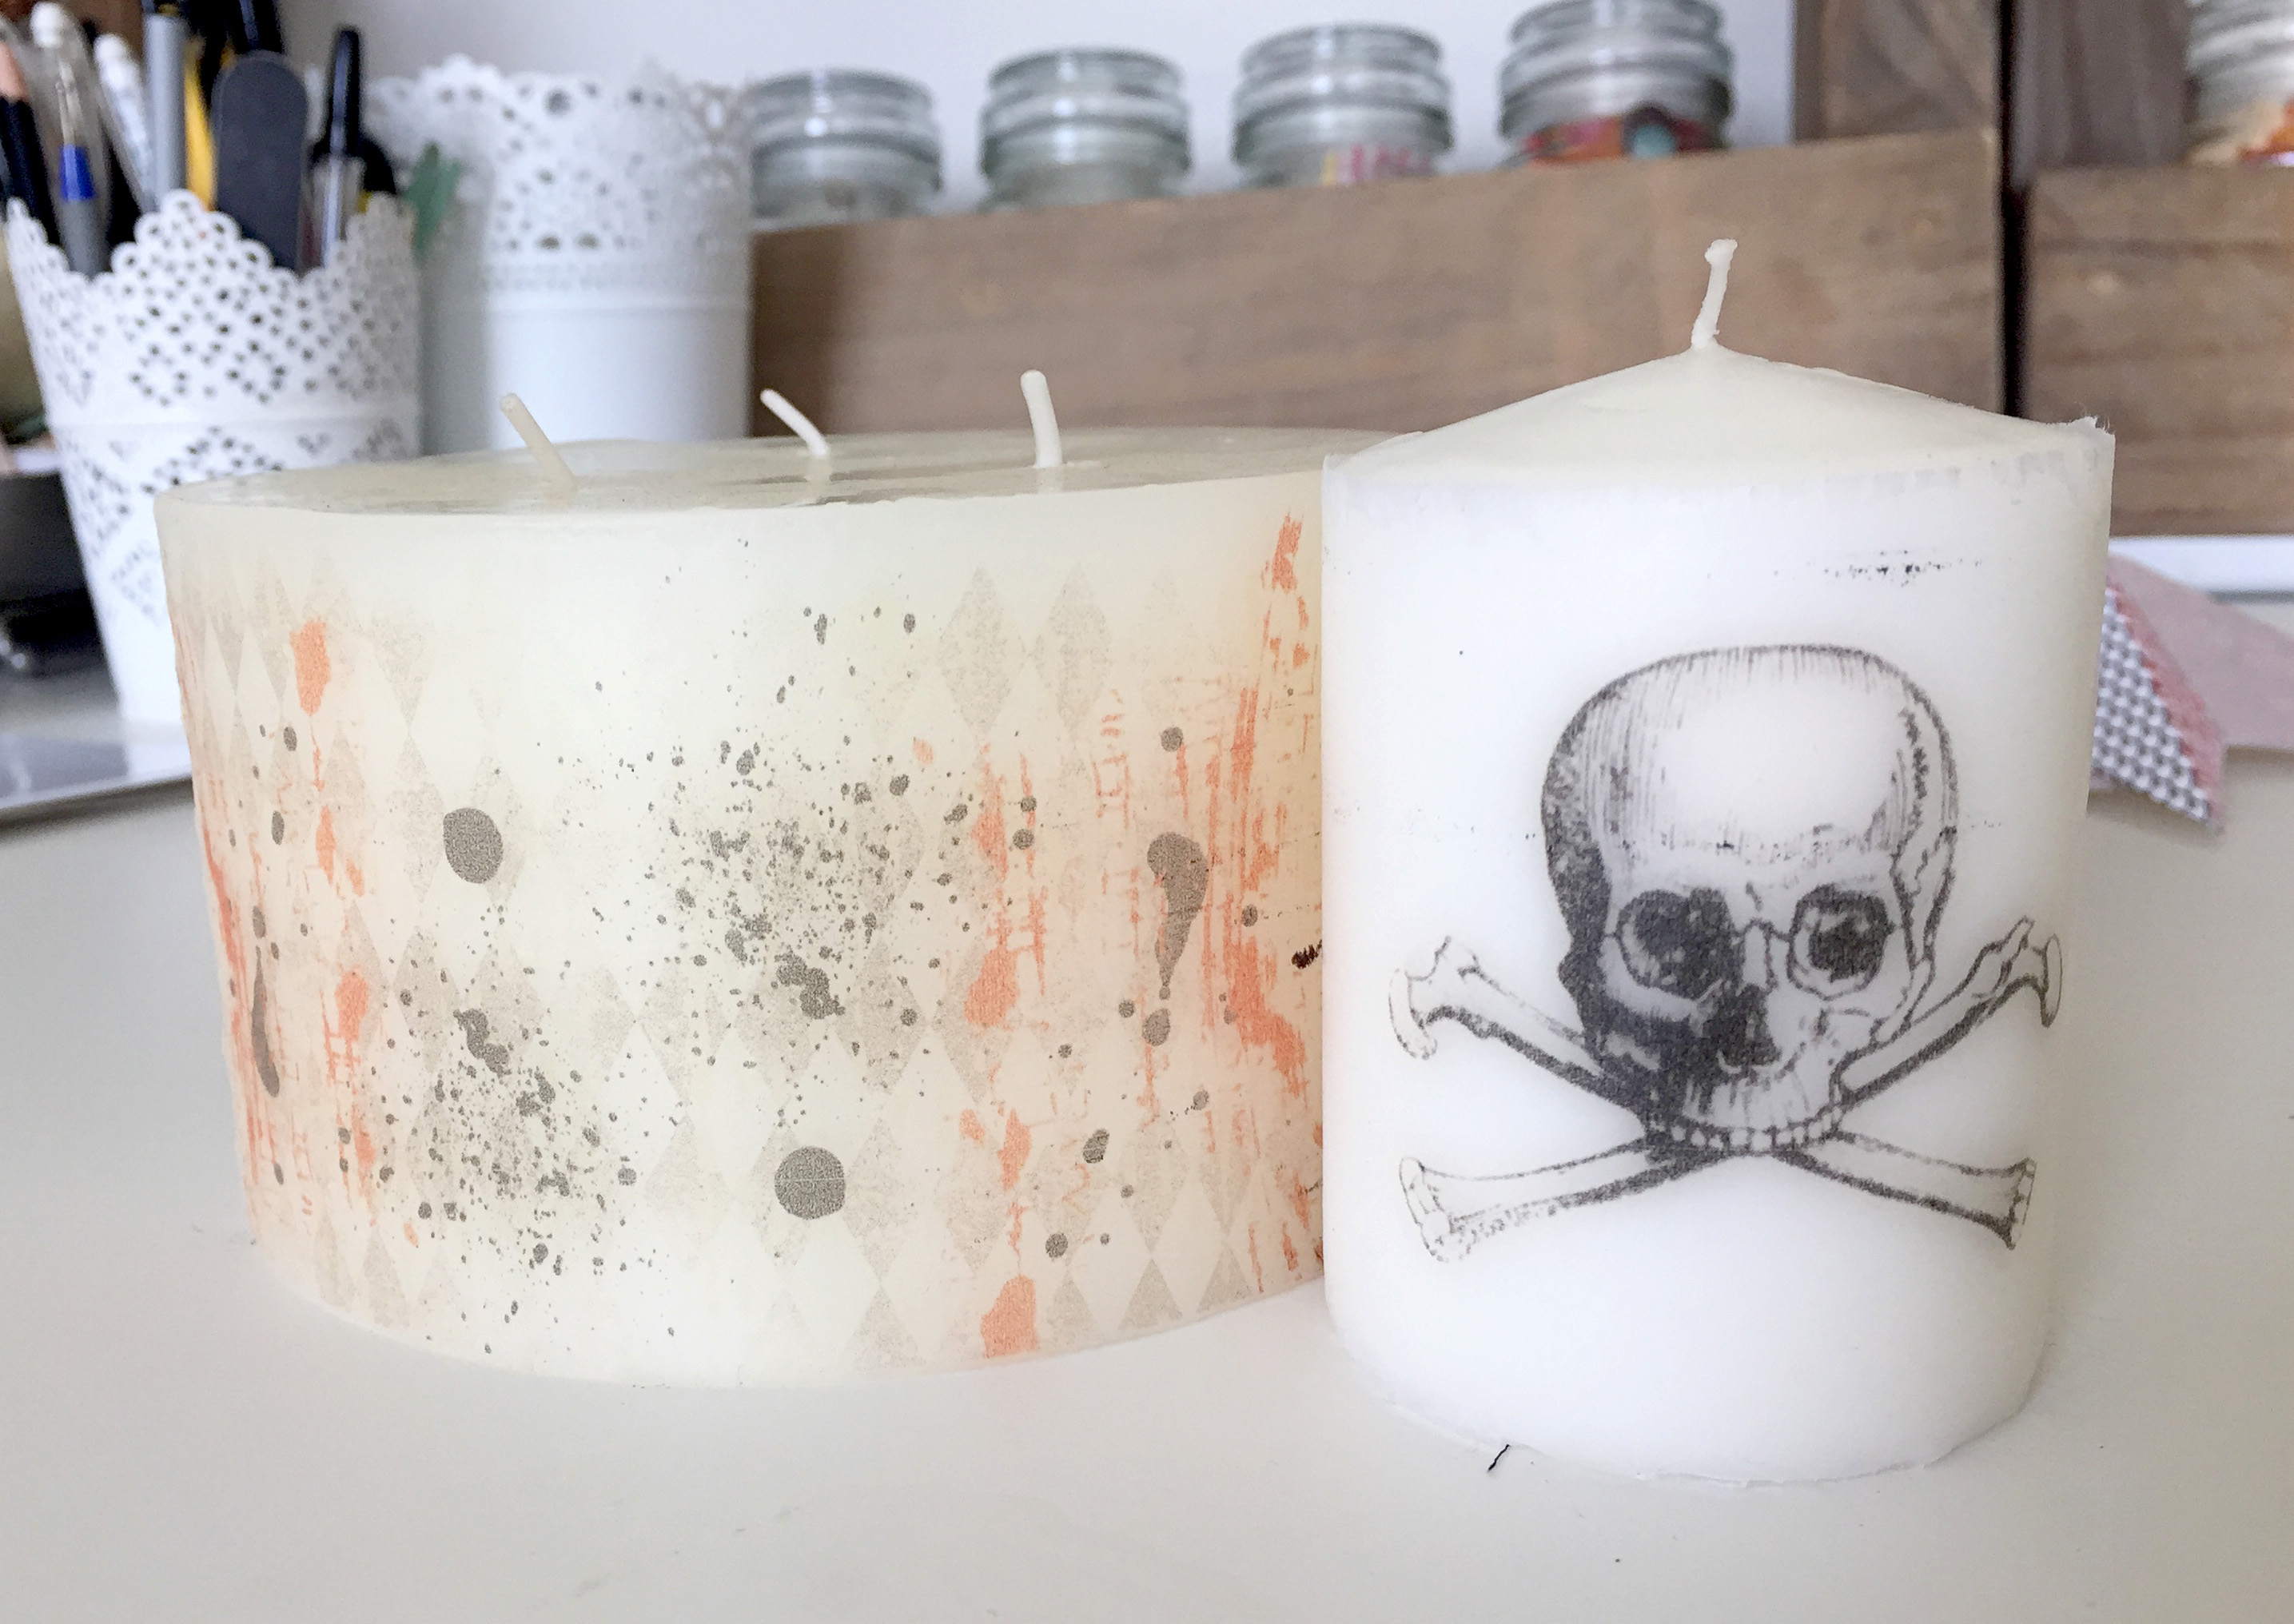
Print your desired images onto tissue paper [for more detailed instructions on printing on tissue paper, you can refer to one of my previous posts here or Arielle’s post here].

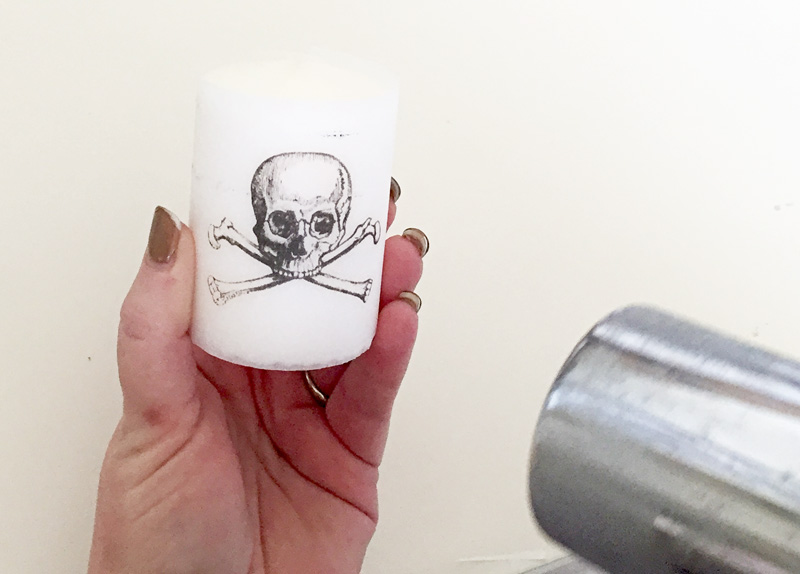
Cut your tissue to size, and use a hairdryer to heat the candle. You will see the tissue “disappear” into the wax. Be careful, your hands may get get hot… just give them a break every now and then and work your way around the candle…

Here’s a look at the candles once the tissue paper image has adhered on/into the wax of the candles…

I also printed the frame from the kit in a few different sizes… and cut them out with my paper cutter (I use a Silhouette) to add on my wall, along with the stars…

And that’s it! So simple! If you give it a try, definitely come post your final product in the gallery (and even join the monthly Hybrid Challenge and earn points toward discounts and free stuff at TDP!).

Happy Halloween!


About the Author  Amanda found digital scrapbooking in 2006, as a paper scrapper who was frustrated with the limitations of paper scrapping products. She now loves to combine paper and digital products and techniques for her pages and projects. She is the wife of a Naval Officer and has two teenage children. She lives in Australia, and has also lived in the U.S and Malaysia and loves that she has had the opportunity to travel the world with her family.