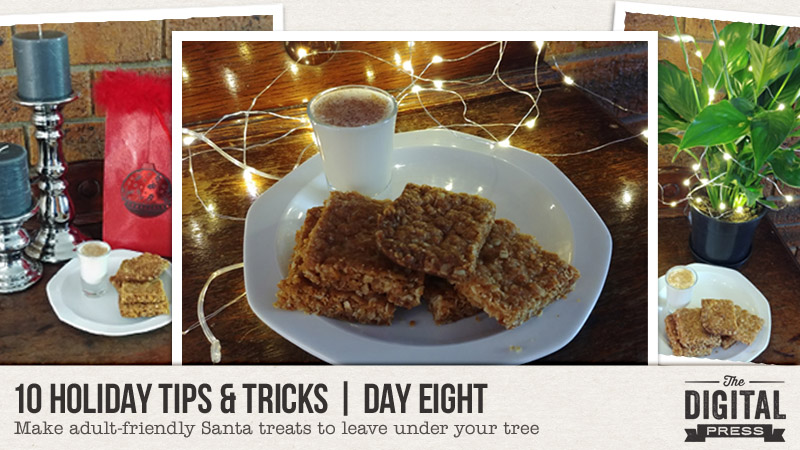
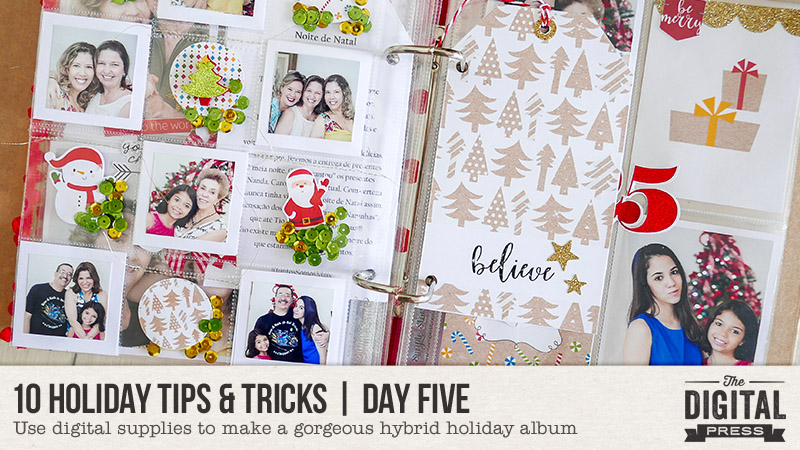
Welcome to Day Eight of the 2017 edition of our always-popular 10 Holiday Tips & Tricks series here on The Digital Press blog!
Stefanie here today, bringing you a fun (and adult-friendly!) recipe for the milk and cookies you leave out for Santa. 🙂
As part of our family’s holiday tradition, we leave out a side plate with some milk and cookies for Santa on Christmas Eve. I don’t know about your Santa… but the one who visits our house is usually very tired and in need of a pick-me-up… so why not treat him to an adult version? We call them ‘milktart shooters,’ and we serve them up with some yummy crunchies on the side.
Here are the recipes…
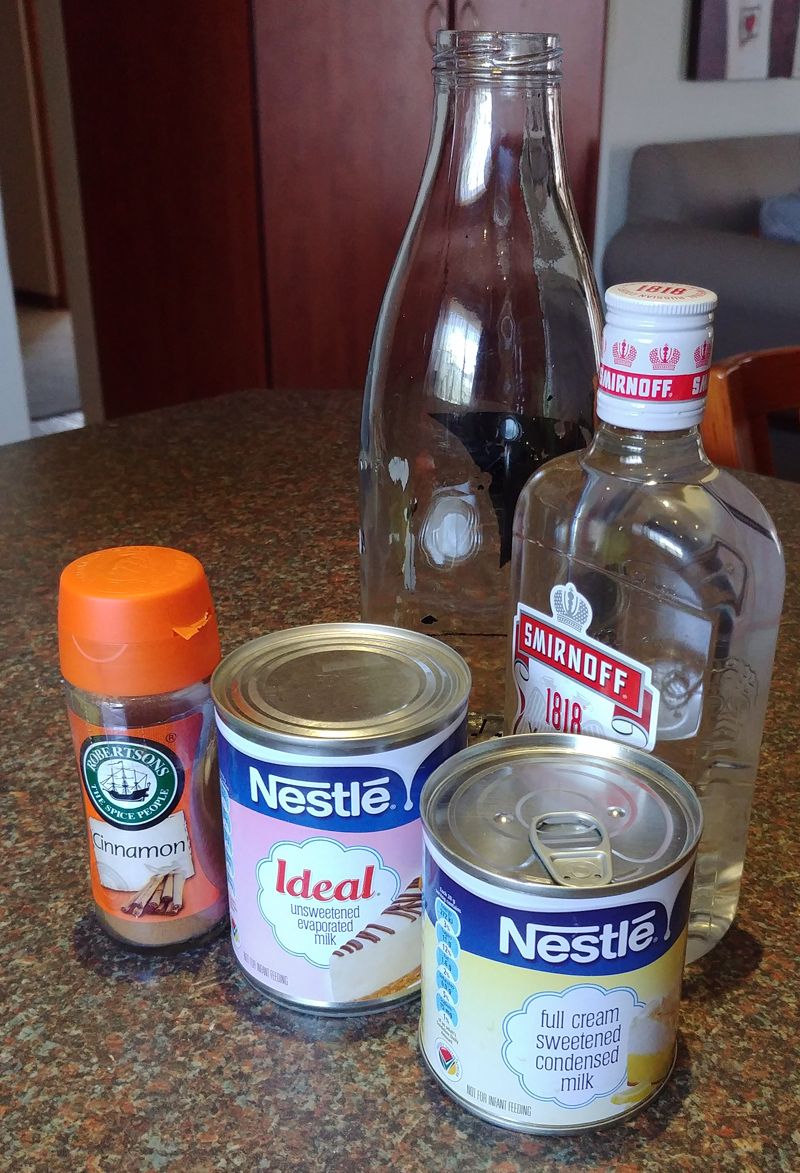
Milktart Shooters
INGREDIENTS
— 375ml vodka
— 395g tin condensed milk
— 375ml tin evaporated milk
— ground cinnamon to serve
INSTRUCTIONS
— Mix the ingredients together and shake well
— Store in a bottle in the fridge for up to 4 days
Crunchies
INGREDIENTS
— 1 cup oats
— 1 cup cake flour
— 1 cup white sugar
— 1 cup dessicated coconut
— 165g butter melted with 15mls syrup; then add 5mls bicarb, pinch of salt*, a squirt of lemon juice* and 15-30mls boiling water*
*optional
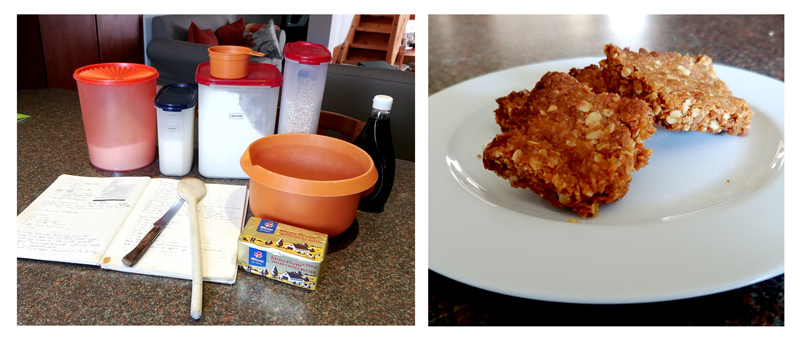
INSTRUCTIONS
— Mix dry ingredients well.
— Make a well in the dry ingredients and add the wet ingredients; mix well and press down firmly into a rectangle-shaped oven pan.
— Bake at 180C for 12-15 min (but check often, as it can burn quite easily).
— Cut into squares while still warm (let cool for about 5-10 min after removing from the oven before cutting).
— Will keep well in a sealed container for at least 4 days.
If you’re thinking of giving one (or both!) of these recipes a try… head over to The Digital Press’s challenge forum and get the details about how you can earn challenge points for December 2017 at TDP if you try any of our “10 Holiday Tips & Tricks” throughout the month as they appear here in this blog series!

About the author Stefanie is a member of The Digital Press creative team and a stay at home mother of three older children living in Cape Town, South Africa with her hubby of 29 years, two of their three children and 3 cats. She loves photography, traveling and digital scrapbooking, documenting the good and the ordinary everyday.


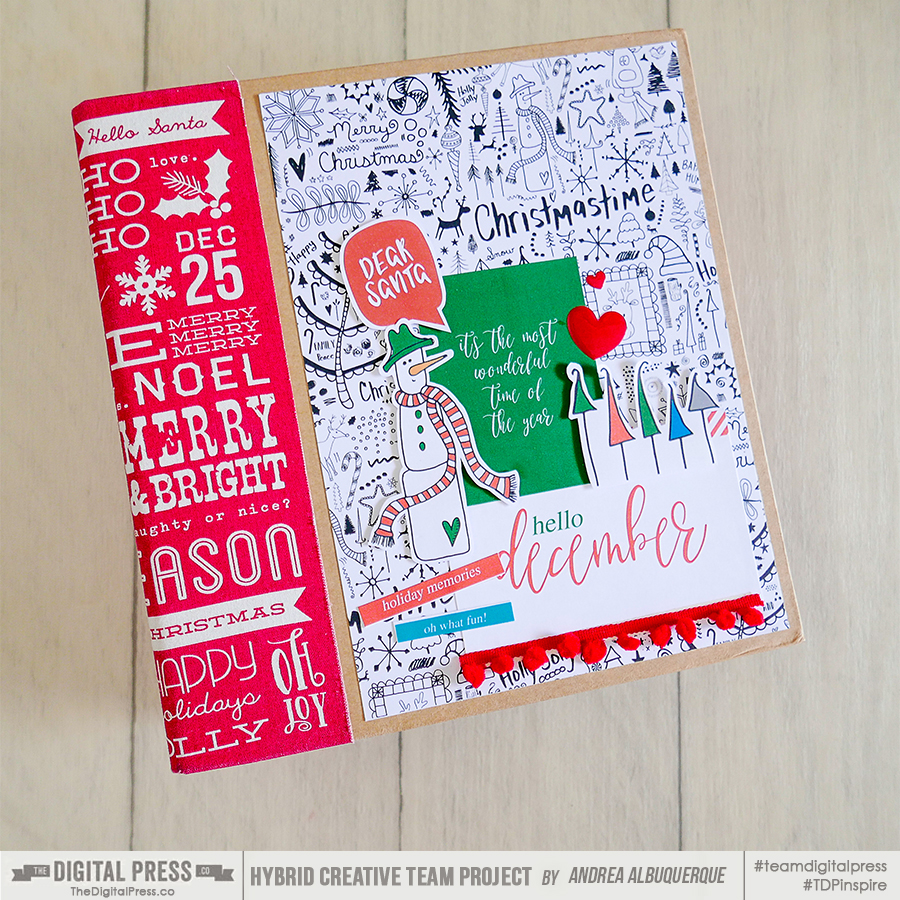
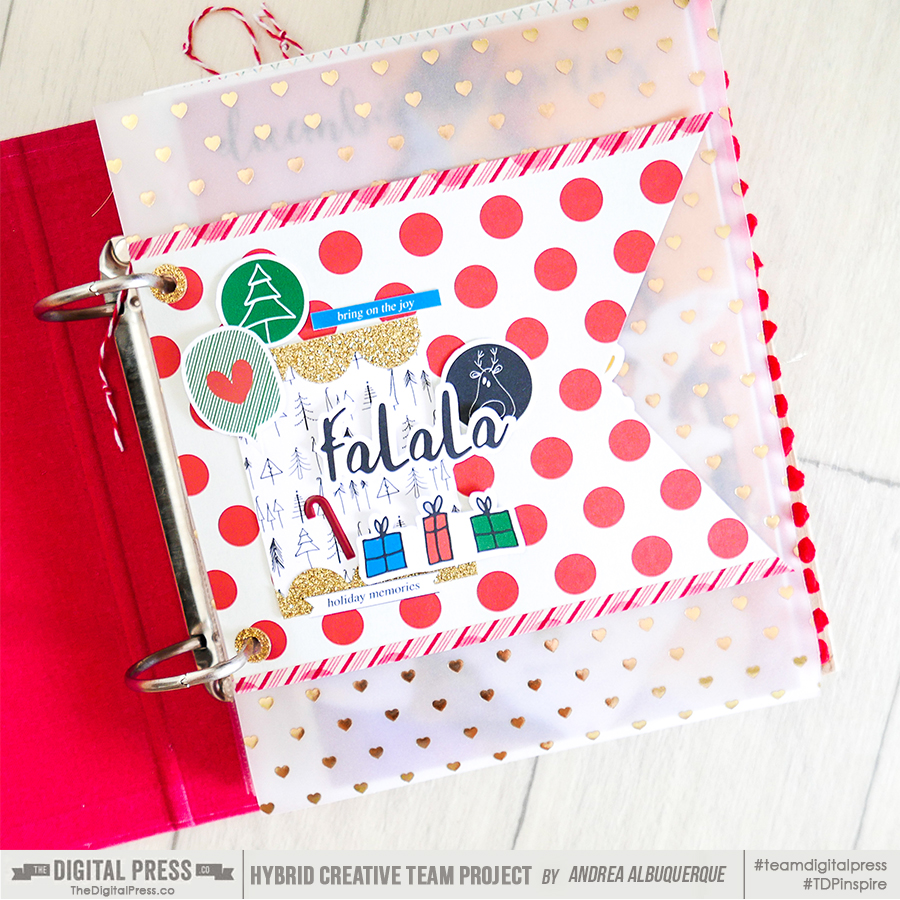
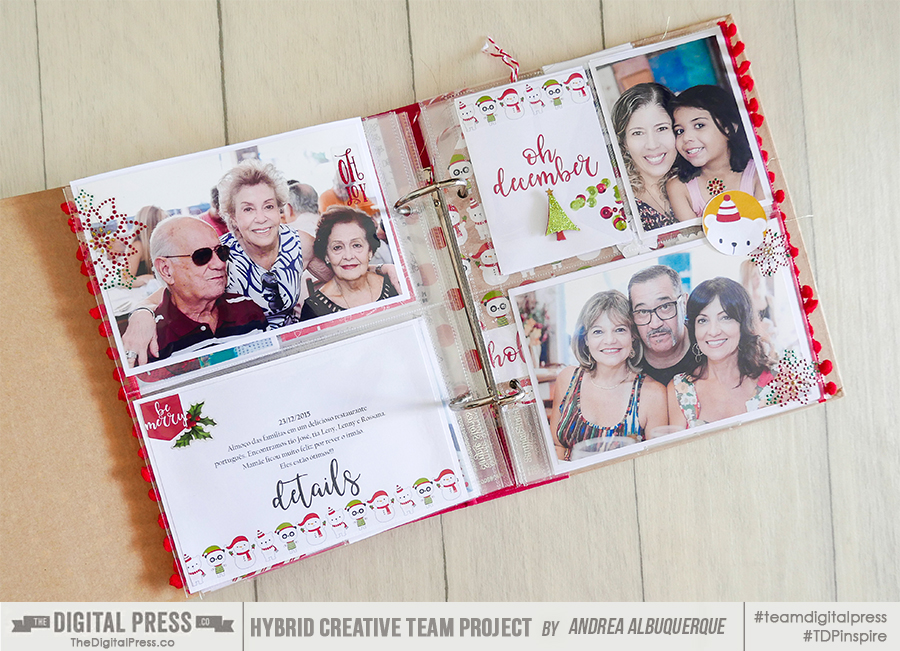
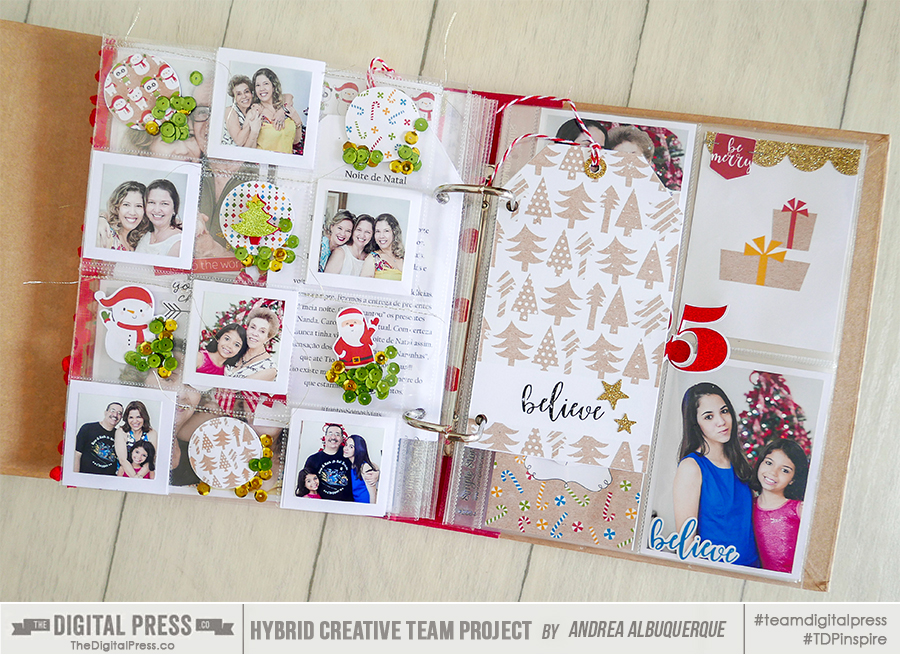
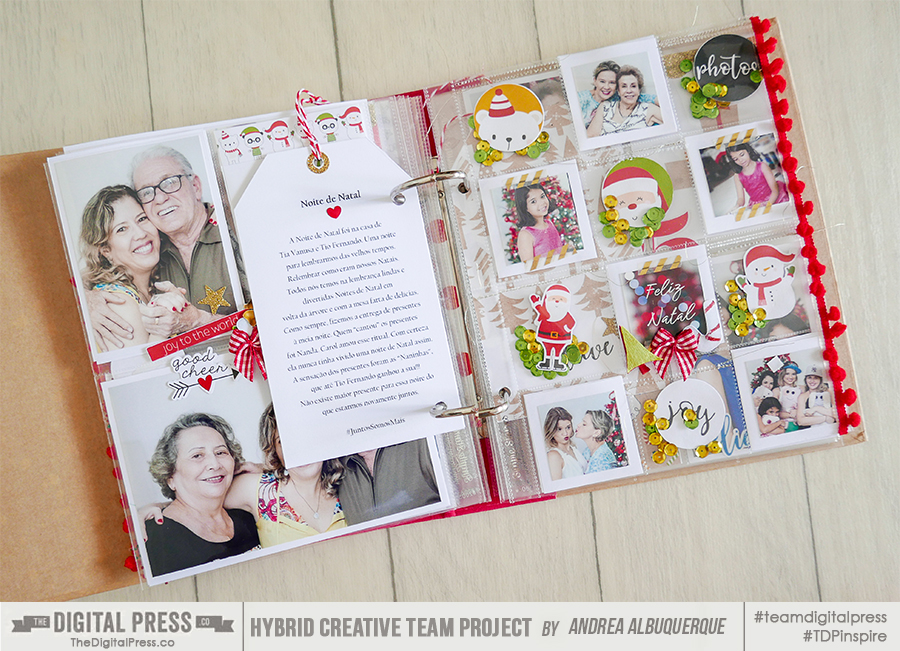
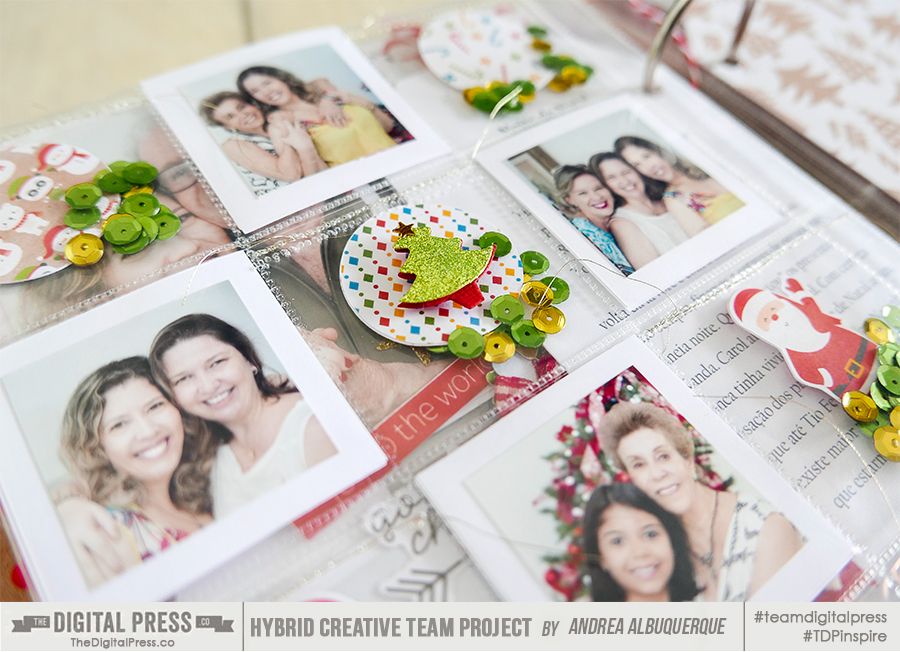
 About the Author Andrea Albuquerque is part of the Hybrid Creative Team here at Digital Press. Andrea has been a scrapper since 2010 and a photographer since 2012. Although she adores the flexibility and creativity of digital, she can’t resist playing with paper, paint, and embellishments… so hybrid scrapping is the perfect medium for her! She lives in Brazil with her hubby.


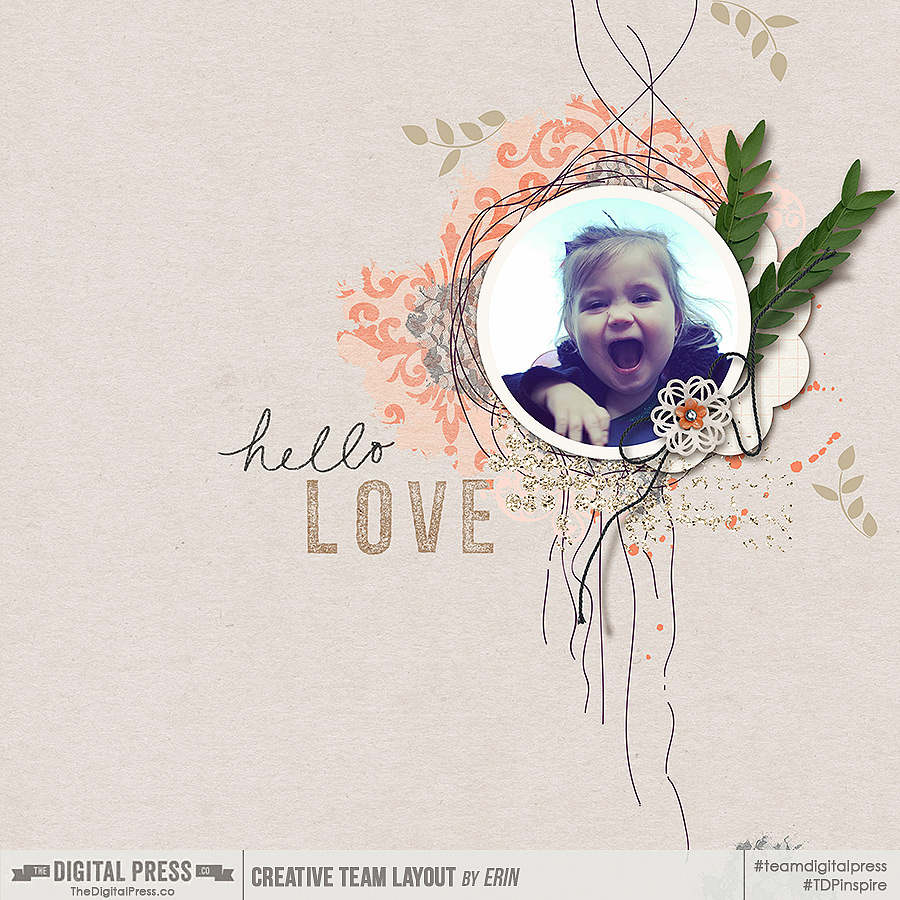
 Erin is an artsy crafty kind of girl who is currently dabbling in far too many things, but is working hard to enjoy every moment of it, while avoiding the rain, which is difficult due to living in the land of many rains. She is slowly learning to use her smart phone to capture all the fun little bits of life that would otherwise go unremembered in the busy craziness that is raising a family!
 About the Author Kate is on the hybrid team here at The Digital Press. She lives on the Utah/Colorado border with her husband, 5 kids, 10 chickens, and a dog named Gracie. She’s a city-born girl who found she’s really a country girl at heart. She can be found outside, barefoot, and probably in her garden.