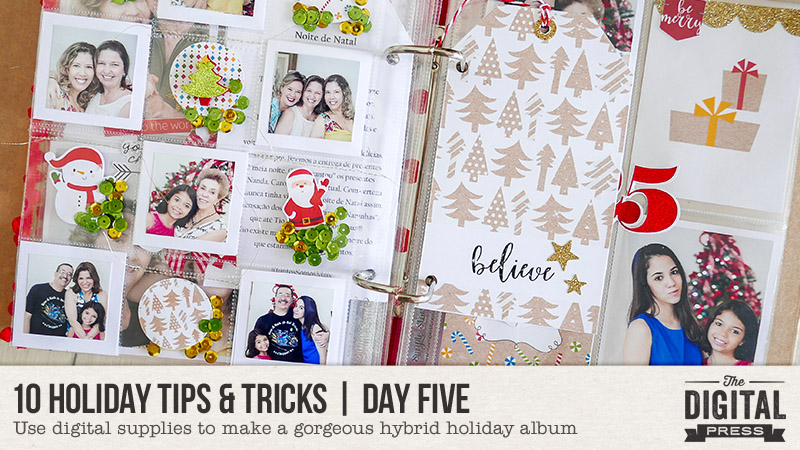
Hello, and welcome to Day Five of our always-popular 10 Holiday Tips & Tricks series here on The Digital Press blog! Today I am going to show you how to use your digital scrapbooking supplies to make a holiday memory album. It’s much easier than you’d think… and so much fun!
Supplies Needed
- Digital scrapbooking kit (or kits) of your choice
- White cardstock paper
- Scissors or cutting machine
- Other physical scrapbooking supplies, as desired (optional; for adding extra dimensional embellishments, etc.)
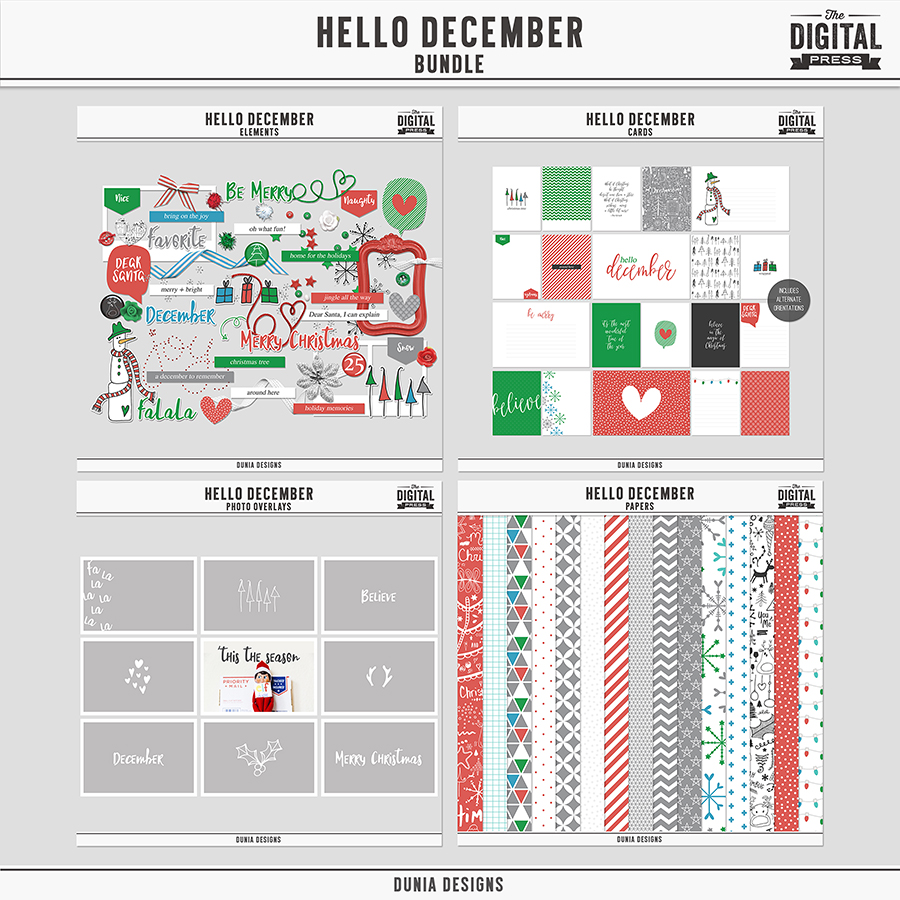
For my album this year, I primarily used the digital kit Hello December By Dunia Designs, as shown here…
Once you’ve gathered all of your supplies, there are just a few simple steps. I’ve broken down what I did on a page-by-page basis, below…
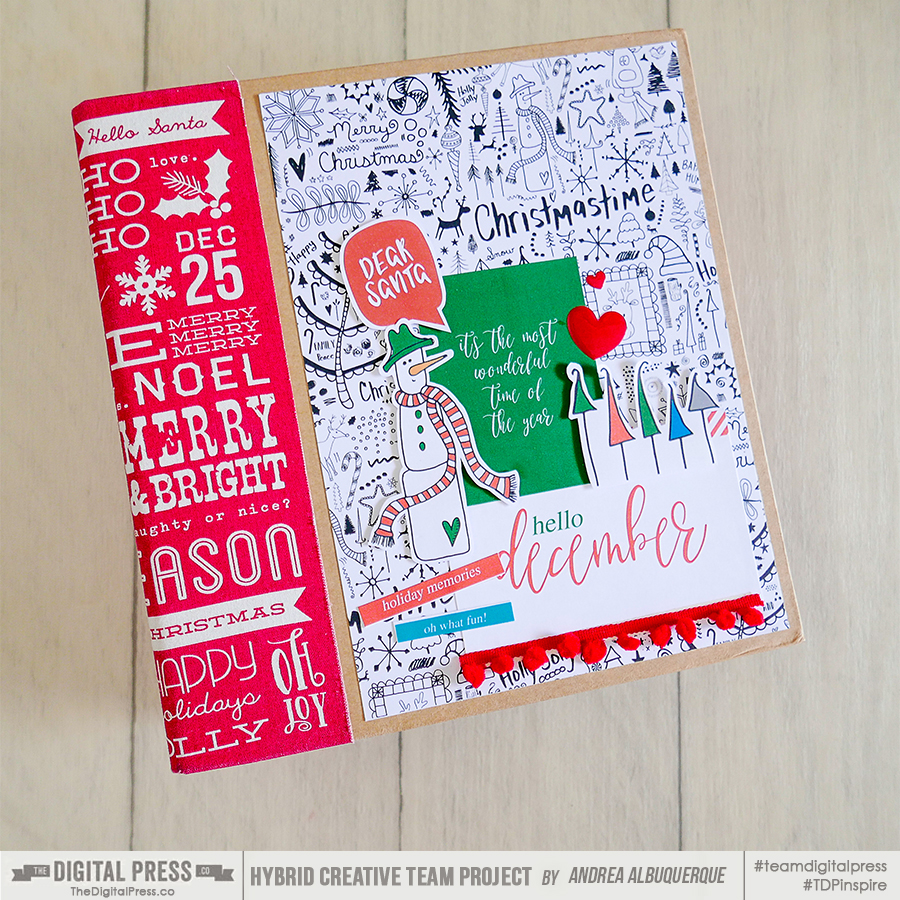
Album Cover
- I chose a patterned paper for the cover, and trimmed it a little bit smaller in order to create a border around that patterned paper background.
- I also chose two pocket cards and re-sized them in order to fit to my cover as embellishments on top of the patterned paper background.
- Next… I re-sized, printed, and cut some cute elements and word bits to add on top of the cards from the last step.
- Finally, I added a piece of pompom ribbon and two enamel hearts (I like to finish a lot of my hybrid projects using some traditional scrapbook supplies; they add more interest and texture to my projects).
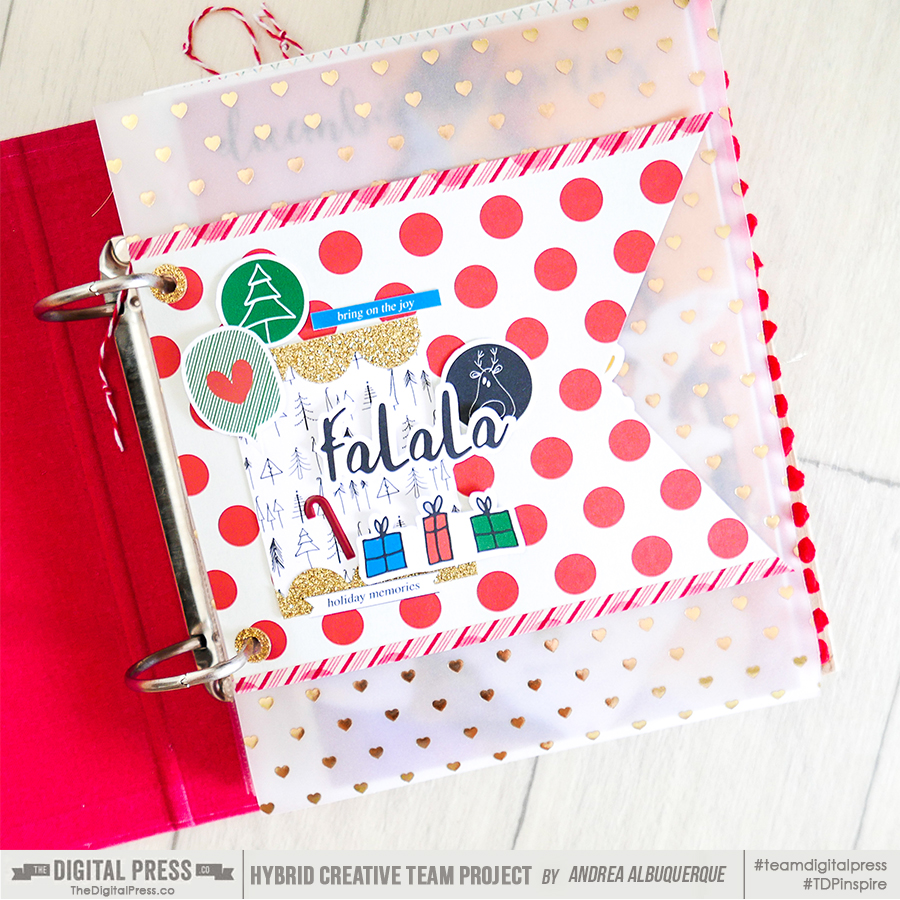
Inside Cover / First Page
- I used a piece of vellum paper behind my front page to soften the first page view and to give more depth and interest to my album.
- Next, I chose a banner-shaped page from my physical supply stash and decorated it with a card and some elements. I re-sized both the card and the elements in order to them fit to my banner page without making it too full/busy.
- Finally, I added some washi / glitter tape.
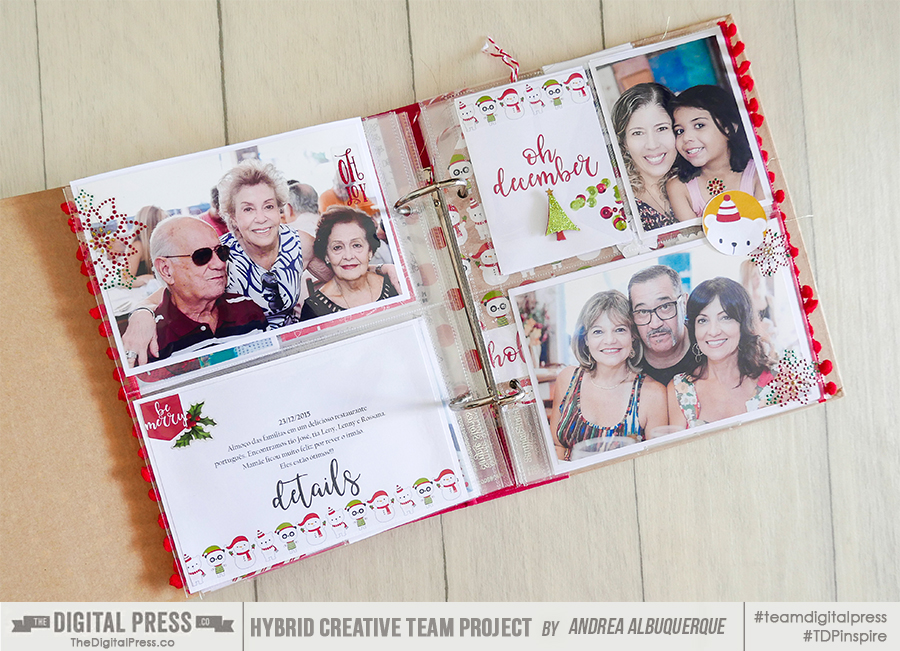
Inner Pocket Pages
- For the first of my inner album pages, I chose two pocket cards from the digital kit and printed them to fit into my pockets.
- I added some digital sequins to my 3×4 digital card (see right page, below) and this created a new card. I also glued a border onto my 6×4 card, in order to give balance to the spread.
- I re-sized some digital elements (including the cute flair button on the right), and I glued these outside the pockets.
- I typed my journaling before I printed my 6×4 card, and I used a piece of word art as a title.
- Finally, I added some traditional embellishments… like a cute Christmas tree, a clear holly sticker, a clear word art sticker, and some other bling.
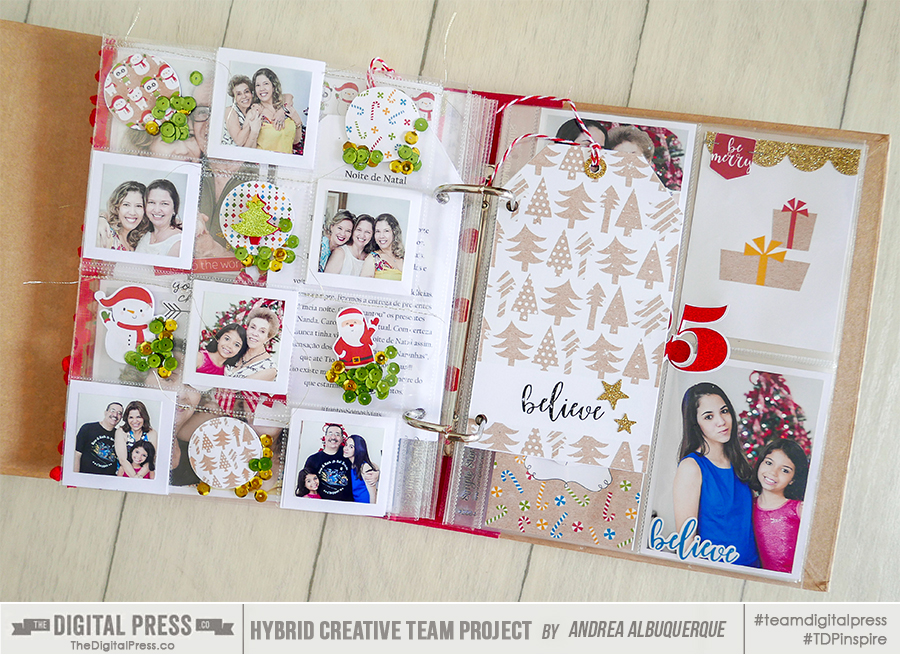
- For the next spread of pages, I used a page with lots of pockets on the left (to include lots of little individual photos, etc)… and I made a tag insert using a very beautiful patterned paper on the right.
- I also chose a 3×4 card, which I embellished with a cute printed border.
- Additionally, I chose some printed elements and put them into all of the non-photo pockets (see below, left side) along with some traditional embellishments like the sequins, the glitter stars, the cute bow, the Christmas twine, a word sticker, etc.
- I printed my little photos slightly smaller than 2×2, because I wanted to leave a white border around them.
- Here’s a look at the back side of that fun tag (from above), where I added some journaling…
- I also decorated my page with pompom ribbon along the right edge/border.
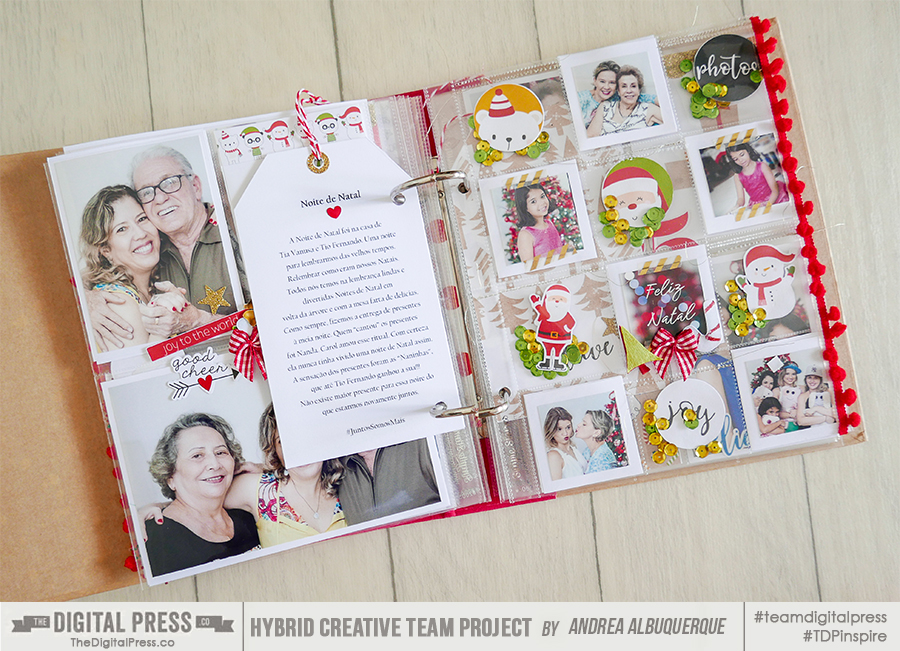
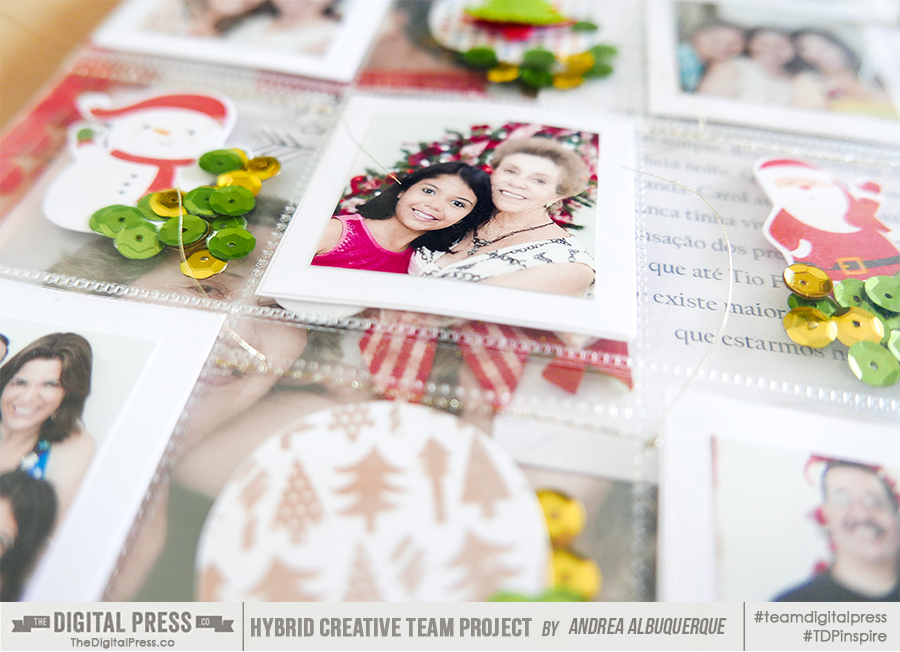
- Here’s a closer look at some of the small pockets, so you can get a look at the contents I added into each tiny pocket before sewing them shut (as you can see, I chose some patterned papers to be the backgrounds for some of the flat circular flairs that I printed… and the same elements I used in the front of the page. I glued them back to back as well. I used one more cute glittery Christmas tree to create a focal point almost in the middle of the page)…
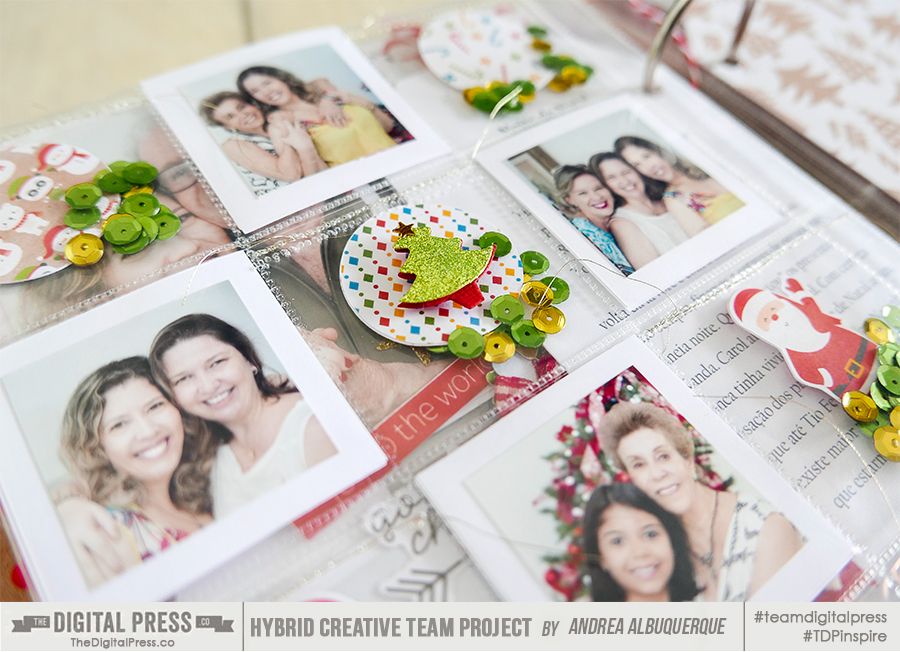
- And here’s another closer-up look…
You could repeat different variations of these last few pages I’ve shown you… in order to accommodate as many photos/pages as you like in your own album! You’ll find that it’s so fun to fill the pockets with little decorative objects.
And that is all there is to it! Wasn’t that easy?! 🙂
I hope you have a chance to give this project a try! If you’re thinking of giving this a try and making your own… head over to The Digital Press’s challenge forum and get the details about how you can earn challenge points for December 2017 at TDP if you try any of our “10 Holiday Tips & Tricks” throughout the month as they appear here in this blog series!
 About the Author Andrea Albuquerque is part of the Hybrid Creative Team here at Digital Press. Andrea has been a scrapper since 2010 and a photographer since 2012. Although she adores the flexibility and creativity of digital, she can’t resist playing with paper, paint, and embellishments… so hybrid scrapping is the perfect medium for her! She lives in Brazil with her hubby.
Adorable! I have always wanted to try a hybrid album!