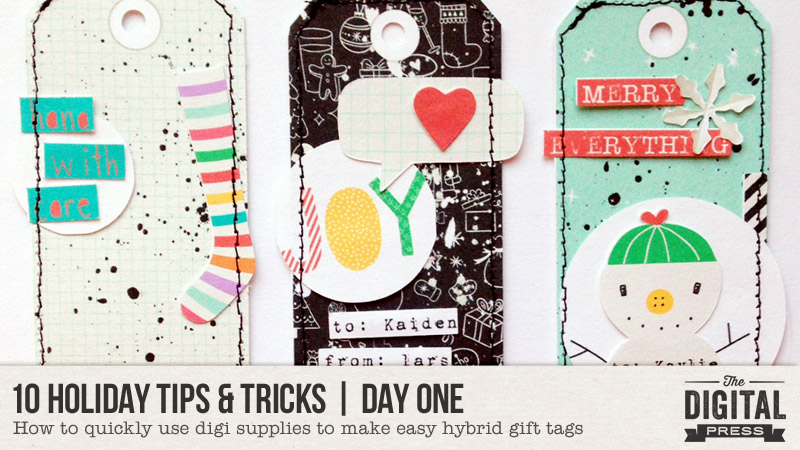
Exciting news today! We’re deviating from our normal monthly blog schedule for the month of December… in order to bring you a fun series of 10 Holiday Tips & Tricks! This series will run every Mon/Wed/Fri throughout the month of December, leading up to (and ending just before) Christmas weekend. That means you can expect ten (10) different posts this month full of fun and inspirational ideas that are sure to make your holiday season simpler… craftier… cuter… and/or yummier!
Today is Day One of our series… and we have a really fun (and easy!) project to share with you — hybrid gift tags!
How to make these beauties? It’s so easy!
First, I always create the entire tag in Photoshop (PS) or Photoshop Elements (PSE) before printing and assembling. For the tags you see here, I used Dunia Designs’ December Documented product line (papers | elements | journal cards).
Here are a few details about my overall process…
- First, I find a digital tag that I like and use it as the foundation for everything else. In other words — I just find any tag shape in any kit, and use it as a clipping mask for the rest of the items found in the main kit I choose for my project.
- Next, I add the elements and papers I want to use from the kit I’ve chosen… and I clip them to the tag shape (CTRL-G in PSE; CTRL-ALT-G in PS).
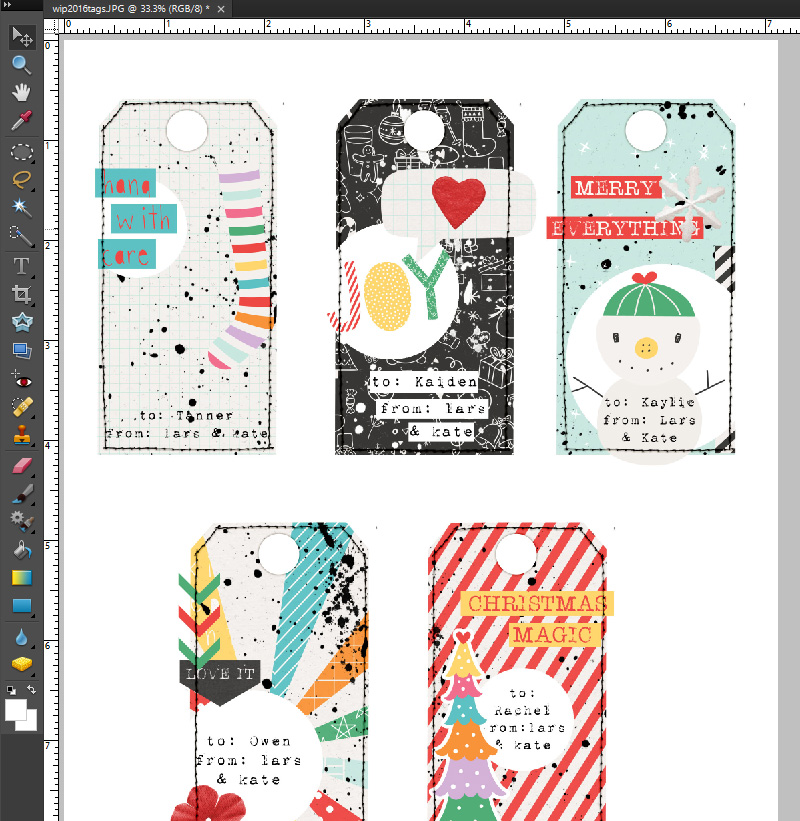
- This next part is a personal preference thing… but I like to build out all my tags together on one 8.5 x 11 canvas. This means that I layer them and make them look the way they’ll look once they’re assembled later… but in digital format, on my computer screen, so I can see a preview. Sometimes I even add digital stitching as a place holder for the real deal later on (again, to see what it will look like). This is a look at the digital version of my tags, which I created fully in PSE…
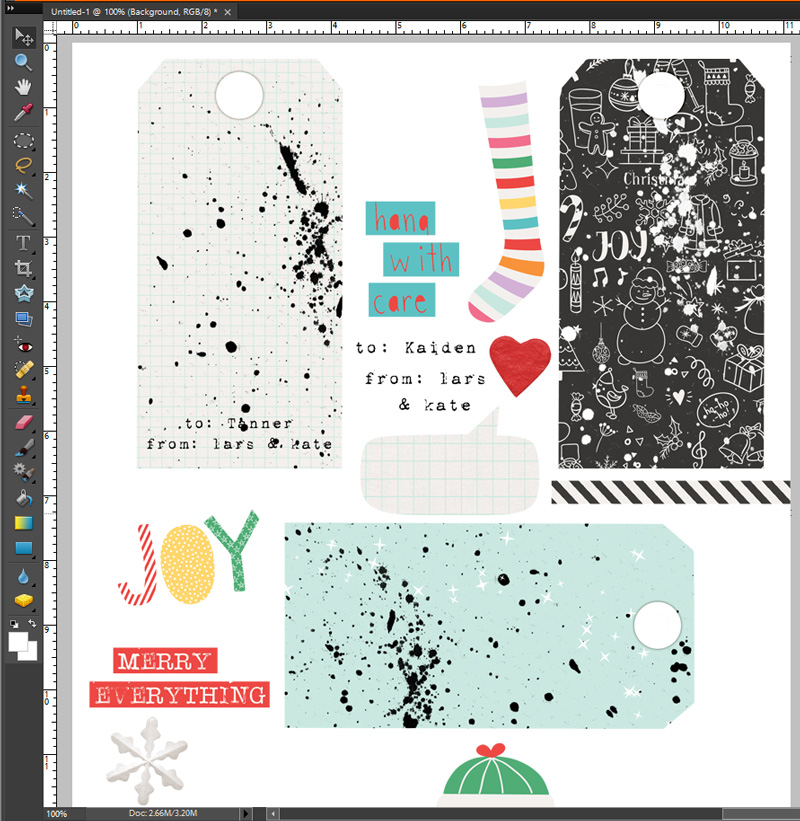
Once I have the tags the way I like them, that is when I pull the layers apart and create a print sheet, as shown in the next image (notice the the digital stitching isn’t included as a part of the print sheet)…
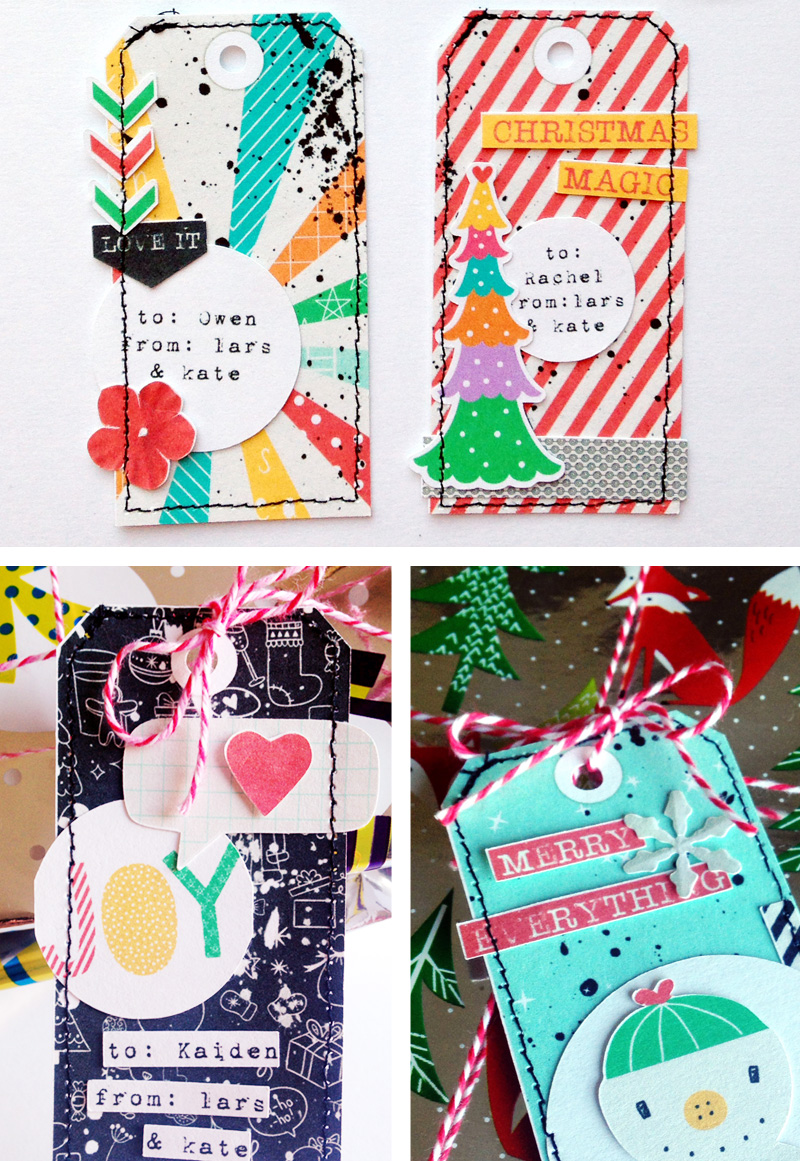
Once I have my print sheet ready… I save it, print it, cut each embellishment out, and assemble (using my original digital/layered mock-up as a guide).
Also, once they’re assembled… I always real-stitch all of my hybrid Christmas tags. I just think they’re cuter that way! 🙂
And that’s it! That’s all there is to it. The fun thing about this is that you can create a file to use over and over again, and simply swap in new names/etc. in the text areas (to use the same tag for different people/gifts). It can be different every time you print it!
 About the Author Kate is on the hybrid team here at The Digital Press. She lives on the Utah/Colorado border with her husband, 5 kids, 10 chickens, and a dog named Gracie. She’s a city-born girl who found she’s really a country girl at heart. She can be found outside, barefoot, and probably in her garden.
great tuto, I will try