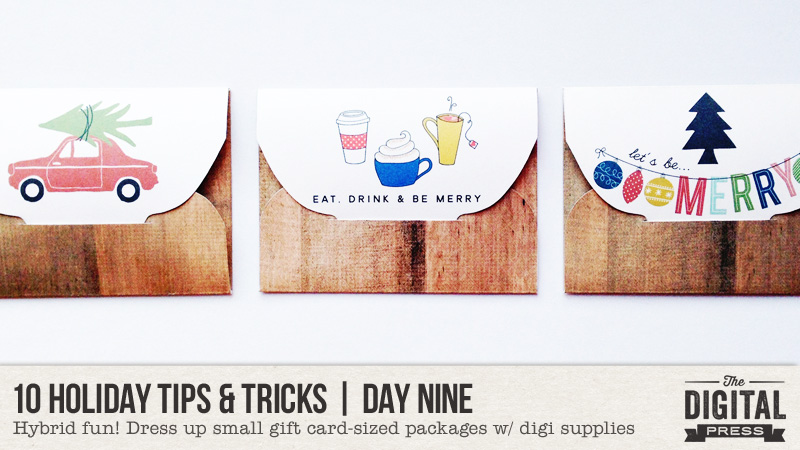
Hey there everyone! Kate here today, and it’s Day Nine of our 10 Holiday Tips & Tricks series here on The Digital Press blog.
Today I have a super simple hybrid project to share with you (along w/ a couple of free templates to download, below). It’s a great way to use digital supplies to dress up your gift card-sized packages!
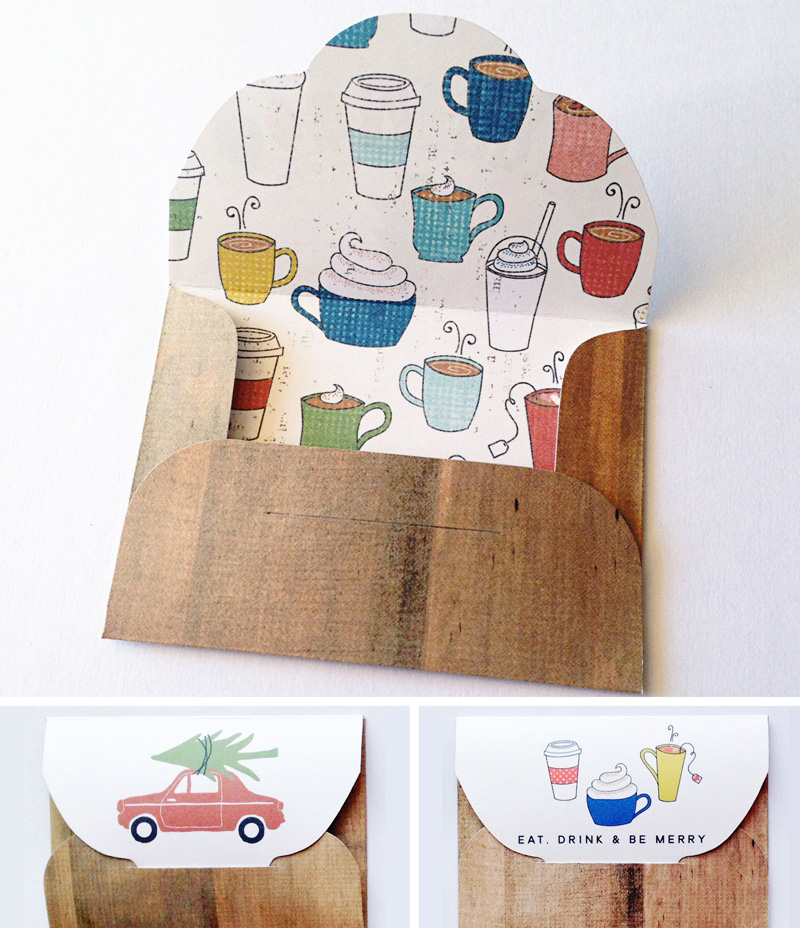
Gift Card Envelopes
Aren’t these so fun?! 🙂
To create these gift card envelopes… simply open the envelope template (see the end of this blog post for the free download)… clip a digital paper (or papers) to the template… print… and cut.
There are options in the template file for adding a digital paper pattern to the inside of the envelope… as well as for adding coordinating paper(s) to the front flap, bottom flap, and also to the back — if you want to do so. I added some digital art to the front flap, a woodgrain paper to the other outer surfaces, and the cute coffee mug/cup pattern to the inside.
Tip: before printing the envelope, I printed a full 8.5 x 11 page of the coordinating cardstock (the coffee cups) that I wanted to use on the inside. Then, I printed the finished envelopes on the other side of the full sheet of patterned paper. This made it easier to line everything up for perfect cutting.
It’s possible to fit two per sheet. I cut mine by hand, and then cut the slit with a craft knife.
To finish it off, you just fold in the flaps, add your gift card, and slip the front flap into the slit. You can adhere the bottom flap to the side flaps if you want, but it isn’t necessary (OMG is anyone else tired of reading the word flap?! haha).
Cash (or Whatever) Envelopes
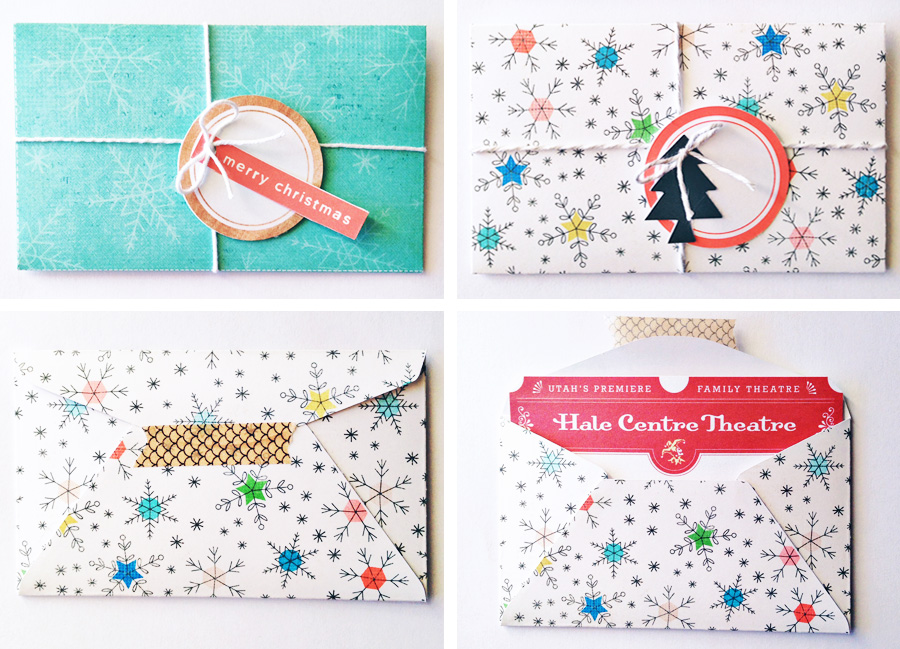
If you’ve just tried the first envelope project, above, then the process for this one will be pretty self-explanatory. It’s almost the same! Simply clip a paper or two… print… cut… decorate… ta-da! You have an envelope. Fold in the flaps (*cringe* LOL) and adhere, leaving the top flap open.
That’s really all there is to it!
Tip: I know they make special glue for DIY envelopes; when you’re ready to send it, you just have to wet it and fold it down to make it stick. For myself, however, I just used washi tape. It’s cute, and easy!
You can use these for cash or checks… or even tickets (as you can see I did, above).
I am not going to lie — something about this second envelope template was a giant pain to fix up nice (and I’m still not 100% totally happy with it, but shhh! don’t tell anyone)… so someone had better download it and use it and post pretty pictures of it! (*crying*) …it would make me so happy!
If you’d like to give either of these projects a try… you can download the templates I created to make these envelopes HERE.
Happy holidays! 😉
 About the Author Kate is on the hybrid team here at The Digital Press. She lives on the Utah/Colorado border with her husband, 5 kids, 10 chickens, and a dog named Gracie. She’s a city-born girl who found she’s really a country girl at heart. She can be found outside, barefoot, and probably in her garden.