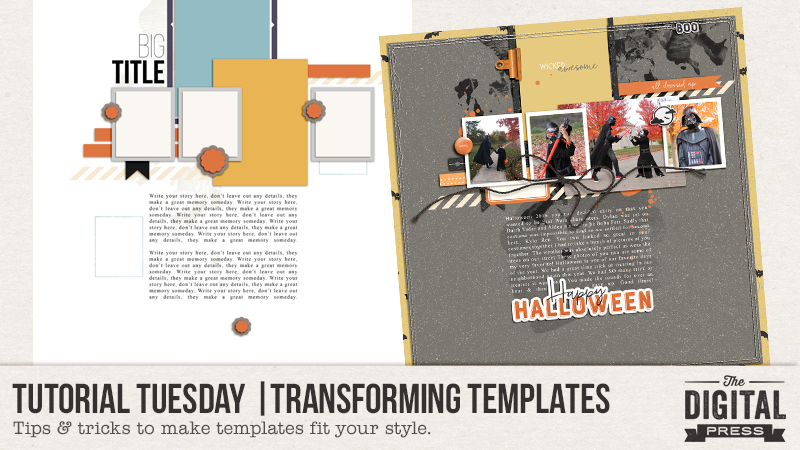
Welcome to another edition of Tutorial Tuesday here on The Digital Press blog! Today, I thought it would be helpful if I shared a few ways that you can creatively transform templates to fit your scrapbooking needs! These tips and tricks will help you get the most bang for your buck when purchasing and using templates!
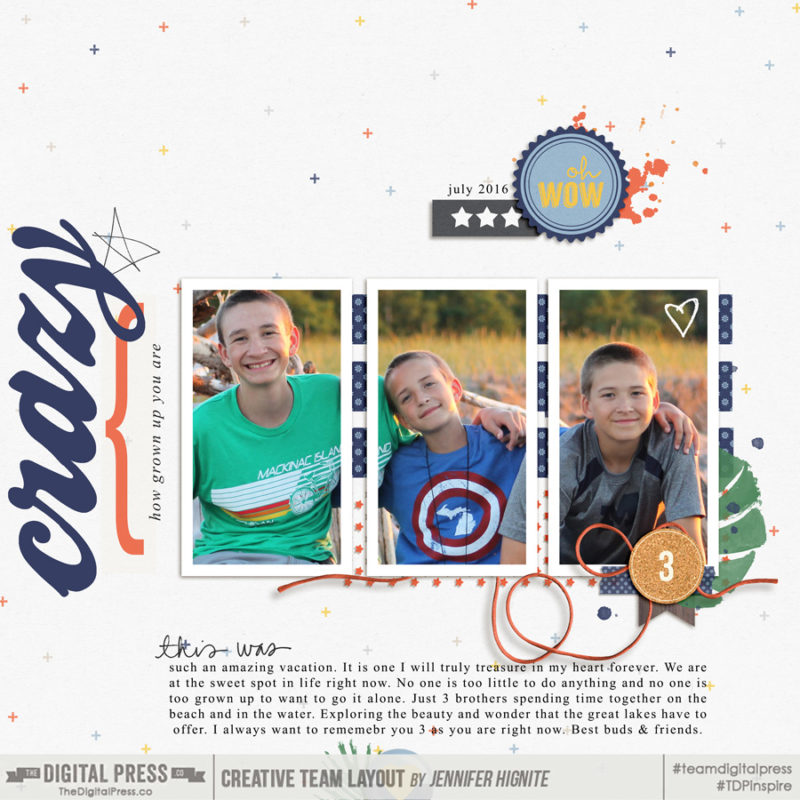
More often than not I find I have more photos that I want to scrapbook, than the template allows for. To remedy this I often add in more photos in places on the template that are suggested to be papers. For this layout I use Anita Designs Quick Scraps Vol. 17:
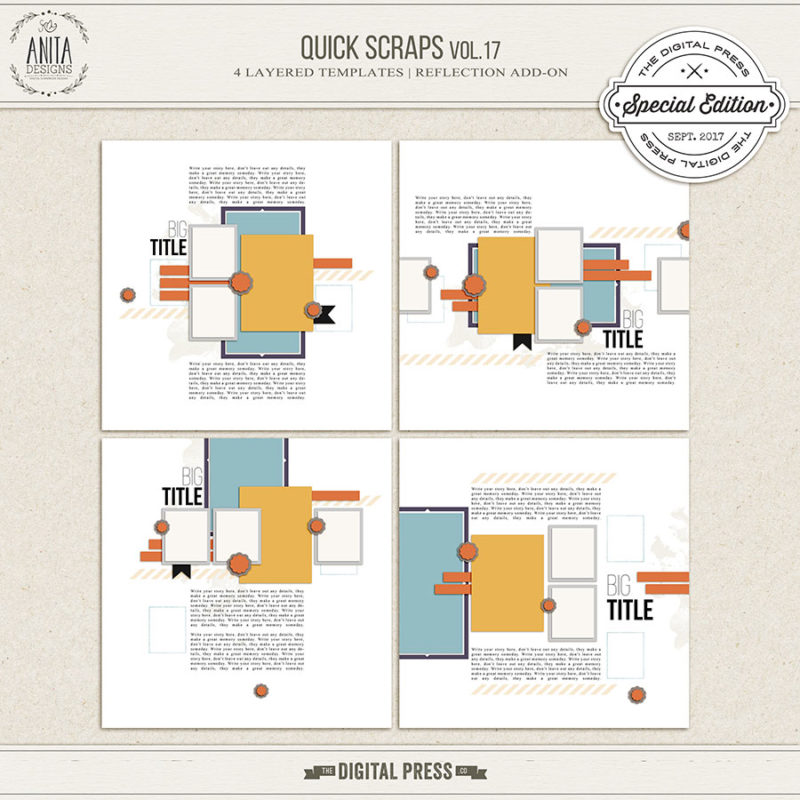
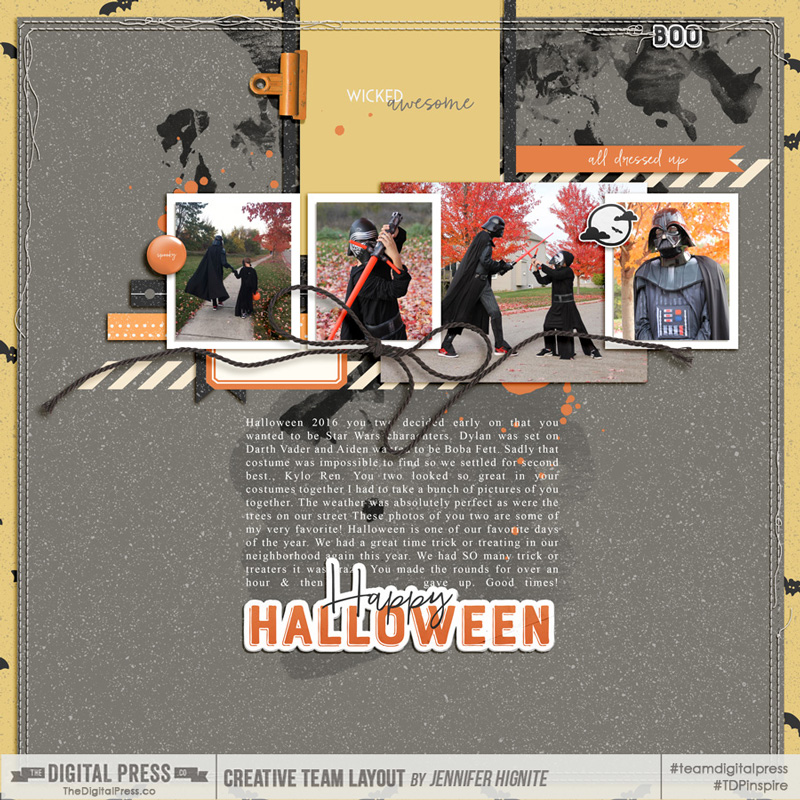
I altered the bottom left template by rotating & adding a photo to the spot that could have been background paper. I love the look of the larger unframed bottom photo behind the three framed photos. It gives the layout more dimension, helps tell the story & visually leads your eye across the page.
For this layout I used another template from the same pack (the top right template) and added a large photo underneath the layers of the template. Large photos help showcase the subject of a page and are a a great way to catch the eye of the reader.
Another way to use templates is to break up your single photo to fit multiple spots. For this layout I used another template by Anita Designs A December Story Captured (template 21)
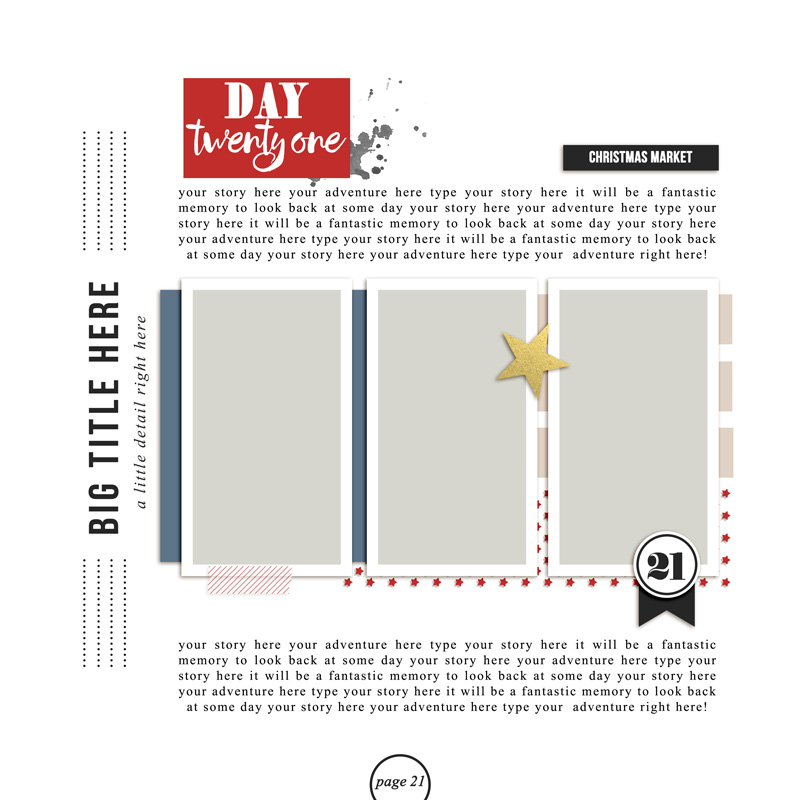
I placed a single photo in the three photo slots in the template. To get this look I merged the three photo layers (Command +E) in the template and then placed my photo on top of that layout and clipped it (Command +G) to the frames. A super easy and unique look to make a template work to tell your story!
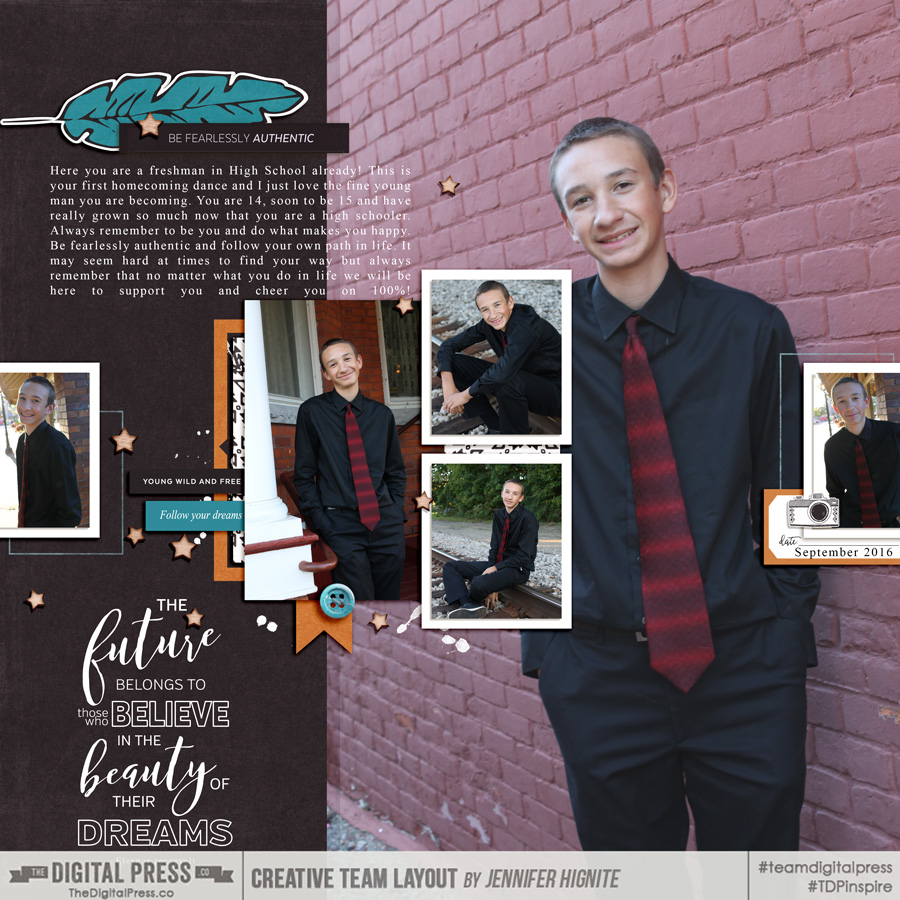
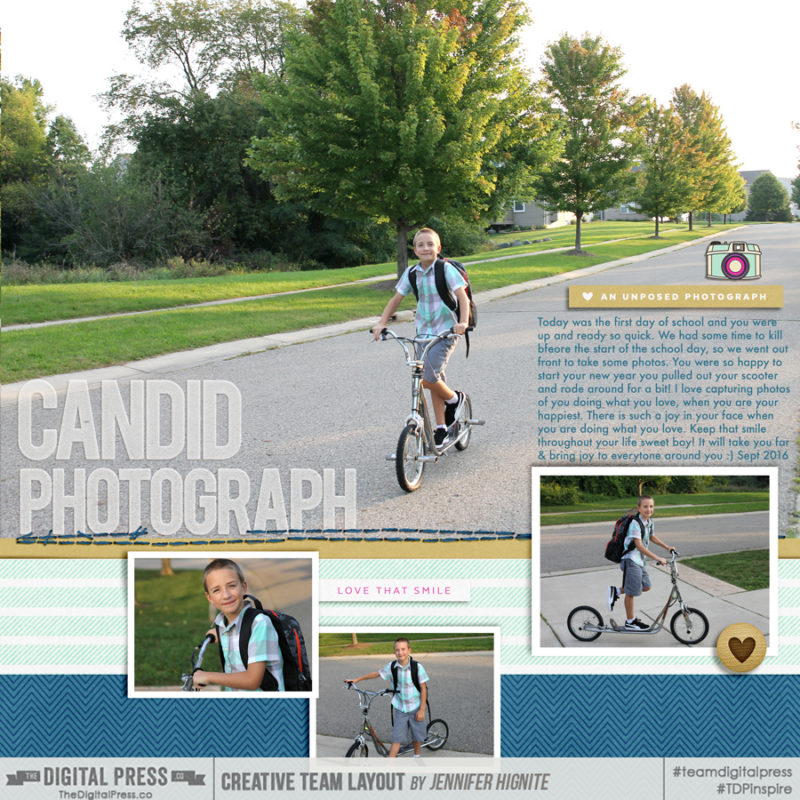
You can also rotate and delete parts of a template to make them work for your layout. I did exactly that with the bottom left template by Dunia Designs: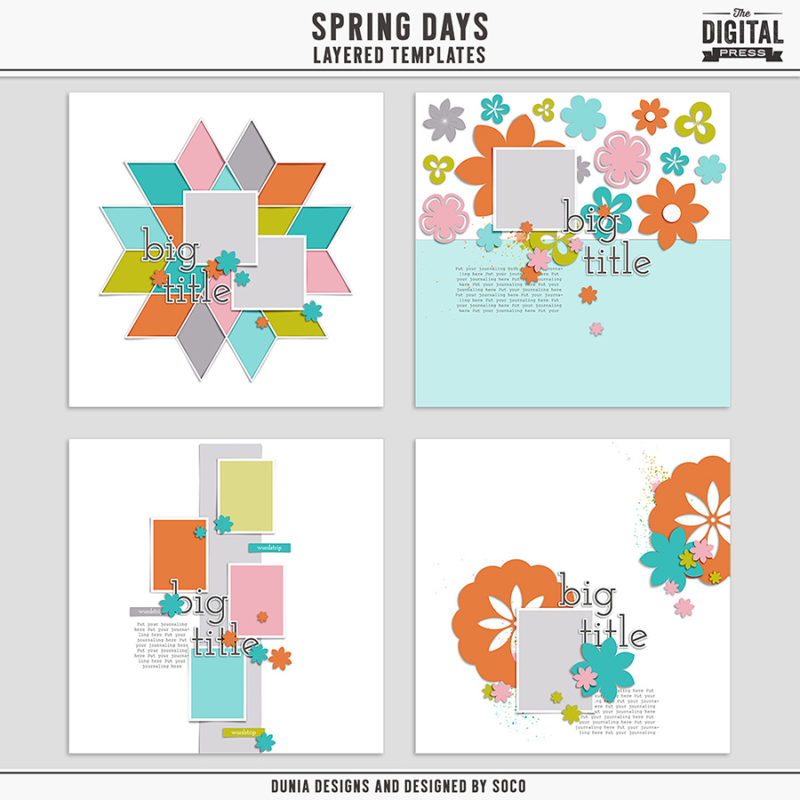
Again a large photo takes center stage of the layout. I rotated the entire template and moved everything to the bottom quarter to make more room to showcase the large photo. You can always move and tweak a template to make it work. Start with the end in mind and you can make your vision come to life with a few little changes!
Remember just because a template is set up one way by a designer, it doesn’t mean you have to keep it that way! Change those templates up and make them work for you and your personal style! Happy Scrapbooking!
 Jennifer Hignite is a mom of three boys and new homeowner with her fiance in the mitten state of Michigan. When she is not scrapbooking, she enjoys photography, watching her boys play sports, decorating, and shopping at Target.