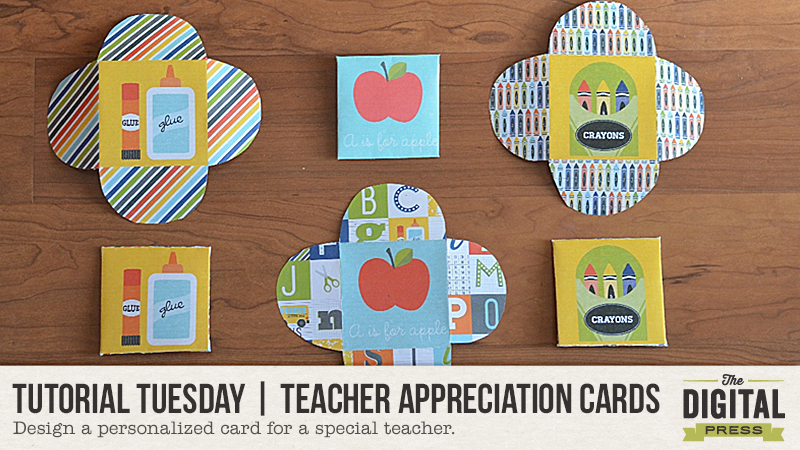
Did you know May 2-6 is National Teacher Appreciation Week? This is always a great time to show appreciation and love to a favorite teacher. Today, I am here to show you two simple ways to dress up a card for a teacher gift. For this project, choose a favorite school themed scrapbook kit.
Supplies Needed:
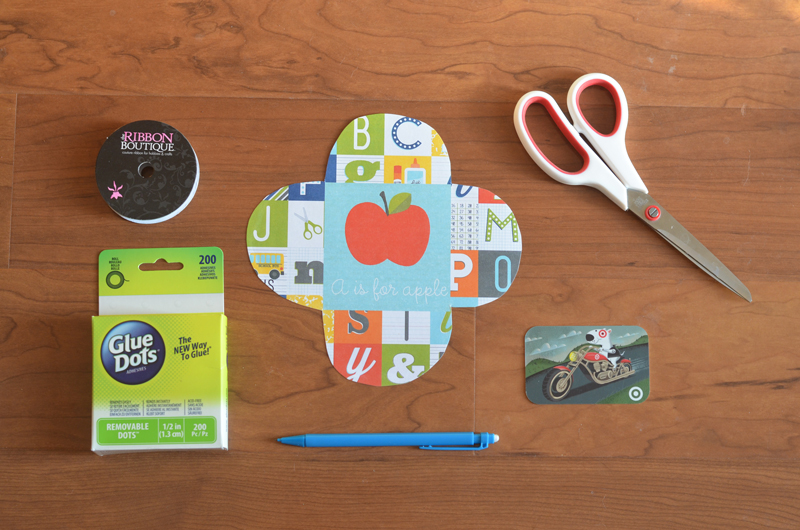
- ribbon
- glue dots
- scissors
- template
- pencils
- printer
- digital elements (School-themed, etc.)
- card stock
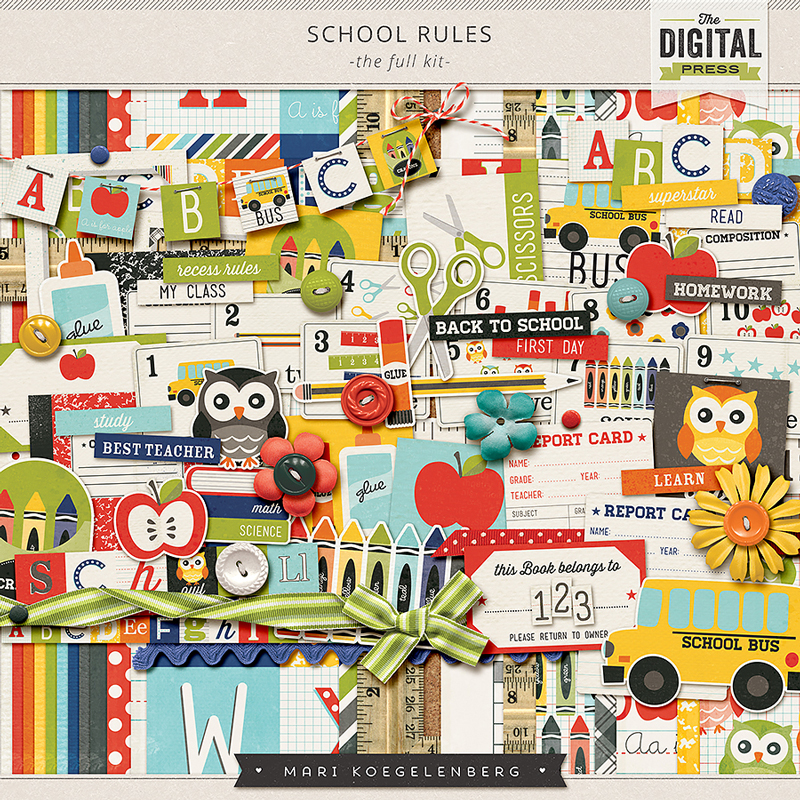
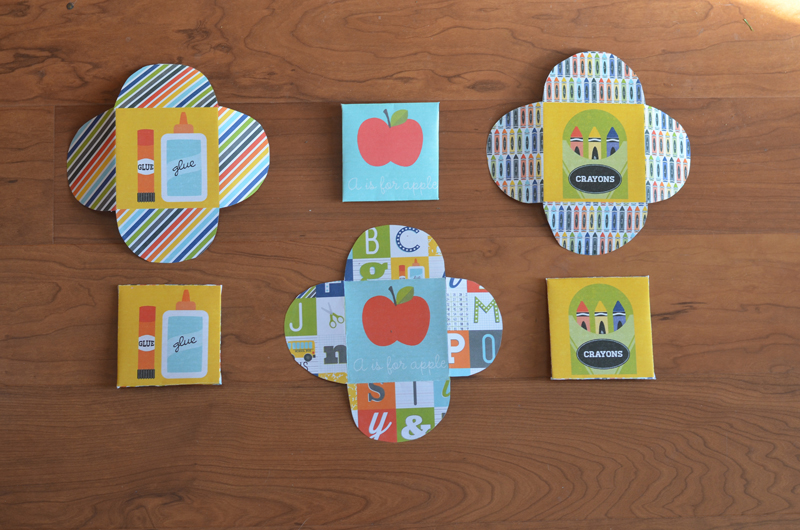
I chose School Rules by Mari Koegelenberg for the petal gift cards.
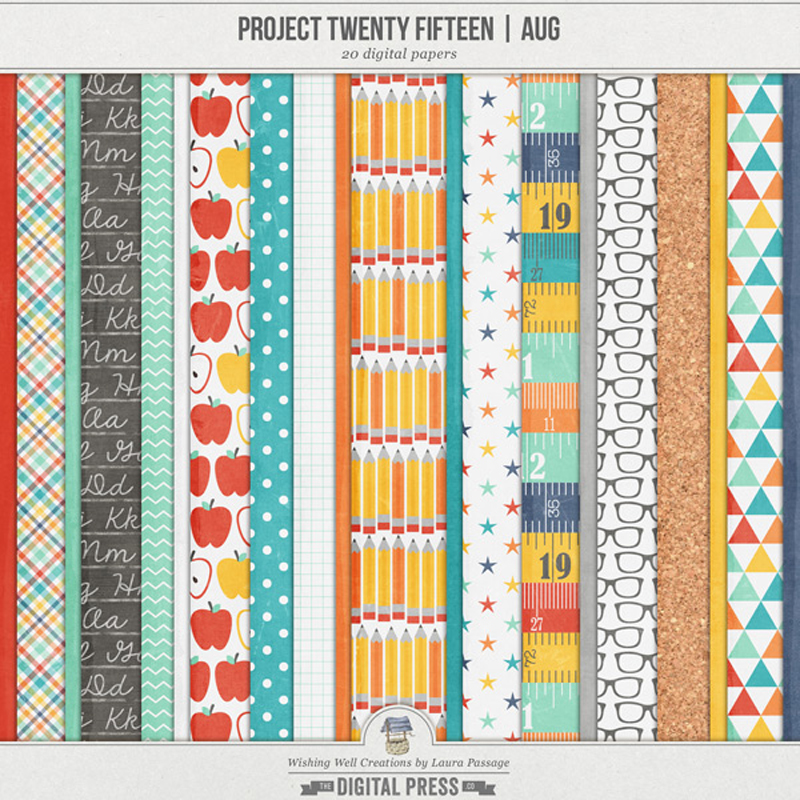
For the pencil card I chose Project 2015 August Papers and journal cards by Wishing Well Creations (Laura Passage).
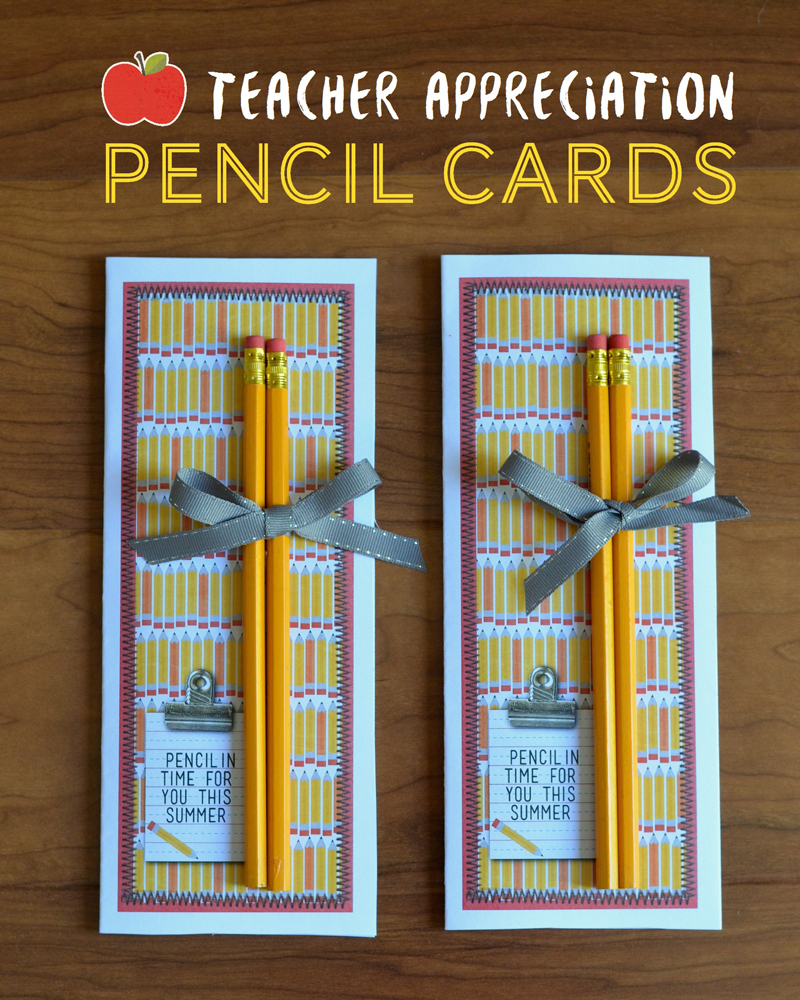
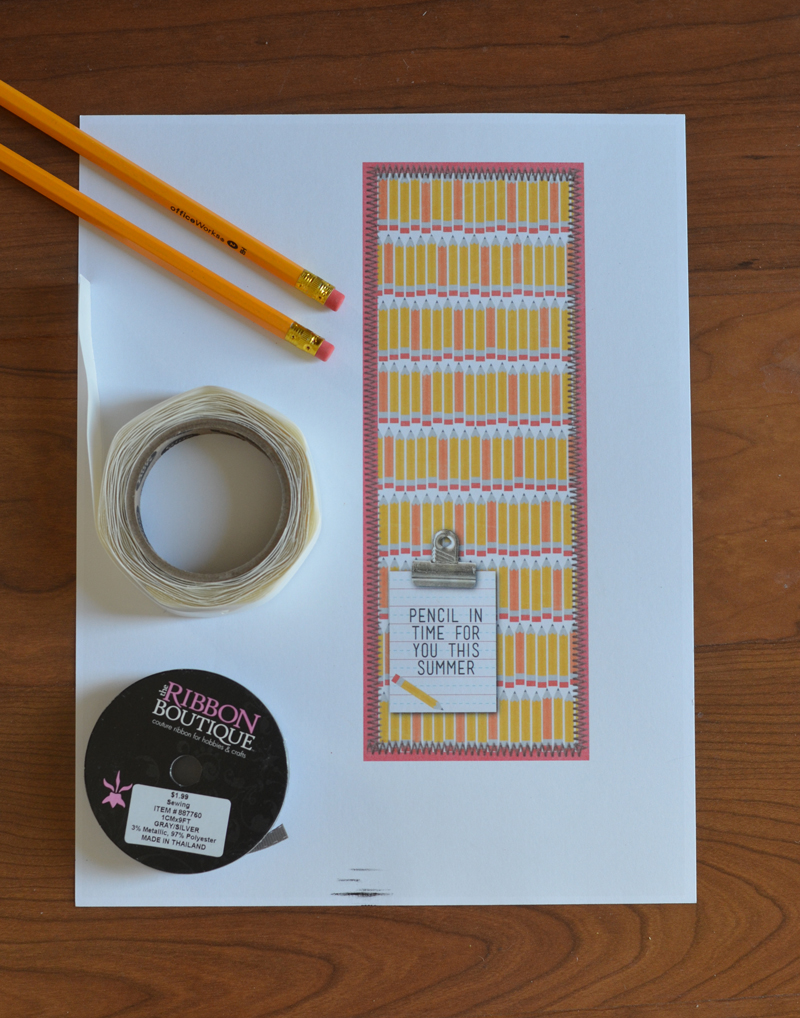
Pencil cards are a fun way to show appreciation for your child’s teacher. They are so simple to create! To make one, gather your supplies.
I created my card from Laura Passage’s 2015 August collection papers and journal cards. Don’t you just love that little clip element from LJS Design?
To create one I sized my graphic design 8″ x 3″ using the darling pencil papers. I incorporated some digital stitching elements from my stash around the image and sized down the journal card to 2.5″ x 2″ and then added my text. I placed all of the elements on the right side of an 8 1/2″ x 11″ paper as you can see below. Once you have the graphic designed, you can print on card stock, then fold and trim. Or just cut around the graphic as a single page. I added some glue dots to the back of the pencils and tied them with a bow. You can write a fun little note on the back or folded on the inside of the card!
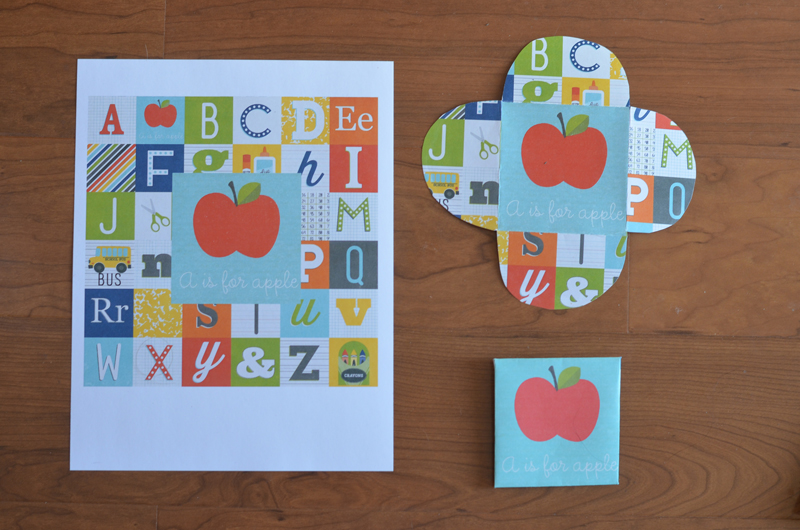
For the second card I created a petal gift card. I chose elements and paper from the School Rules kit by Mari Koegelenberg.
Click on the image to save and print.

First, you want to choose your paper and card element to print. I centered my 3.75″ x 3.75″ apple graphic on the center of my page. With my chosen printed paper behind the image, I used an 8 1/2″ x 11″ size for the paper. Next, I printed out the image. Now I am ready to trace the template and score the edges. Once you have folded your card, you can add a fun gift card inside. I closed my card with a glue dot – you could also punch two holes across from each other on the petals and close with twine.
I hope you have fun creating a pencil card or petal gift card for your child’s favorite teacher. Happy Teacher Appreciation week!

About the Author Terresa is a mother to 5 beautiful children. She loves capturing memories with her digital camera and creating a visual family memory book to be enjoyed and treasured. She enjoys designing and creating personalized items for her home and children. Other interests are crafting and gardening, and you will often find her enjoying the outdoors and soaking in the beauty of nature.
Terresa, what fun ideas. I love both of these kits. I think I have them. THANKS so much for your wonderful tutorial and the template!!